Core 6v6 Modes Overview
Core Multiplayer Maps
Gunfight (3v3, 10v10, Kill Block)
Combat Outpost (24v24, Ground War)
Ground War Multiplayer Maps
Call of Duty: Warzone Zodiac Map
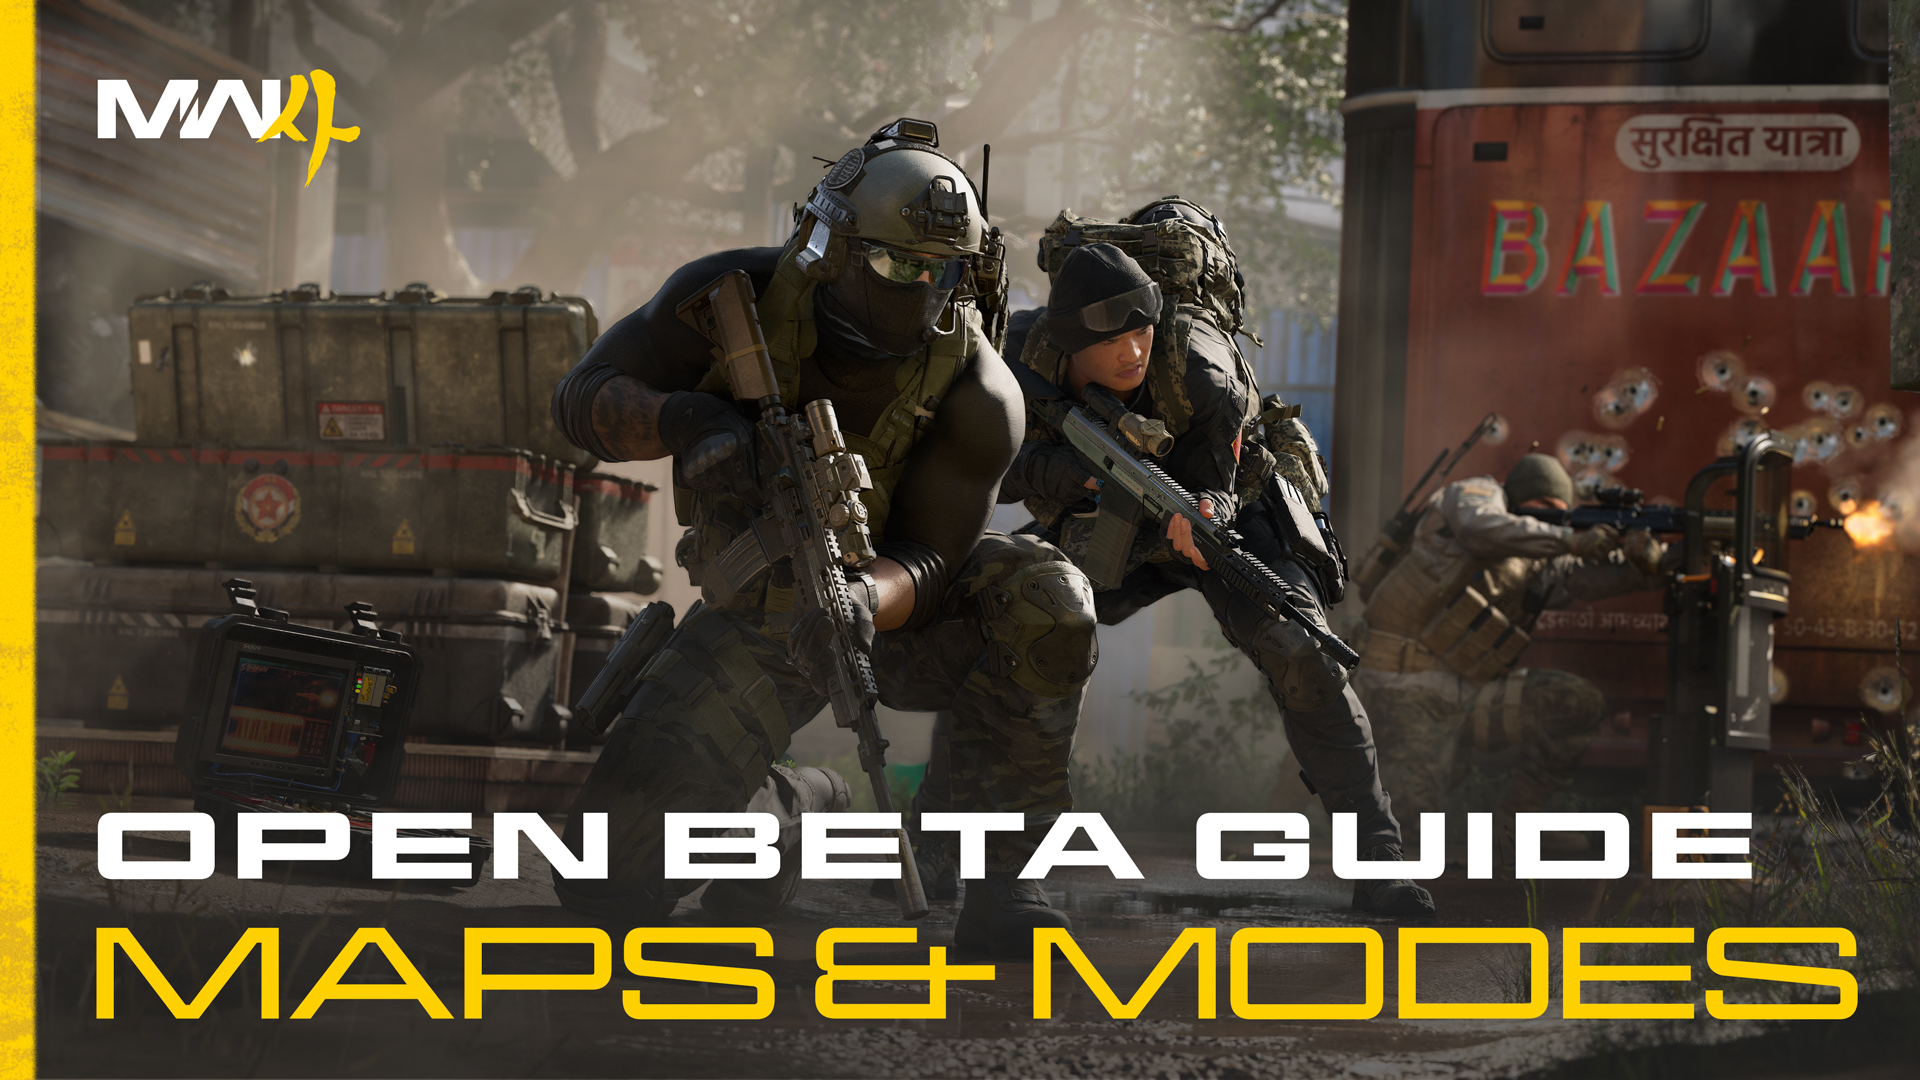
Get complete maps and modes breakdown, covering Core 6v6 modes, all-new Hijack and Inflation, Gunfight on Kill Block, Combat Outpost Ground War, and Call of Duty: Warzone™ Resurgence on Zodiac. Explore every available Beta map, learn what makes each combat space unique, and use practical top tips to improve your play. Here’s how:
Modern Warfare 4 Beta: Modes

NOTE: This intel comes from the Modern Warfare 4 Beta: Everything You Need to Know Blog. Click here for the full blog.
The Modern Warfare 4 Open Beta showcases the full range of Multiplayer combat. Deploy into classic modes like Team Deathmatch and Domination, master all-new experiences including Hijack and Inflation, test your skills in intense 3v3 Gunfight matches, or join combined-arms Ground War battles featuring tanks and other vehicles. Explore the mode overviews below.
Team Deathmatch (Core 6v6)
QUICK INTEL:
- Eliminate enemy Operators to earn points for your team.
- The first team to reach the score limit or the lead when time expires wins the match.
- Unlimited respawns keep the action moving while rewarding smart engagements, teamwork, and consistent gunplay.
- Full Create a Class functionality lets you experiment with all available weapons, Equipment, Perks, Field Upgrades, and Killstreaks.
Team Deathmatch is Modern Warfare 4 Multiplayer in its purest form. Two teams compete to earn points by eliminating enemy Operators, with every kill bringing your team one step closer to victory. Without objectives to capture or defend, success comes from consistently winning engagements while denying the enemy opportunities to score.
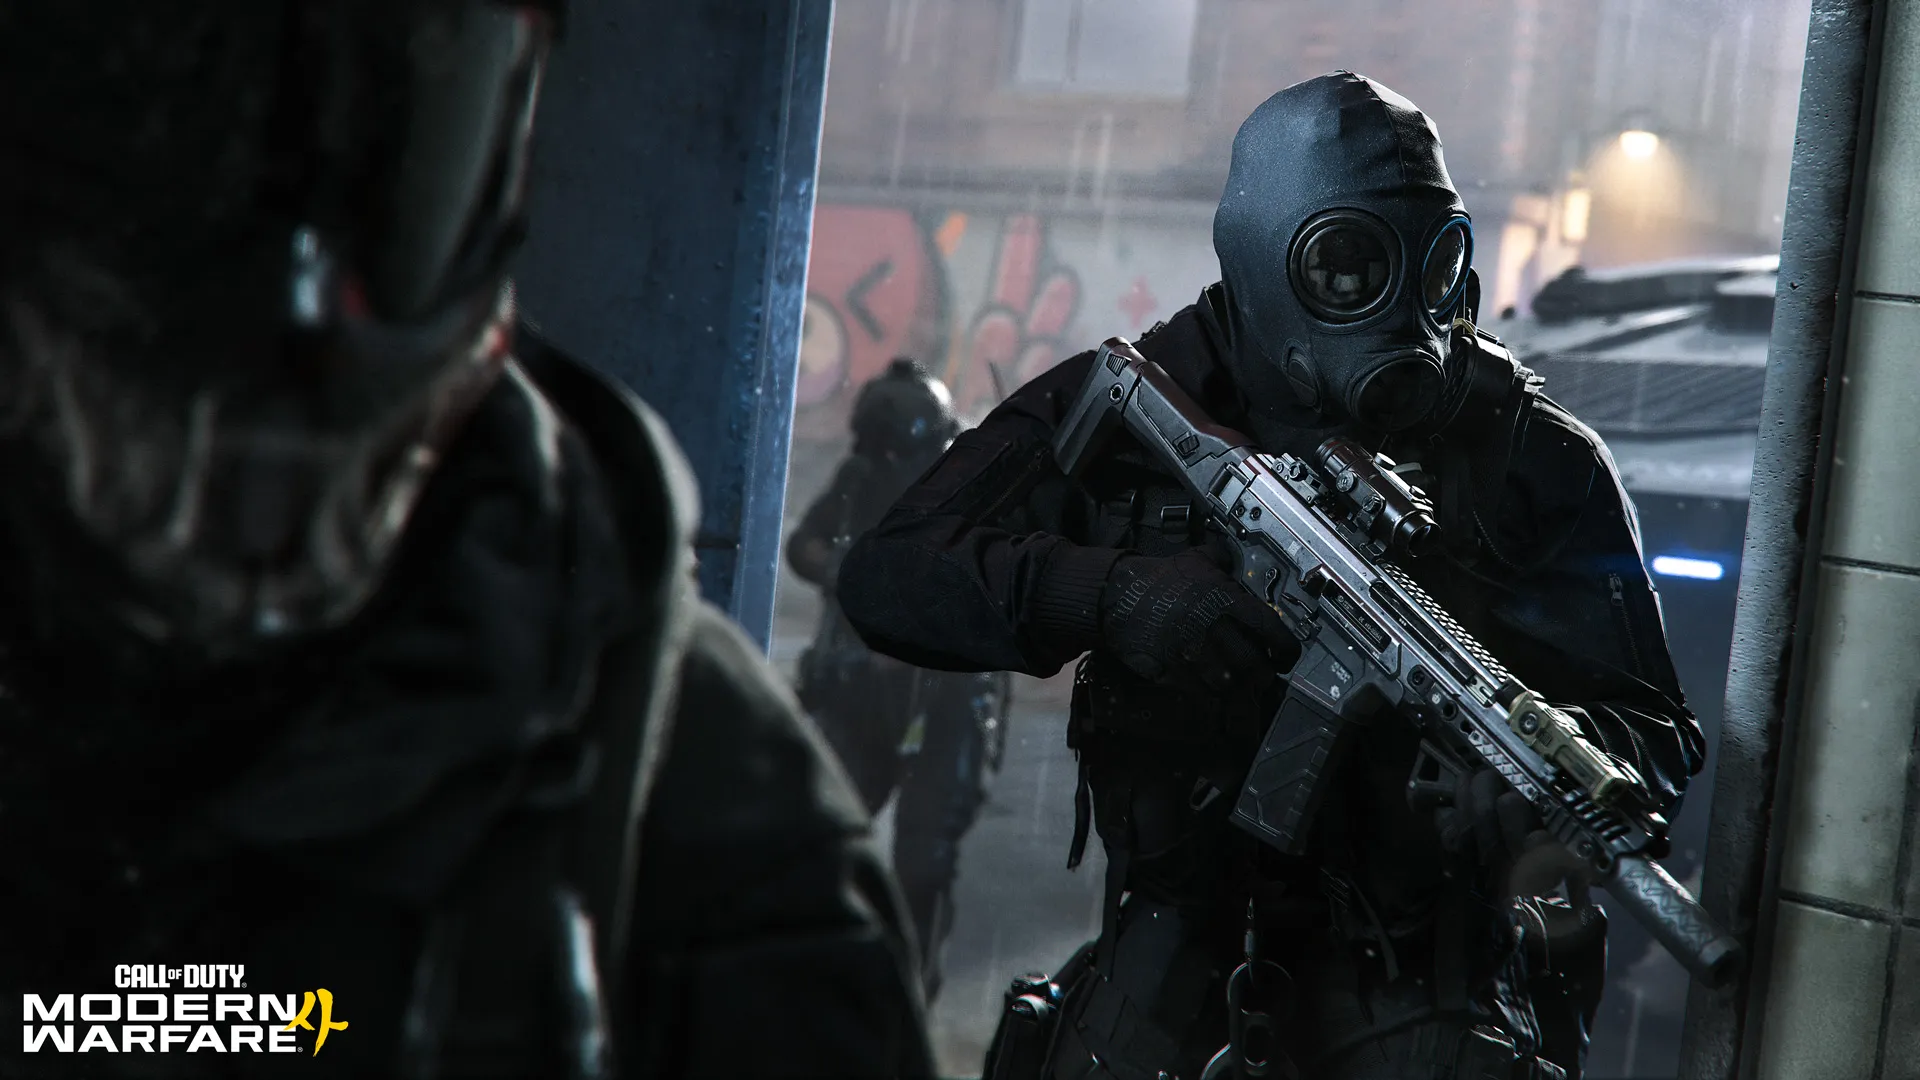
Every elimination counts but surviving to fight the next battle is just as important. Winning consecutive engagements not only denies the enemy points; it also earns valuable Killstreaks that can strengthen your team's advantage. Whether you're jumping into your first Multiplayer match or sharpening your gunfighting skills before tackling objective-based modes, Team Deathmatch rewards smart decision-making, teamwork, and consistent performance.
Hijack (Core 6v6)
QUICK INTEL:
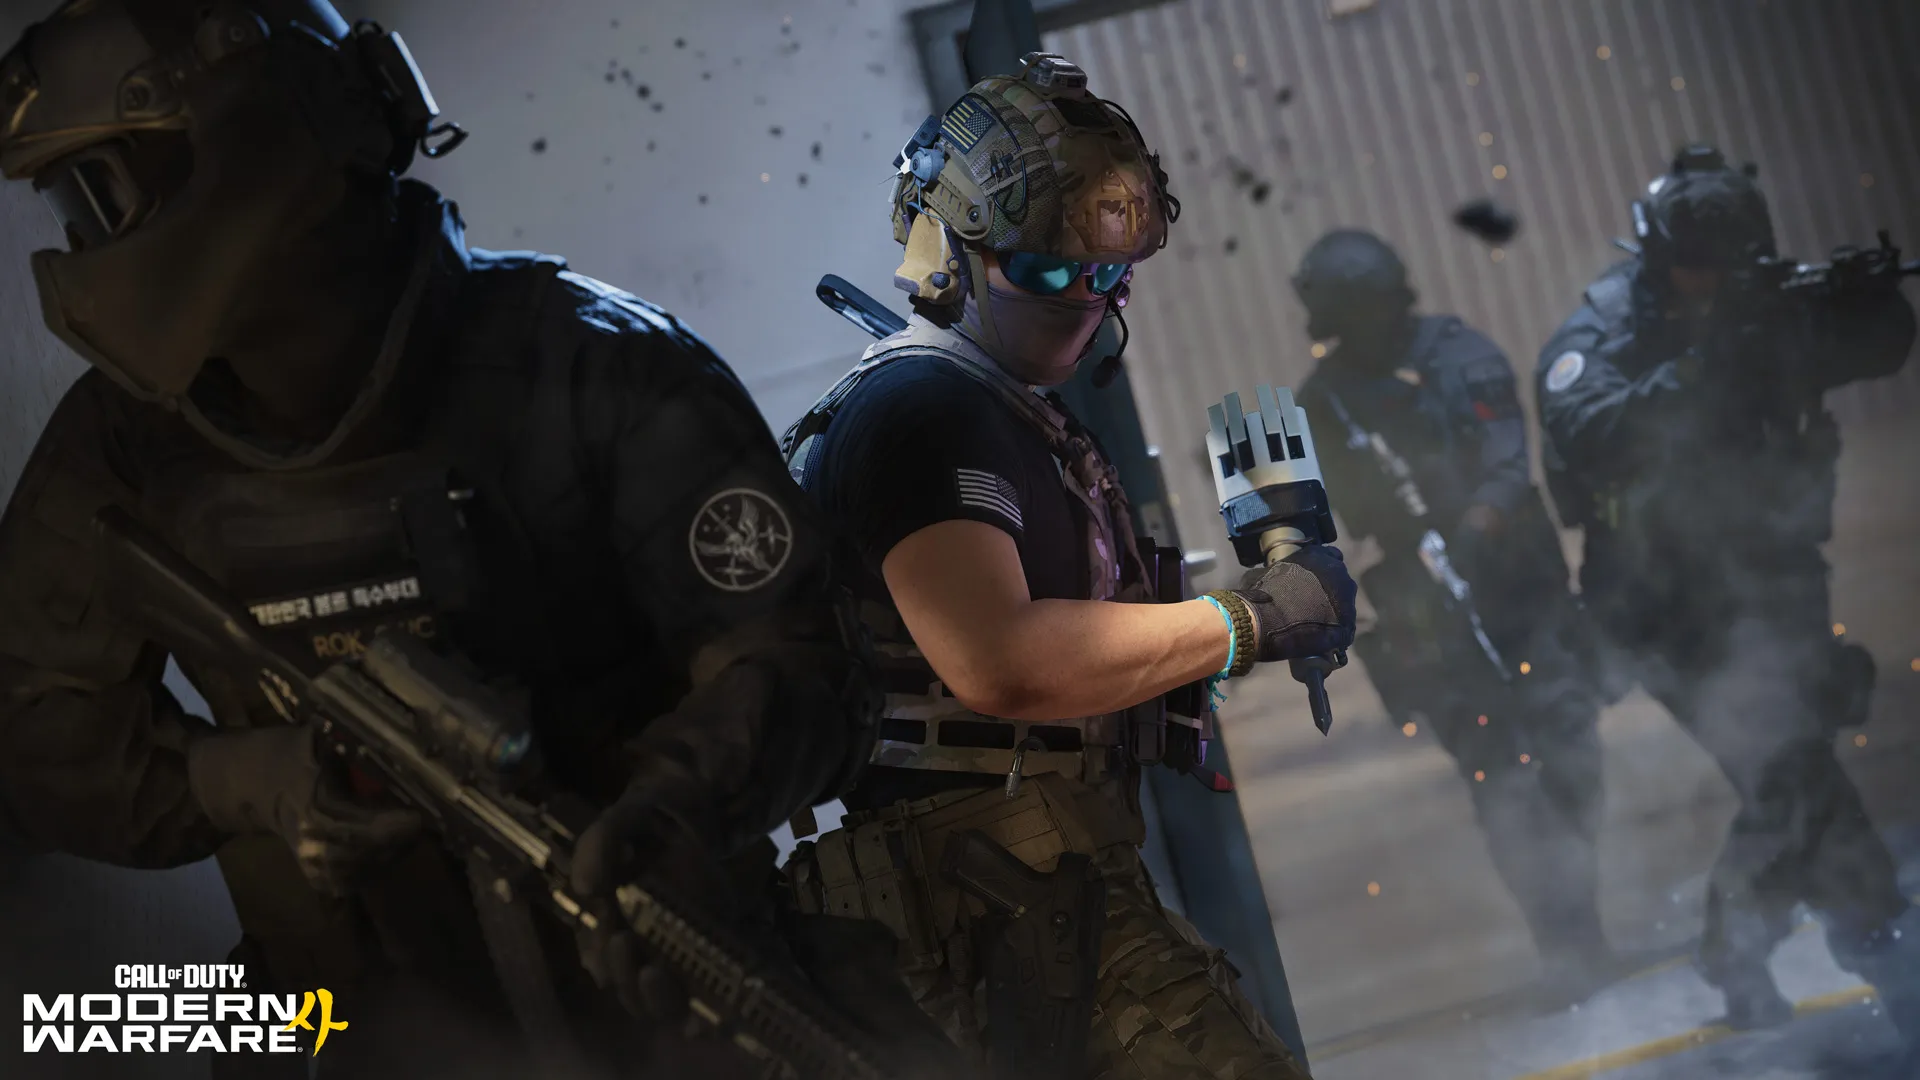
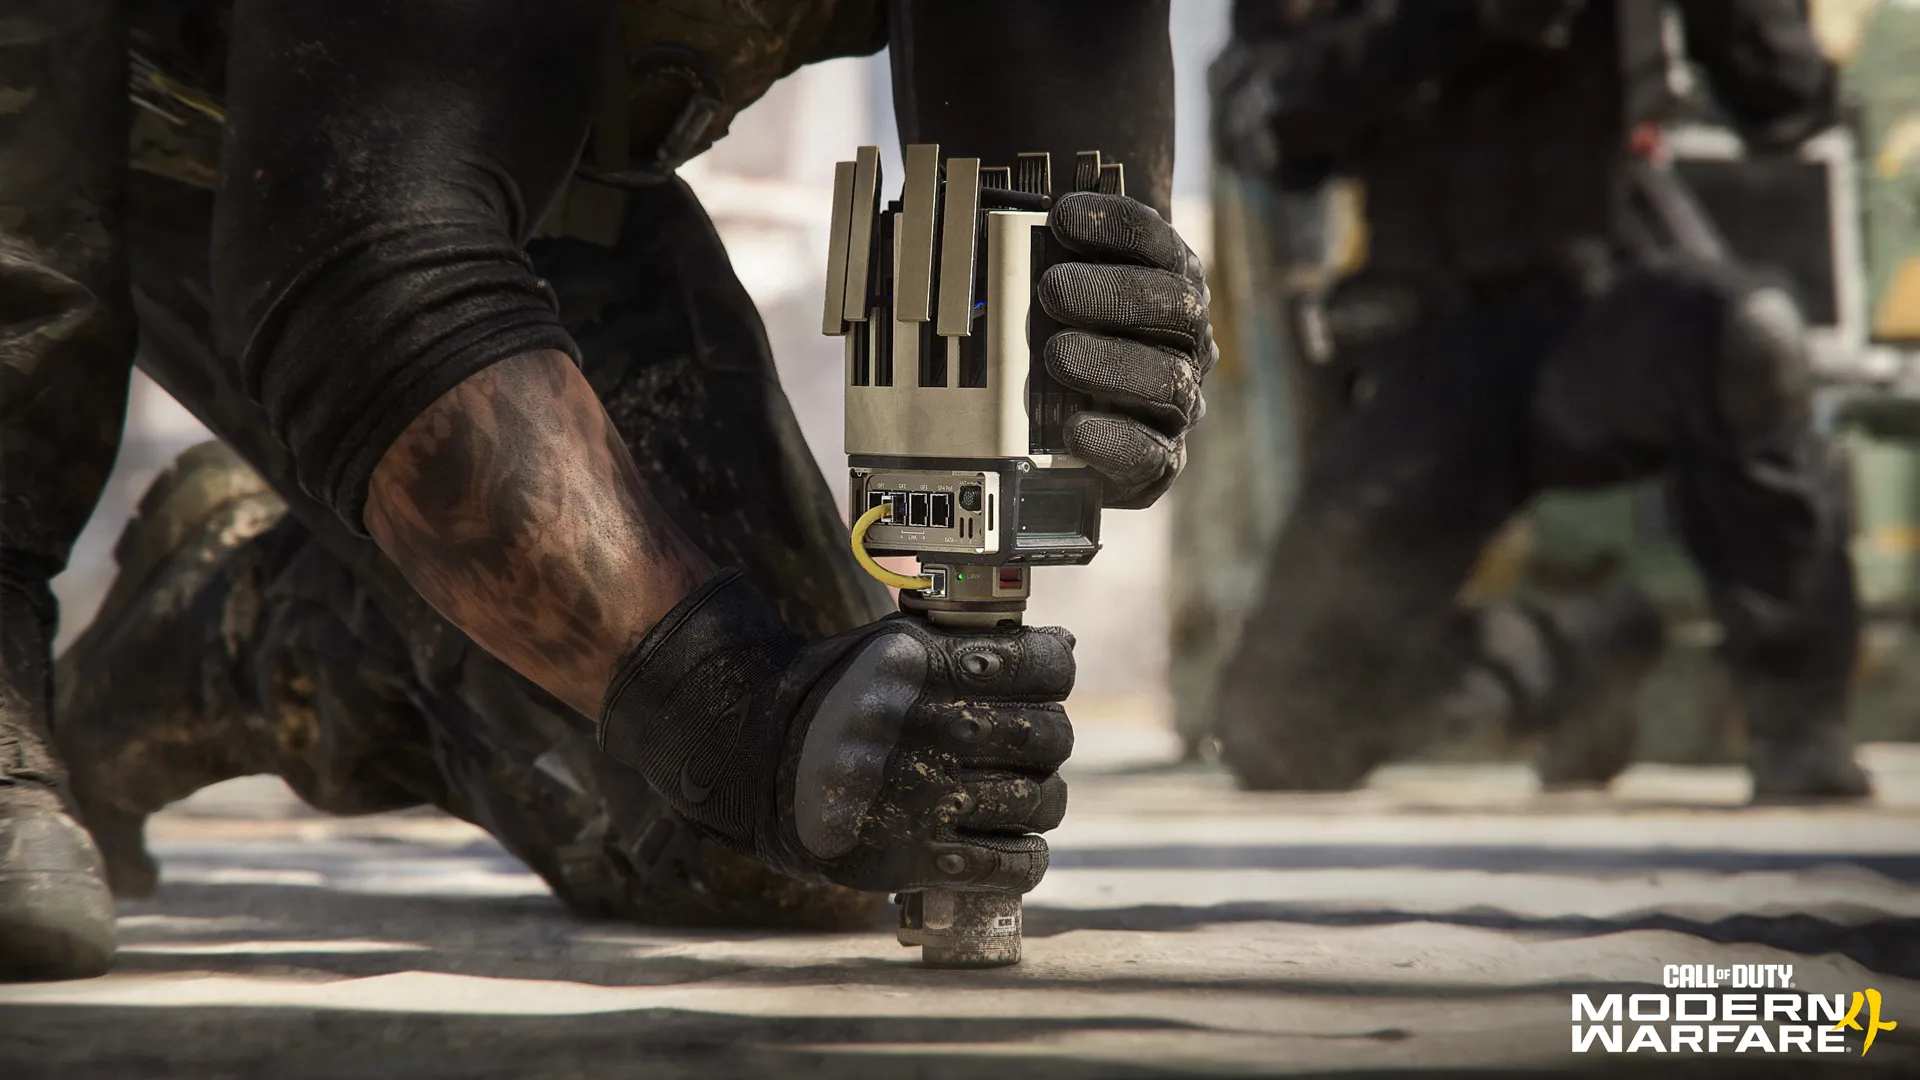
- NEW: Fight to capture a Data Spike around the central area of the map.
- Carry, throw, or pass the Spike to teammates as you advance.
- Plant the Spike at the enemy Comm Station to earn points over time, plus a bonus score when it detonates.
- Defuse enemy Spikes before they can score.
Hijack is a brand-new objective mode where both teams battle over a single Data Spike, then advance it toward the enemy Comm Station. Once planted, the Spike continuously generates points for your team, forcing the opposition to launch a counterattack before it detonates or risk falling behind.
Enter your date of birth
Victory depends on momentum as much as firepower. Keep the Spike moving by carrying it yourself or throwing it to teammates to maintain the attack. Full Create a Class functionality gives your team multiple ways to escort the Spike, disrupt enemy advances, and defend the objective as you fight to maximize your score.
HIJACK: TOP TIPS:
- Protect the carrier: While carrying the Data Spike, the Lethal input is used to throw it, preventing the carrier from deploying their equipped Lethal. Teammates should clear dangerous routes, support their carrier with their Equipment, and be ready to recover the Spike if the carrier is eliminated.
- Keep the Spike moving: A stationary Spike gives the enemy time to regroup. Carry it, throw it to a teammate, or quickly recover it after a firefight to maintain the attack.
- Fight for the Comm Station: Planting the Spike is only half the battle. Prepare defensive positions before the enemy counterattack arrives and protect the Spike until it detonates.
- Use the fight equipment for the job: The carrier loses access to their equipped Lethal, making the surrounding squad’s loadout choices especially important. Use equipment and Killstreaks to clear routes, protect the advance, and secure the Comm Station after planting.
- Adapt as the Spike moves: Every time the Data Spike resets, both teams race to regain possession. Recover quickly, adjust your routes, and don't allow the enemy time to establish their next defense.
Inflation (Core 6v6)
QUICK INTEL:
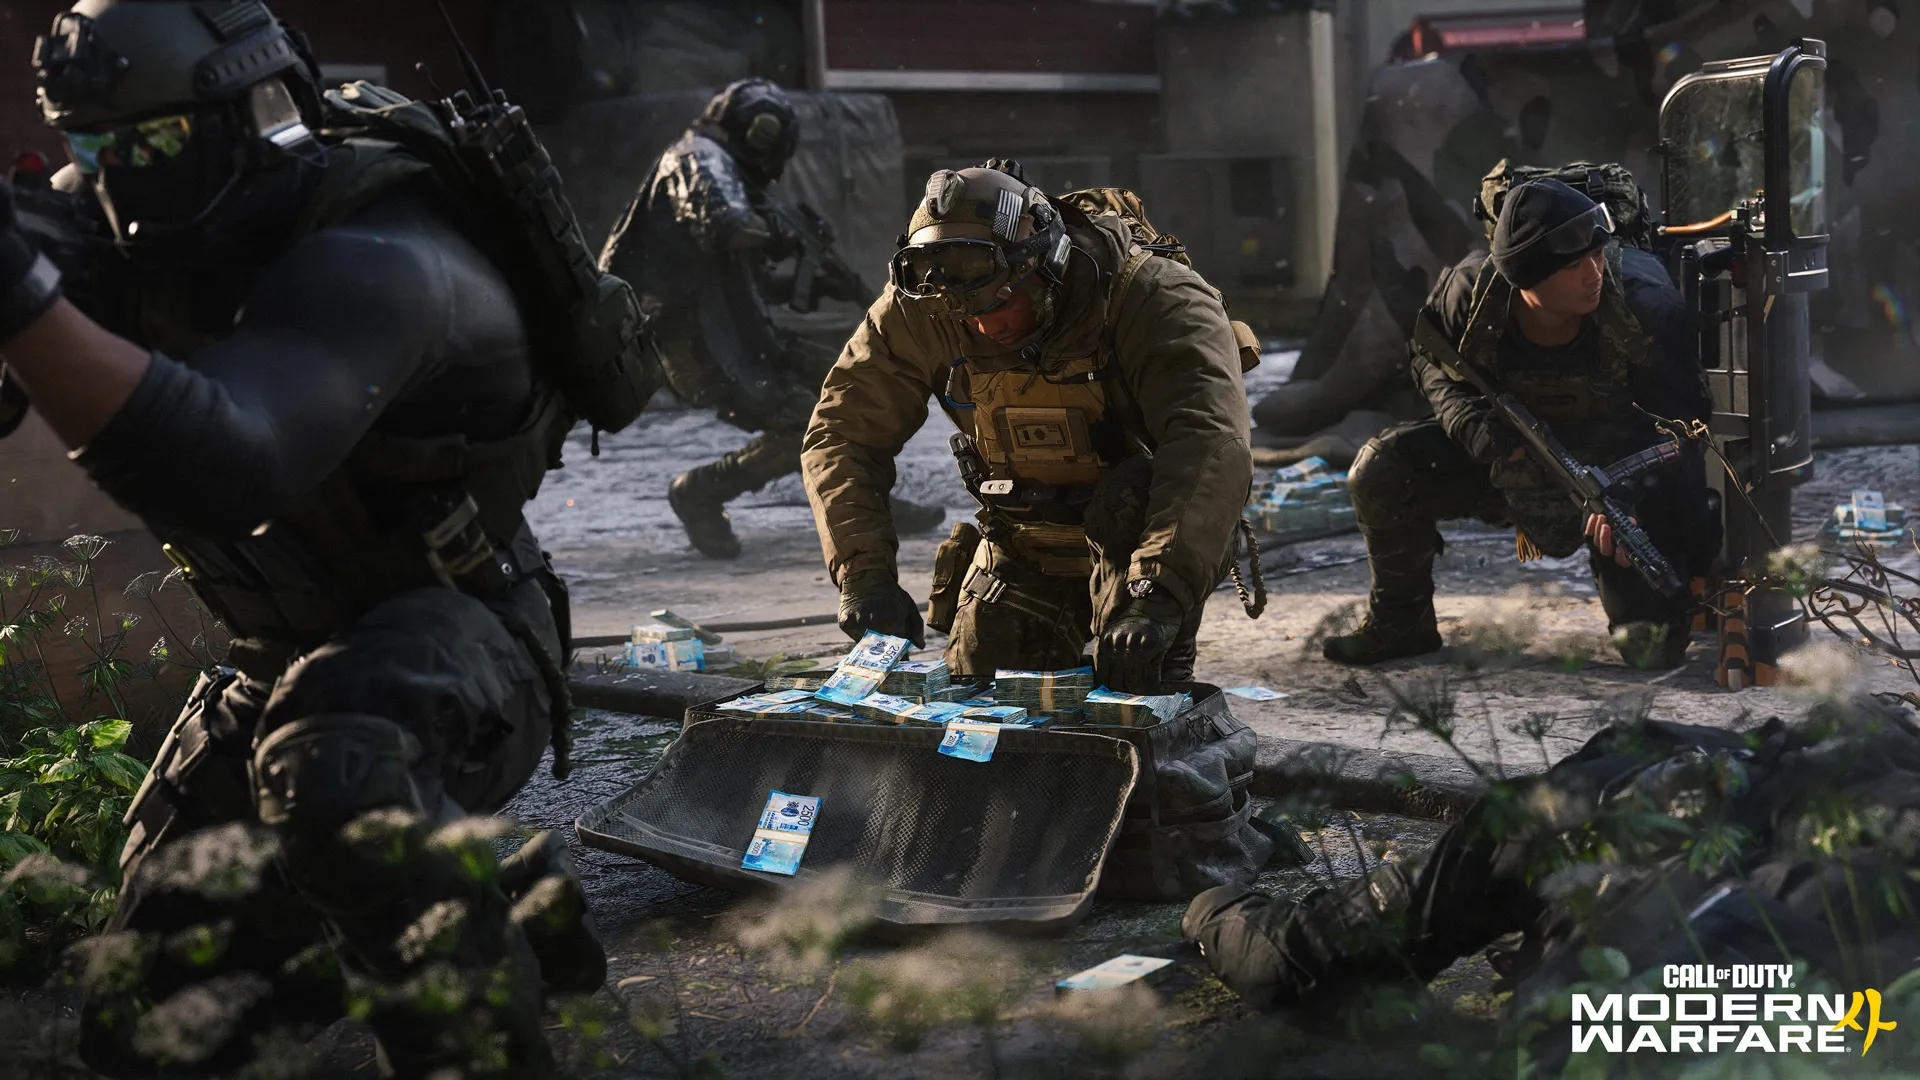
- NEW: Eliminate enemies to collect cash and build your fortune.
- Defeat wealthy HVT Operators to steal the cash they're carrying.
- The richest players become marked High Value Targets for everyone to hunt.
- Survive the escalating chaos of Overtime, where increased cash multipliers can dramatically swing the match.

Inflation is a new Multiplayer mode that transforms every successful Operator into a bigger prize… and target. Eliminate enemies to collect cash, but the more wealth you carry, the greater the target on your back. Once you reach the High Value Target threshold, your position is revealed, inviting the entire enemy team to hunt you down while your teammates defend your position, recover dropped cash, and continue building their own fortunes.
Enter your date of birth
As fortunes grow, so do the stakes. Every elimination can dramatically swing the score as teams choose whether to protect their richest players or launch coordinated attacks against enemy High Value Targets. Overtime raises the tension even further with increased cash multipliers, creating a chaotic finale where fortunes can change hands in moments. Full Create a Class functionality gives your team the tools to hunt High Value Targets, defend your biggest earners, and survive the escalating chaos as the match reaches its dramatic conclusion.
INFLATION: TOP TIPS:
- Think beyond eliminations: Every fight is an opportunity to earn cash, recover dropped wealth, deny the enemy a payout, or eliminate an HVT. The best play isn't always the next gunfight.
- Protect your biggest earners: HVTs become priority targets for the opposing team. Stay close enough to defend them while maintaining crossfires and multiple angles.
- Recover dropped cash quickly: Eliminated Operators drop cash that either team can collect. Denying the enemy these recoveries is often just as valuable as securing them yourself.
- Prepare for Overtime: Increased cash multipliers make the closing moments the most valuable phase of the match. Save powerful Killstreaks, Field Upgrades, and coordinated pushes for when they can have the greatest impact.
Domination (Core 6v6)
QUICK INTEL:
- Capture and defend three objectives marked A, B, and C.
- Holding objectives generates points for your team.
- Teams switch sides once half the score limit has been reached.
- The first team to 200 points wins.
Domination is one of Call of Duty's signature objective modes, challenging teams to capture and defend three strategic objectives across a Core 6v6 map. Every objective under your team's control generates points over time, rewarding teams that balance aggressive captures with disciplined defense while denying the enemy opportunities to score.
Holding territory is the key to victory. Teams switch sides at halftime, requiring both teams to attack and defend from each side of the map before the match concludes. Unlimited respawns, Perks, Killstreaks, and full Create a Class functionality encourage communication, map control, and coordinated objective play.
Hardpoint (Core 6v6)
QUICK INTEL:
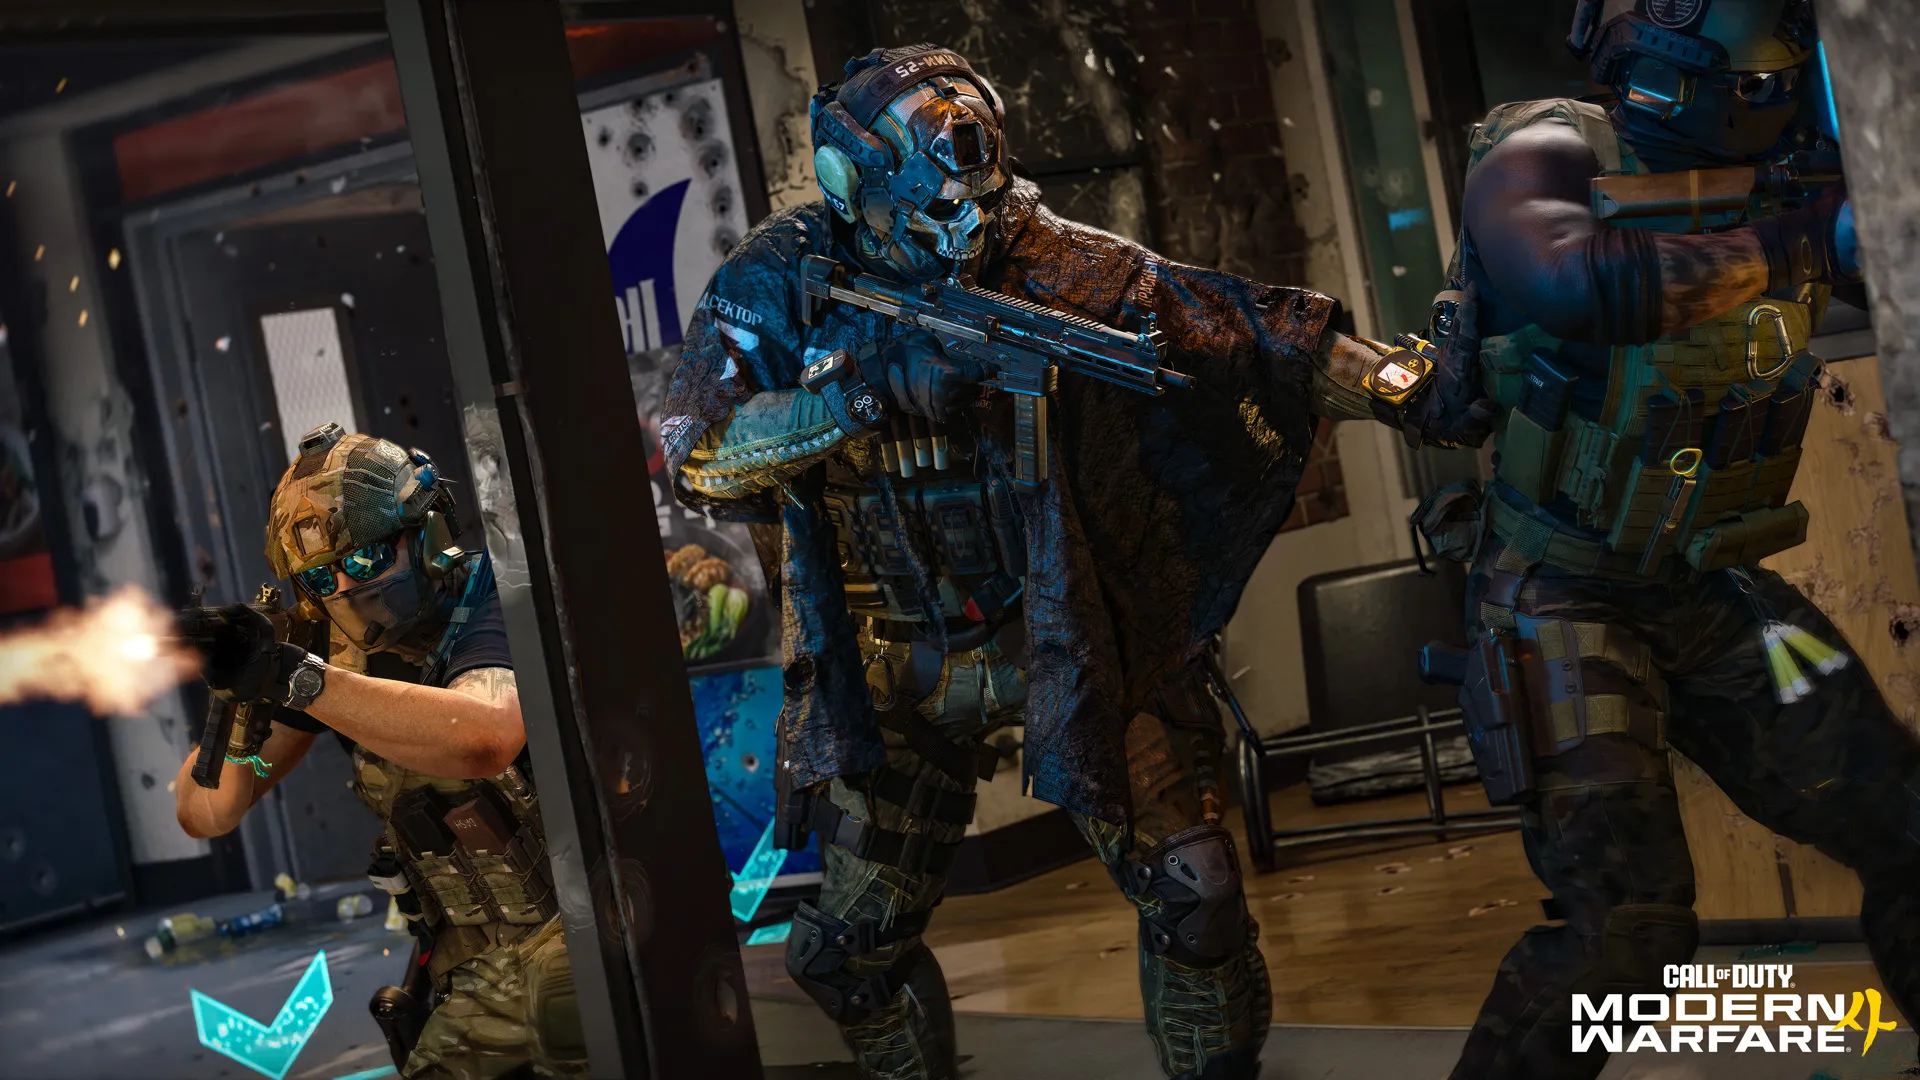
- Capture and hold the active Hardpoint to earn points for your team.
- Only one teammate is required inside the Hardpoint to score.
- Hardpoints rotate to a new location every minute.
- The first team to 250 points wins.
Hardpoint puts both teams in a race to control a single scoring zone marked by a visible perimeter. Holding the Hardpoint continuously earns points for your team, but only while your team controls the objective uncontested. With unlimited respawns, every moment spent holding the Hardpoint matters.
Every minute, the Hardpoint rotates to the next location, forcing both teams to reposition and fight for control again. Unlimited respawns, full Create a Class functionality, Perks, Killstreaks, and Field Upgrades encourage coordinated pushes, disciplined defense, and smart rotations between Hardpoints.
Kill Confirmed (Core 6v6)
QUICK INTEL:
- Eliminate enemies and collect their Dog Tags to score for your team.
- Recover friendly Dog Tags to deny enemy points.
- Eliminations alone do not increase your team's score.
- The first team to reach the score limit wins.
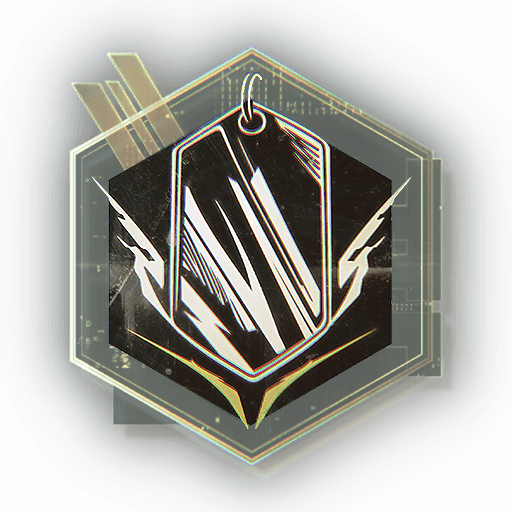
Kill Confirmed adds an extra objective to every engagement. Eliminating an enemy causes them to drop a Dog Tag. Recover enemy Dog Tags to score points for your team, while collecting friendly tags denies the enemy the opportunity to score. Dog Tags can quickly become flashpoints, with both teams fighting to recover or deny them.
Success depends on more than accurate shooting. Strong teams know when to secure a nearby tag, when to deny the enemy a point, and when to leave a dangerous tag behind. Full Create a Class functionality, Perks, Killstreaks, and Field Upgrades provide countless ways to recover friendly tags, secure enemy tags, and fight through contested pickups.
Search and Destroy (Core 6v6)
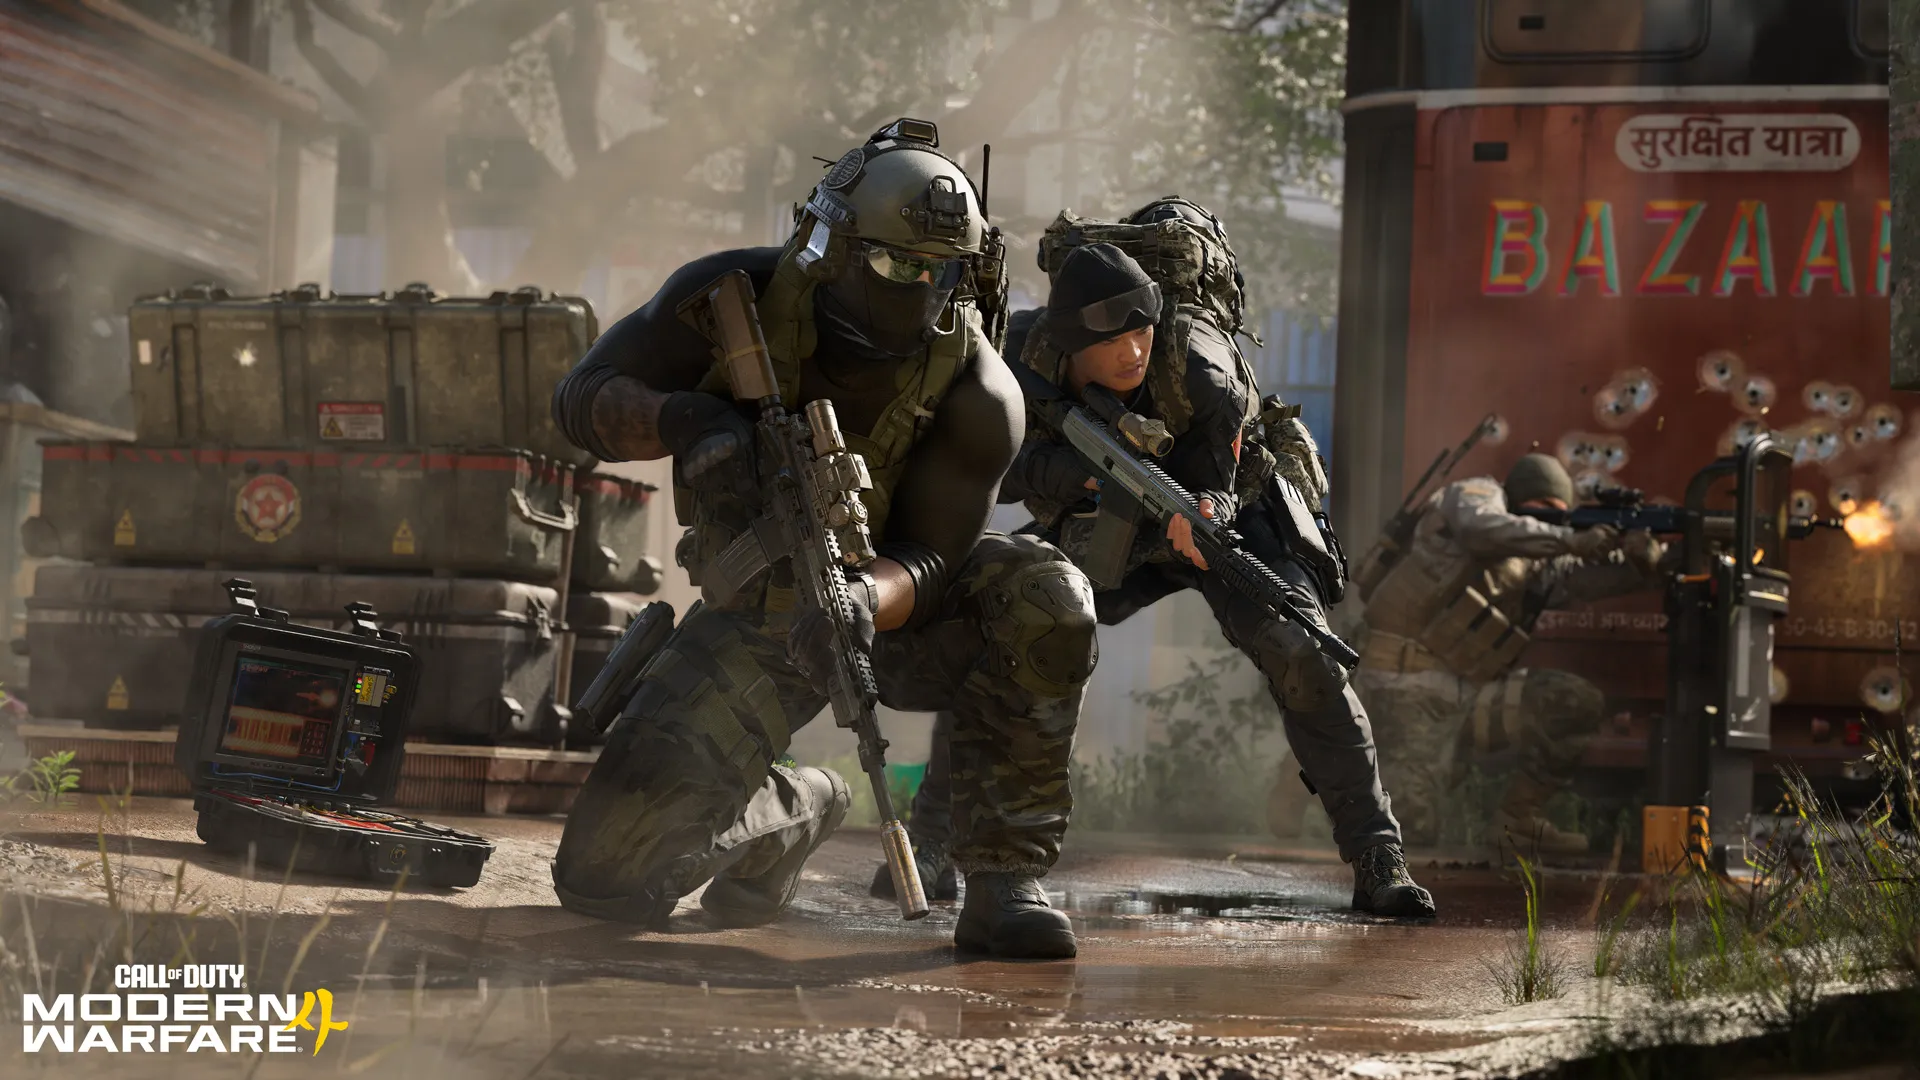
QUICK INTEL:
- Alternate between attacking and defending two bomb sites.
- Attackers win by eliminating the enemy team or detonating the bomb.
- Defenders win by eliminating the attackers, preventing the bomb plant, or defusing the bomb.
- One life per round. No respawns.
Search and Destroy is a classic round-based attack-versus-defense mode, where every player gets a single life to help plant or defuse the bomb at one of two sites. The high stakes, dramatic reversals, and clutch plays have made it one of the franchise's defining Multiplayer experiences.
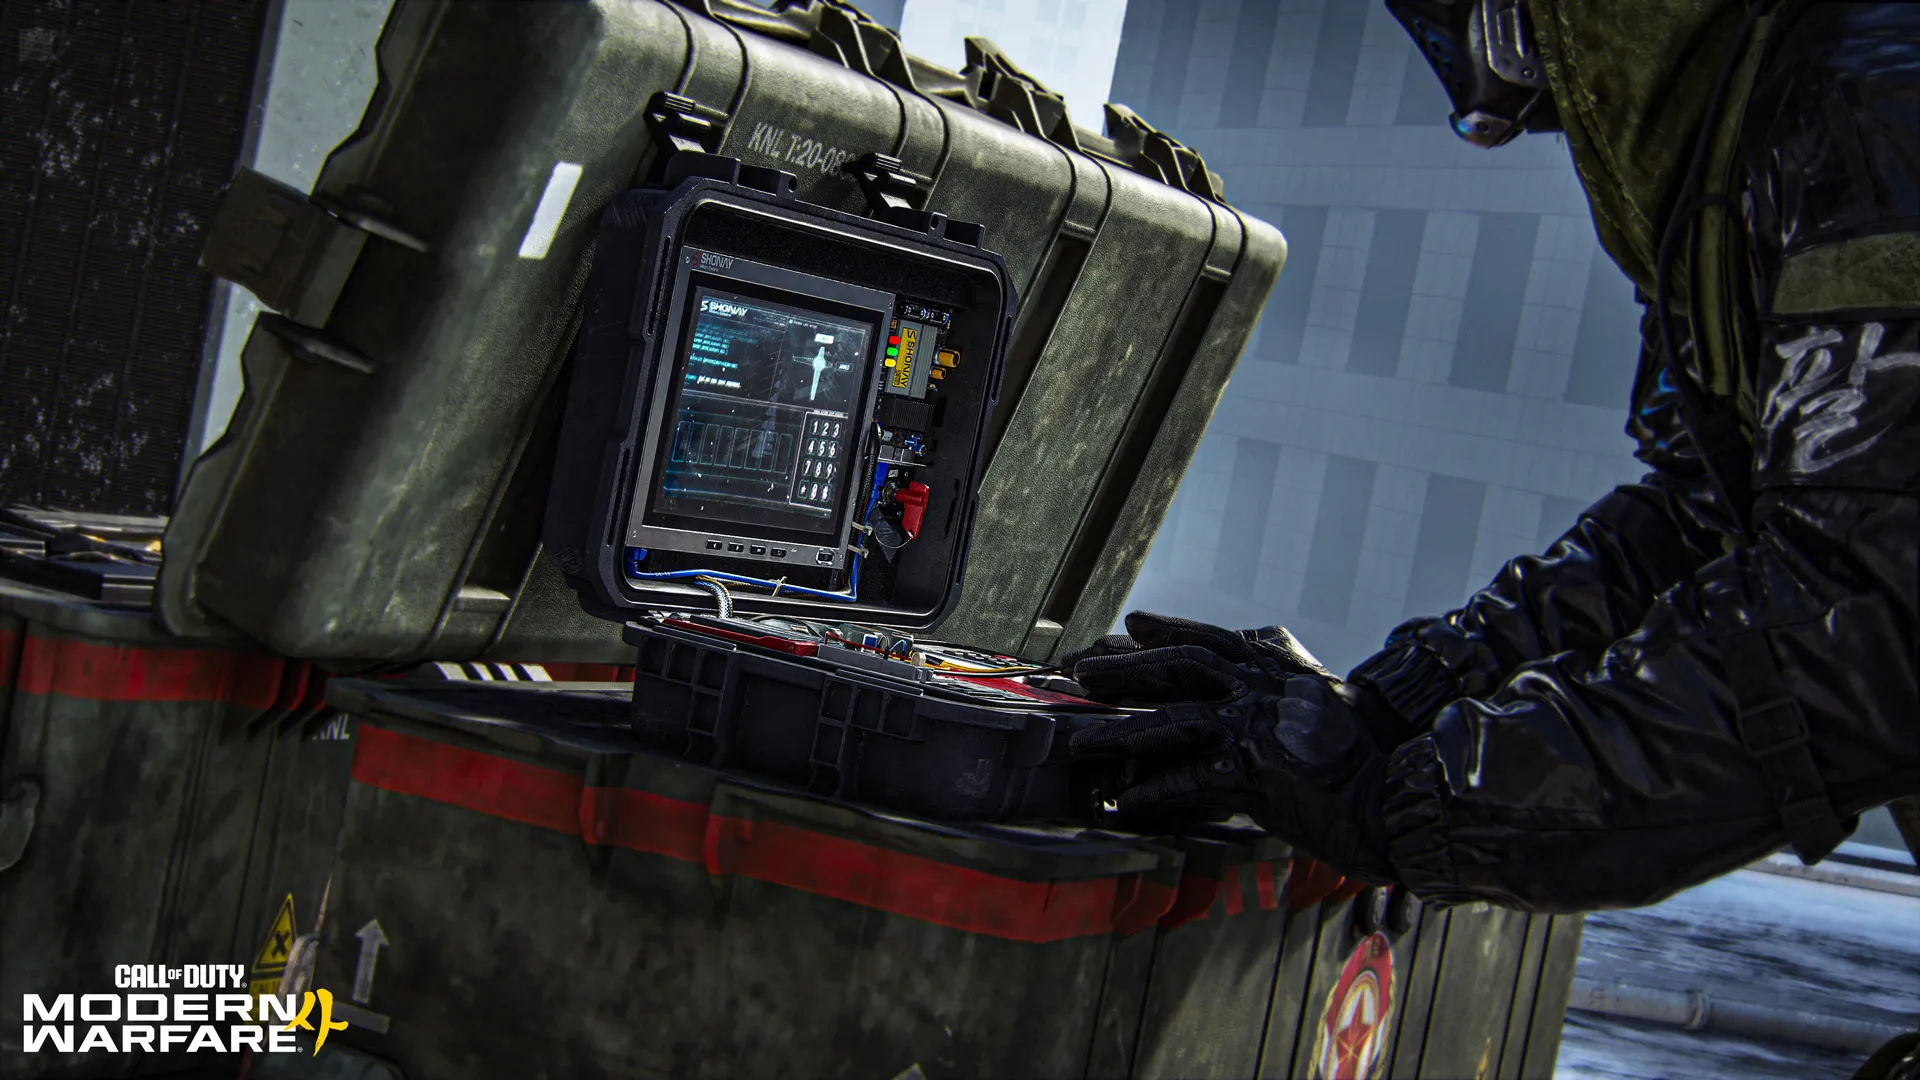
Every round raises the stakes. With no respawns, each elimination reduces your team's fighting strength, leaving the remaining Operators to adapt as the odds shift throughout the round. Attackers must plant and defend the bomb, while defenders work to stop the plant or defuse the bomb before it detonates. Teams switch sides every round, requiring both squads to master attack and defense.
Accurate shooting, communication, teamwork, and the intelligent use of information are often the deciding factors, while full Create a Class functionality provides the tools to gather intel on enemy route plans and positions, protect objectives, support teammates, and secure crucial round wins.
Core Multiplayer Maps (6v6)
QUICK INTEL:
- Battle across a selection of Core 6v6 maps from the 12 maps available at launch.
- Experience a diverse selection of global conflict zones featuring elevated rooftops, dense shopping districts, industrial facilities, rail terminals, and battle-damaged coastal villages.
- Every core map offers its own layout, engagement ranges, and tactical opportunities.
The Modern Warfare 4 Beta features a selection of the 12 Core 6v6 maps available at launch. Each map delivers its own combat rhythm, from sprawling rooftops and compact urban streets to industrial complexes and battle-scarred villages. Learn the layouts, identify key landmarks, and discover what makes every map unique with the Map images showcased below:
Cachette
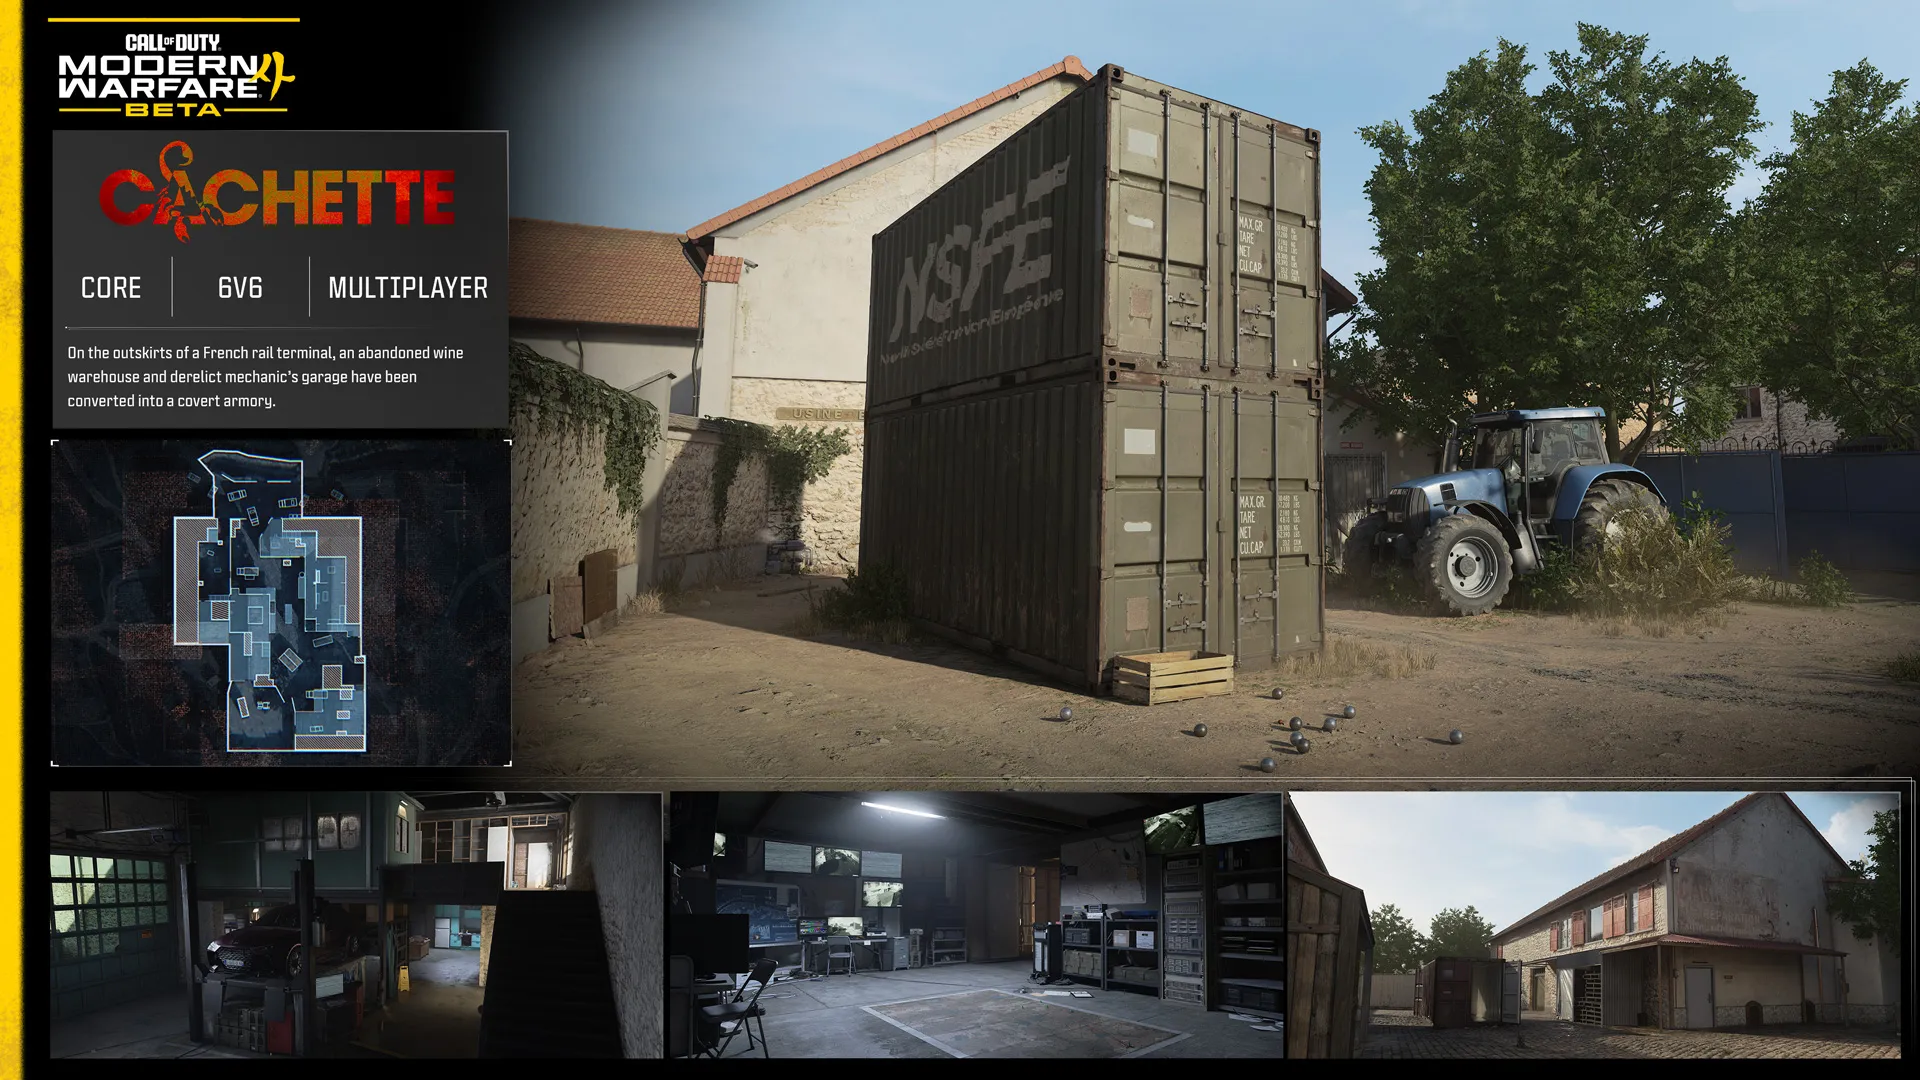
Fight across a secret hideout next to a French rail terminal where cobblestone streets, shipping containers, rooftops, and compact interior spaces combine to create a tightly connected arena packed with flanking opportunities and upper floor routes.
CACHETTE TOP TIPS:
- Incoming strike: Punish the enemy by striking critical routes along the Backlot, Central Containers, and Front Gate with explosive Killstreaks like the Bomb Glider and Artillery Beacon. Keep up the pressure by equipping the Hardline Perk to earn your streaks faster.
- Feet off the ground: If you’re not getting results on the ground, climb up for a better view. Jump across the containers and rooftops in the middle for an expanded view with quick access into the Armory and Lounge while maintaining the second story advantage.
- Zap ’em with the Zip Gun: If your weapon isn’t suited for close-quarters fights, bring the Zip Gun Lethal along as a defensive measure when you’re forced inside. The 3D printed, single-use pistol is quickly deployed, making it an ideal tool in narrow spaces like the Garage, Armory, and Server Room.
Lithium
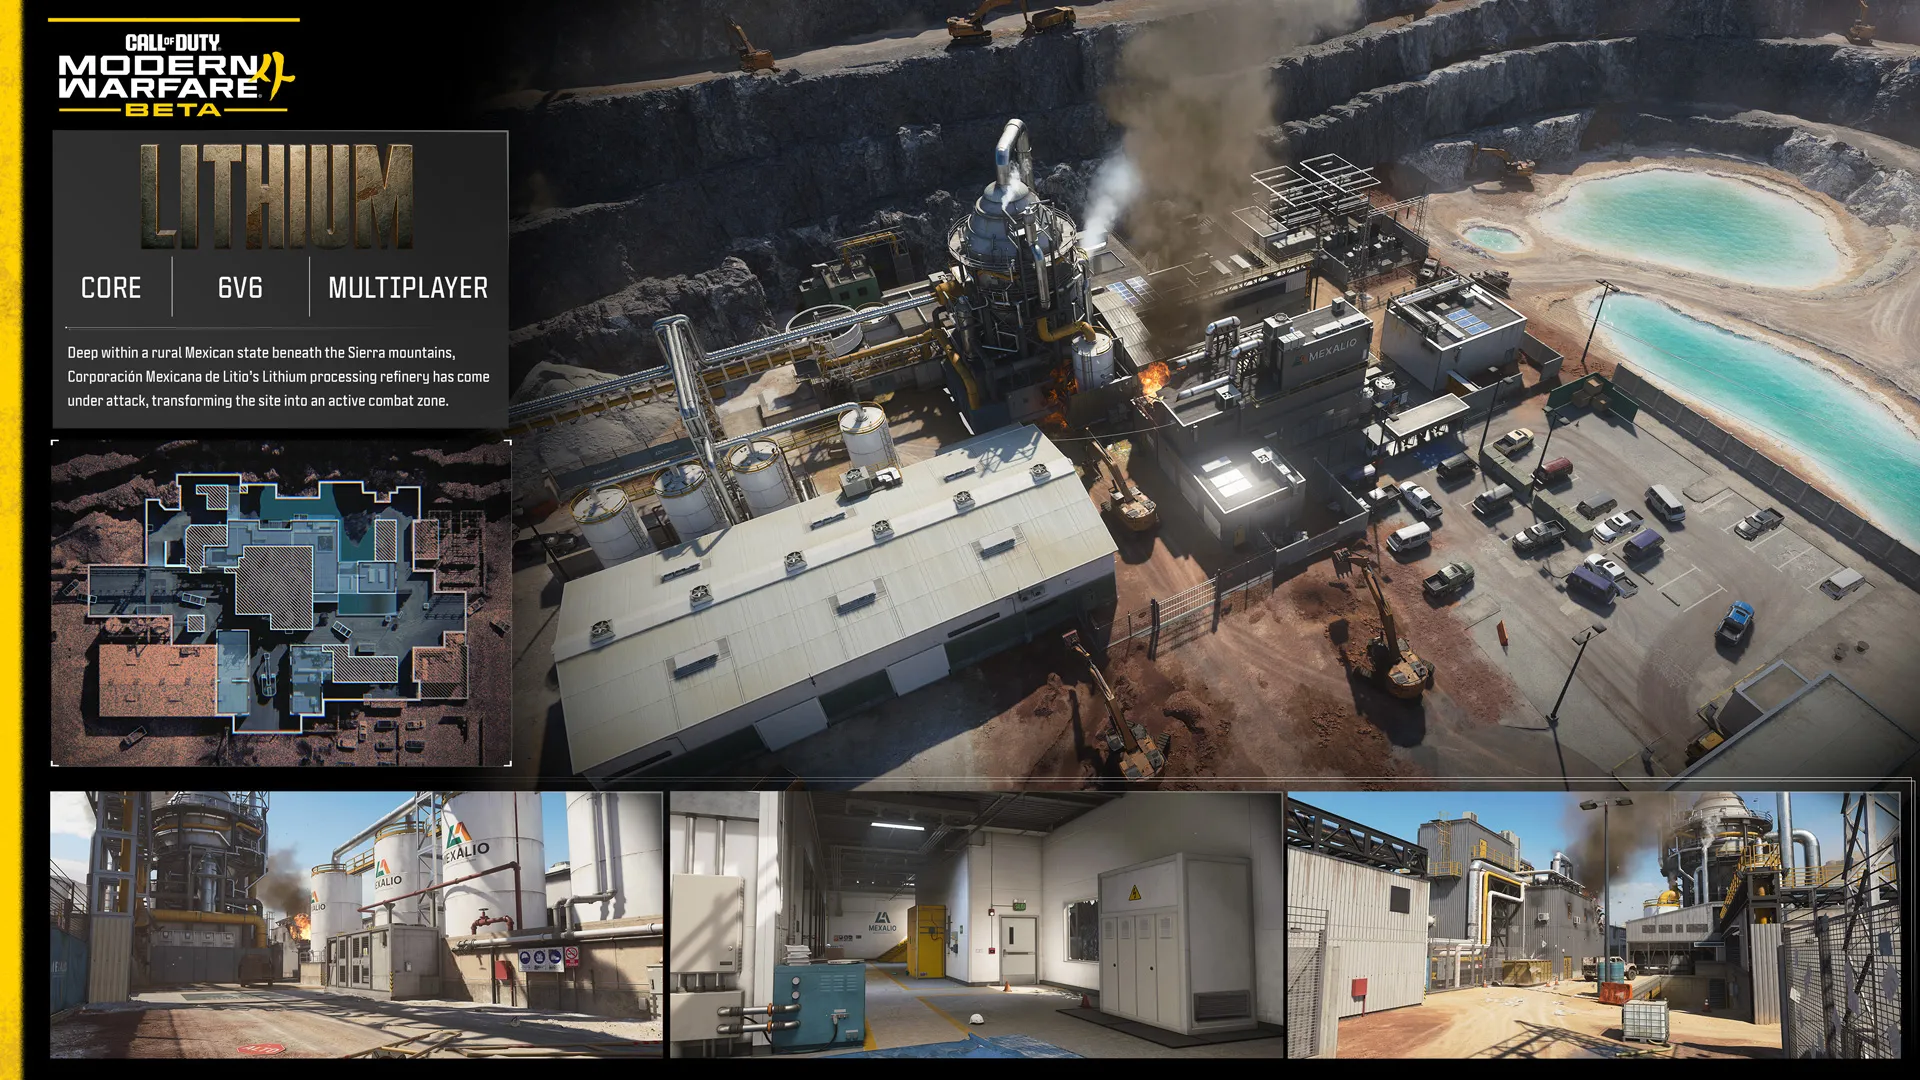
Enter a damaged lithium processing facility in rural Mexico, where industrial buildings, processing equipment, interactive garage doors, and strong mid-range sightlines support a wide variety of combat styles.
LITHIUM TOP TIPS:
- Score big in the mid-range: Mid-ranged sightlines dominate Lithium, making it a great map for Assault Rifles, LMGs, and Marksman Rifles. Experiment with different Optics and Gunsmith configurations to find the mid-ranged option that best compliments your playstyle across the facility.
- Garage slide: You can press the buttons by the garage doors to toggle them open and partially shut. In the shut position, there’s just enough room to slide underneath. Use the opportunity to surprise enemies on the other side, firing your weapon mid-slide for a stylish finish.
- Truck cover: Get in the back of the camouflaged truck parked on the eastern Road for an excellent vantage point covering the immediate area including sights toward the Runoff Area and Refinery.
Lotus
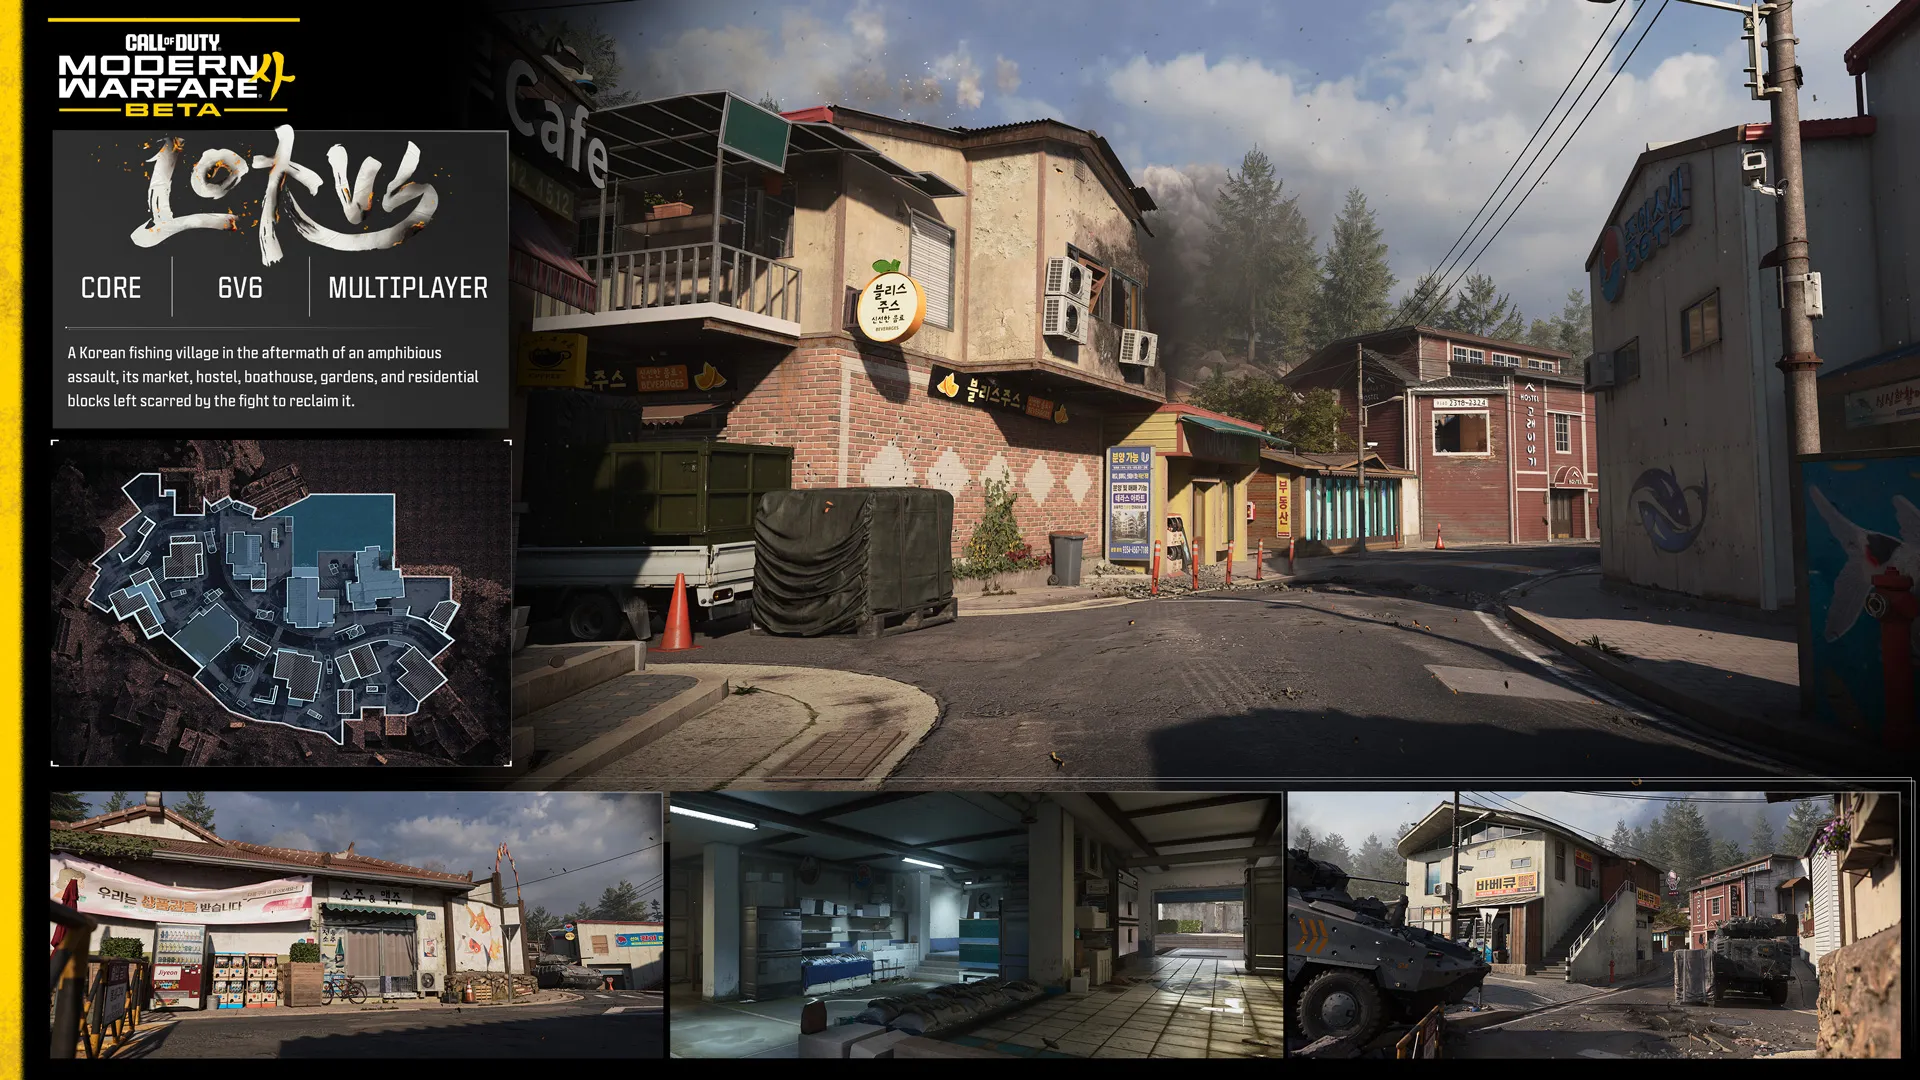
Experience a battle-scarred Korean fishing village where abandoned tanks, burning buildings, narrow streets, and accessible interiors blend close quarters combat with longer sightlines across a main thoroughfare.
LOTUS TOP TIPS:
- Diversify with Overkill: Adapt on the fly with the Overkill Perk, allowing you to equip two Primary Weapons to your Loadout. Pair a Marksman Rifle and SMG or some other combo that gives you one option when fighting in the open and another for engaging enemies up close.
- Boathouse pipe: Climb the pipe outside the Boathouse to reach the lower roof and second floor. Stay outside to cover the Docks or duck into the burning building to fight inside. If things get too hot, you can always dive into the Water. Bring a Pistol.
- Room clear: Take a Shotgun into tight spaces like the Restaurant, Hostel, Fish Market, and Boathouse. Keep up the pressure to dislodge enemies attempting to get a foothold in these core locations.
Rooftops
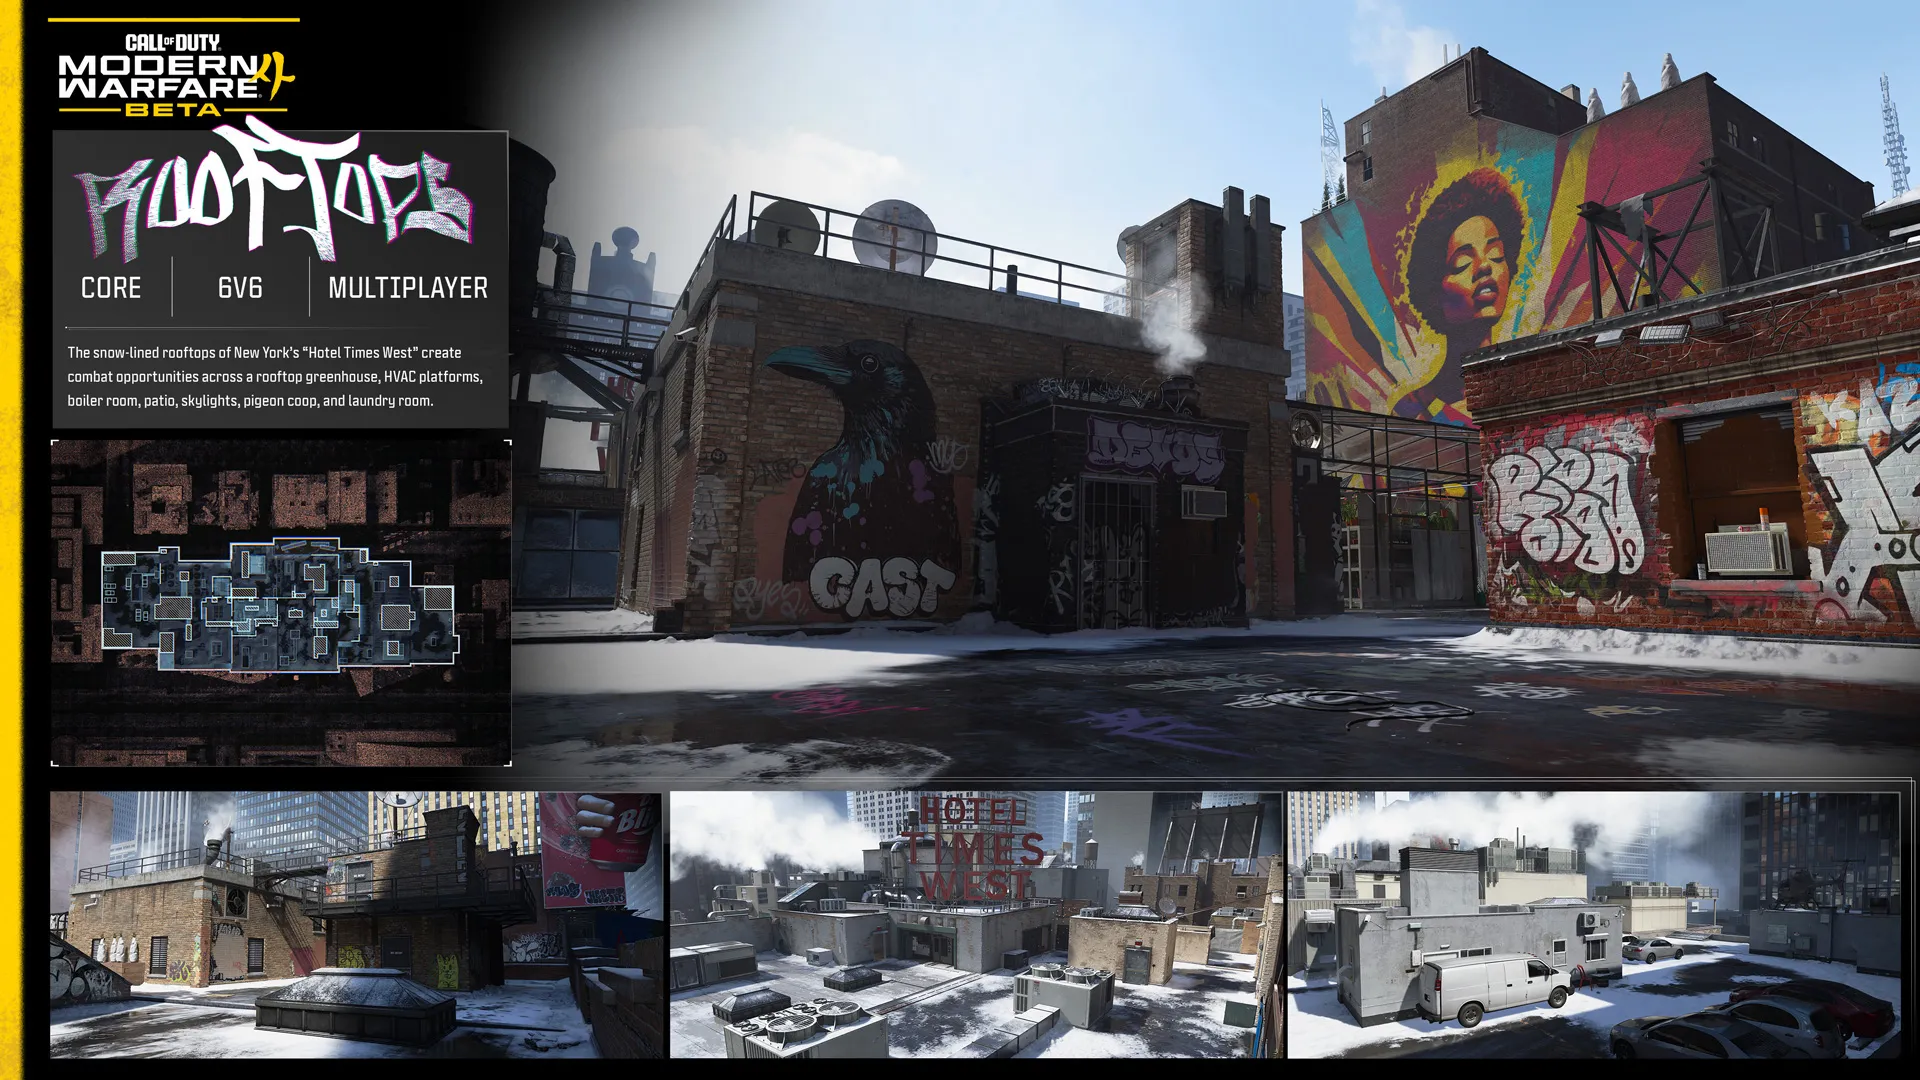
Battle across the snow-covered rooftops of New York's Hotel Times West, where elevated platforms, exterior walkways, and compact interior spaces reward precision movement while offering multiple routes around the city block.
ROOTOPS TOP TIPS:
- Catwalk ambush: Drop down to the Catwalk on the east side of Construction to get out of sight and set up ambushes against unsuspecting Operators. Catch them from behind to execute a Finishing Move.
- Clear the skies: Use the map’s density to find some breathing room when you need to handle enemy aerial threats. It’s a clear shot overhead, so bring a Launcher and help your team by downing UAVs and other airborne threats.
- Party at the Patio: Get behind the Patio counter for a protected view over the large Construction zone. When the area gets hot, slip into the Laundry or Electrical Room, or throw enemies off by jumping onto the Scaffolding and attacking from there.
Silkworm
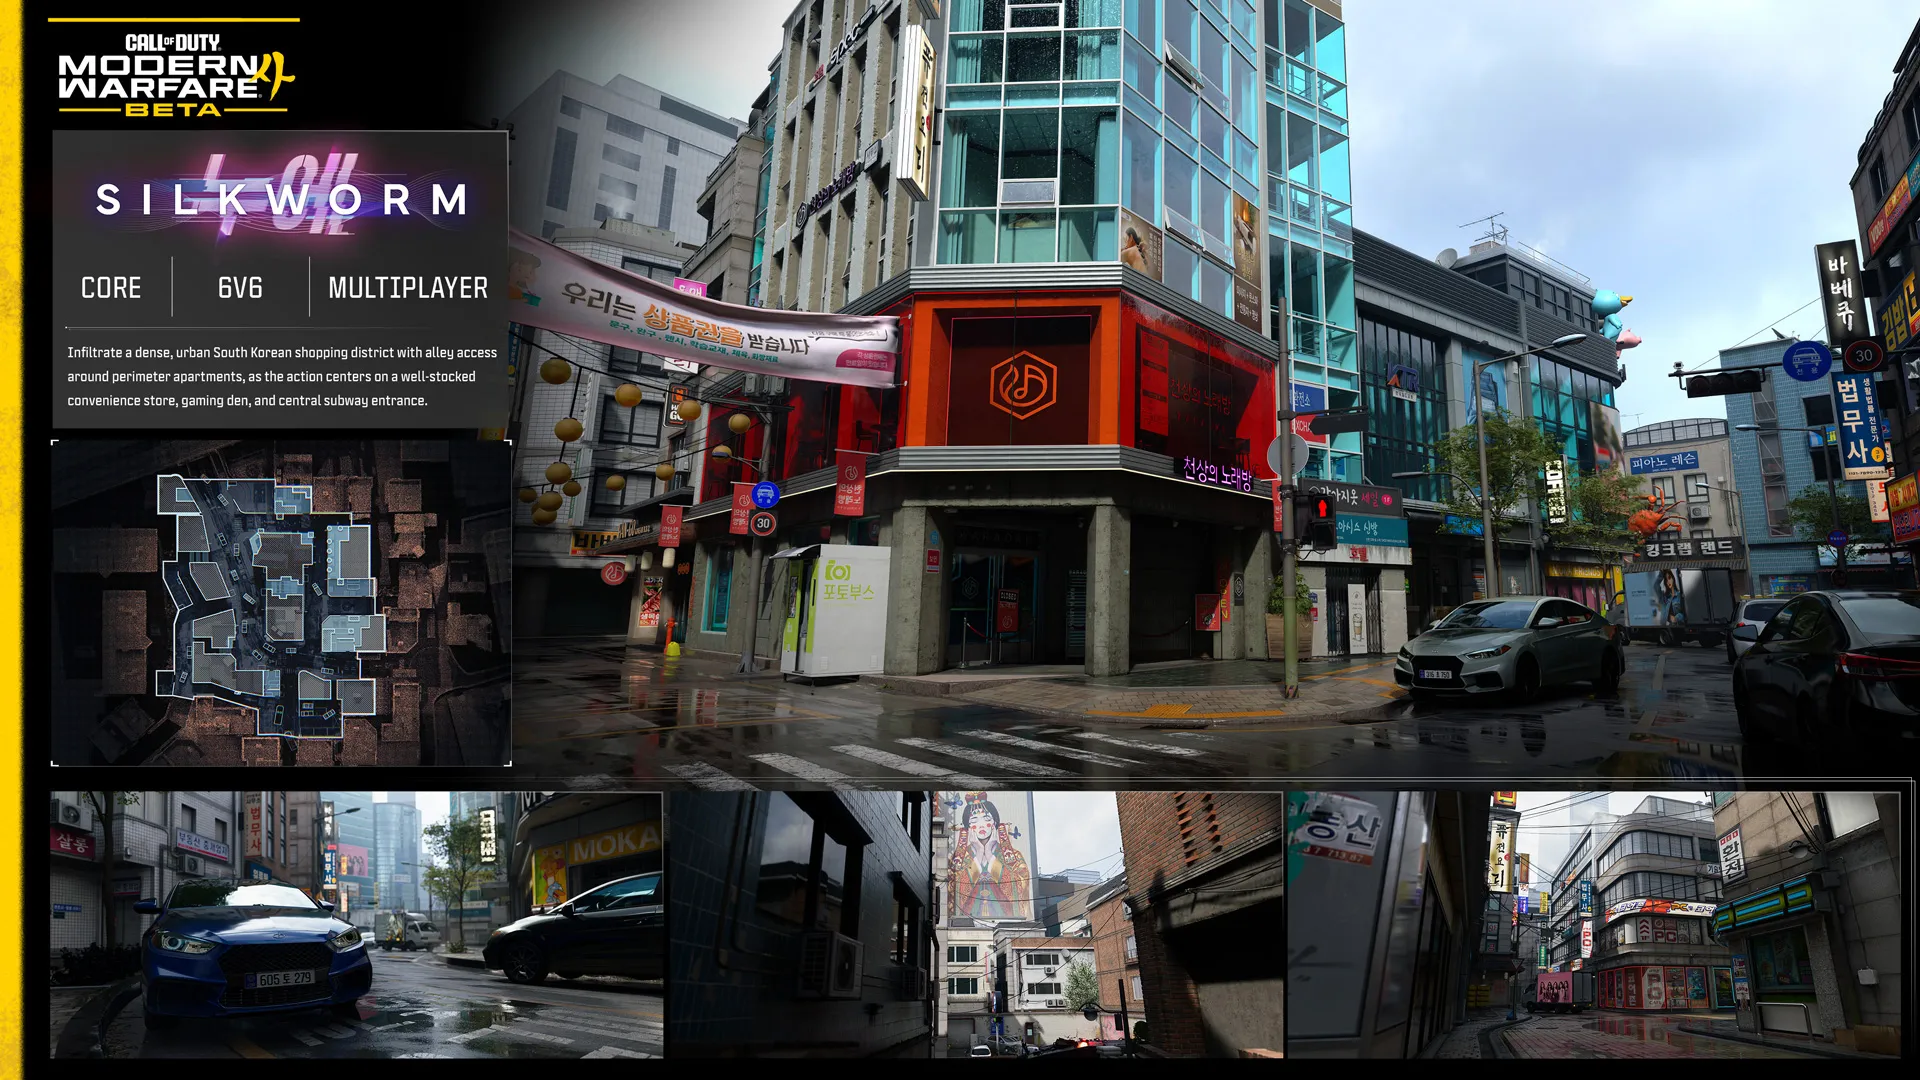
Fight through a dense South Korean shopping district centered on a busy subway entrance. Storefronts, alleyways, apartments, and narrow streets keep combat fast, grounded, and focused on close- to mid-range engagements.
SILKWORM TOP TIPS:
- Ground fight: Silkworm keeps fights grounded with street level combat, featuring minimal vantage points in favor of face-to-face skirmishes. Look for Attachments that improve your Aim Down Sight Speed and other weapon handling bonuses to quicken your response time against enemies rounding the next alleyway or storefront.
- Chain reaction: Main Street is lined with vehicles, several of them grouped up in tight clusters. Inflict damage to the engine to set cars on fire, resulting in an explosion. Heavy armaments like Frag Grenades, Launchers, and LMGs tend to work best. Time your attack to catch enemies in the blast.
- Game Room hero: Shoot for a high score in the Game Room. Close-quarters Loadouts excel there. Watch the Convenience Store from behind the front counter and use the pillars out back as cover on the way toward the Warehouse and Basketball Court. There’s a lot to work with in a small area, keeping fights fast and frenetic.
Transit 213
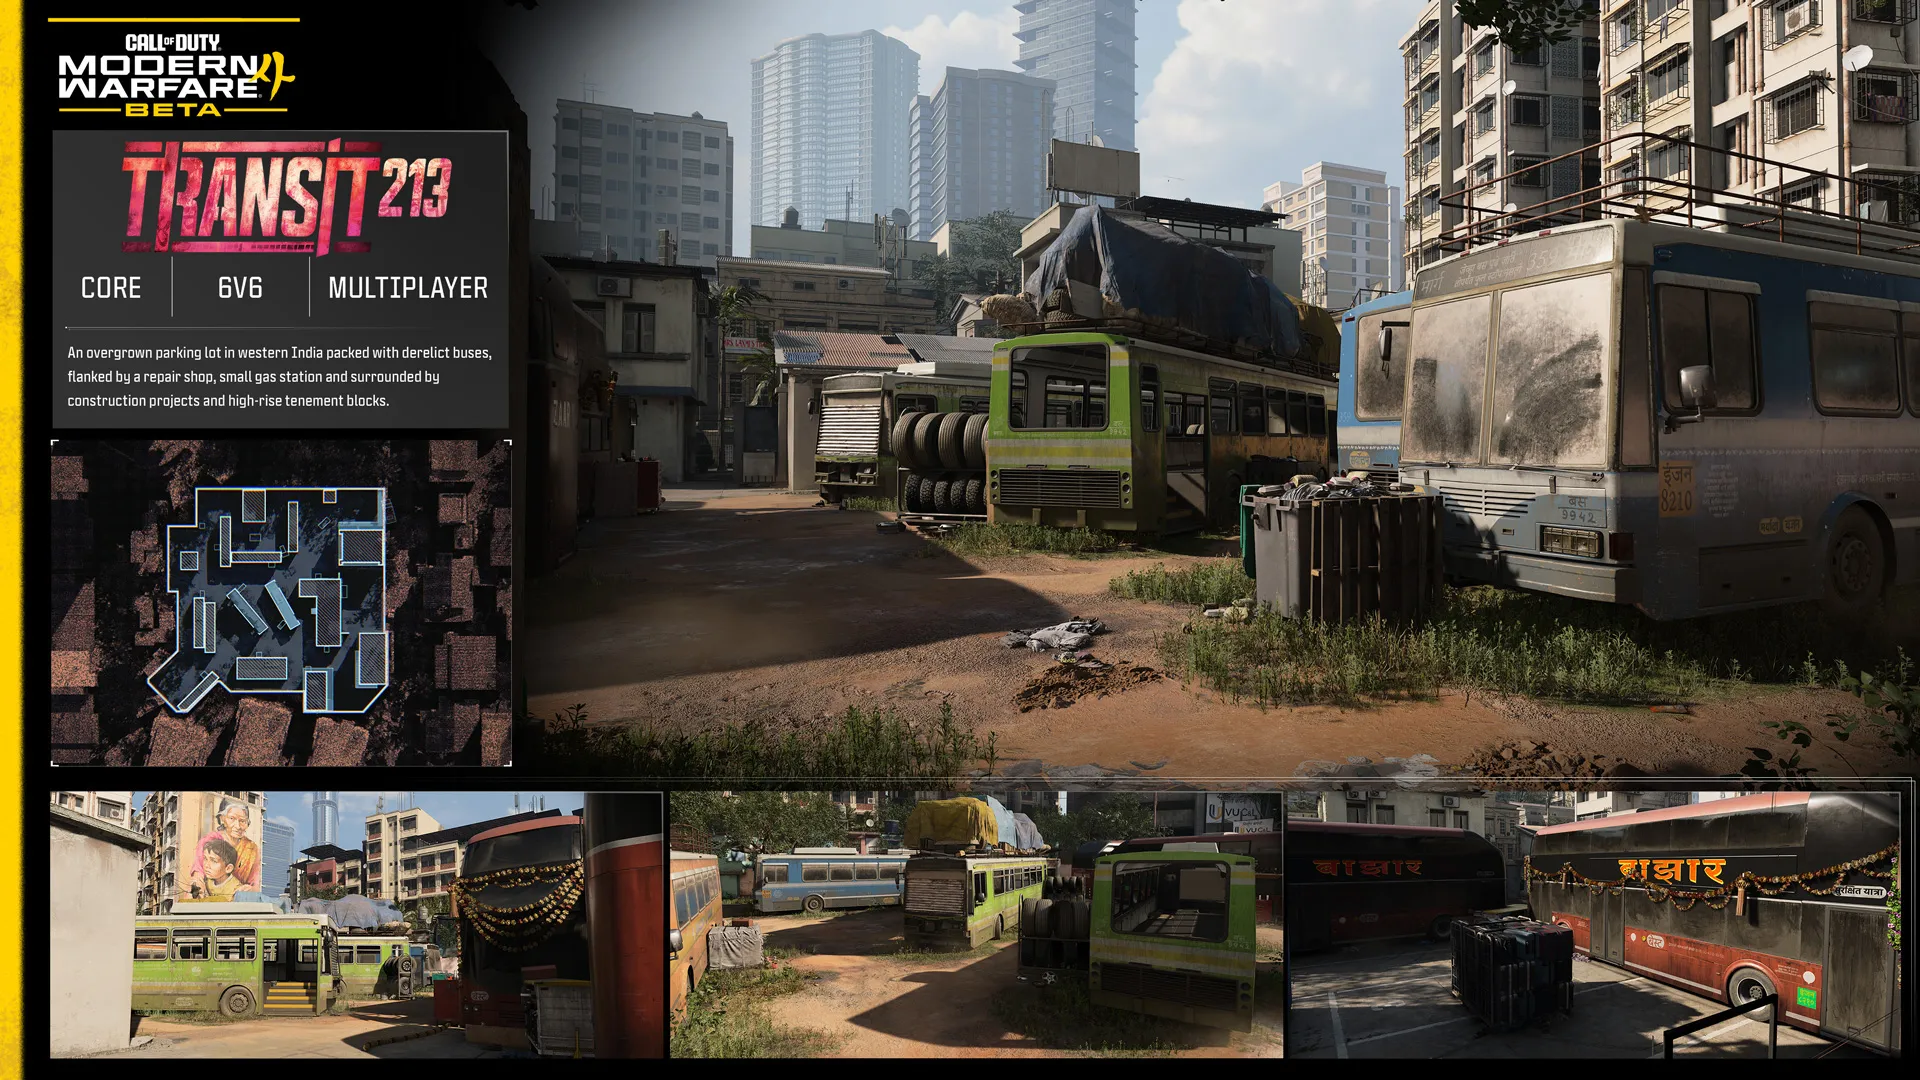
Expect skirmishes throughout an overgrown Indian bus depot where a parking lot of rusting buses divide the battlefield into tight lanes, concealed routes, and close-range ambushes balanced by impressive sightlines across the Center Lot.
TRANSIT 213 TOP TIPS:
- Unleash the arsenal: The smaller the map, the easier it is to affect enemies with your Equipment and Field Upgrade. Clear out the open busses with Frag Grenades, obscure your movements with a Smoke Grenade, defend your position with a Trophy System… the more variety you add to your plays, the better your chances of winning the round.
- Center Lot dead zone: Beware the Center Lot busses. They provide cover and concealment against targets on the ground, but their central position makes them easy to rush and often the target of incoming grenades. Always look for enemies inside, and don’t linger too long near the windows.
- Quick on the draw: Speed up your actions with the Fast Hands Perk to reload, use Equipment, and swap weapons faster. On a small map like Transit, it pays to minimize your time spent on these actions so you’re ready to go in the next fight.
Gunfight (3v3, 10v10, Kill Block)
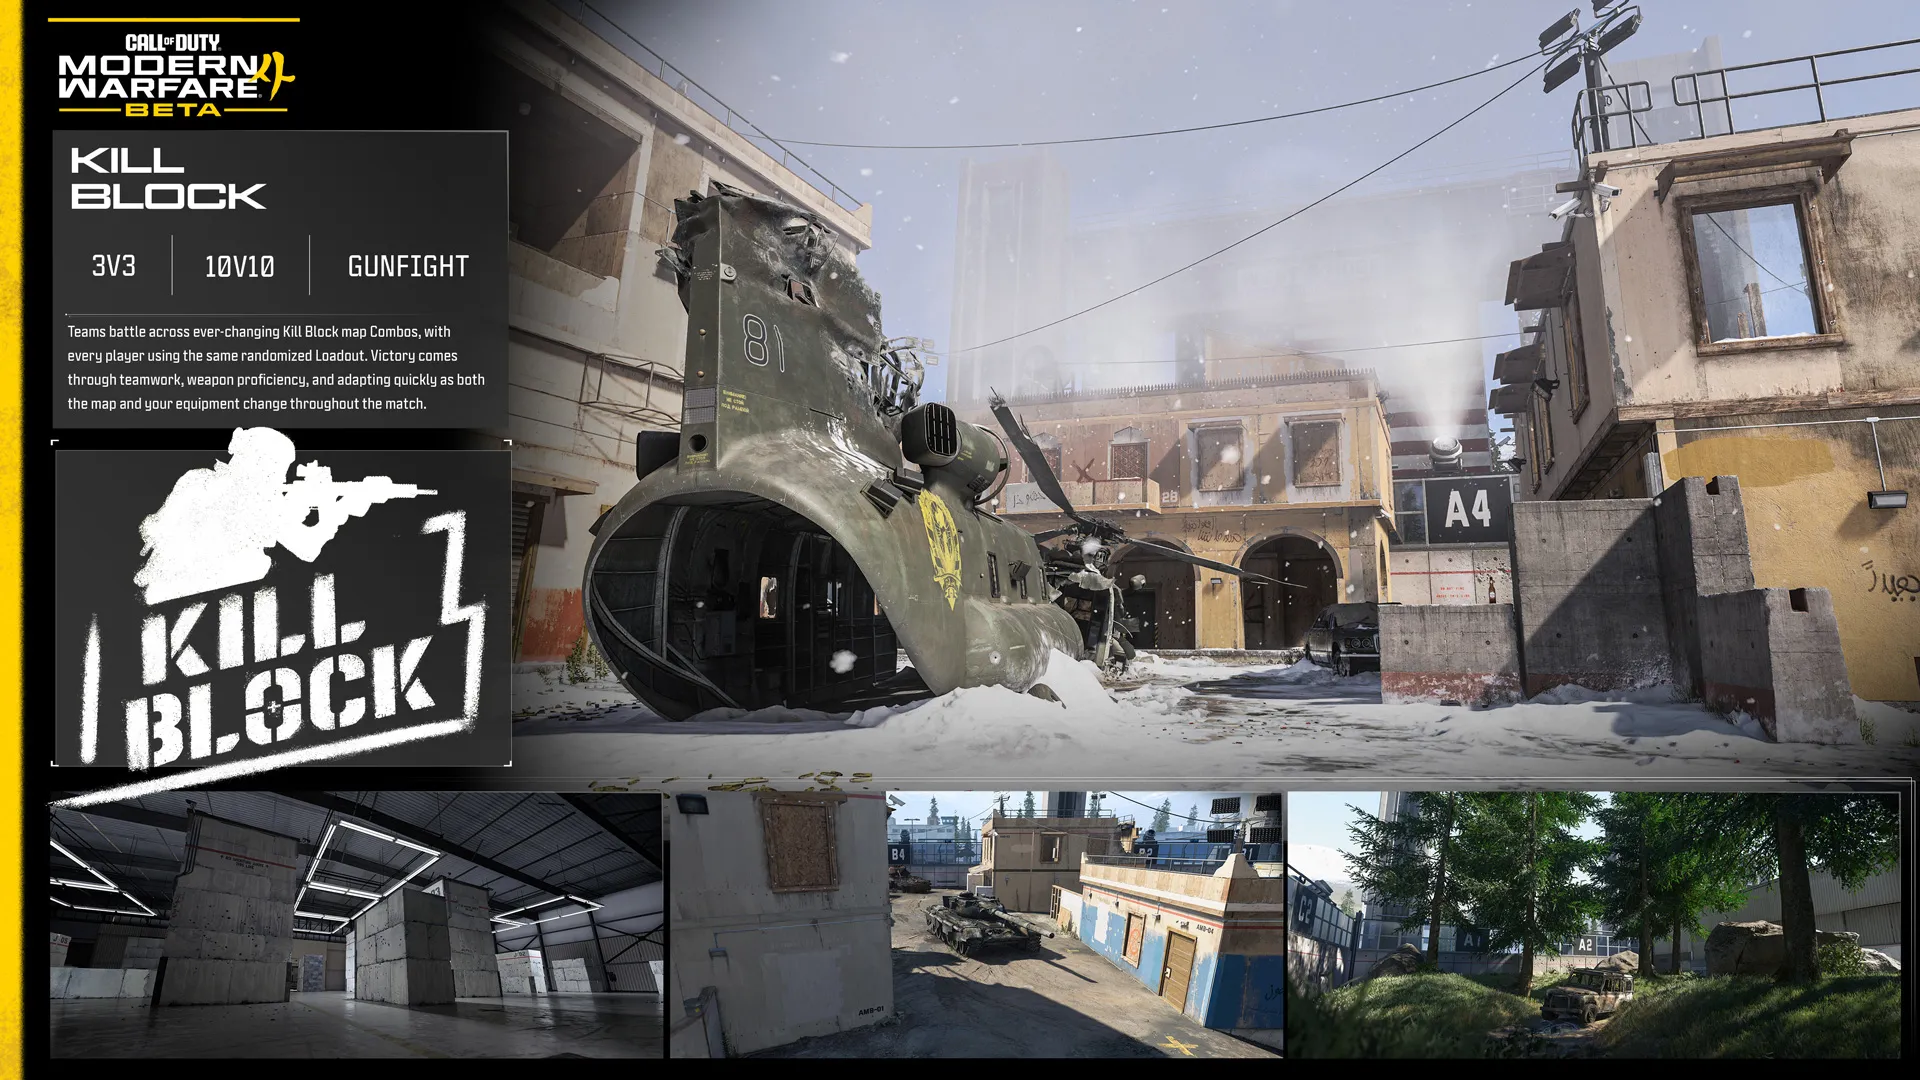
QUICK INTEL:
- NEW: Gunfight returns on Kill Block, featuring 3v3 and the all-new 10v10 variants.
- Single-life rounds featuring randomized shared loadouts.
- Kill Block reconfigures every two rounds with a new Combo and Loadout rotation.
- Eliminate the opposing team or capture the Overtime Flag to win the round.
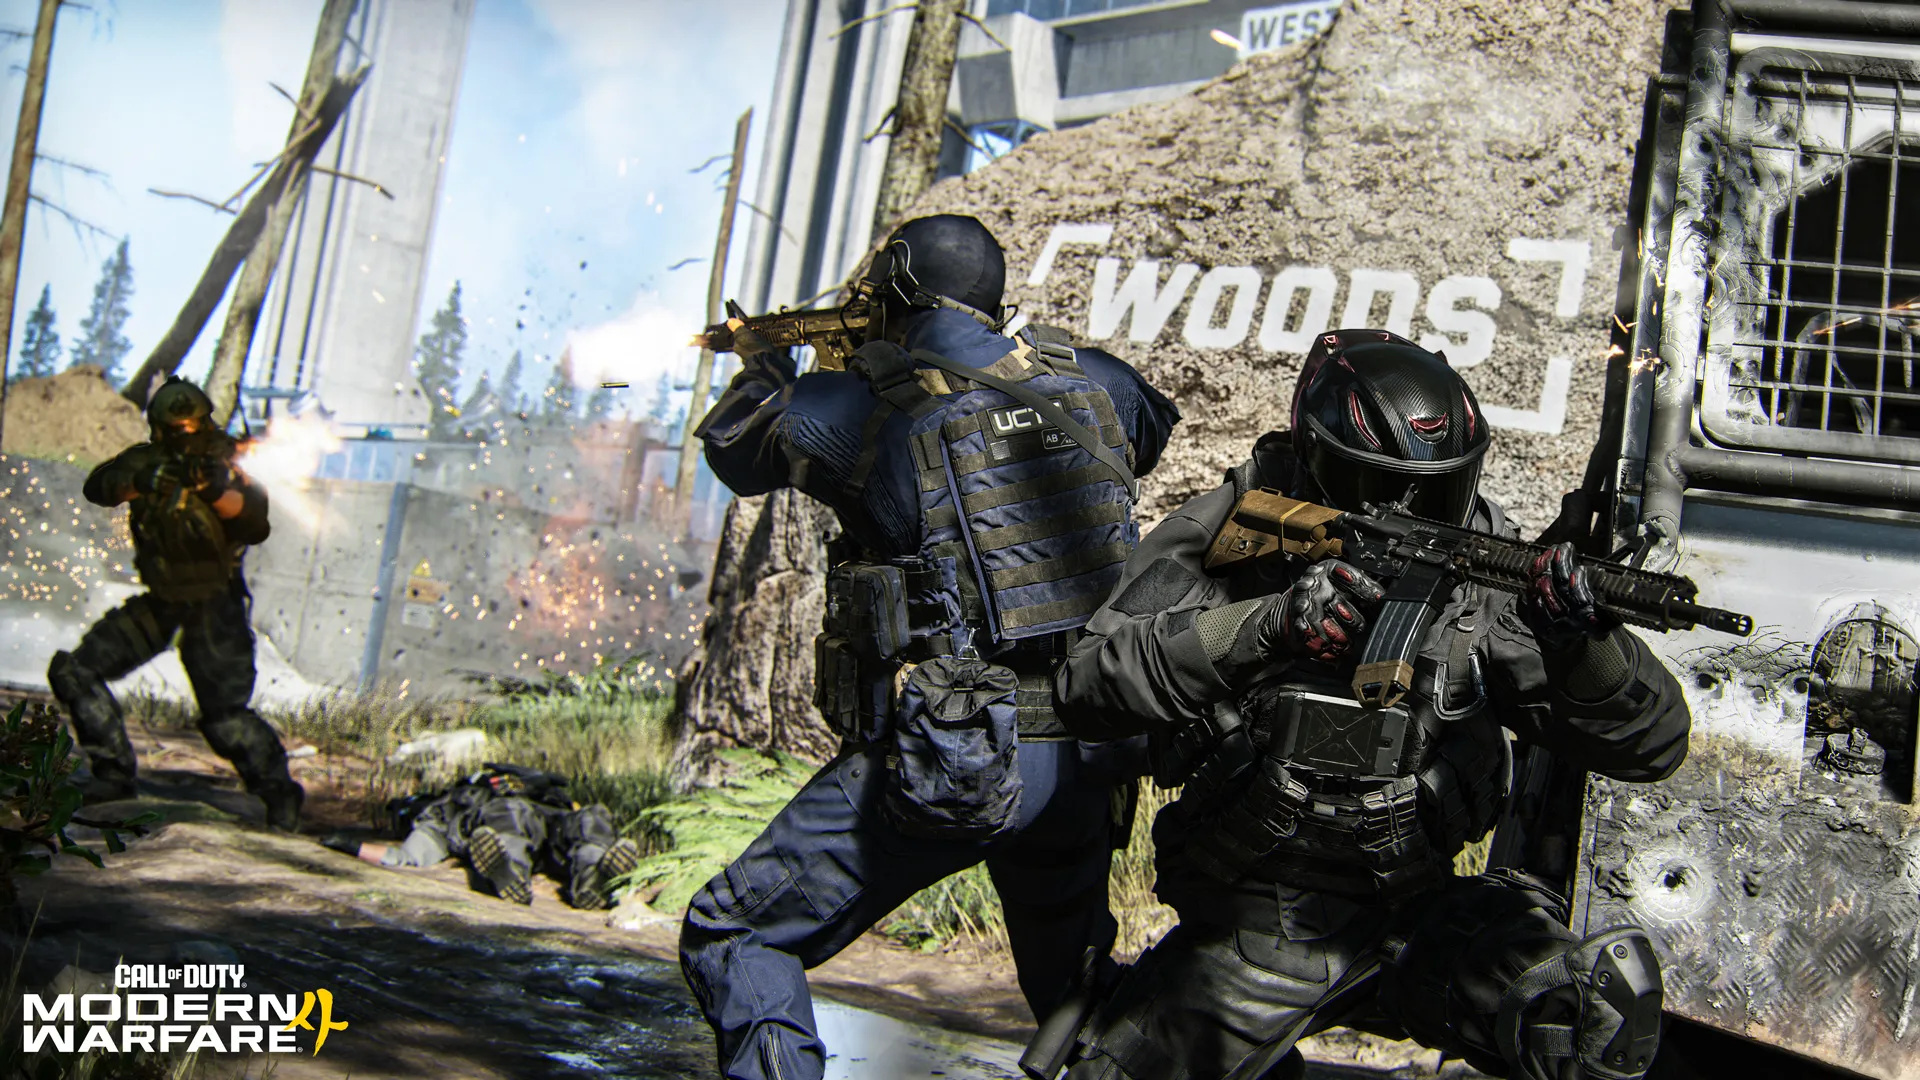
Gunfight returns in the Modern Warfare 4 Beta, bringing its signature single-life elimination gameplay to Kill Block. Fight in either 3v3 or the all-new 10v10 variant as teams battle across ever-changing Kill Block map Combos, with every player using the same randomized Loadout. Victory comes through teamwork, weapon proficiency, and adapting quickly as both the map and your equipment change throughout the match.
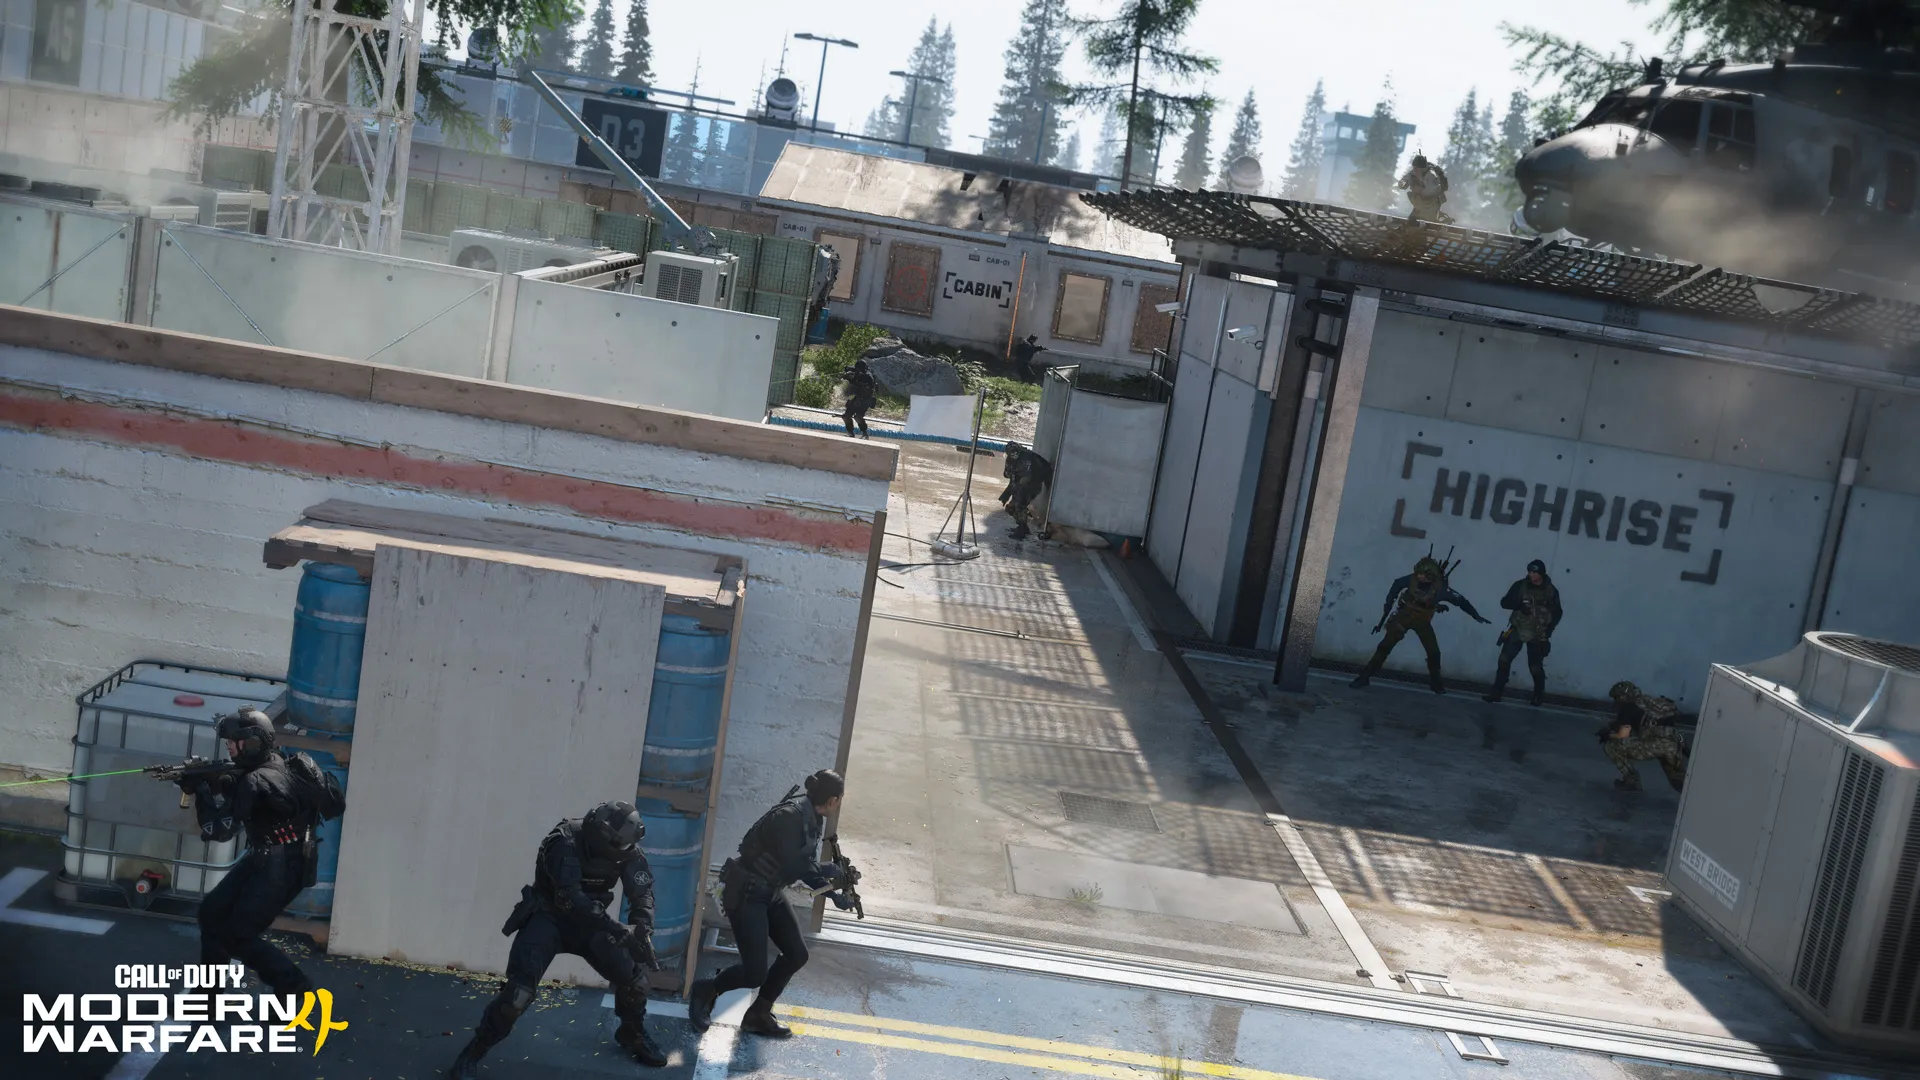
Every two rounds, Kill Block reconfigures into a new Combo — a trio of connected scenic Slabs — while a new randomized Loadout is issued to every player. Teams swap spawn sides between rounds, ensuring both sides compete on the same layout with identical equipment before the next Combo is randomly created. If neither team secures the elimination before time expires, an Overtime Flag appears, forcing one final fight for the round.
KILL BLOCK GUNFIGHT: TOP TIPS:
- Squad up: A lone Operator is an easy target. Push with teammates, trade eliminations, and communicate enemy positions.
- Master every Loadout. Every player receives the same randomized weapons, so success comes from adapting quickly rather than relying on a favorite class.
- Play both sides. Teams swap spawn points every round, giving each side an opportunity to attack and defend the same Combo before it changes.
- Break the stalemate: Don't forget the Overtime Flag. If neither team is eliminated before time expires, the Overtime Flag becomes the fastest route to victory.
- Win the opening fight and use equipment wisely. Tactical and Lethal Equipment unlock shortly after each round begins. Win the opening engagement with positioning and gunplay before relying on equipment.
Combat Outpost (24v24, Ground War)
QUICK INTEL:
- NEW Ground War mode for Modern Warfare 4 available across two large-scale maps.
- Large-scale objective combat across a sprawling battleground featuring infantry and vehicles.
- Captured Outposts become additional spawn locations for your team, expanding your team’s front line.
- Unlock escalating team rewards, from Local UAV coverage to armored vehicle support.
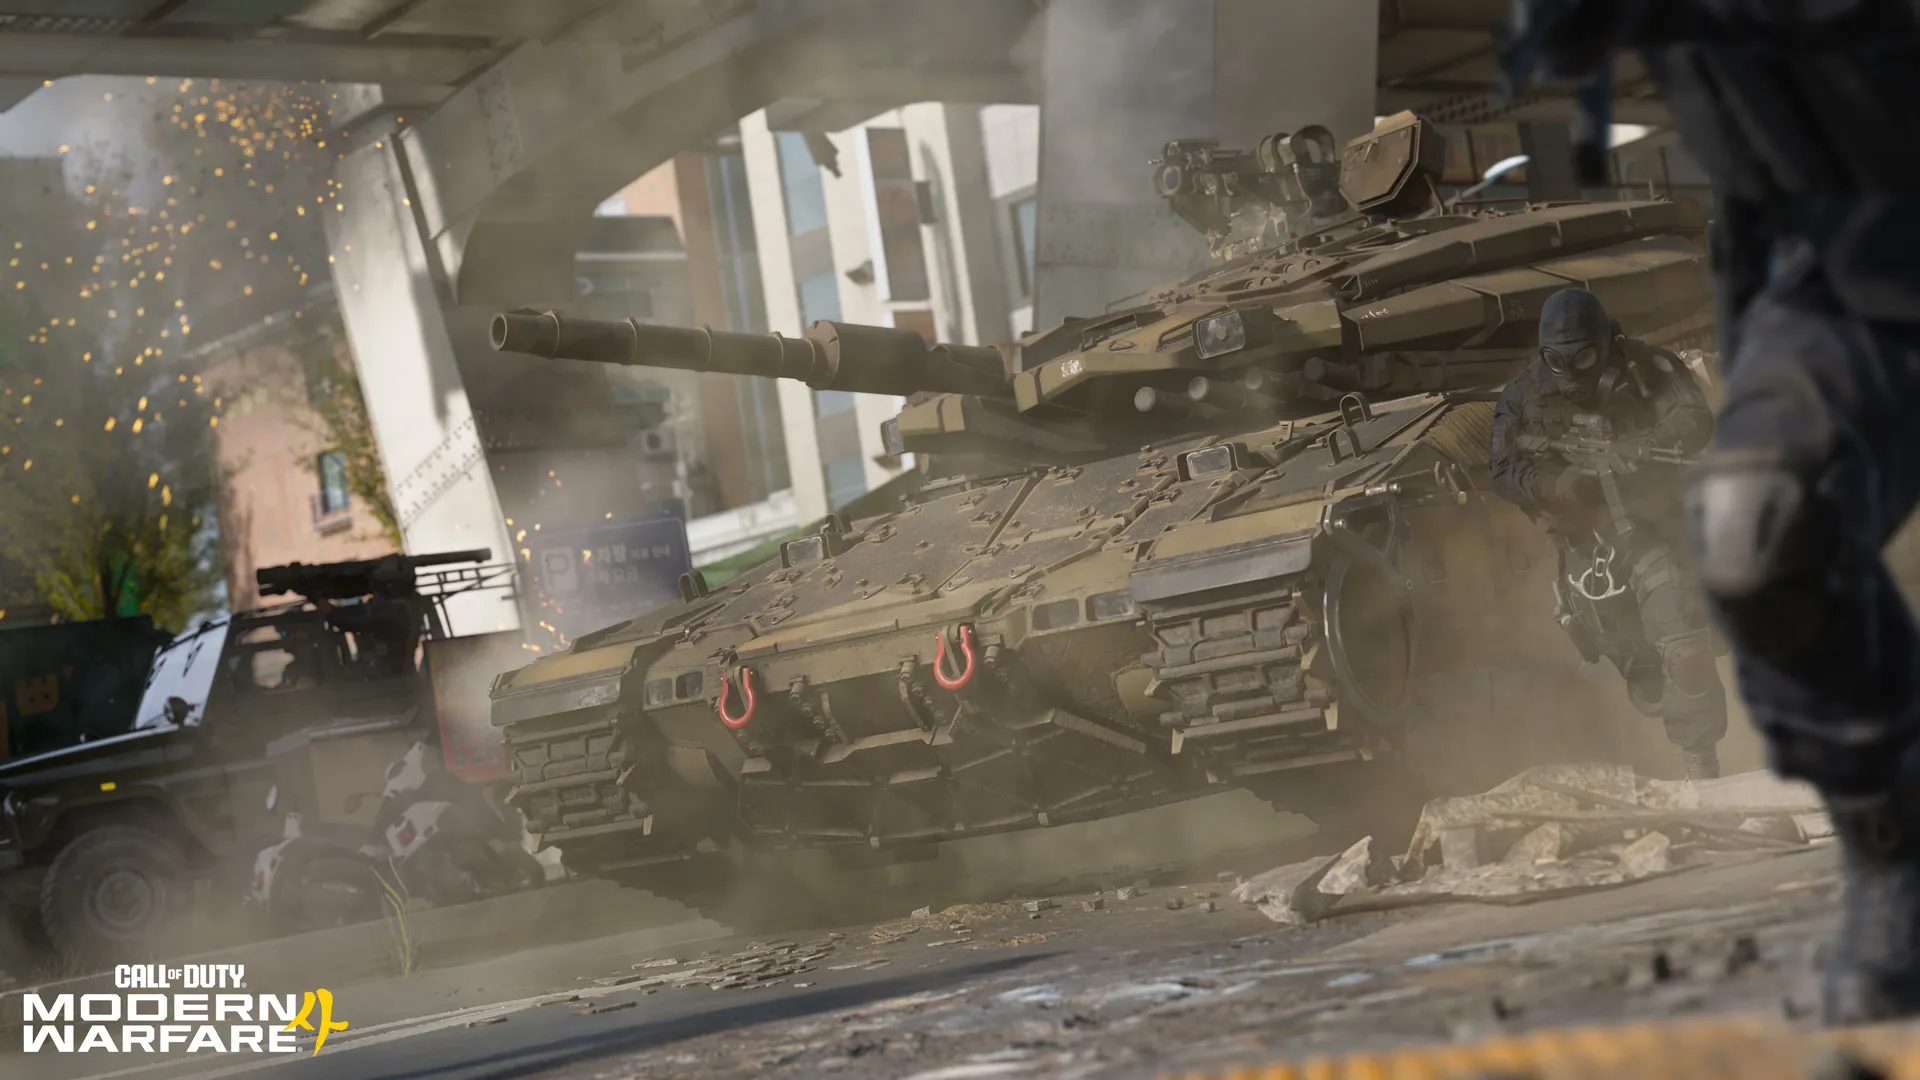
Combat Outpost reimagines Domination for Ground War, expanding the familiar three-flag battle into a large-scale conflict across a sprawling battleground. Capture Outposts to earn a steady stream of points while expanding your team's available spawn locations, allowing friendly forces to reinforce the front line and maintain pressure across the map.
Enter your date of birth
The battle doesn't end once an Outpost is secured. Continue Reinforcing captured positions to unlock increasingly powerful team rewards, from Local UAV coverage and a JLTV airdrop to a Light Tank delivered straight to your Headquarters. With Capture and Reinforce objectives often overlapping, Combat Outpost rewards coordinated teams that can seize territory, defend key positions, and leverage the battlefield advantages they earn.
Ground War Multiplayer Maps (24v24, Beta)
Enter your date of birth
QUICK INTEL:
- Battle across two large-scale Combat Outpost battlegrounds set within the Haijin region.
- Fight between open countryside and dense urban terrain with infantry and vehicle combat across both maps.
- Both maps offer unique routes, landmarks, and tactical opportunities.
Combat Outpost spans two distinct large-scale theaters of conflict, each offering a different approach to Ground War combat. Whether crossing open farmland or fighting through dense urban streets, learning the terrain, major landmarks, and key routes is essential to supporting your team and maintaining control of the match.
Imjin Farmlands
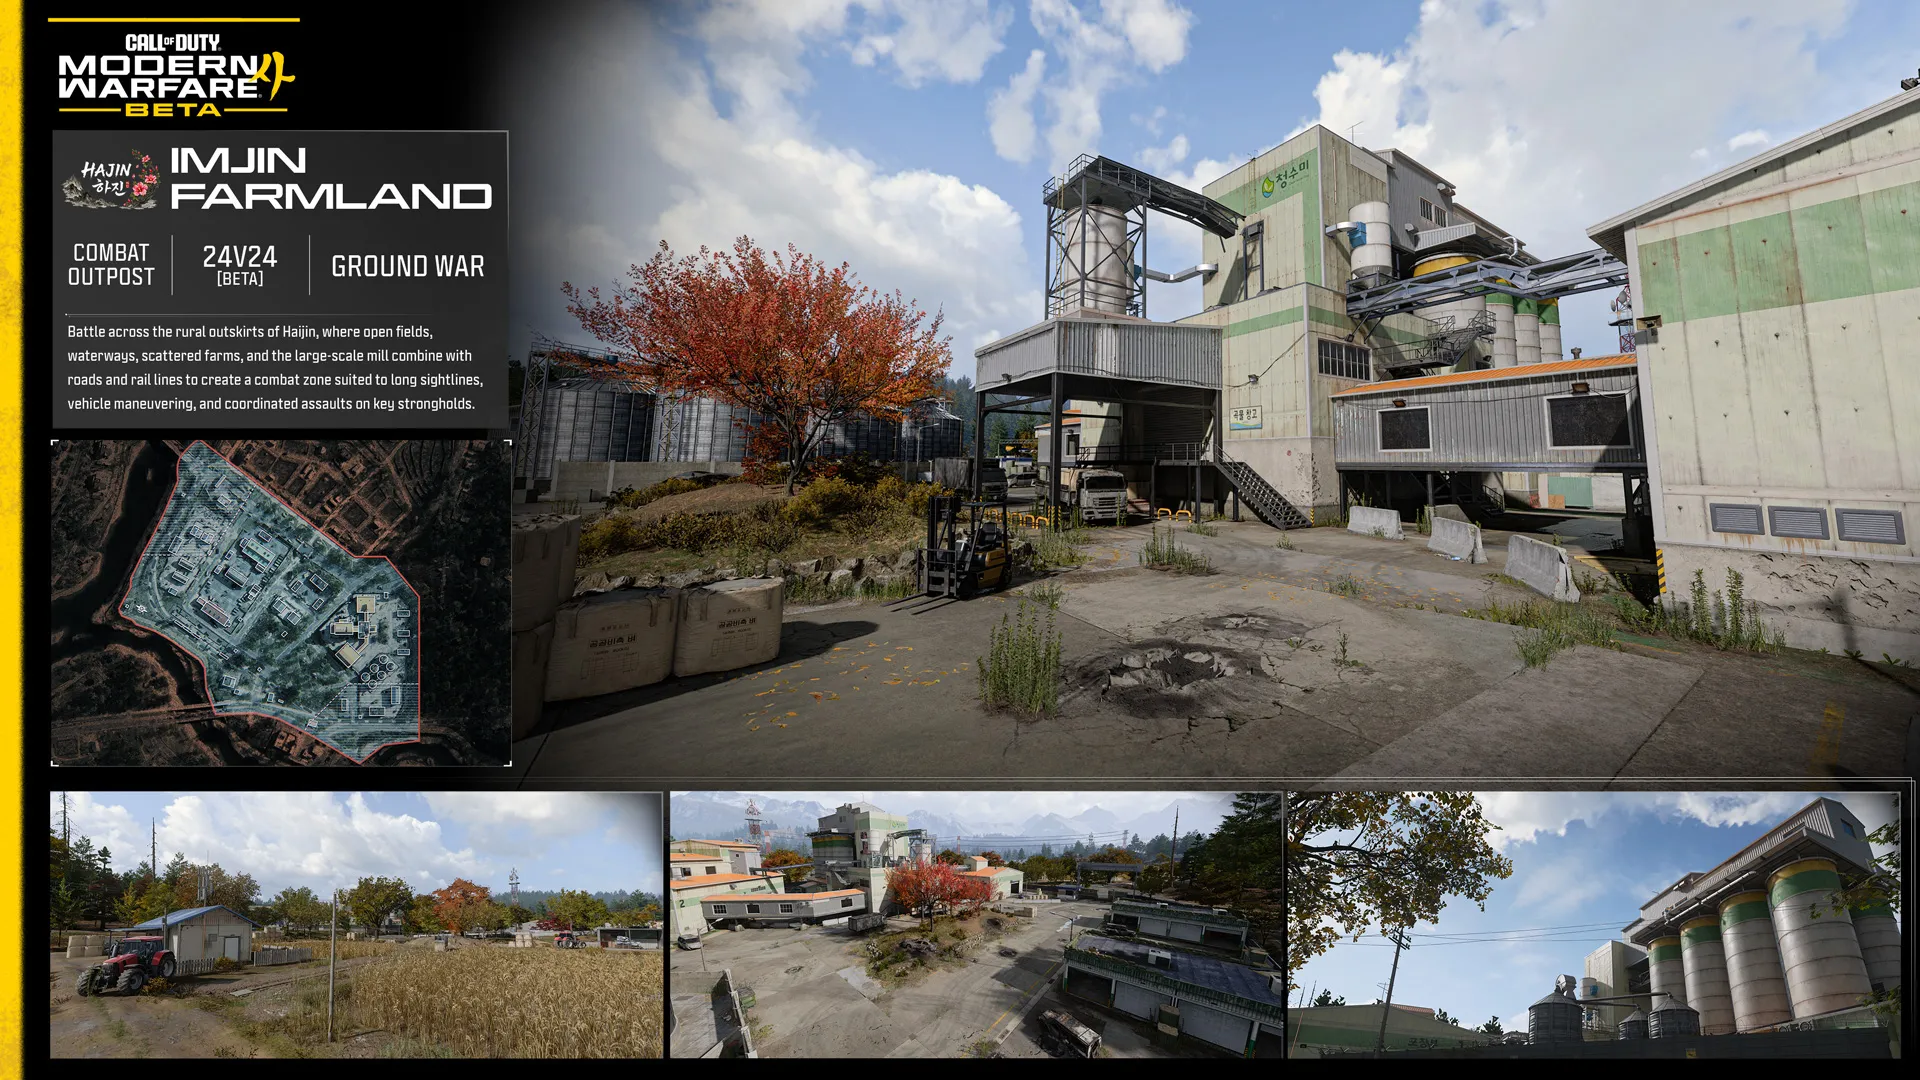
Battle across the rural outskirts of Haijin, where open fields, waterways, scattered farms, and the large-scale mill combine with roads and rail lines to create a combat zone suited to long sightlines, vehicle maneuvering, and coordinated assaults on key strongholds.
IMJIN FARMLANDS TOP TIPS:
- Against the grain: The mill towers over the Imjin Farmlands, making it a prime spot for snipers and Operators looking to get a lay of the land from up high. When approaching from the outskirts, use cover to minimize sightlines onto your position and work with teammates to breach the inner facility from multiple angles. Once inside, switch to close-ranged weapons to speed up combat.
- Road tax: The Imjin Farmlands are relatively flat with narrow roads and shortcuts connecting its various sections. When facing enemy vehicles, carry a Launcher into battle and use the even terrain to land hits on target.
- Hold for reinforcements: Don’t just capture and run. In Combat Outpost, victory depends on reinforcing your positions, earning powerful rewards over time including armored vehicles, tanks, and a twin-engine helicopter. Get the goods and then go into battle with the advantage.
Wolves Stadium
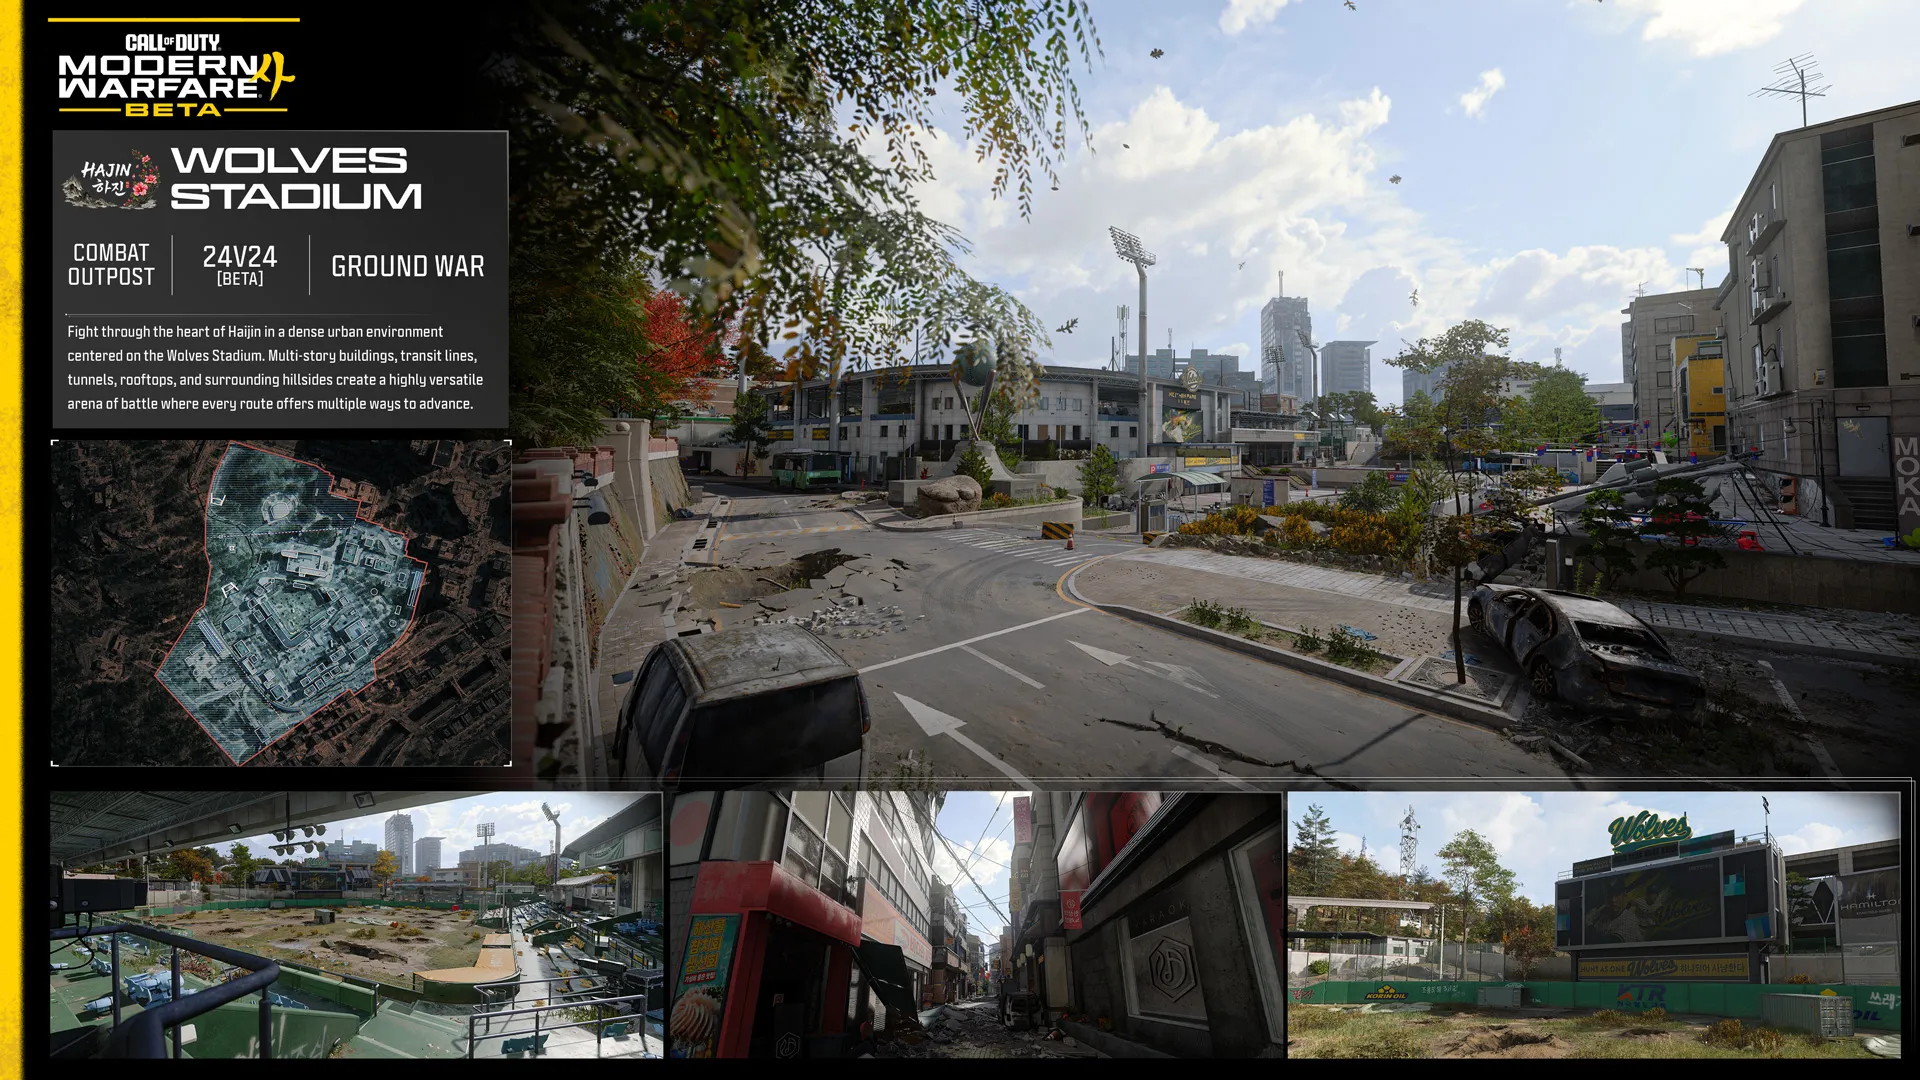
WOLVES STADIUM TOP TIPS:
- Amphitheater ambush: Ambush foes from the amphitheater stage, protected by a circle of terrain that’s difficult for vehicles to penetrate. Wolves Stadium is full of defensible POIs like this; achieving victory is partly in knowing when to buckle down and defend and when to move on toward the next target.
- Ascend: Look for ascenders, ladders, pipes, and anything else that you can use to quickly scale structures. Especially in the thick of downtown, using these shortcuts to obtain a vantage point ASAP will help you lock down critical routes with minimal setup.
- Refill for Killstreaks: Play the long game by sticking near Outposts where you can refill your supplies and fend off attackers from a fortified position. Build up your Killstreaks so that when it’s time to push forward or defend against a large attack, you have the extra support to help turn the battle in your favor.
Call of Duty: Warzone™ Resurgence (44 players, Zodiac Map)
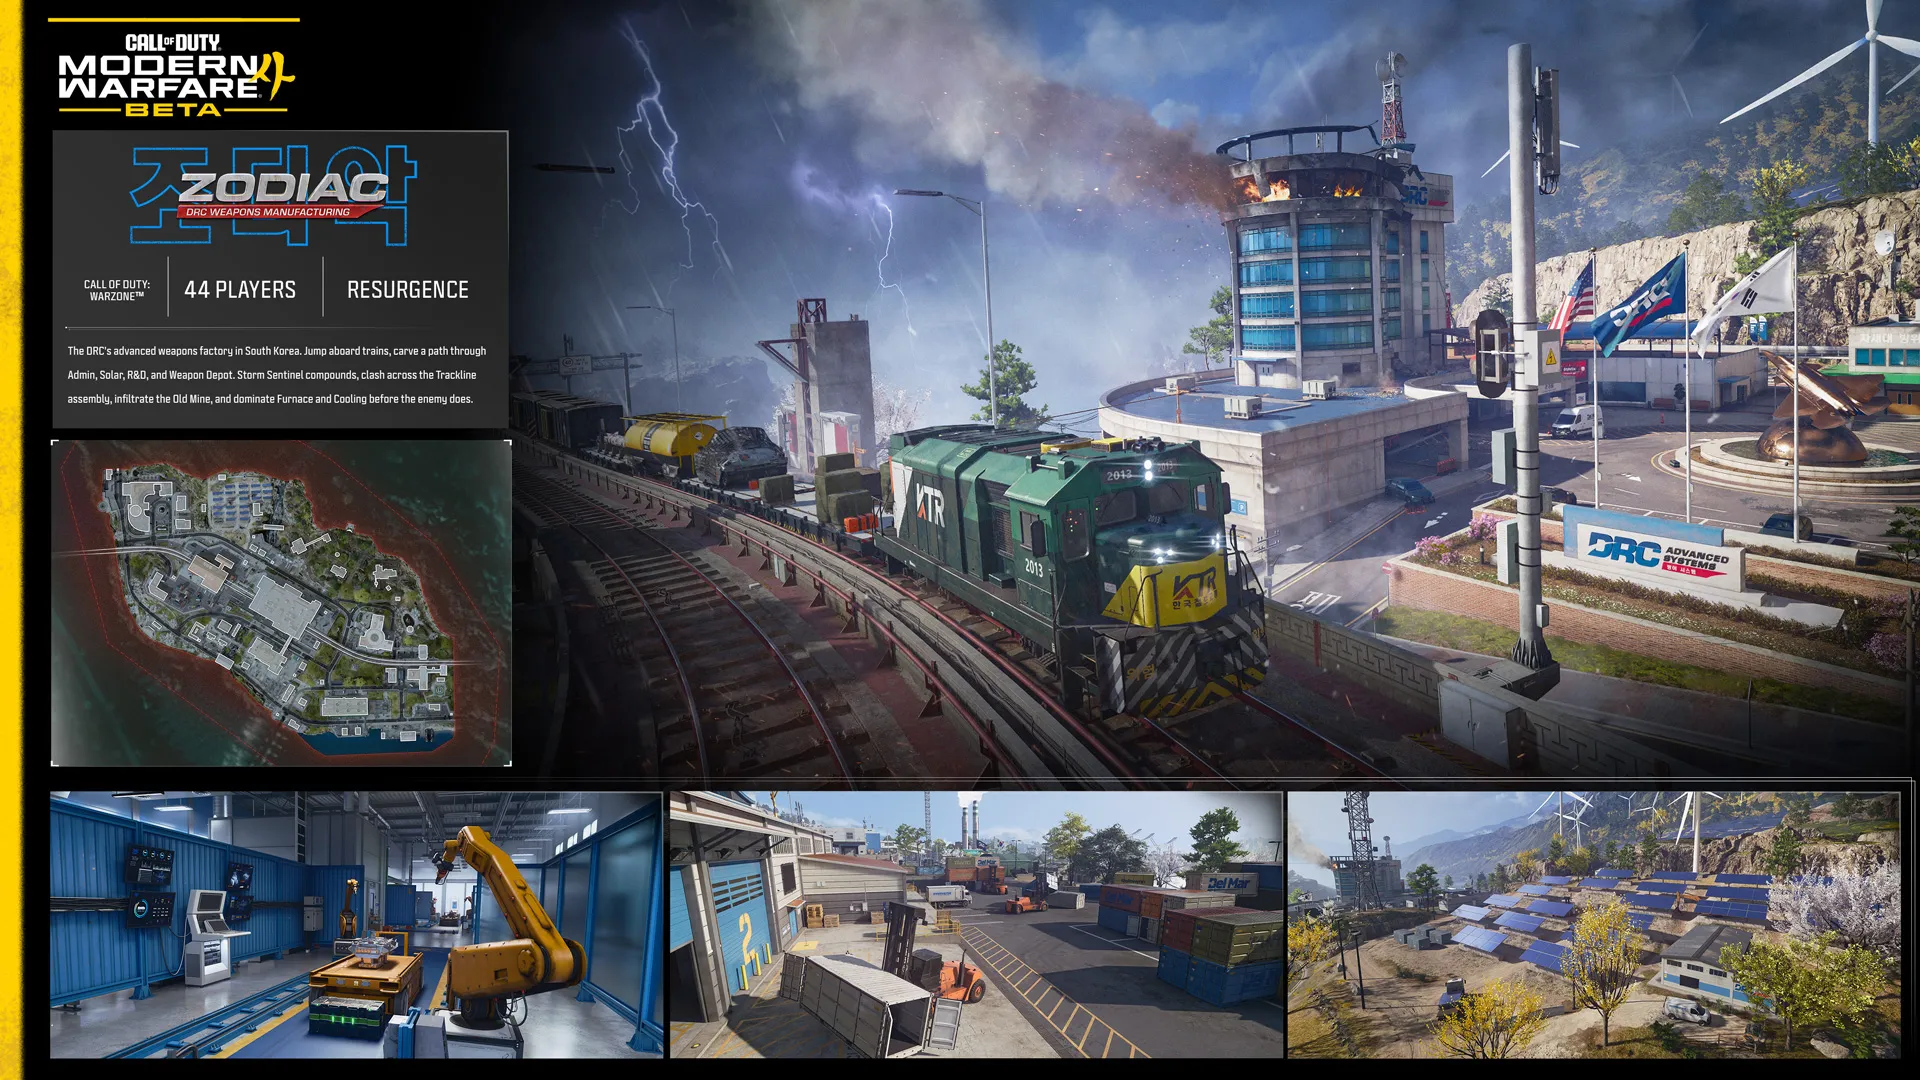
QUICK INTEL:
- NEW: Experience Resurgence on the all-new Zodiac map during Weekend Two of the Modern Warfare 4 Beta.
- Battle across the DRC Advanced Systems drone assembly headquarters.
- Stay alive while your teammates redeploy, then eliminate enemies and complete Contracts to shorten their return timer.
- Outlast every opposing squad to secure the win.
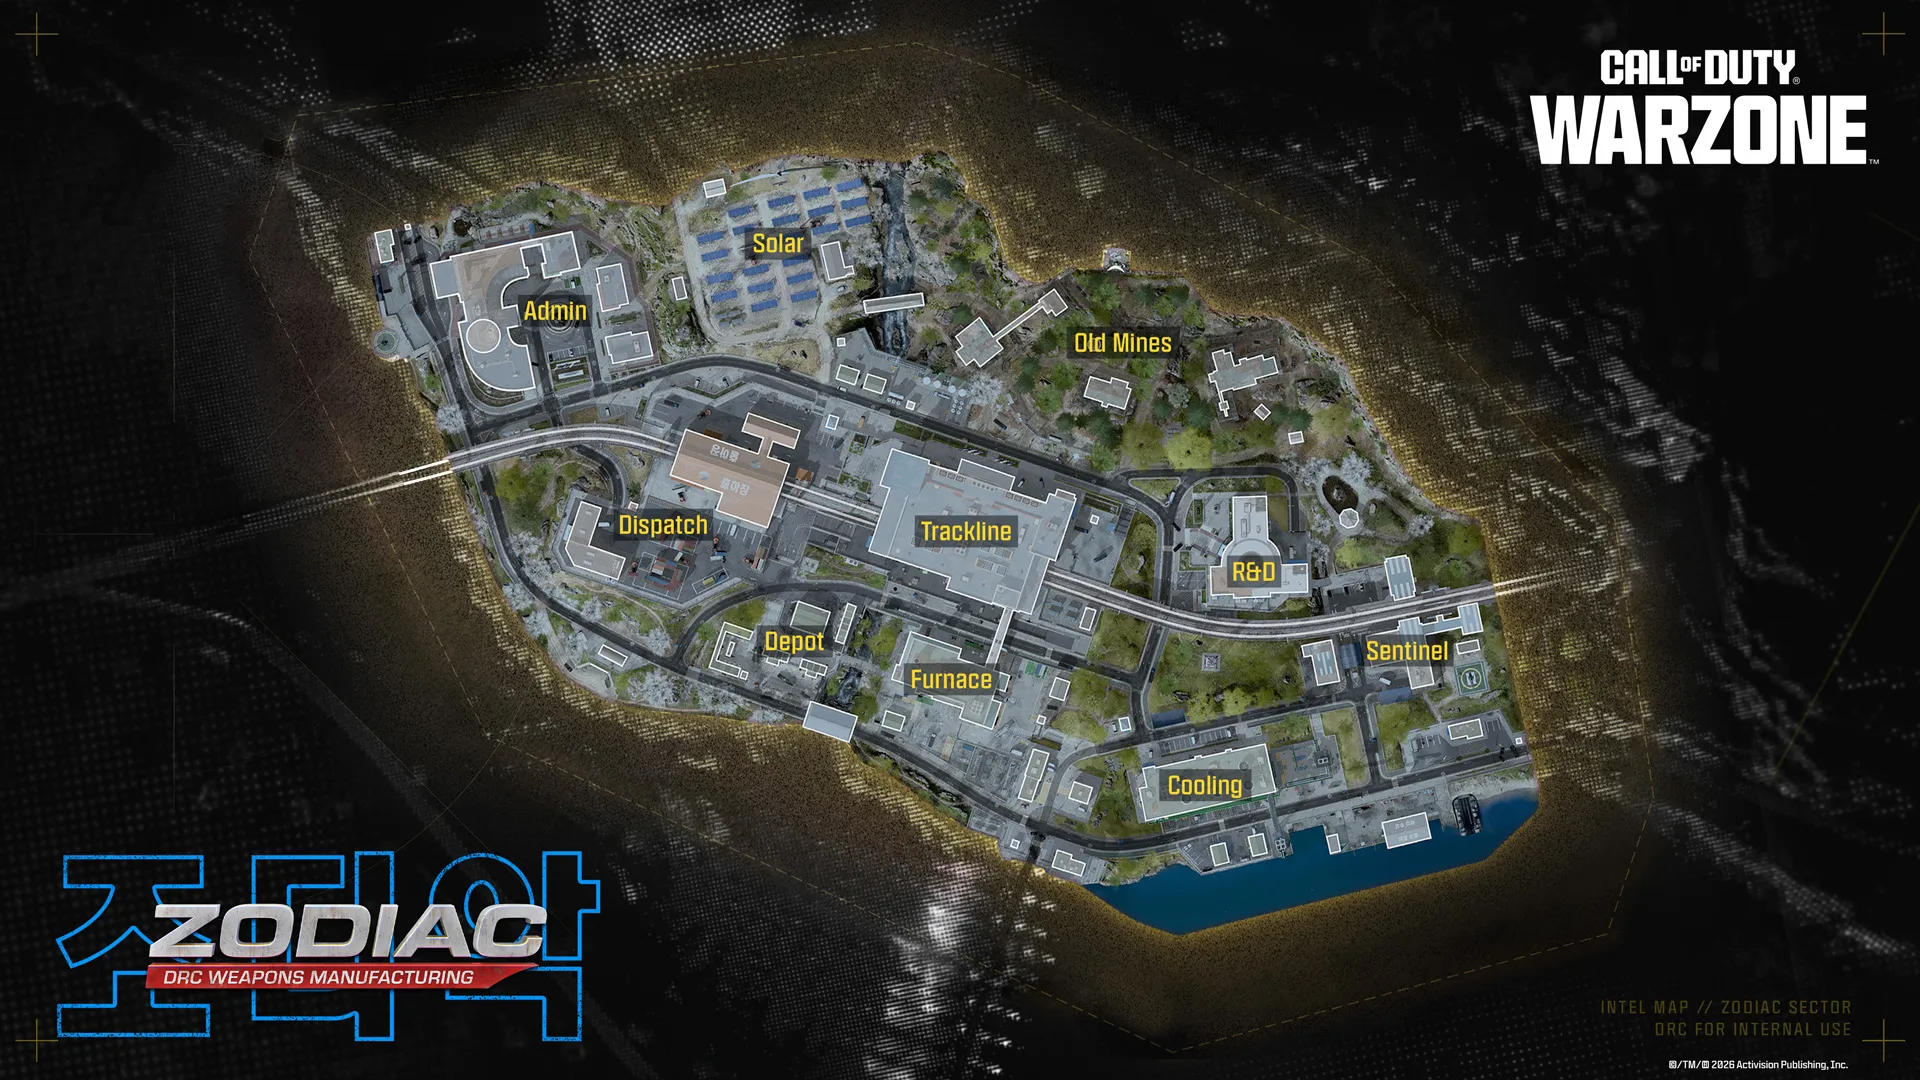
Resurgence returns with the all-new Zodiac, a compact combat zone built around the DRC Advanced Systems drone assembly and manufacturing headquarters.
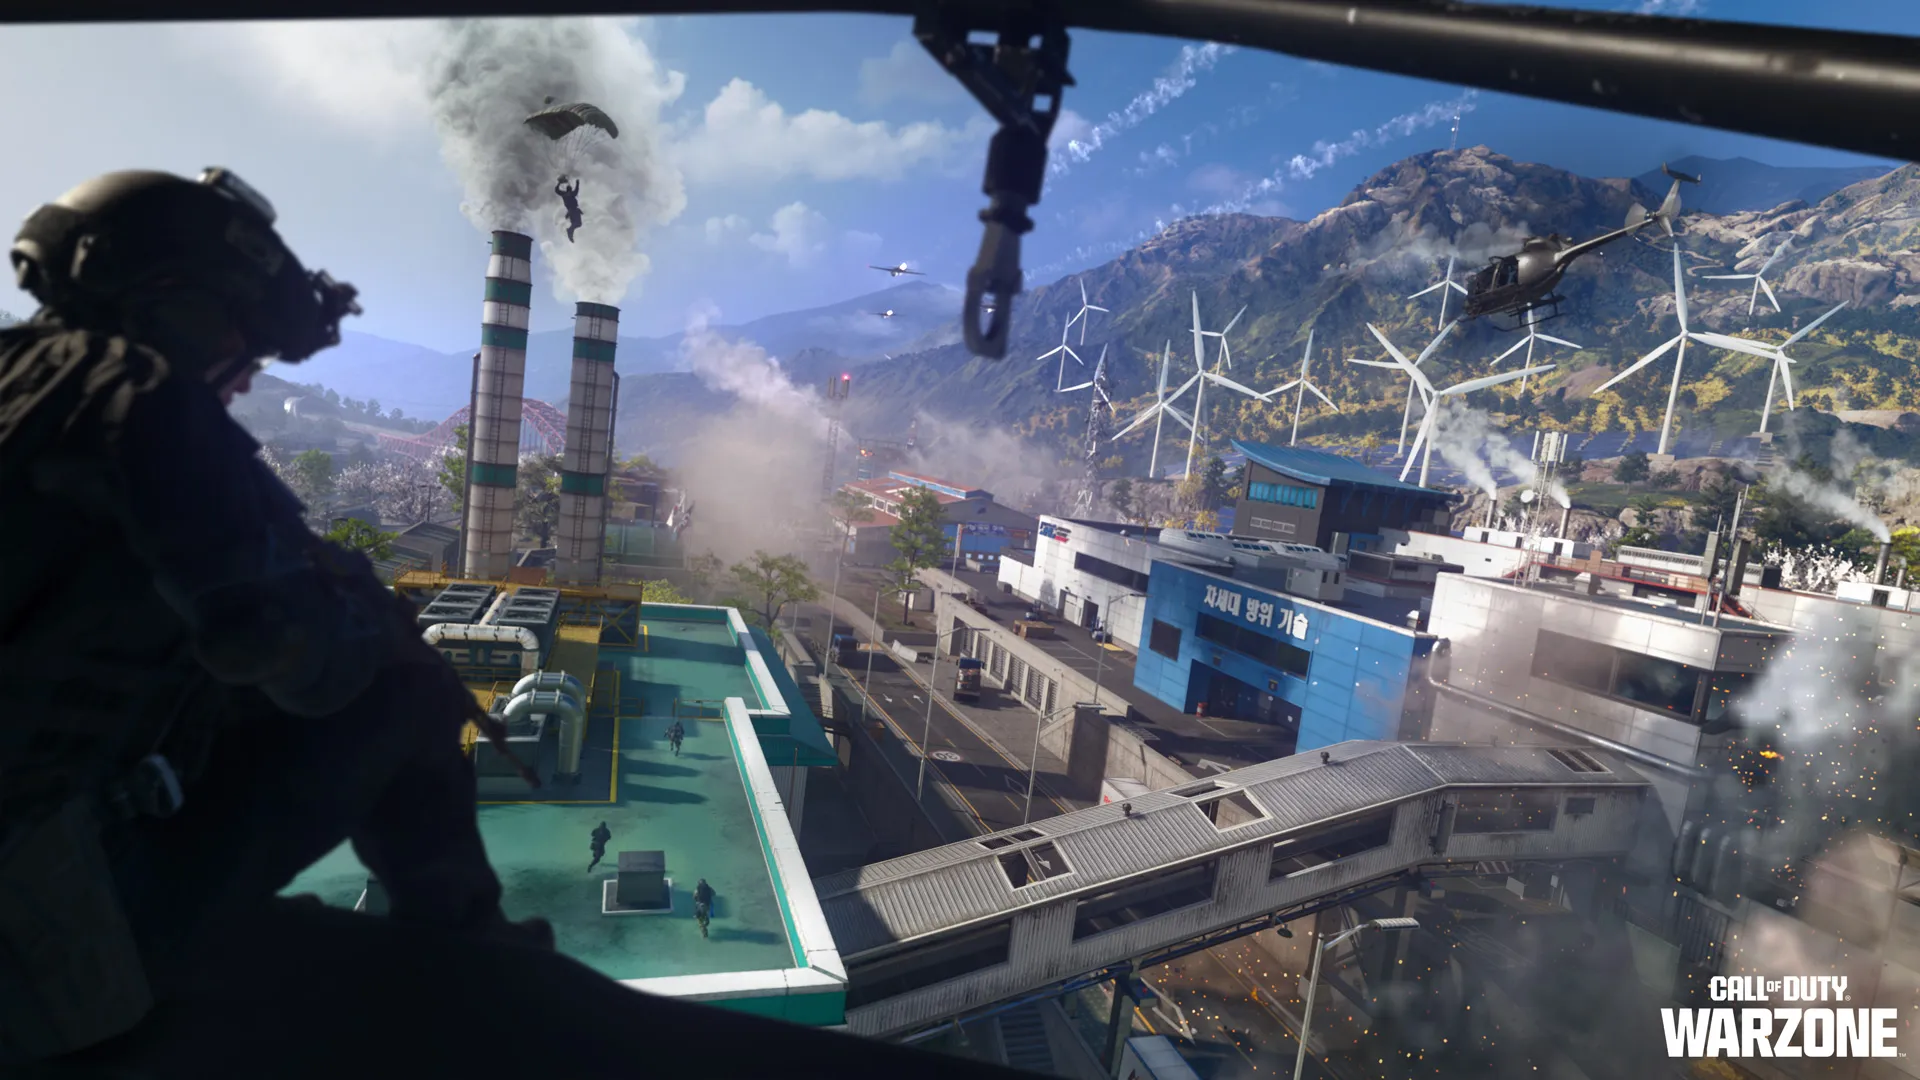
Fight from the company Admin building through and beneath the central double Trackline with multiple trains, then push toward the R&D facility and shipping docks as squads battle across offices, manufacturing buildings, rooftops, tunnels, and the surrounding shoreline. Expect an explosive tank battle, legendary loot, action across the ground and air, and other surprises to find during your matches.
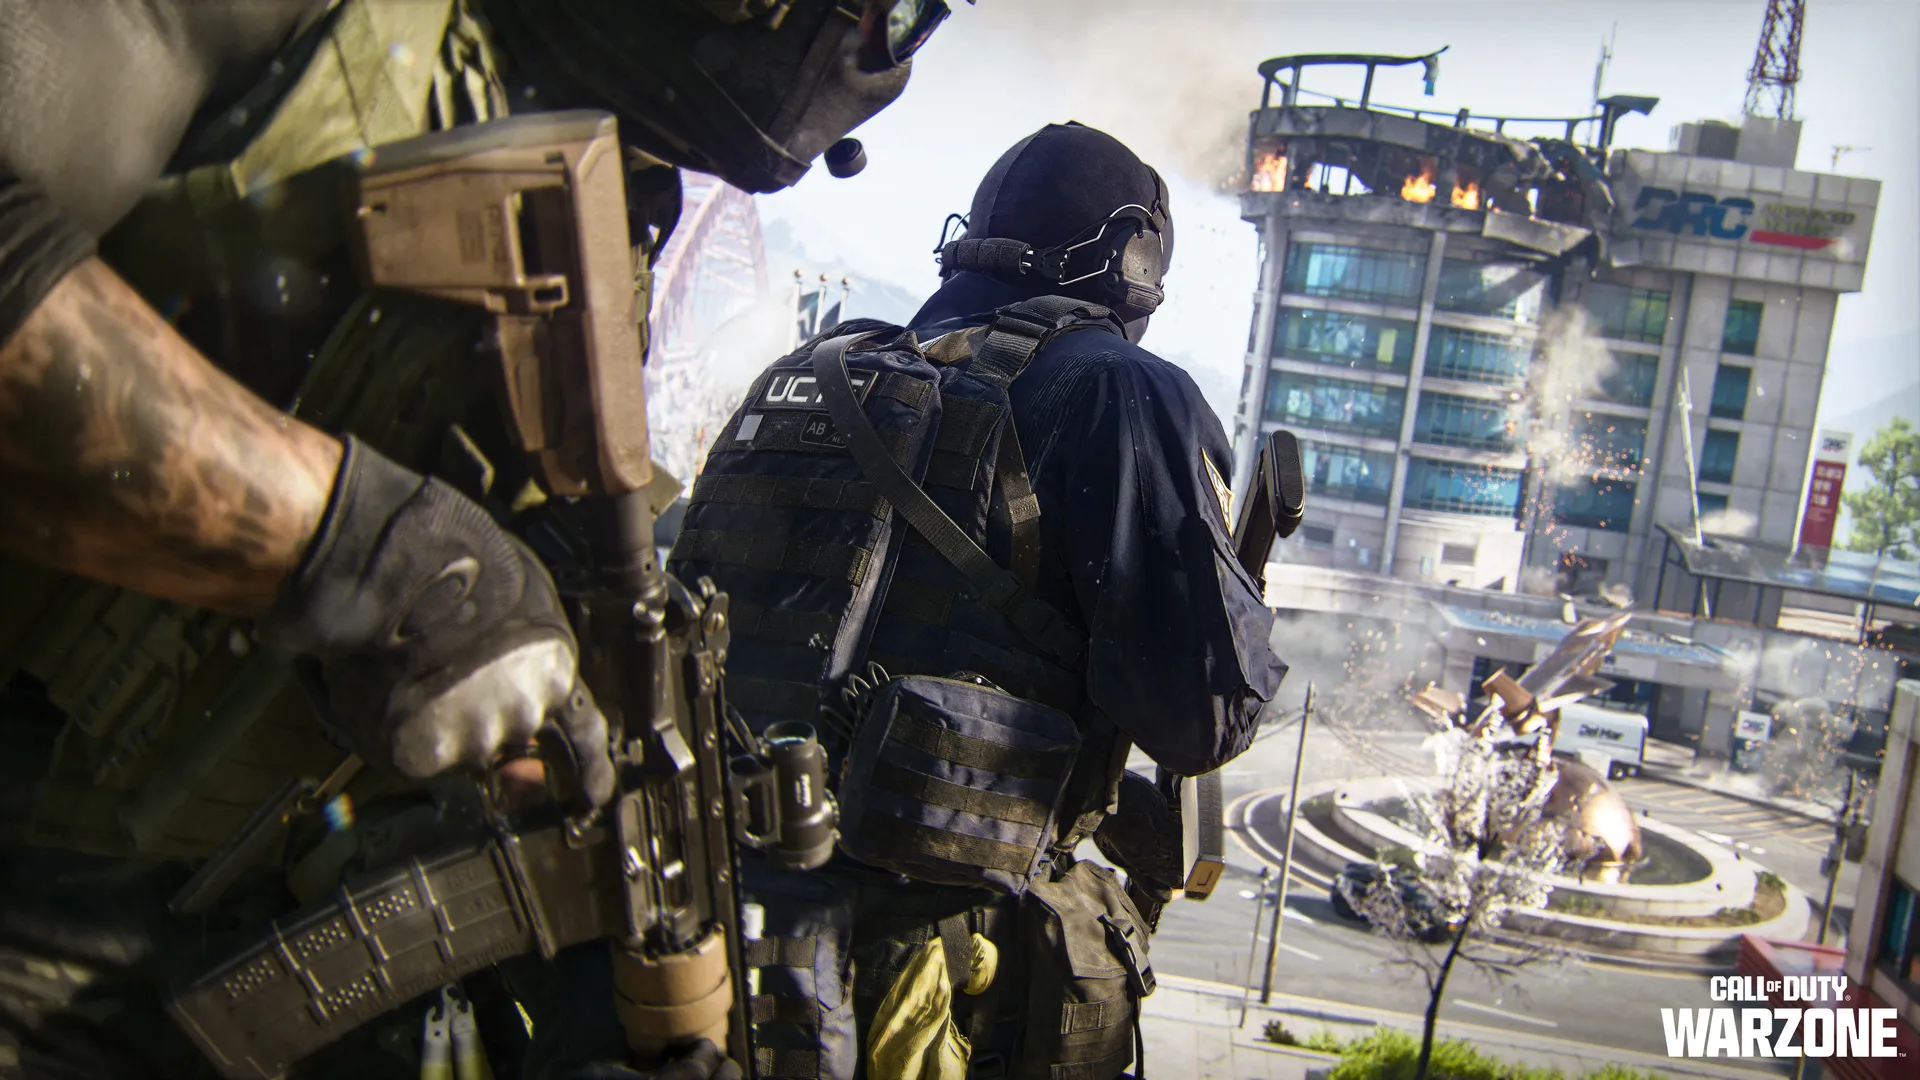
Every Loadout has room to dominate and are default for the Beta. Choose from AR, SMG, LMG, or Sniper Default Loadouts. Close-range Operators can weave between buildings and through the center of the facility, while longer-range Loadouts benefit from rooftops and elevated windows overlooking the facility’s points of interest. Beneath it all, an underground tunnel network offers another way to rotate, flank enemy squads, or briefly disappear before launching your next attack.
Development Credits
Call of Duty: Modern Warfare 4 development is led by Infinity Ward and will be available globally on XBOX Series X|S, PlayStation 5® and PC via Battle.net, XBOX on PC, Steam, and Nintendo Switch 2 on Friday, October 23, 2026.
Call of Duty: Modern Warfare 4 for the PC delivers a fully optimized experience, led by Infinity Ward in partnership with Beenox, for Battle.net, Blizzard Entertainment’s online gaming service, XBOX on PC, and Steam.
Infinity Ward, in partnership with Digital Legends, is developing Modern Warfare 4 natively for Nintendo Switch 2.
Additional development in alphabetical order: Activision Central Design, Activision Central Technology, Activision QA, Activision Shanghai, Beenox, Demonware, High Moon Studios, Raven Software, Sledgehammer Games, and Treyarch.
* Actual launch date(s), times, and platform availability of MP Beta subject to change. See www.callofduty.com/beta for more details. Minimum Open Beta duration is 2 days. Limited time only. Internet connection required. Online multiplayer subscription may be required for MP Beta.
©/TM/® 2026 Activision Publishing, Inc.
For more information, please visit www.callofduty.com and www.youtube.com/callofduty, and follow @Activision and @CallofDuty and @InfinityWard on X, Instagram, and Facebook. For Call of Duty Updates, follow @CODUpdates on X.
Join Call of Duty's Official Discord to get the latest updates and maybe even meet your next squadmate!