Marker content goes here.
THE FORGE
Prebrief
Explore the heart of research and development for The Guild’s latest lethal tech. Built on the harbor, The Forge welcomes visitors with a demo and product lobby showcasing the latest advancements in autonomous weapon design. Navigate the split facility filled with displays of The Guild’s capabilities, the two wings separated by the central range where rotating walls circle a defense turret.
The Forge Intel

1. Eye of the storm: While the turret and the outer platform around it constantly spins, the base of the turret remains still. Climb up on it and use the turret’s body to protect your back. Watch the windows and time your shots between openings in the walls.
2. Marksman’s walkway: The covered walkway between Diagnostics and Patio connects two strong vantage points with views over the center Range. Use it for a quick pivot to keep the enemy guessing where you’ll attack from next.
3. Observe this: The curve of the upper hallway in Observation cuts sightlines from end to end. Toss a grenade ahead of you to tag enemies around the corner.
Advanced Map Tips
Demo Barrier — Alpha (A)
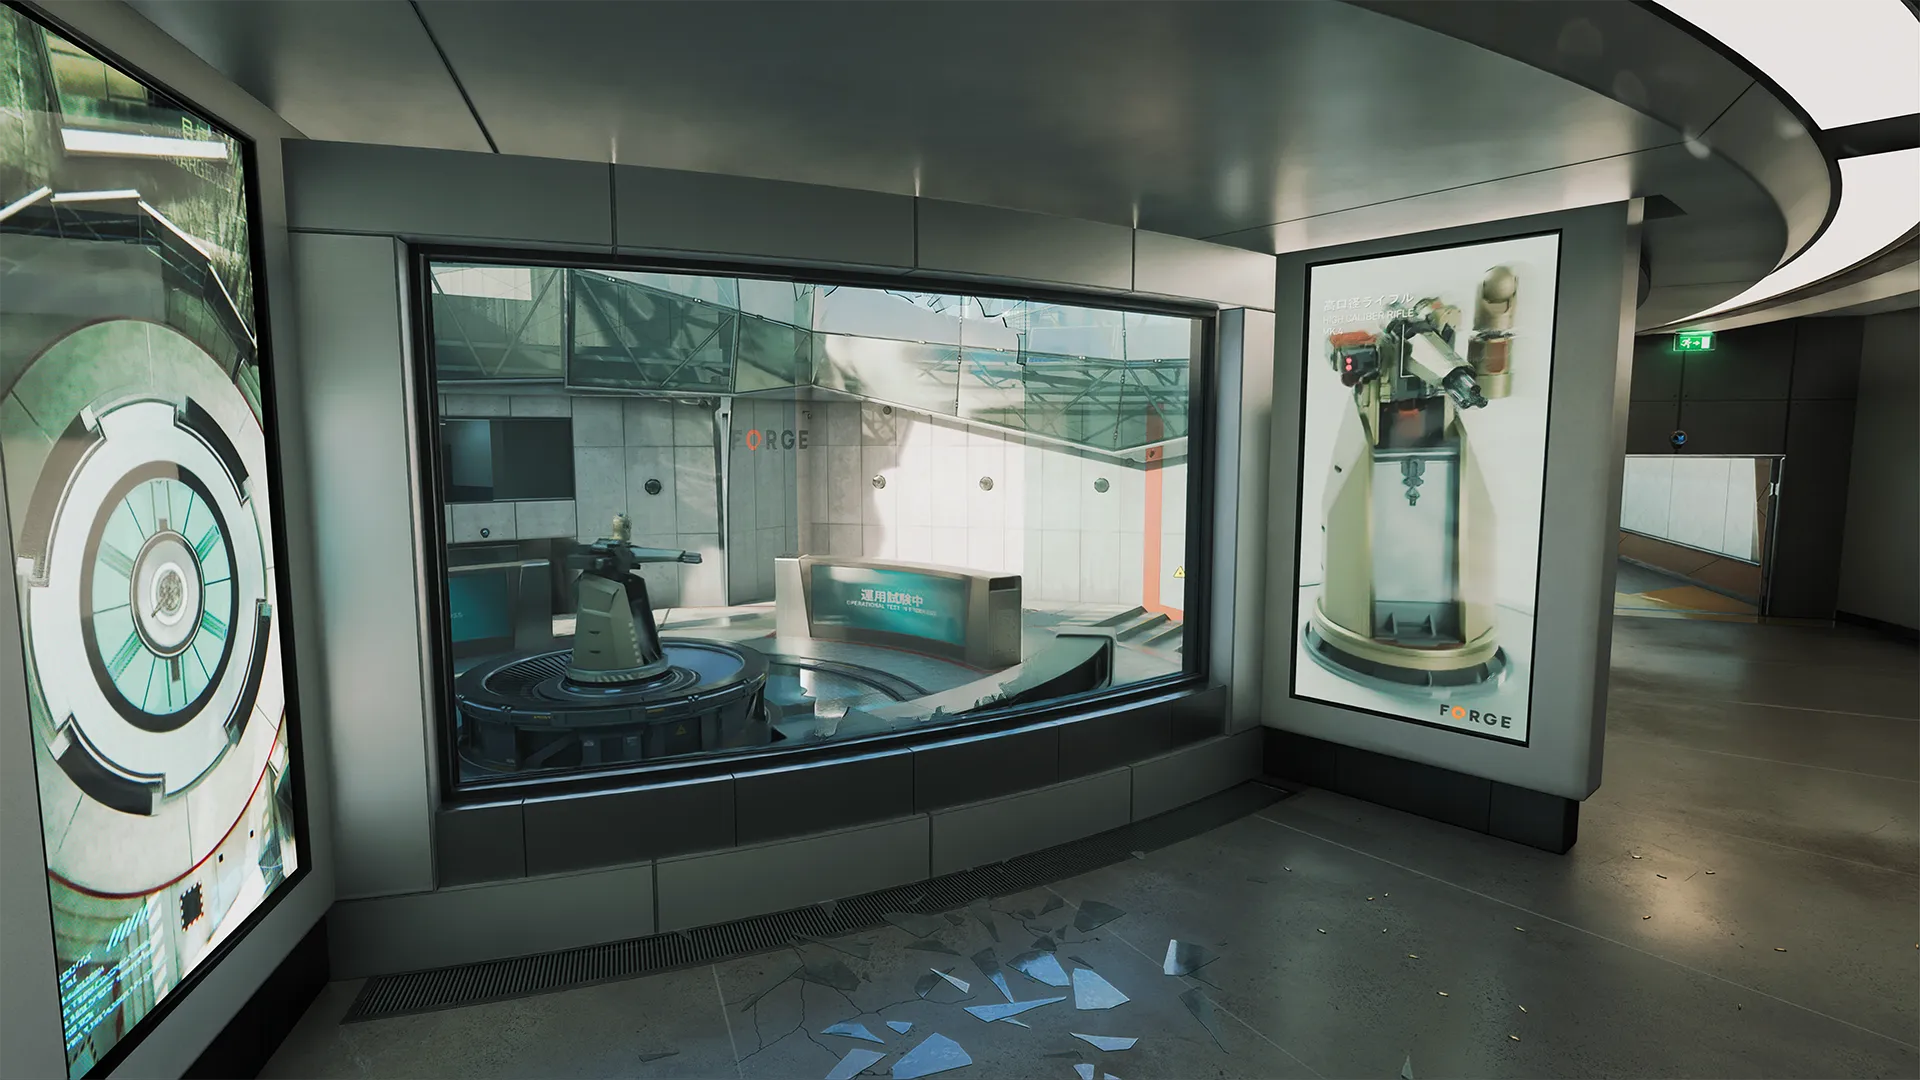
The opposing windows in Observation and Diagnostics give the best views over the center Range. Check the opposite window for enemy marksman and watch your back on the inside. From the center, it’s possible to jump up into either window.
Demo Barrier — Beta (B)
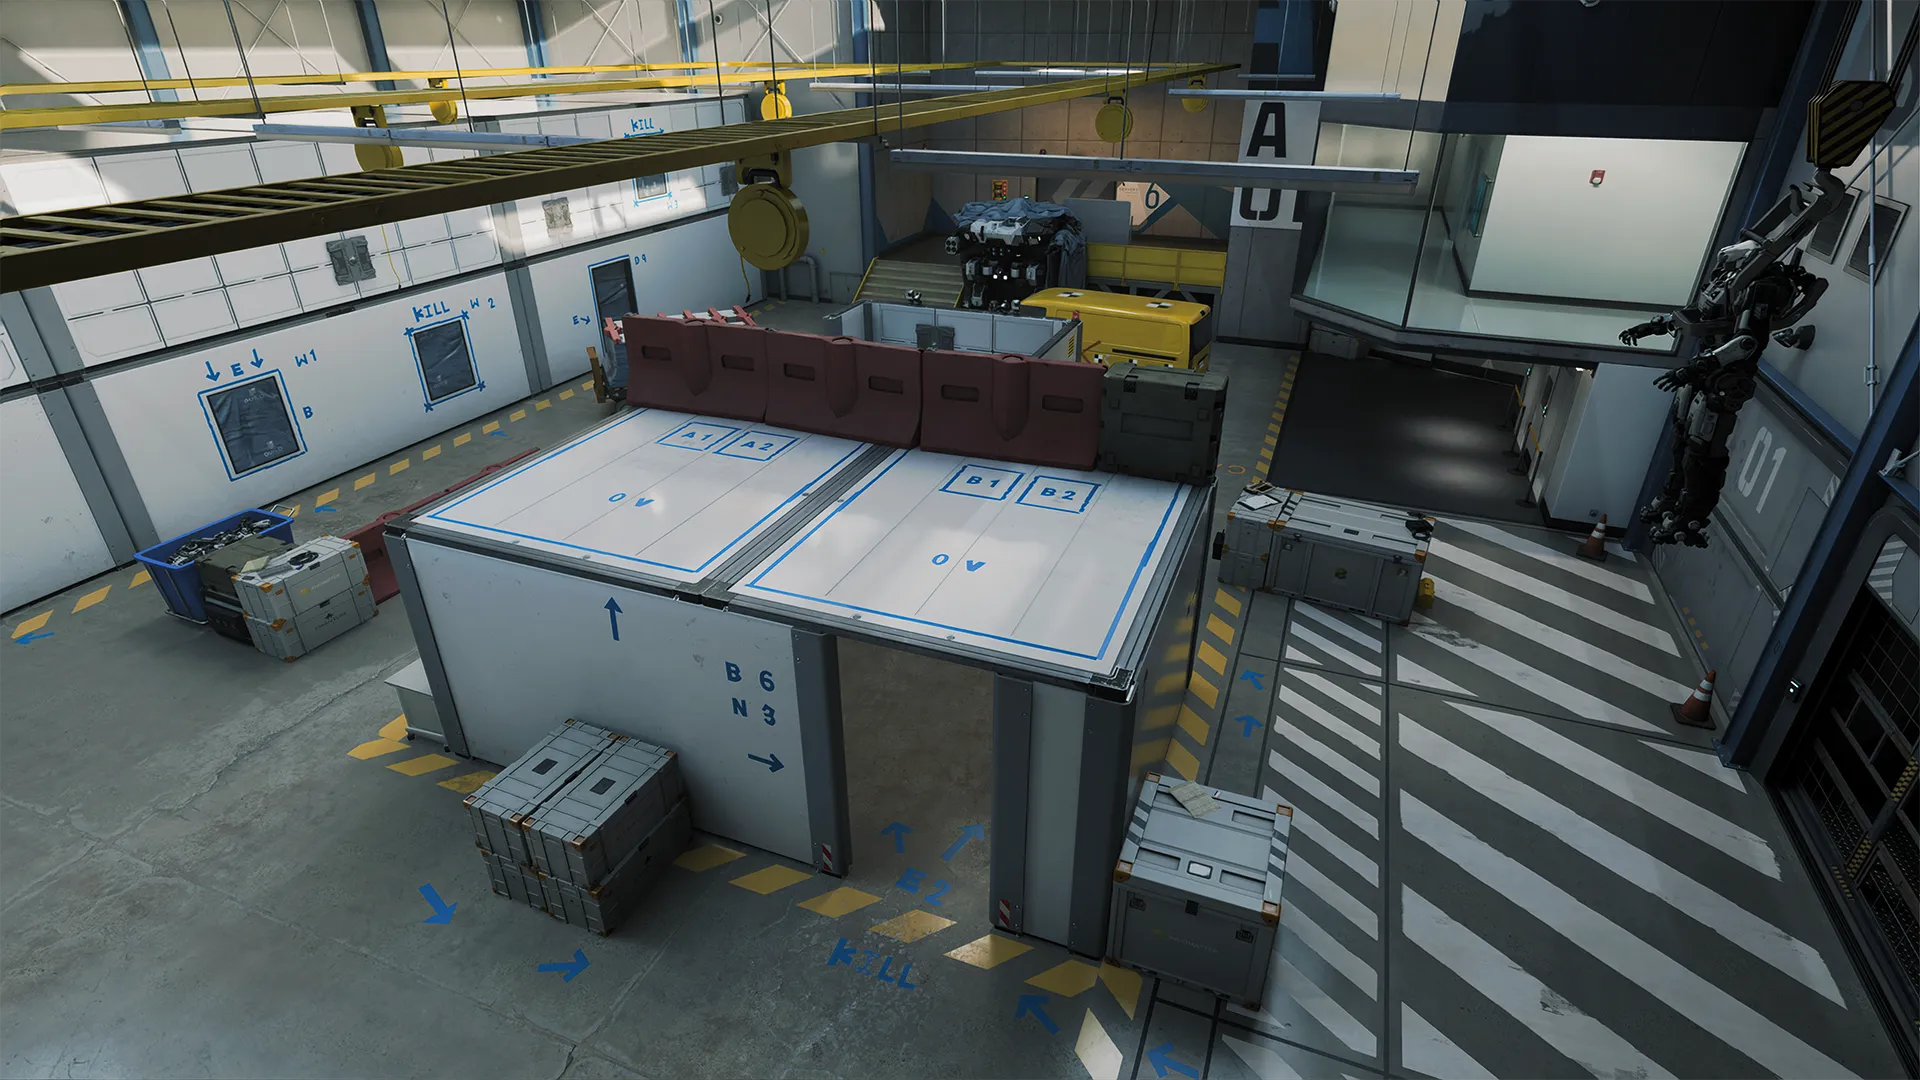
Climb up on top of the obstacle course in Demo to rule the area. The barrier offers good cover and a place to mount your weapon for improved accuracy. Watch out for enemies moving into the obstacle course below, setting up a flank to your position.
©/TM/® 2025 Activision Publishing, Inc.
For more information, please visit www.callofduty.com and www.youtube.com/callofduty, and follow @Activision and @CallofDuty on X, Instagram, and Facebook. For Call of Duty Updates, follow @CODUpdates on X.