Marker content goes here.
SAKE
Prebrief
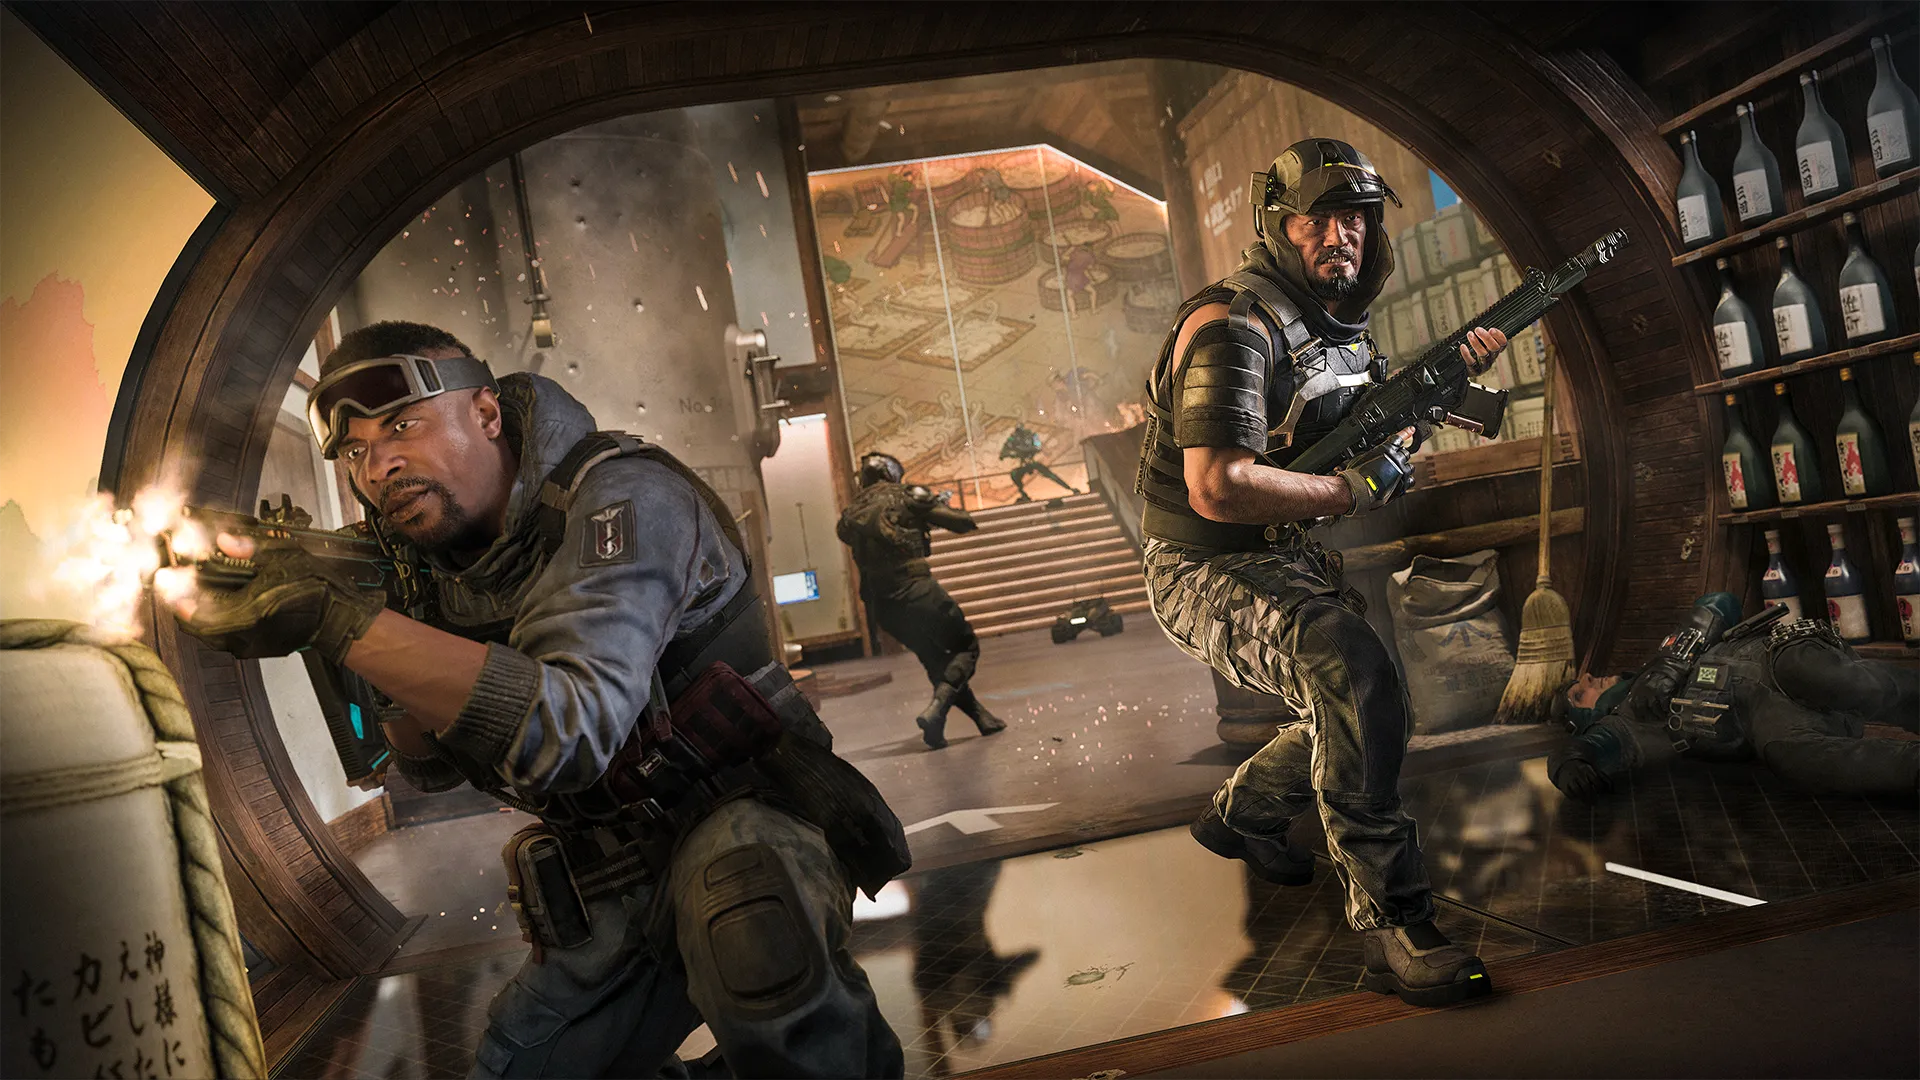
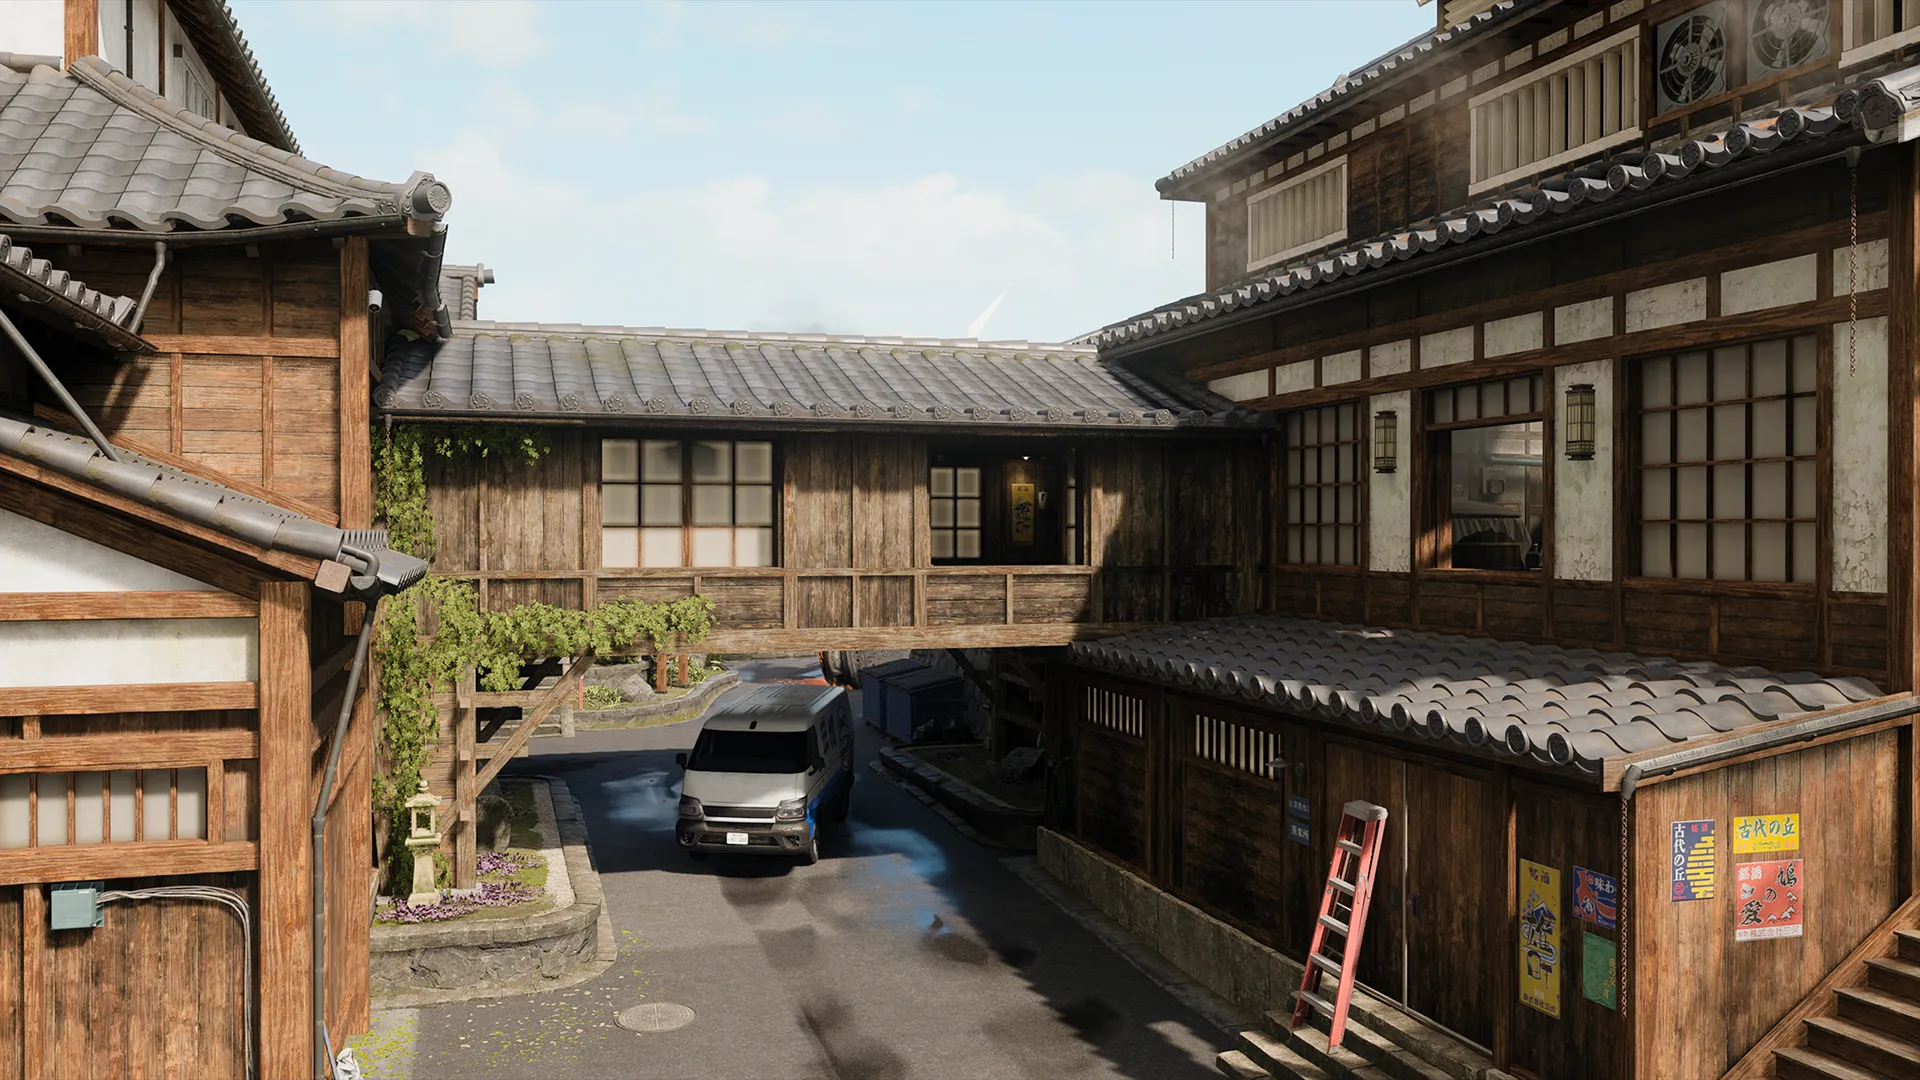
A traditional sake factory in Japan comes under attack as The Guild hosts a secret meeting on-site. Deploy to this mid-sized map featuring production and display areas showcasing the long history of sake brewing across a large facility with multiple indoor and outdoor locations that are ripe for battle.
Fight along the immediate grounds to engage in mid- and long-range combat or head inside to bring the fight up close. Just as every step of the brewing process is described in detail, your strategy will need to be fine-tuned to control the map so you come out on top for a victory worth celebrating. Here’s how to make that happen.
Sake Intel
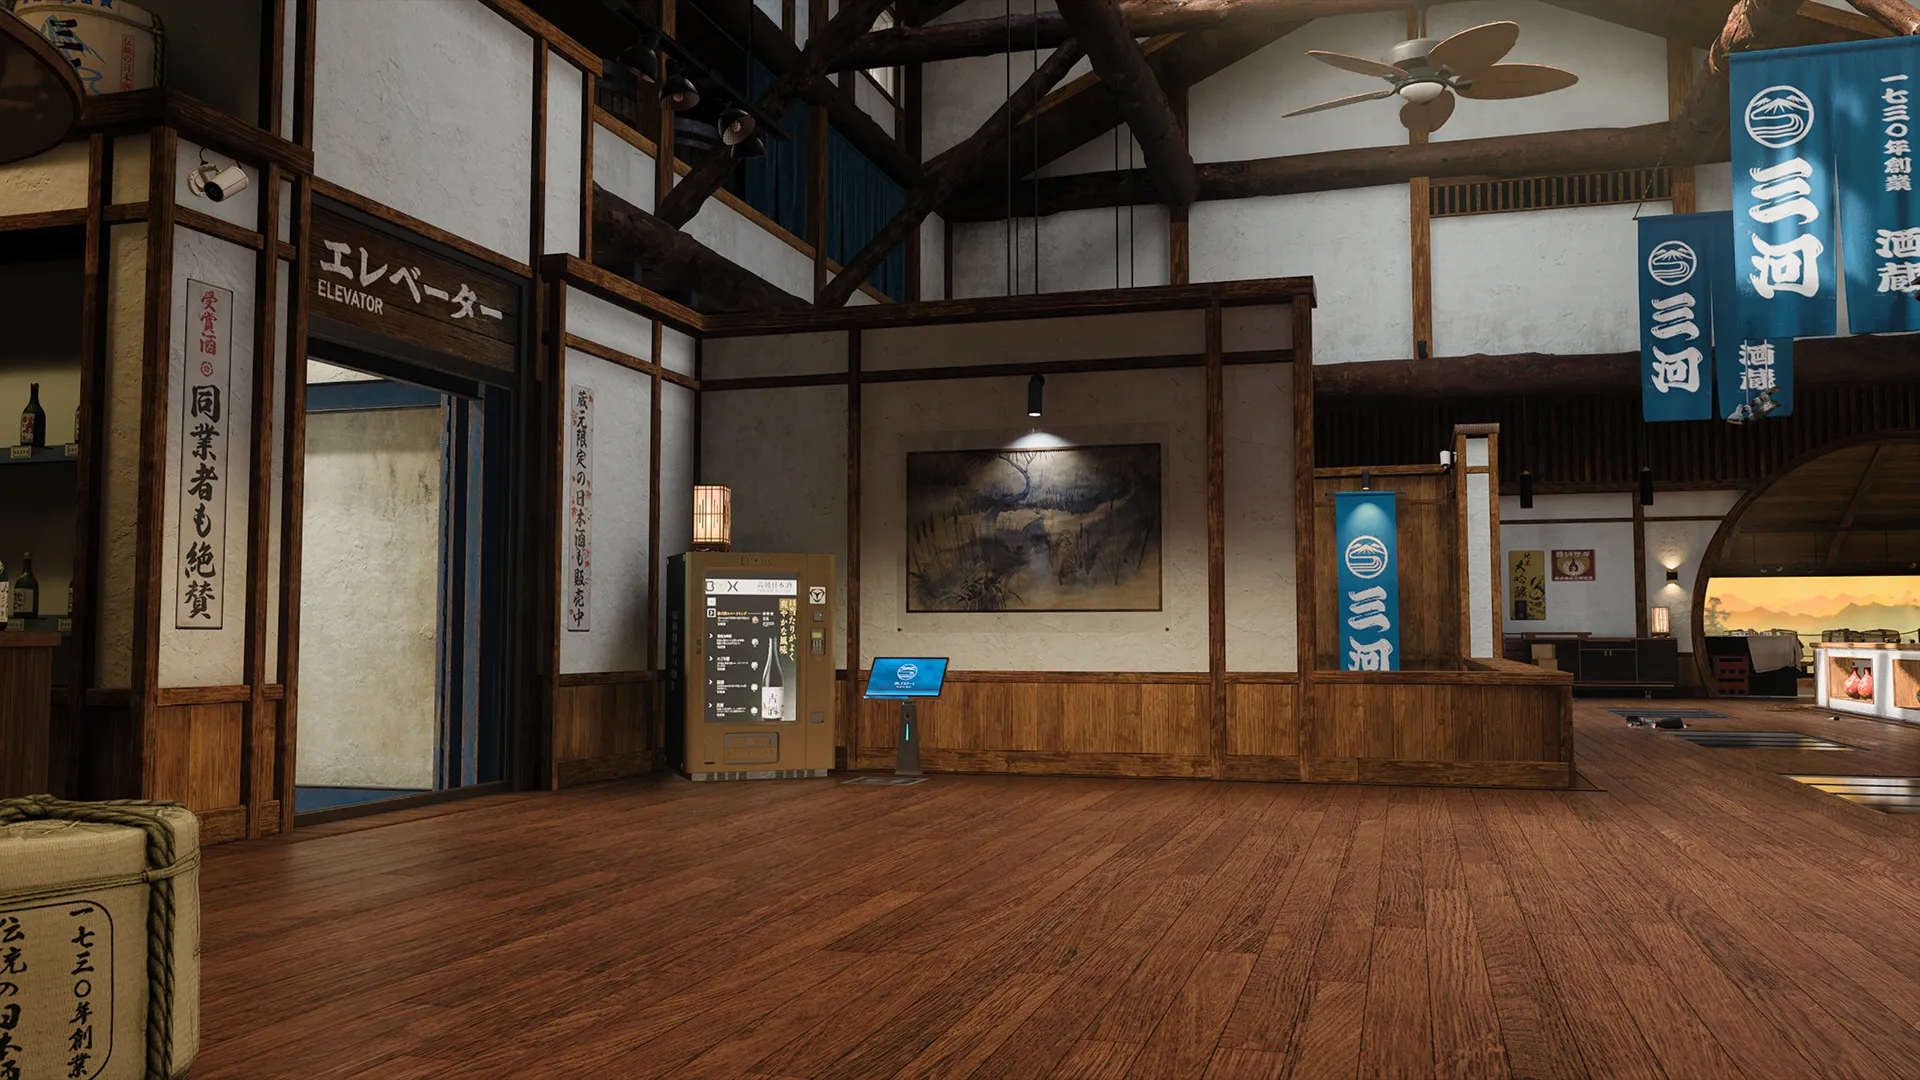
1. Hit the bar: Control the middle and you control the map. Head up to the Bar for its overhead view of the Displays below with exit points toward the Roundabout, Bridge, Production, Shrine, and Zen Garden. Get behind the counter for cover when fighting nearby enemies and then walk the floor scanning for additional targets.
2. Bet big: As one of the larger mid-sized maps, Sake gives players some extra leeway when building up their streaks. Equip the High Roller Wildcard if you’re consistently performing well, paired with the Bankroll Perk to boost your chances of acquiring Scorestreaks in each life.
3. Be vigilant: Still learning the map? Getting ambushed from all sides? Equip the Vigilance Perk to increase your minimap’s coverage, giving greater sight on enemy movements, providing more time to formulate a plan of attack.
Advanced Map Tips
Bridge — Alpha (A)
Set up in the Bridge connecting the Steaming Room and Bar on the west end of the map for a prime view toward Roundabout and the northern Alley. The wide window frames offer a clear view below with an easy escape when the enemy’s counterattacks grow too hot. Move back into the building or jump down from the Bridge to renew the fight on the streets below.
Elevator Pivot — Beta (B)
Note the elevator shaft connecting the lower Production floor to the upper Bar. The elevator itself isn’t working, but there’s enough room to drop down or climb up with ease, the perfect pivot for adjusting which level of the main facility you’re on in a pinch.
Overgrow Alley — Gamma (Γ)
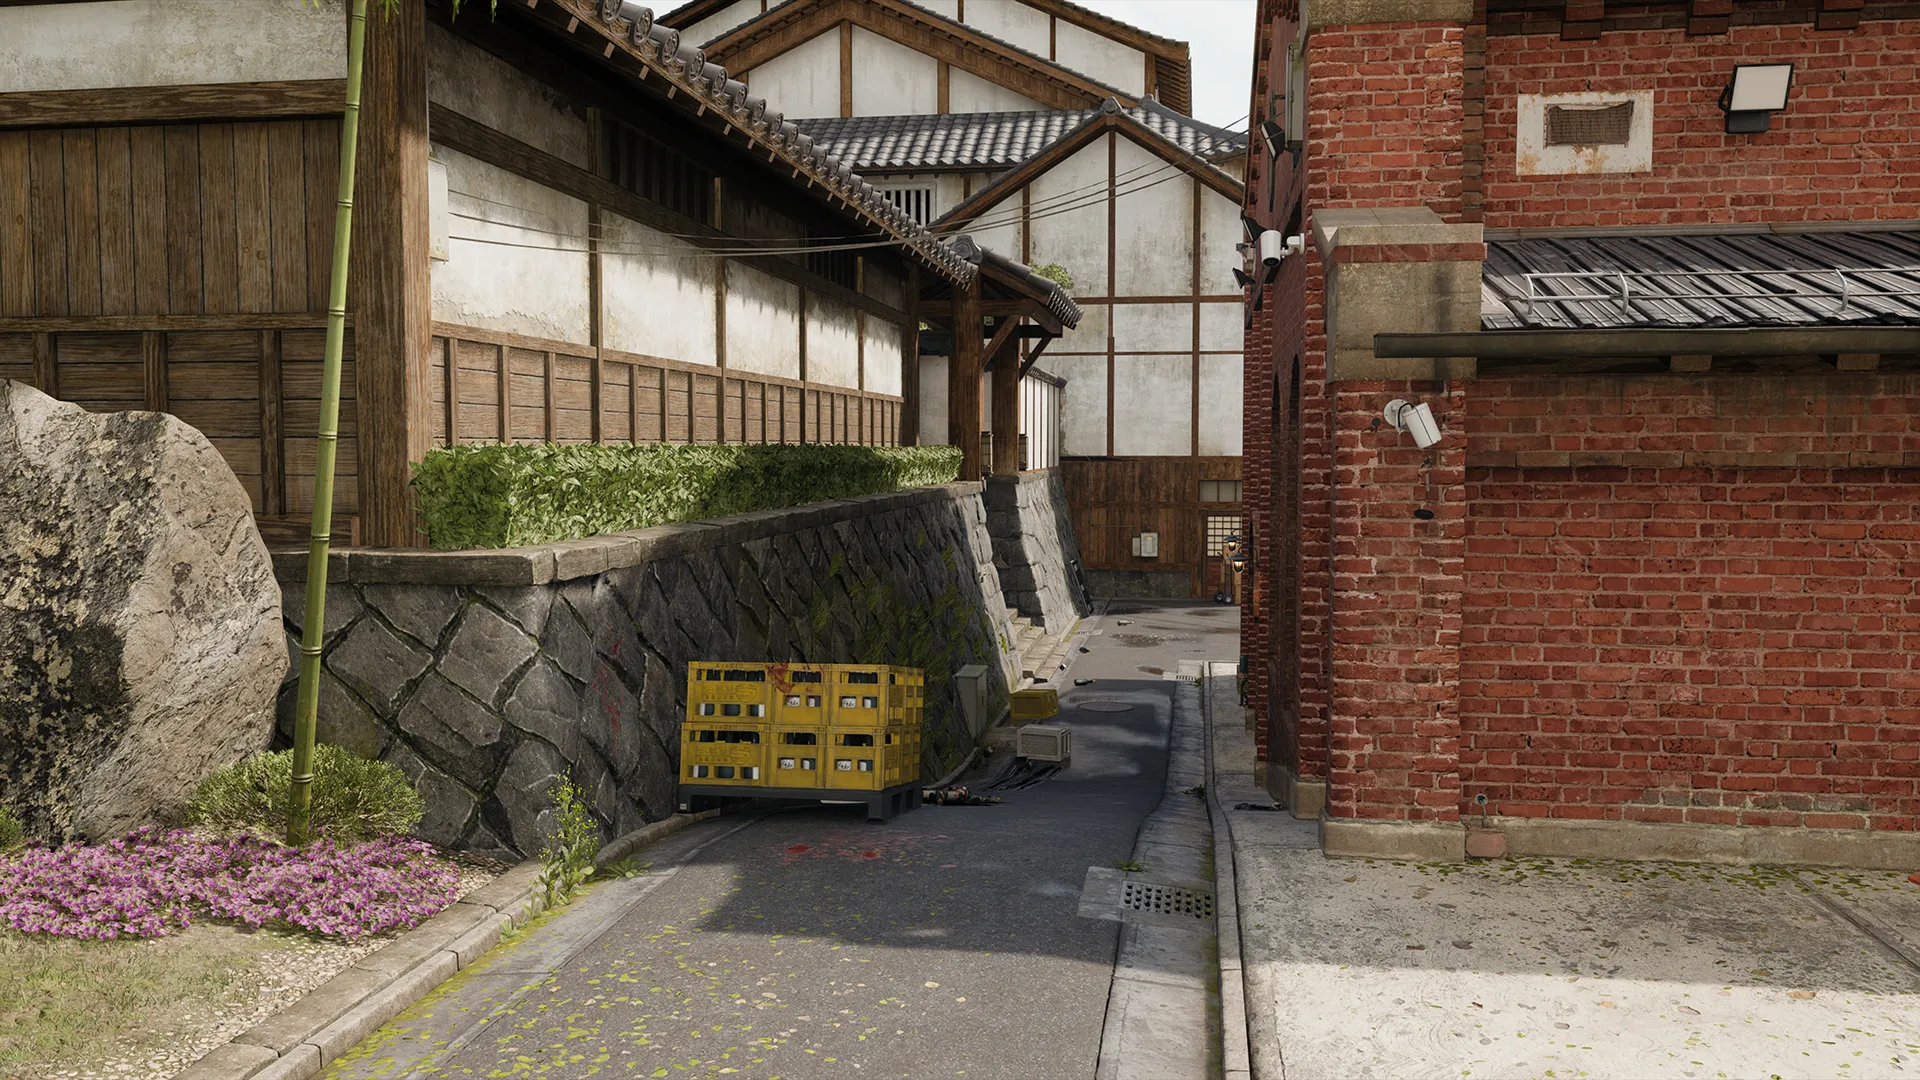
Equip a scope and watch the central Alley near the map’s eastern Loading Dock spawn. It’s a narrow view across, but with a high-damage weapon in hand it’s possible to snipe down passing enemies as they move between the Shrine and Crates Yard. For a higher vantage point, rush into the brick Depot building and look out from the upper window.
©/TM/® 2026 Activision Publishing, Inc.
For more information, please visit www.callofduty.com and www.youtube.com/callofduty, and follow @Activision and @CallofDuty on X, Instagram, and Facebook. For Call of Duty Updates, follow @CODUpdates on X.