Marker content goes here.
FIRING RANGE
Prebrief

Deploy to Firing Range, returning for Black Ops 7. Fight for control of the center Tower, weave between shooting targets moving back and forth on their tracks, and perfect your marksmanship with crossfire down the main Road. Whether you’re new to the map or a veteran redeploying to the site, use this guide to help hit the bullseye and secure victory.
Firing Range Intel

1. Trial by fire: The map’s center is flanked by multiple power positions along an open road, leading to constant crossfire in the area. If you can get into a strong position, though, this can be a huge advantage, providing target after target to feed your Scorestreaks.
2. A road less traveled: If the center’s not cutting it, set up a flanking path by the Dirt Road, Containers, or Range, cutting off enemies on the way. You might even try securing the back of the Office, catching targets near the center without exposure to the Tower and other power positions.
3. Enemy spotted: Equip the Engineer Perk or aim for the Strategist Combat Specialty to see enemy equipment through walls, helping you detect potential threats along dangerous routes like the center, Dirt Road, and Containers.
Advanced Map Tips
Hidey Hold — Alpha (A)

Blink and you’ll miss an opening blasted into the side of the shipping crate near Containers. It’s just large enough to hold an Operator or two and offers an ideal ambush point against targets racing through the crate. Use it for your own ambush purposes or toss a grenade in if you suspect an enemy waiting to pounce from within.
Shoot House Hero — Beta (B)
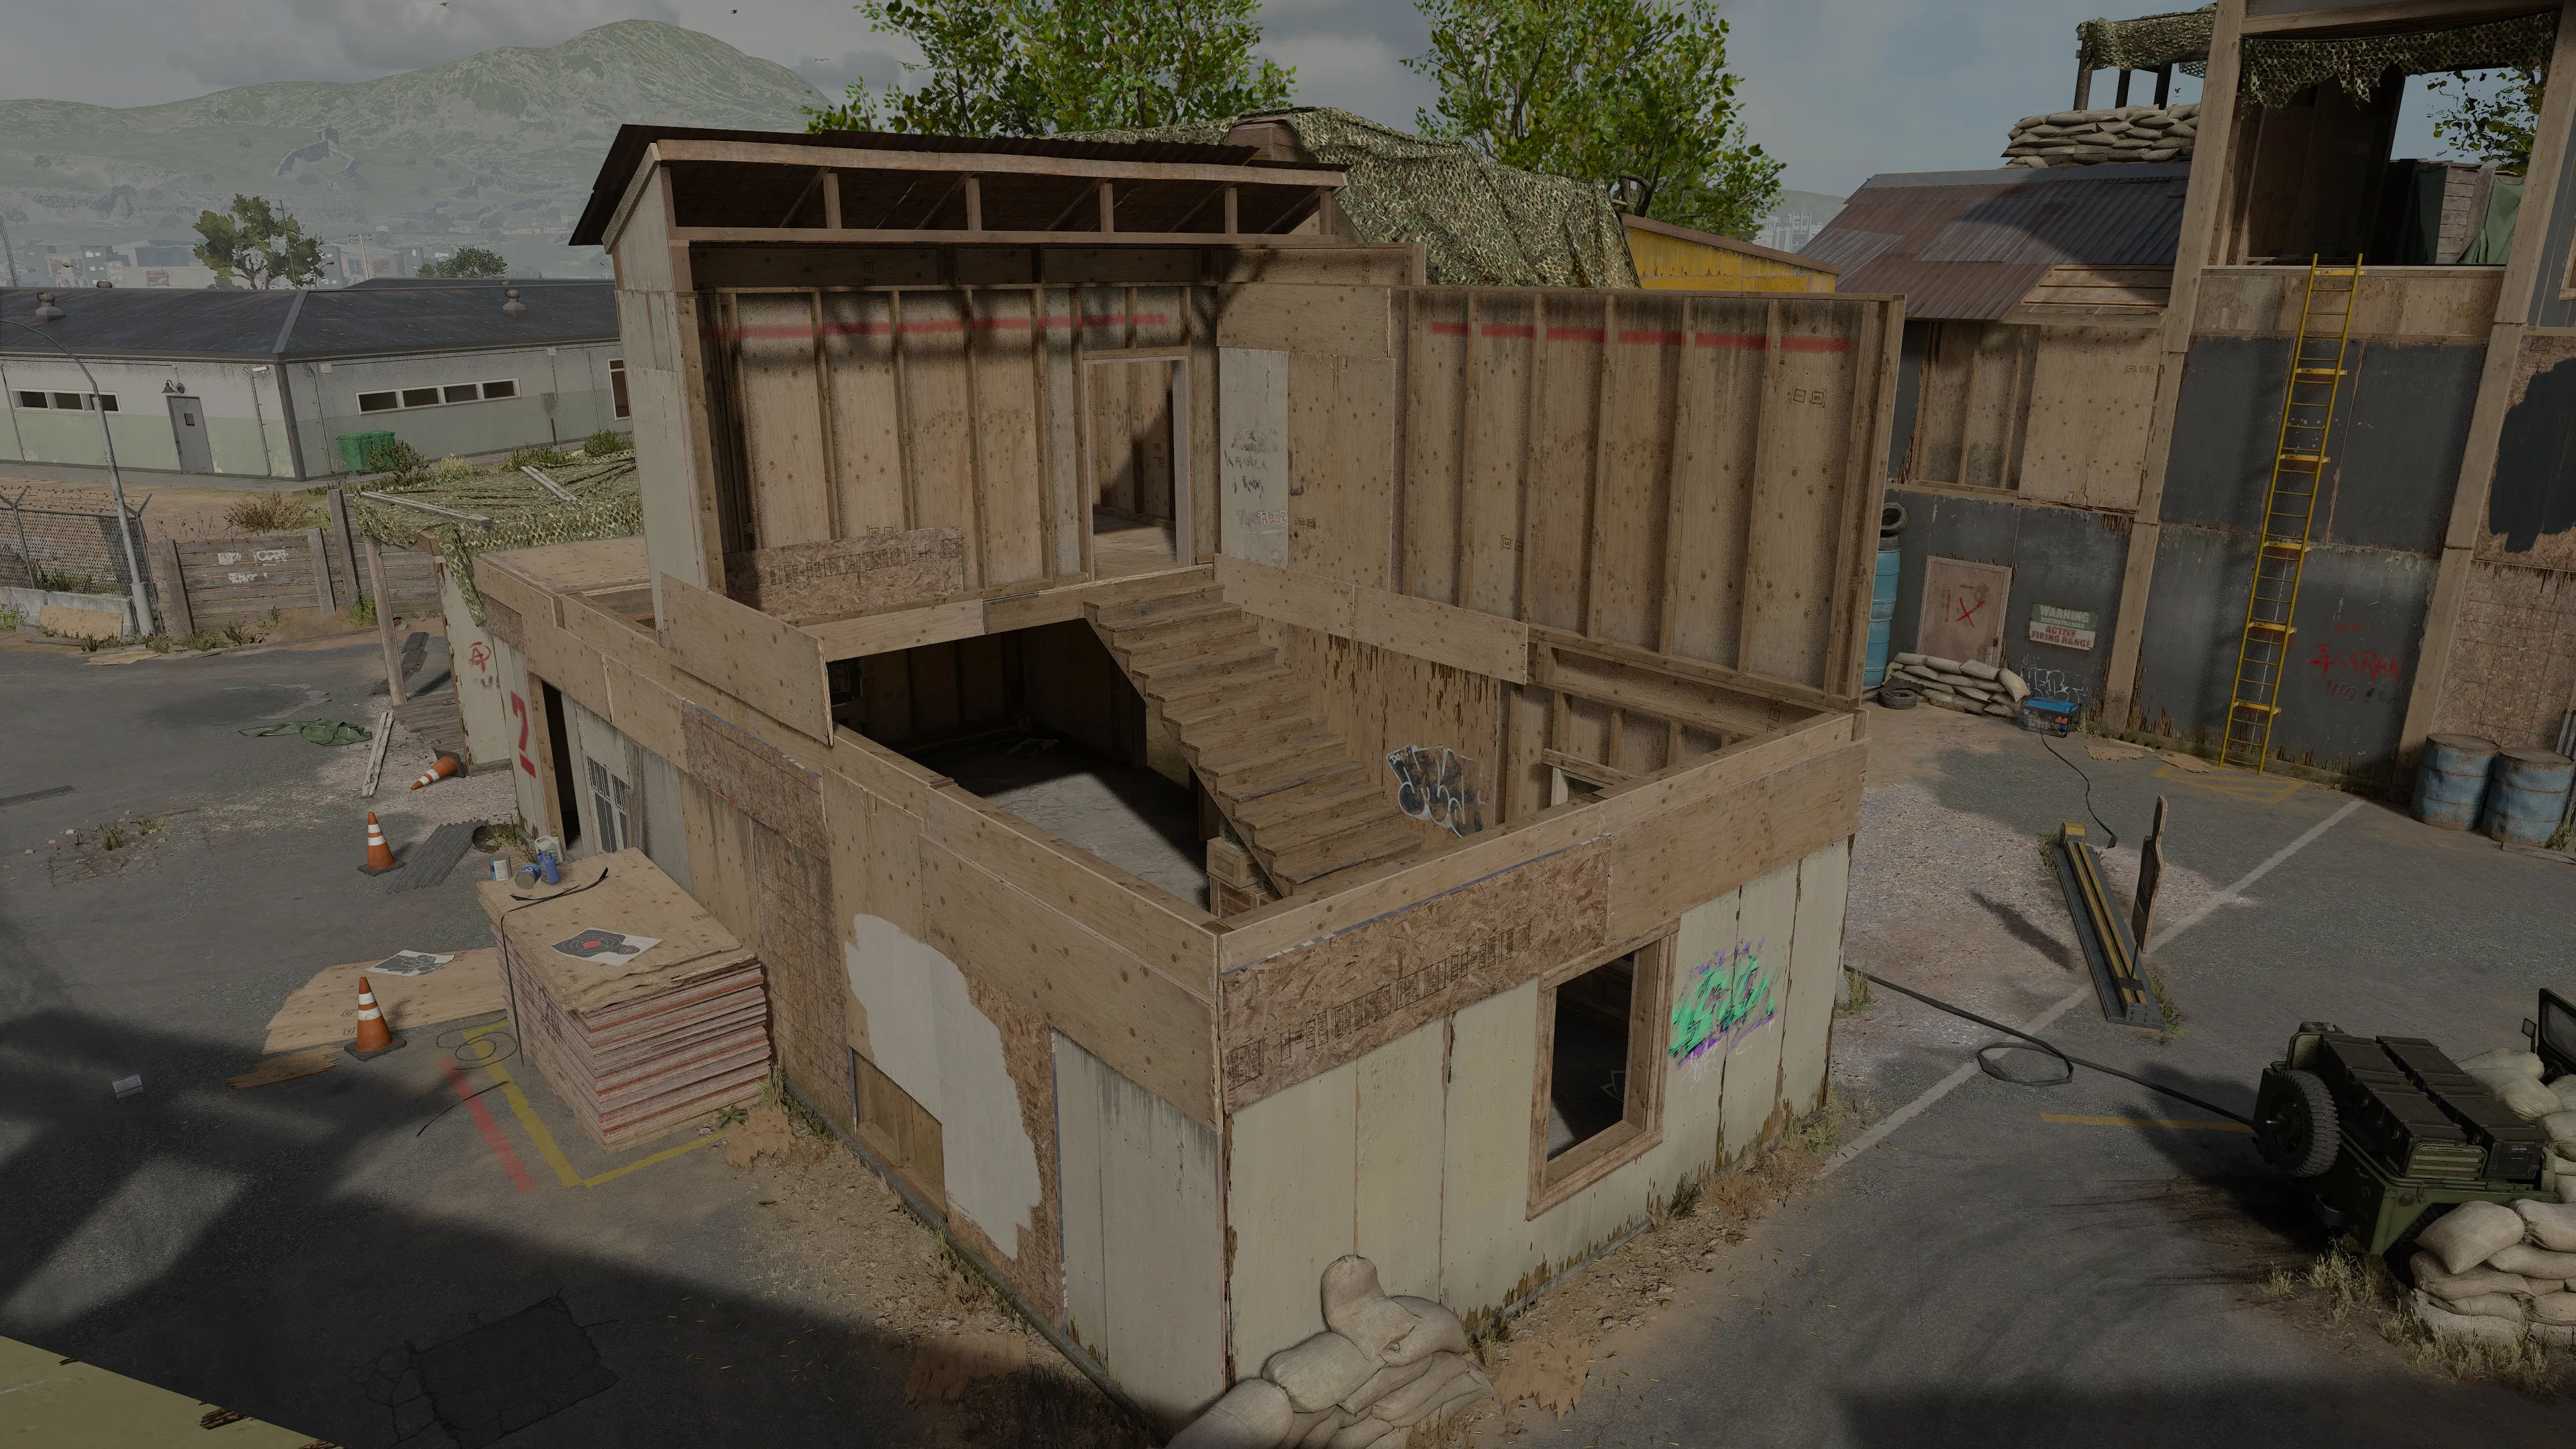
The Shoot House is a high risk, high reward location that’s worth squeezing every advantage out of. Two points often missed are the opening in the roof by the staircase, allowing you to drop down and surprise enemies on the first floor, and the ability to jump on top of the covered shed behind the building, maintaining your height advantage with a clear sightline down the Dirt Road.
Dirty Tricks — Gamma (Γ)
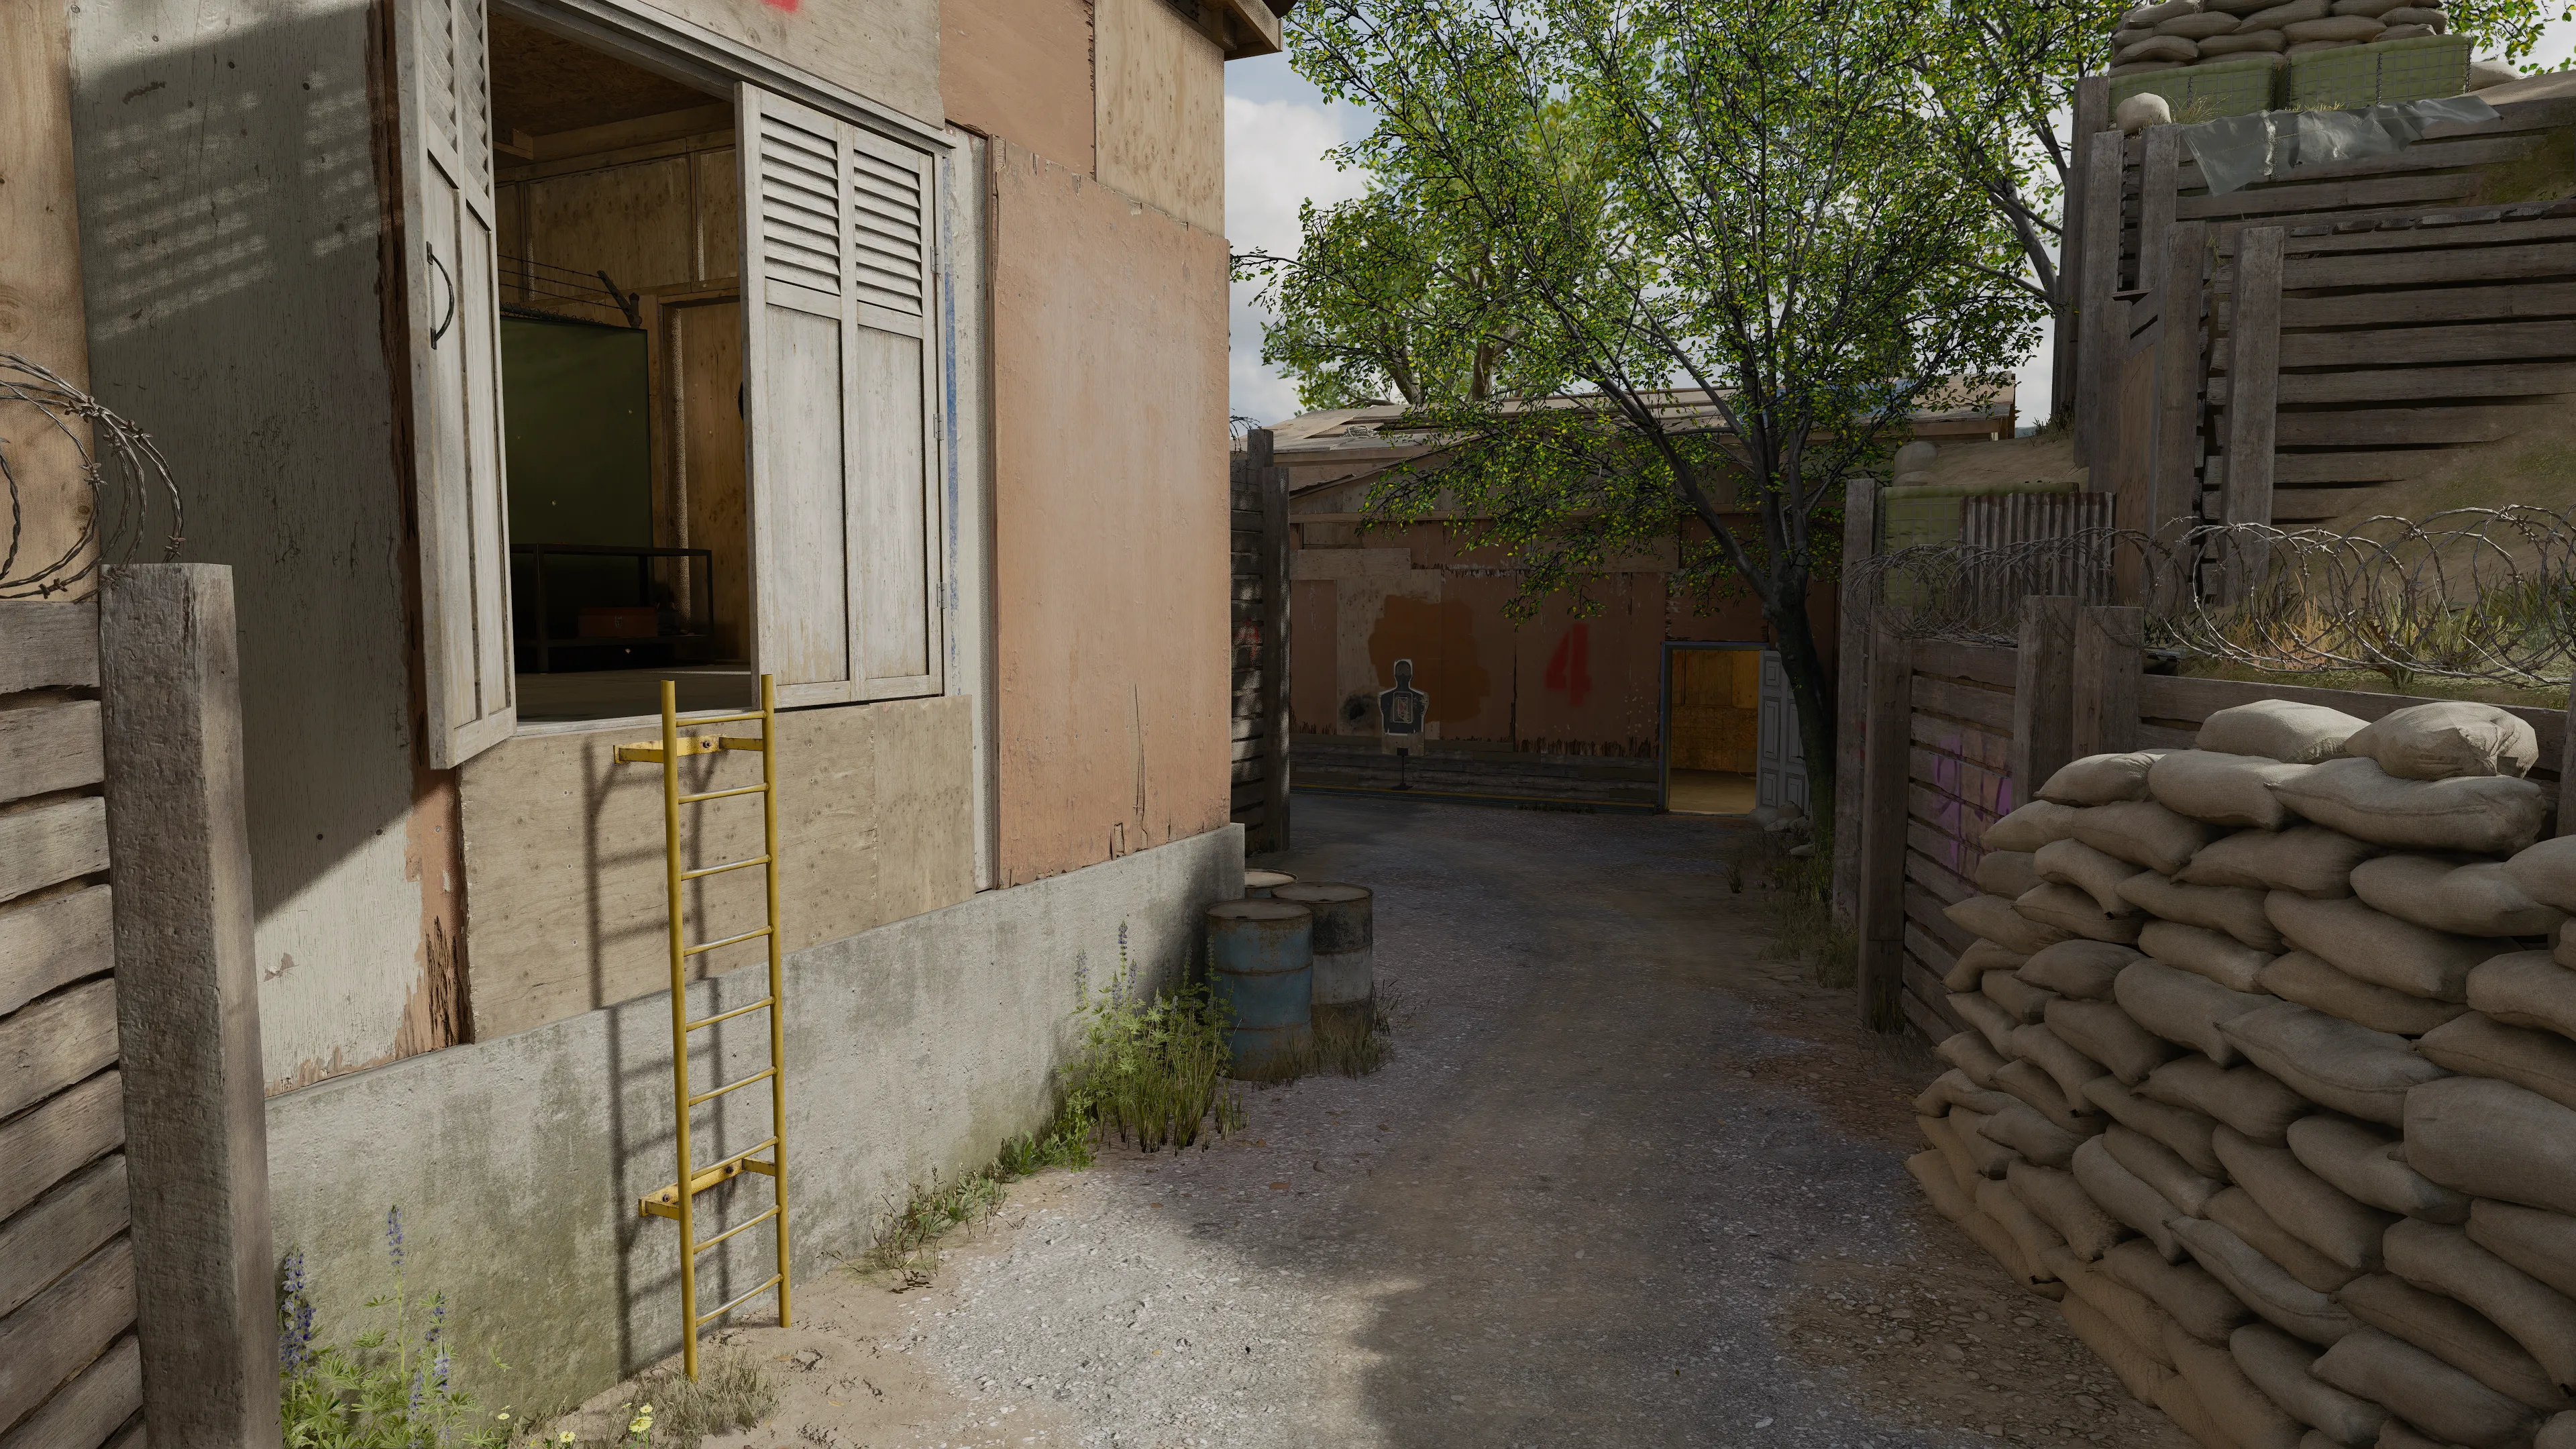
Be on your guard when passing the Storage building on the Dirt Road, another point where the risk of ambush escalates. As with the blasted hole in the shipping crate, a grenade can help dislodge any foes within, clearing the spot for your own use. Deploy a Trophy System to avoid a similar fate.
©/TM/® 2026 Activision Publishing, Inc.
For more information, please visit www.callofduty.com and www.youtube.com/callofduty, and follow @Activision and @CallofDuty on X, Instagram, and Facebook. For Call of Duty Updates, follow @CODUpdates on X.