Marker content goes here.
MELTDOWN
Prebrief
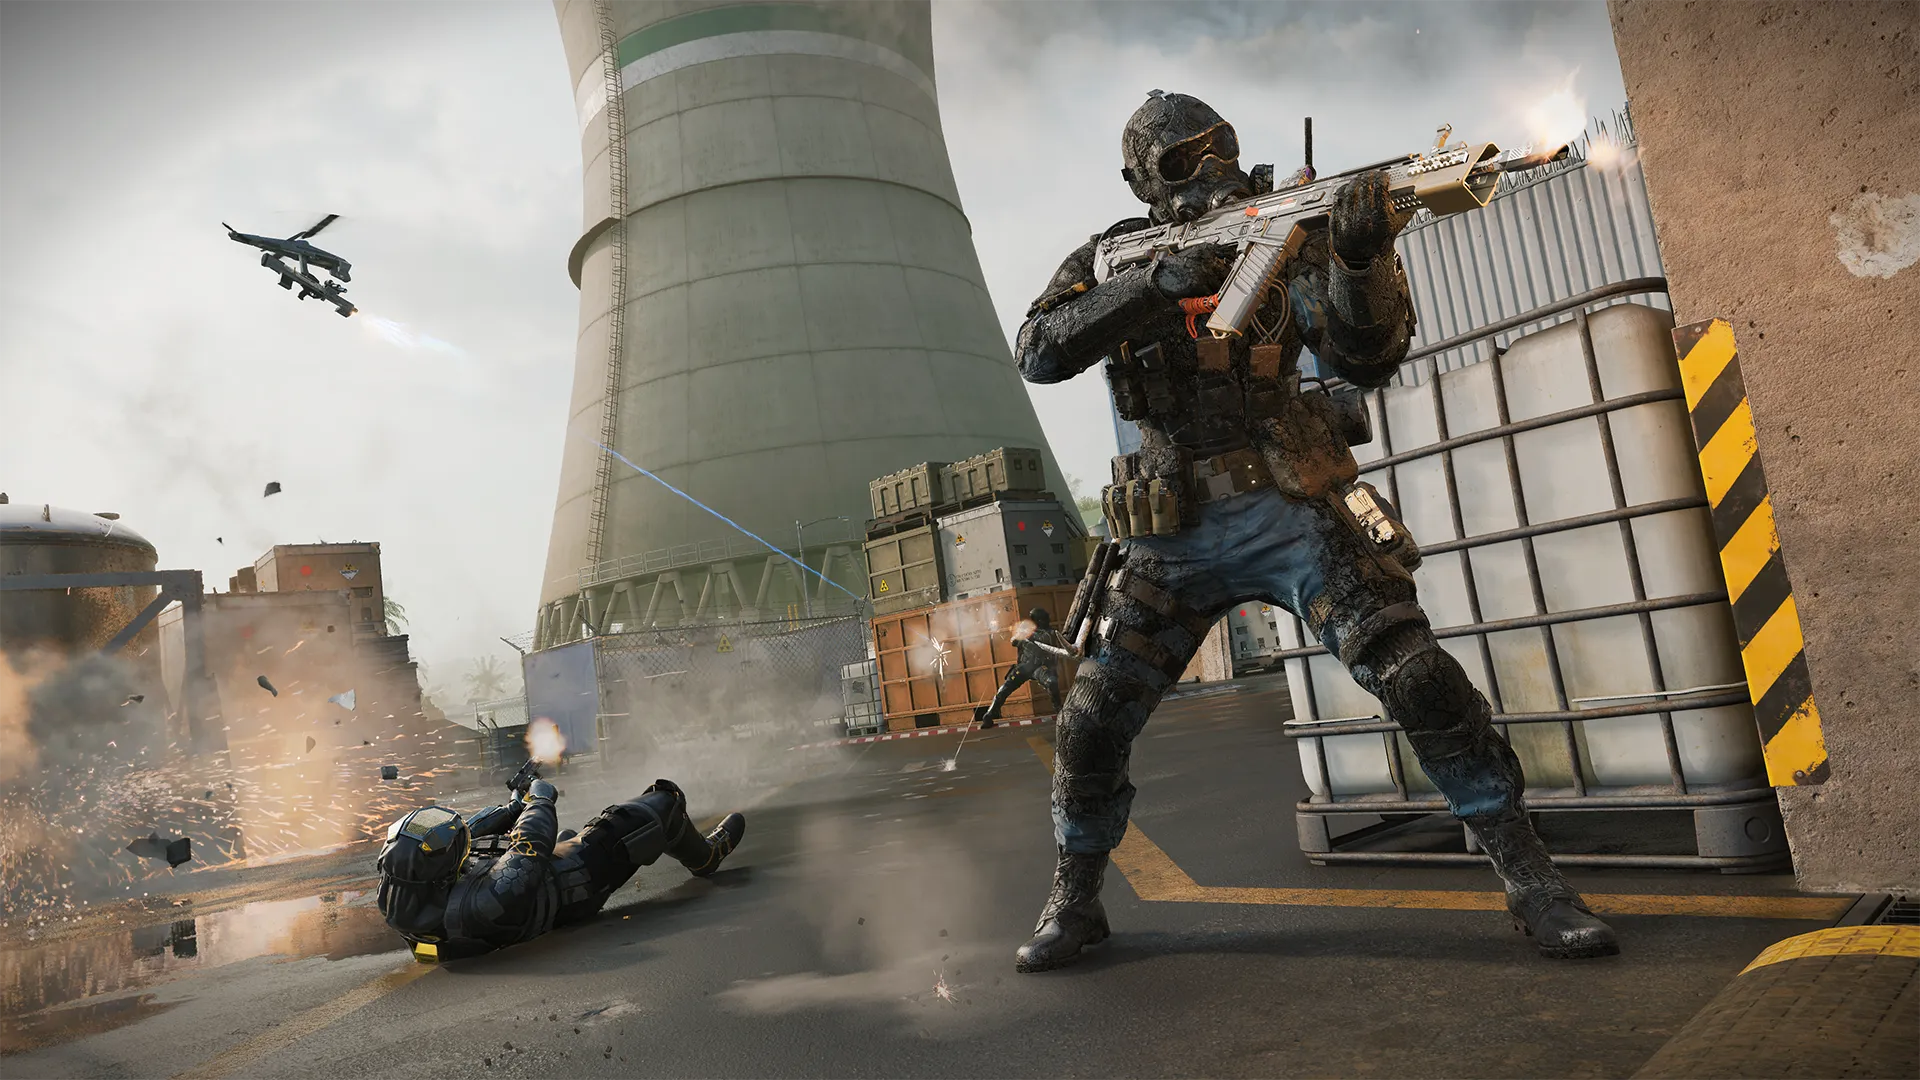
Prepare to go nuclear on the competition as the fan-favorite Meltdown from Call of Duty®: Black Ops 2 arrives remastered with updated visuals and dynamic lighting. From the central Ramps to the Turbine and Cooling Tower, this mid-sized industrial map supports all playstyles with areas for every kind of Loadout to shine. Whether you’re a Meltdown veteran or a newcomer to the map, use this guide to help lead your team to victory.
Meltdown Intel
1. Know your place: There’s room for every playstyle to shine here but positioning matters. A Sniper Rifle will struggle in the Cooling Tower while Shotguns aren’t great for the main road. Analyze the Tac Map, mark the points most beneficial to your Loadout, and reap the rewards.
2. Cooling Tower flank: Feel like you’re running up against a wall trying to survive in the Cooling Tower? Get behind the partial wall along the outside edge, using the thick concrete for cover until you’re ready to peek out and fire. Watch your flank and drop down at the ends for a quick escape.
3. Admin vs Control: As the dominant power positions on the map, the upper Admin and Control buildings draw sharpshooters throughout the match looking to lock down the map’s contentious middle lane. When you’re not up there yourself, keep their viewpoints in mind to help counter and evade and remain in top form.
Advanced Map Tips
Underpass — Alpha (A)
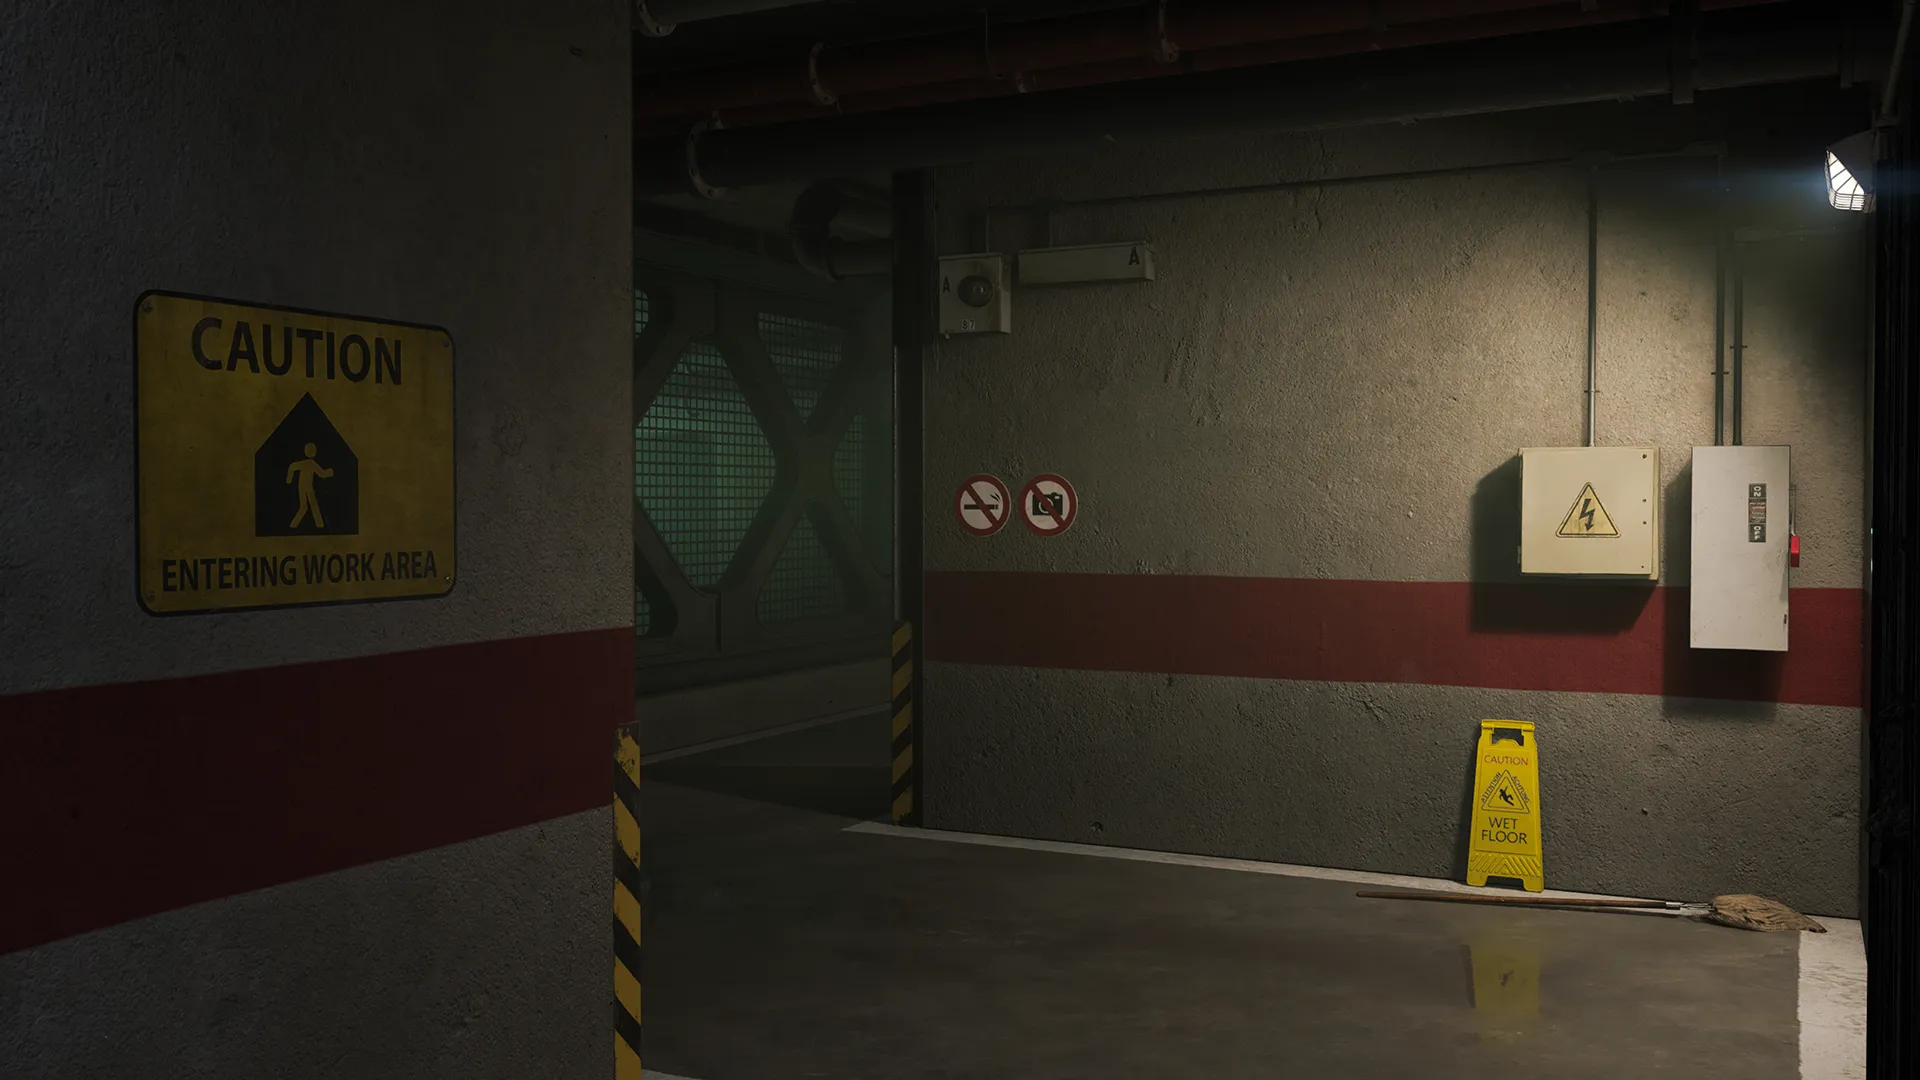
Stop fighting for every inch over the Ramps and rush through below, avoiding the prying eyes of snipers in the Admin and Control buildings aboveground. Down here, it’s close quarters threats you need to be careful about; bring a Shotgun for backup in case you turn the corner and come face-to-face with the enemy.
Road Control — Beta (B)
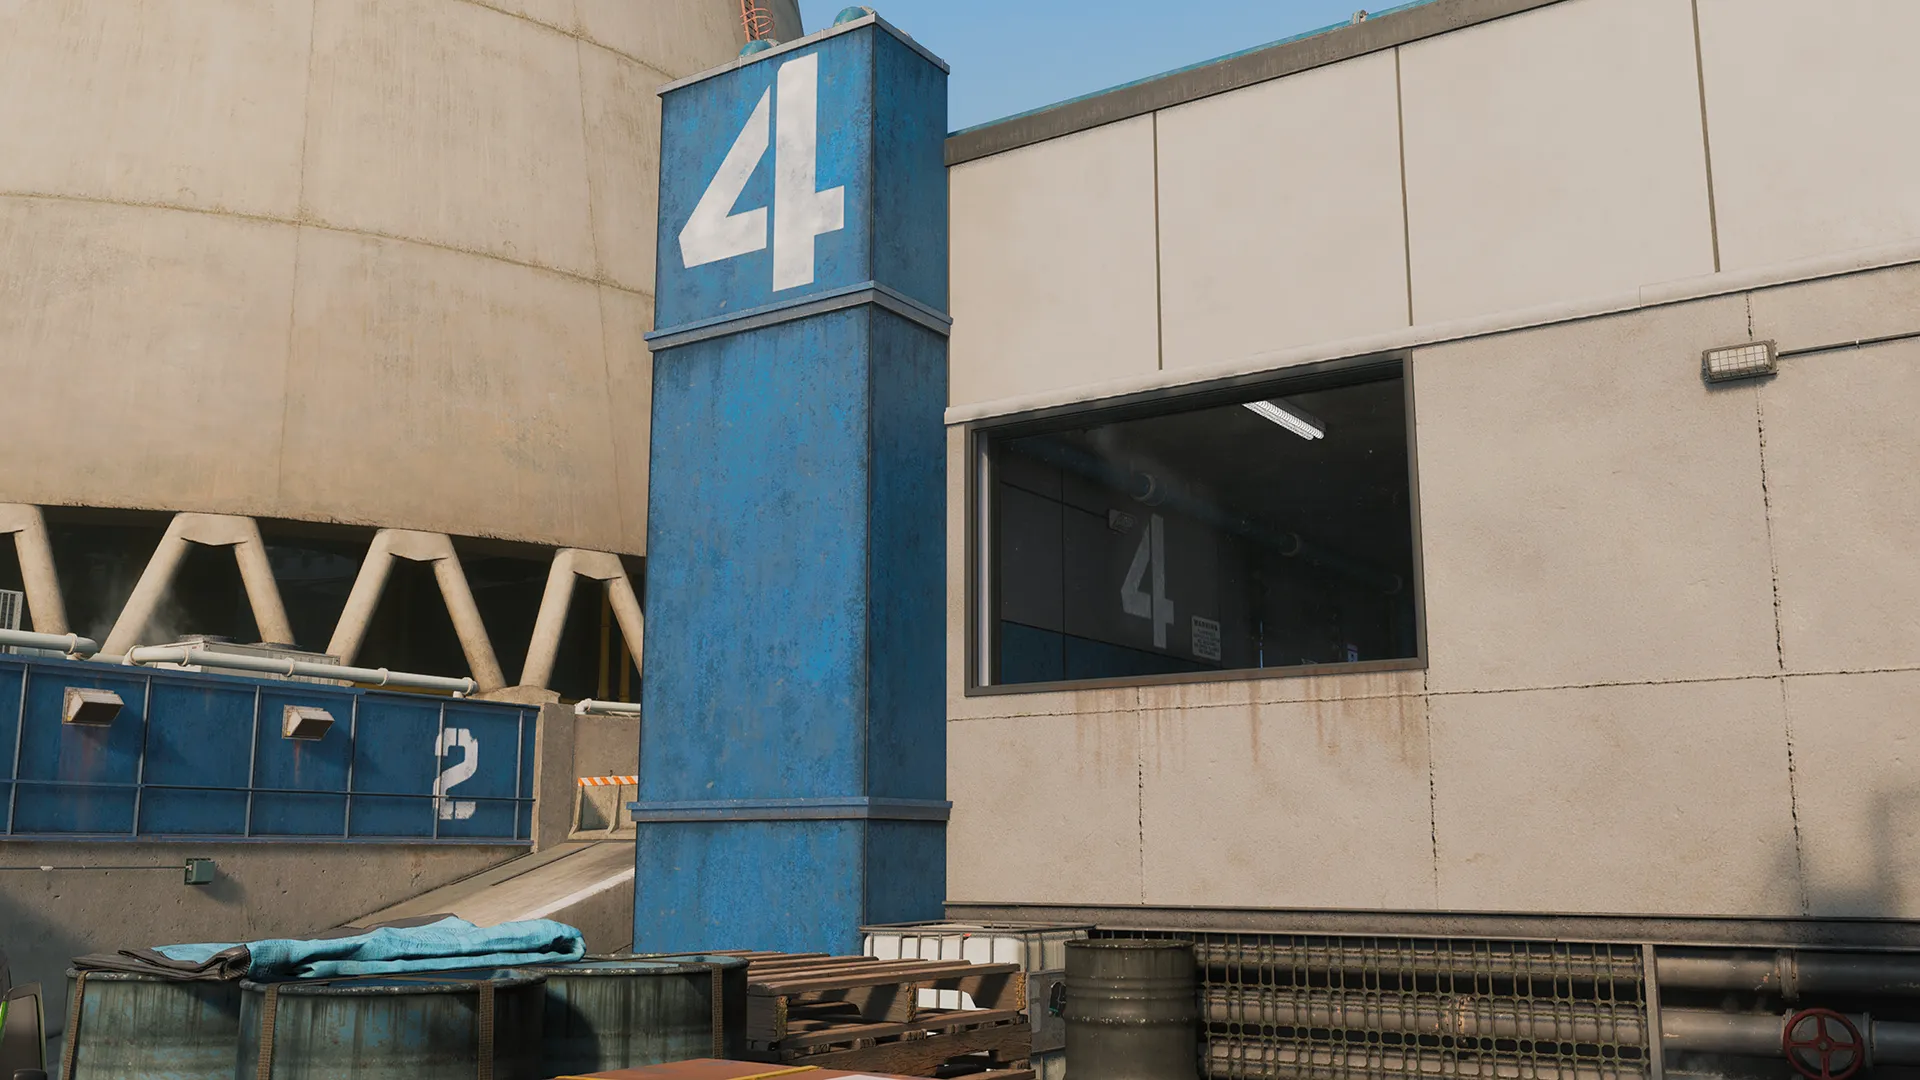
The Tank and Electrical rooms parallel to the Ramps each offer a window looking back toward the pathways leading up to the Ramps. Push into the one closer to the enemy team’s main spawning area for a vantage point perfectly lined up to take them out as they rush toward the middle.
Ledge Fighter — Gamma (Γ)
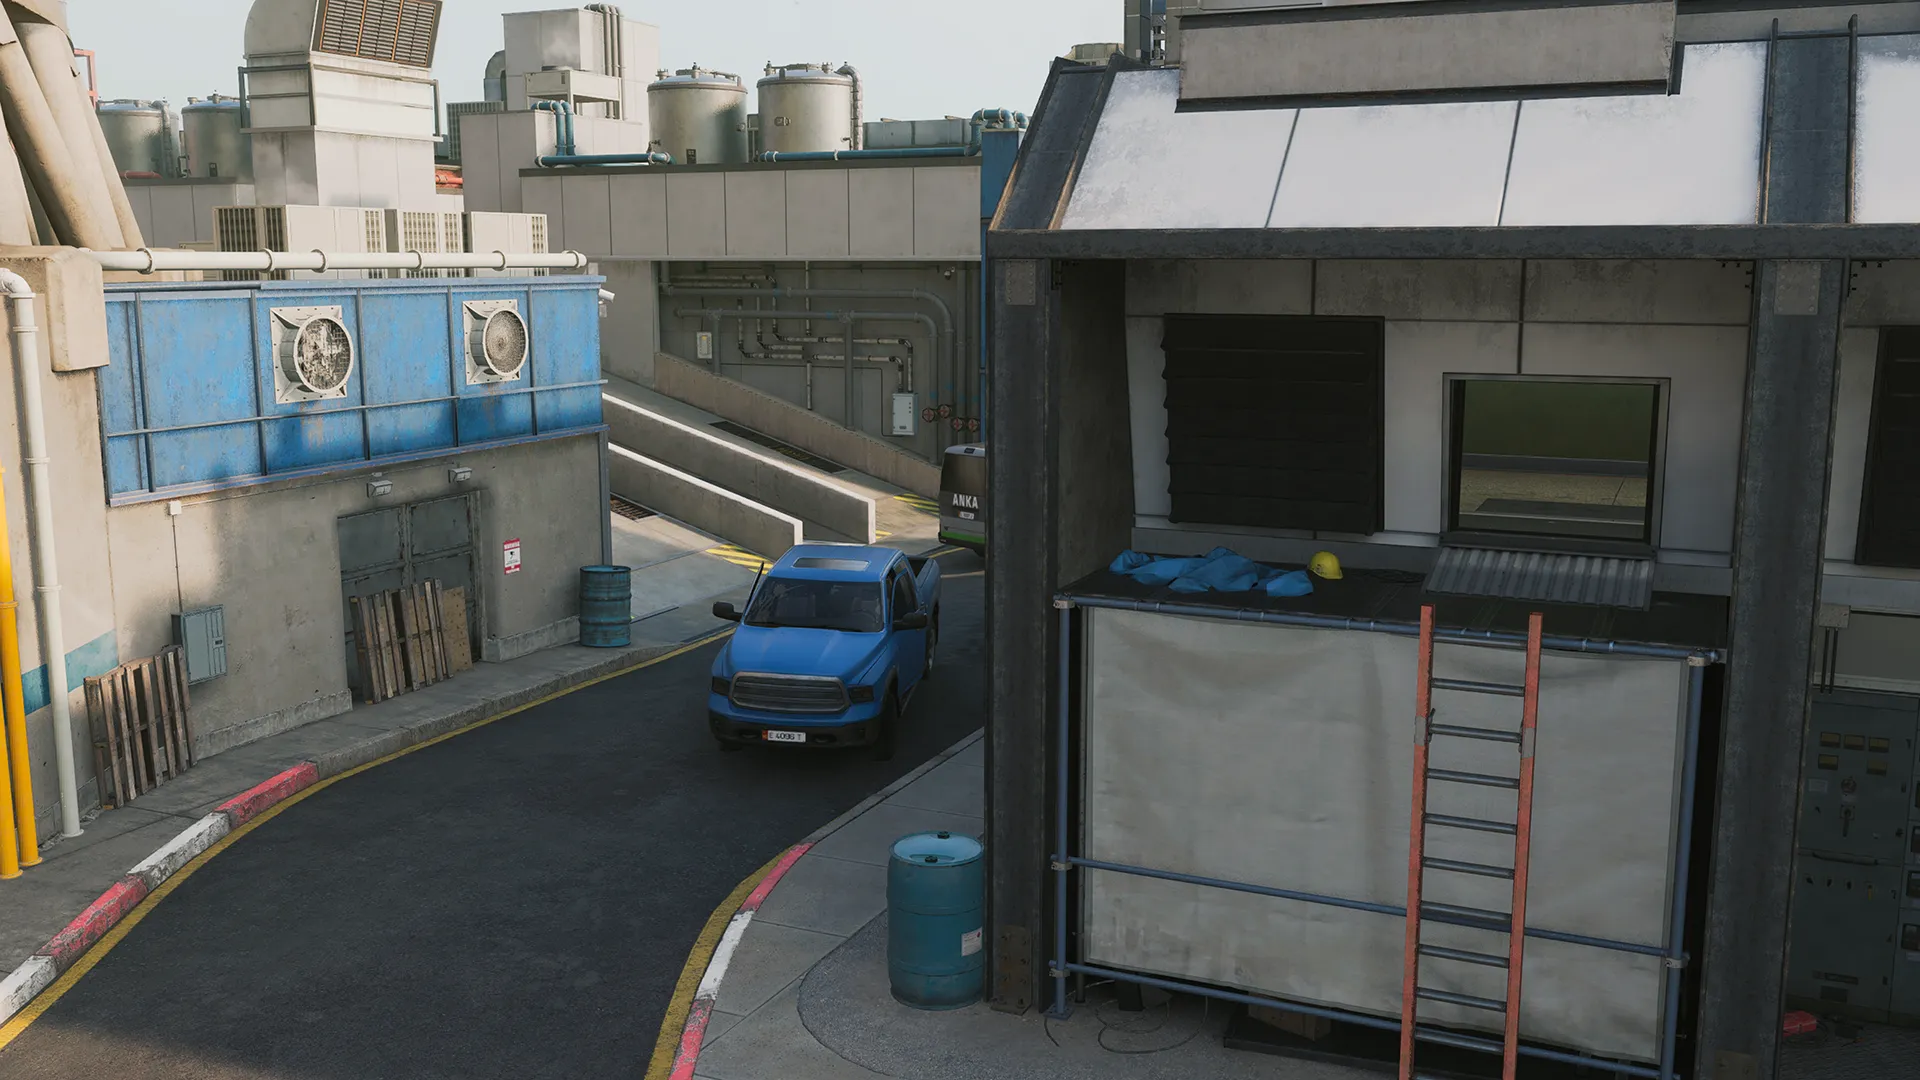
Climb up the outer ladder on the south side of the Control building for a sneaky entrance into the top floor, or an escape if you need to get out of there fast. The small ledge here is also perfect for ambushing enemies on the path below.
©/TM/® 2025 Activision Publishing, Inc.
For more information, please visit www.callofduty.com and www.youtube.com/callofduty, and follow @Activision and @CallofDuty on X, Instagram, and Facebook. For Call of Duty Updates, follow @CODUpdates on X.