Marker content goes here.
FRINGE
Prebrief
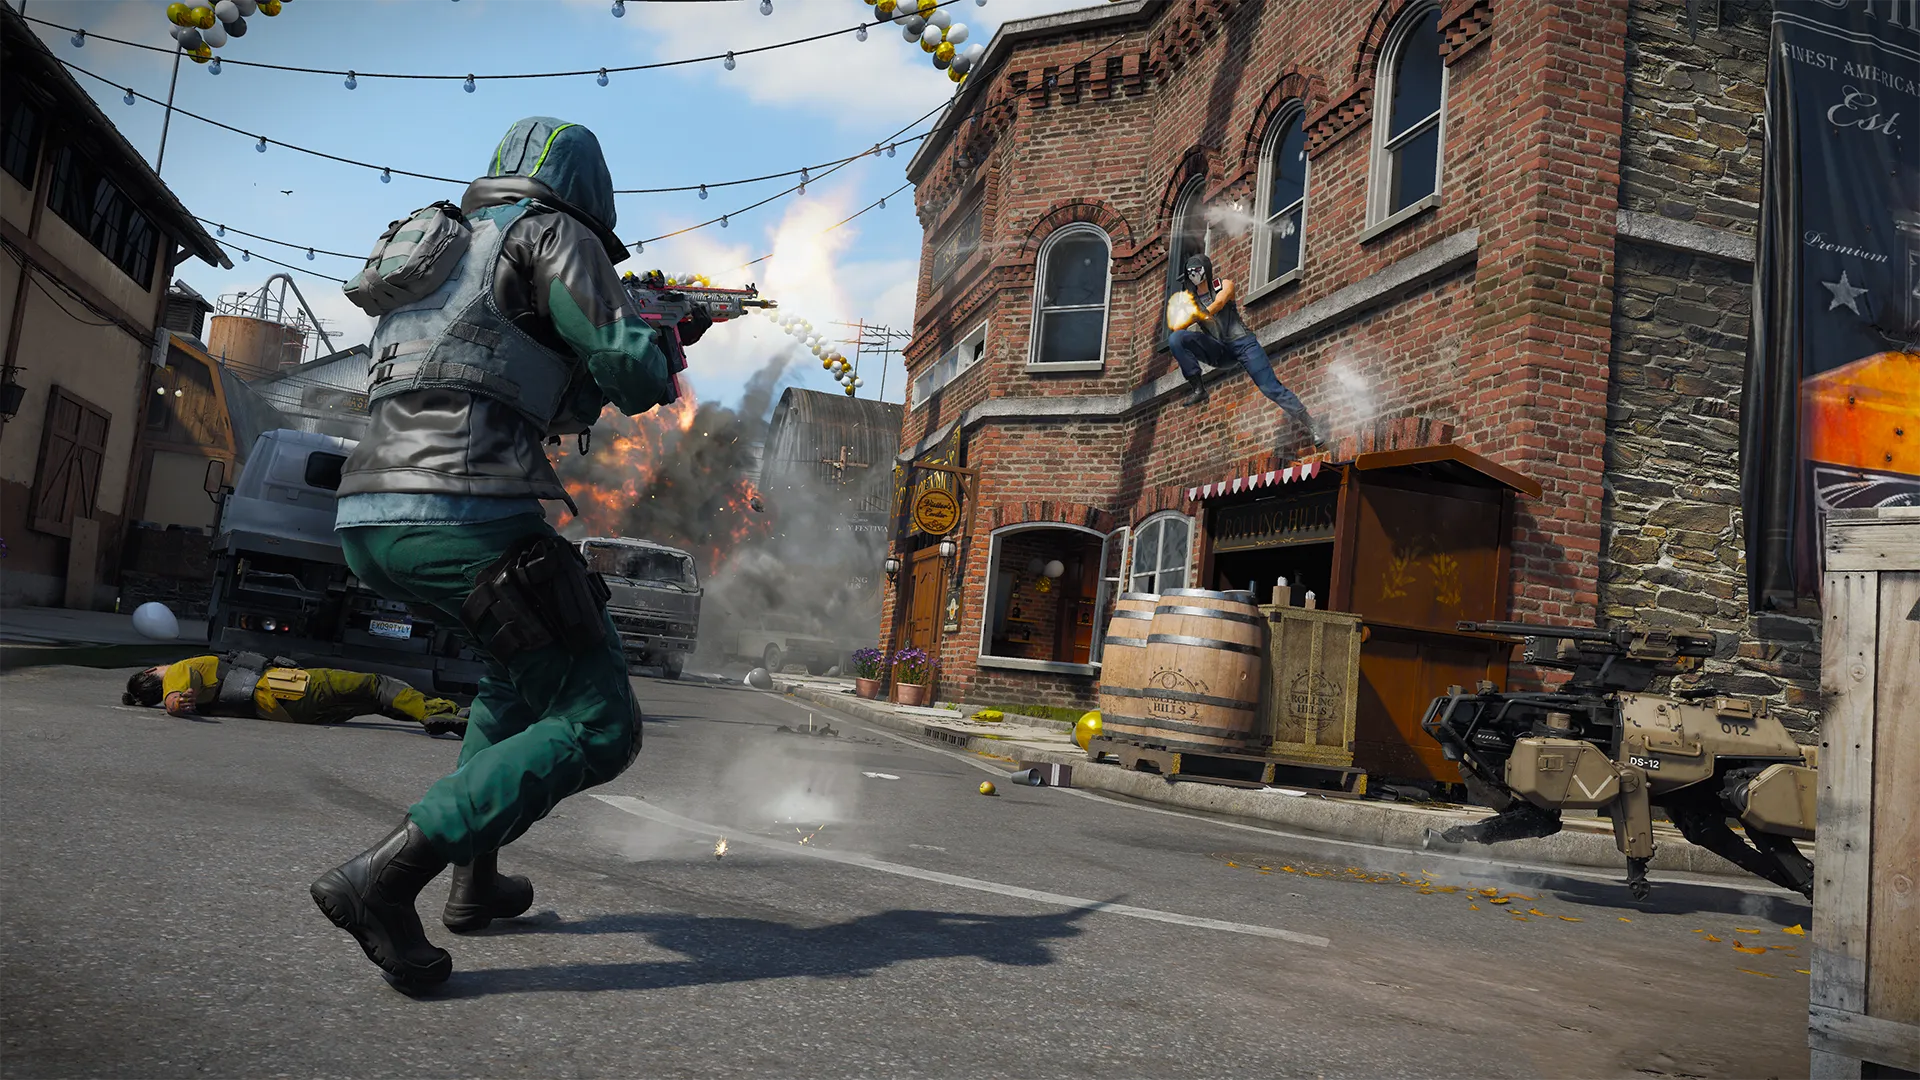
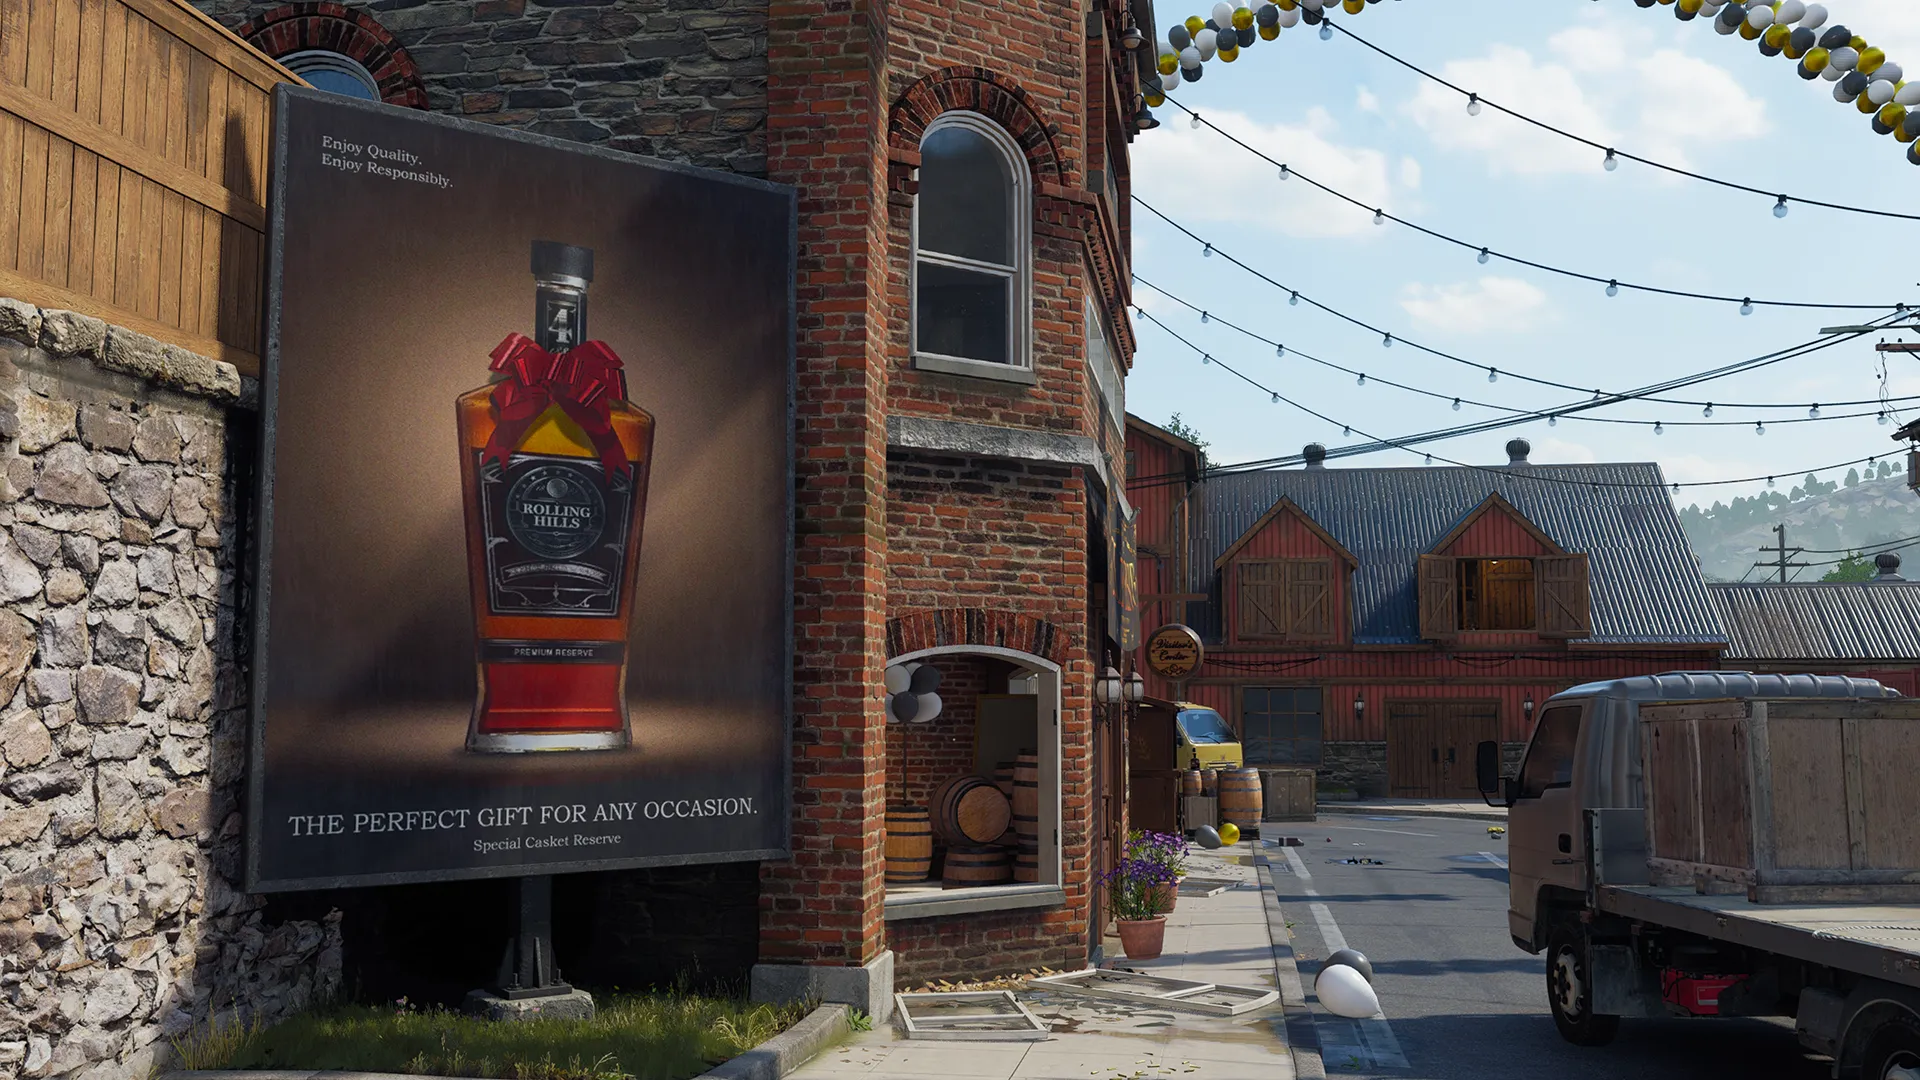
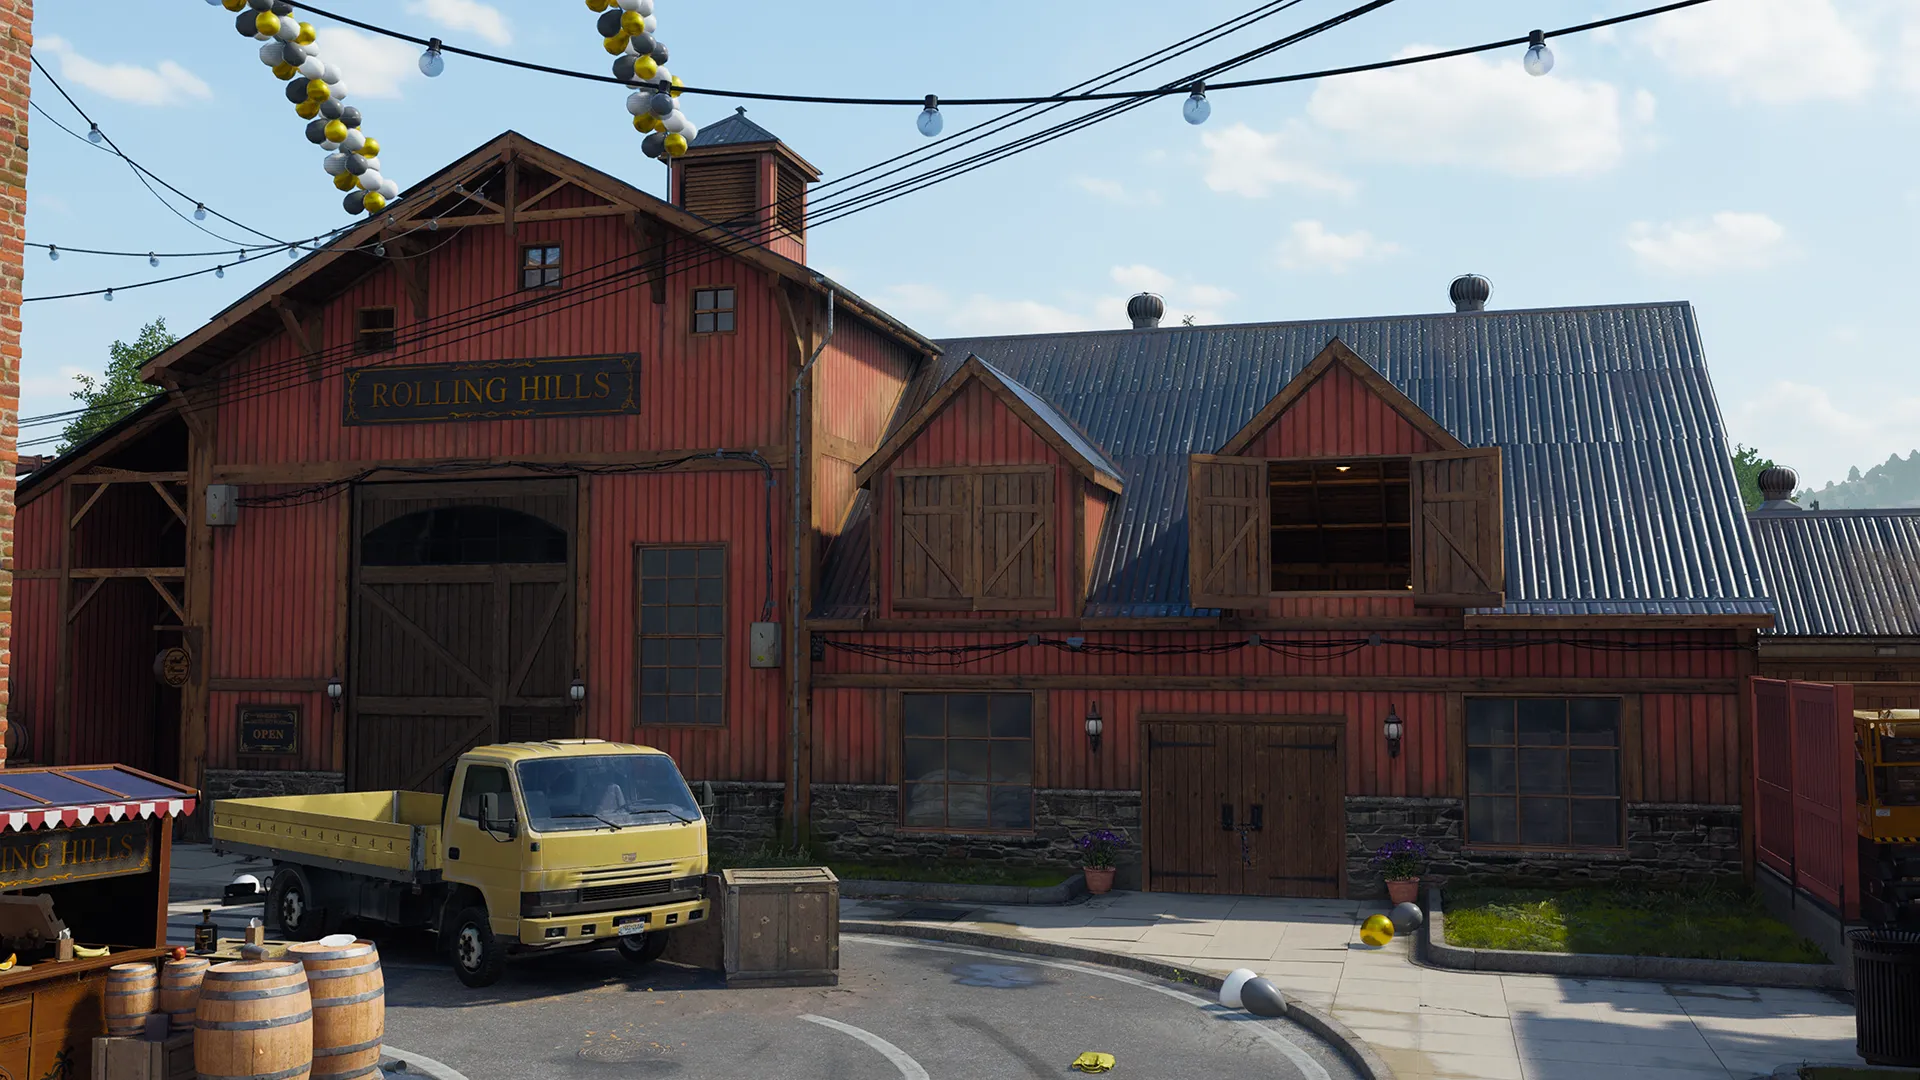
Revisit Fringe from Call of Duty®: Black Ops 6 in its reimagined form depicting the grand opening of the Rolling Hills distillery. Battle along the main Road or dive into the Bar for a closer fight. Watch for sharpshooters in the upper Barn and along the Bridge and relive the thrill of trying to make it out alive through the narrow Loading route.
Fringe Intel
1. Mastering the middle: There’s no wrong way to gain or maintain control of the central area of the map. Whether you take the long-range approach from the East and West or you flank from the North and South, as long as you can get there, you’ll be able to find an angle the enemy won’t expect you to fire from.
2. Info inspection: Pay attention to the enemy spawns and take a moment to think about the info you’re seeing and hearing. Fringe is a dynamic map that gives strategic players a big advantage toward their next elimination. Take the long route to the flank or toss a Frag from over the fence where the enemy can’t see you. A small piece of info can go a long way.
3. Lane lockdown: Because of the many flanking routes on Fringe, it’s imperative that your team locks down at least two of the three lanes on the map. Whether it’s sending a large number of rounds down the center lane or utilizing your equipment on either of the side lanes, stopping the enemy’s movement and forcing them to play at your pace can be the deciding factor in any given match.
Advanced Map Tips
Fringe Rule of Thirds — Alpha (A)
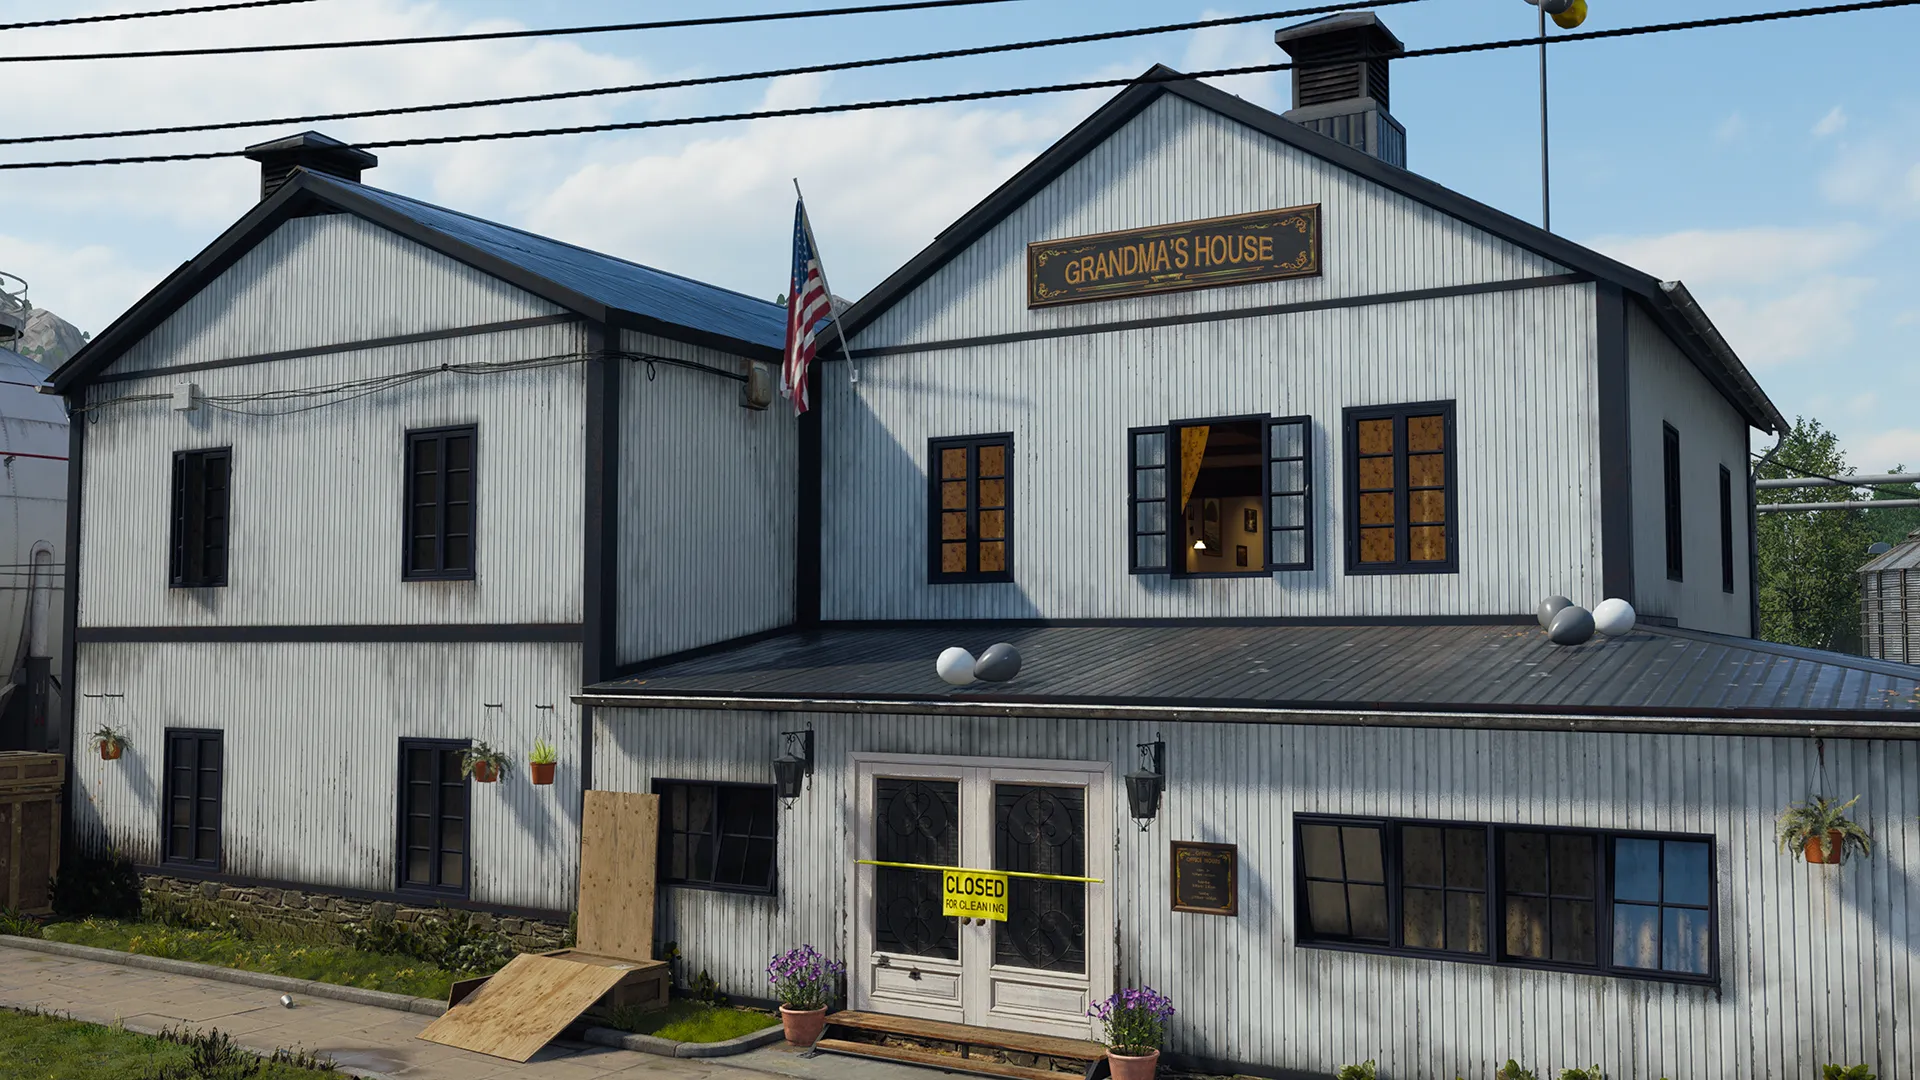
Fringe can be thought of broadly in three major sections. Placing the Barn and Grandma’s House at the center of the eastern and western sections, traverse these areas as if they were their own three-lane maps. Keep this in mind when attempting to gain or maintain control of each major location and help your team control the flow of the entire map.
Bar Hopping — Beta (B)
Perhaps the most cover you’ll find in the center of the map is in the Bar. It’s also one of only a few ways to approach the “B” Domination Zone or Hard Point “1” without being exposed to snipers for an extended amount of time. The Bar also contains two windows that look out in either direction of the Road; provide some covering fire for your teammates who may be capturing the objective.
Fortify the Sniper Lanes — Gamma (Γ)
The center lane on Fringe is an obvious sniper lane. Holding down the middle of the map with a Sniper Rifle or Marksman Rifle is straightforward so long as you don’t have enemy Operators flanking your position or tossing in explosives from the ground level. Both the Barn and the House are exposed to these tactics. If your teammates are covering these positions, be sure to watch their backs and make sure they don’t get taken by surprise. Keeping your eye on your team can help you rack up quite a high elim count if you play to your Loadout’s strengths.
©/TM/® 2025 Activision Publishing, Inc.
For more information, please visit www.callofduty.com and www.youtube.com/callofduty, and follow @Activision and @CallofDuty on X, Instagram, and Facebook. For Call of Duty Updates, follow @CODUpdates on X.