Marker content goes here.
CORTEX
Prebrief
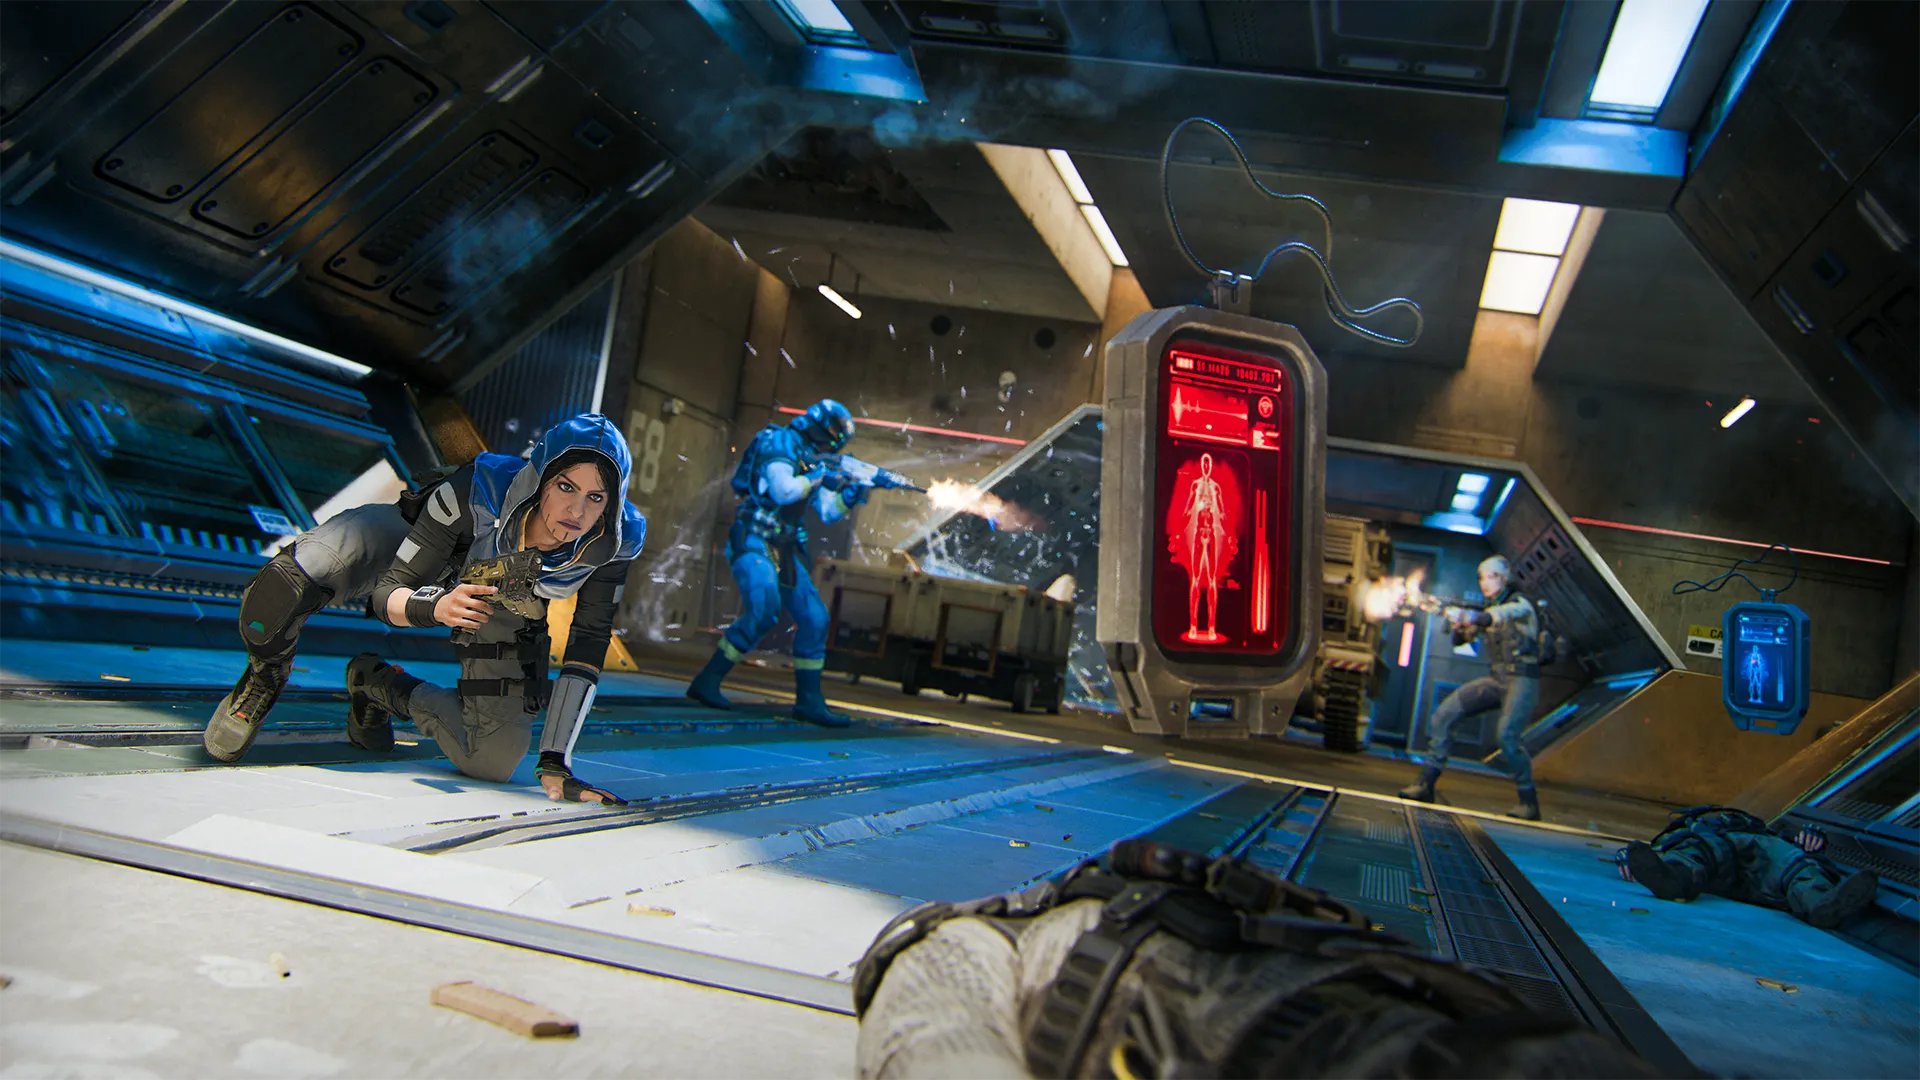
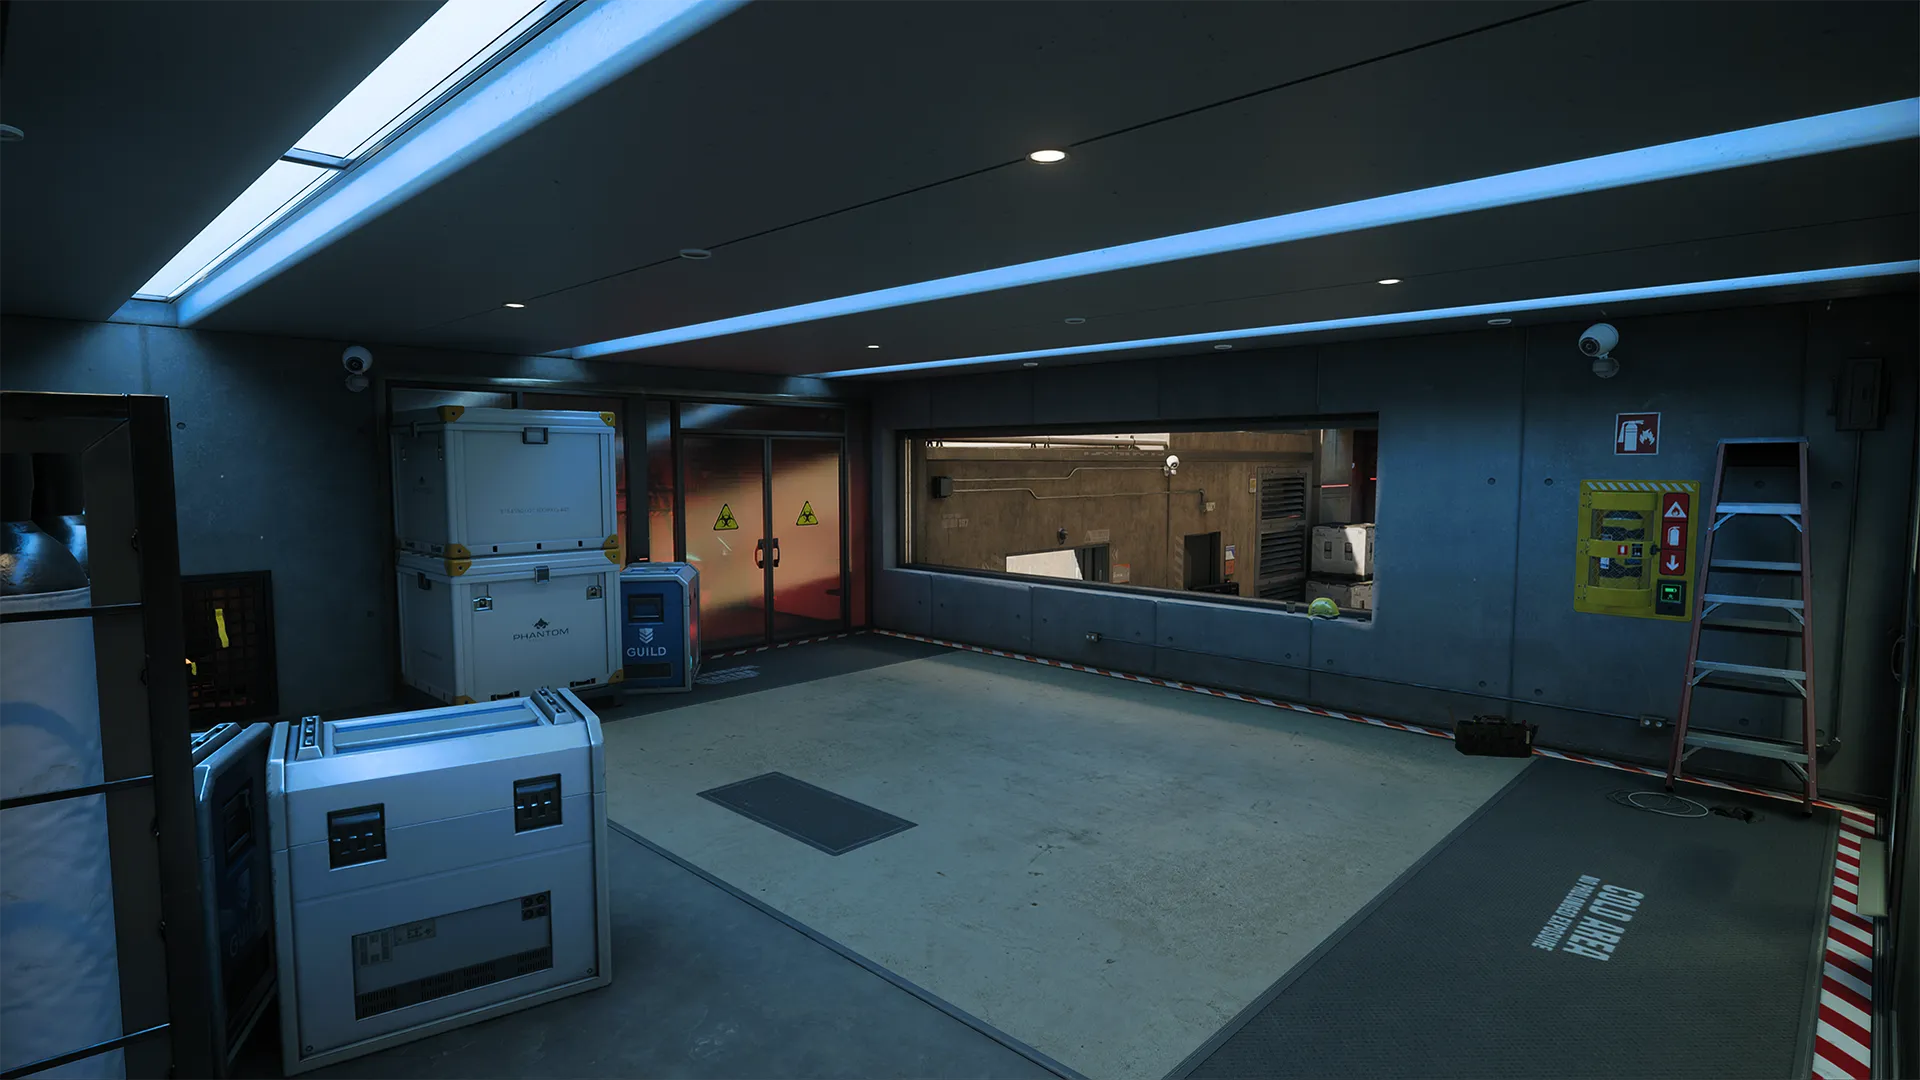
Descend on a cliffside compound conducting experimental research for The Guild. Inside, scattered vat chambers hold subjects suspended in fluid, the operation supported by an adjoining autopsy and morgue. Lock down the underpass to control the heart of the map or branch out to the narrow skybridge overlooking the water.
Cortex Intel
1. Vat Chamber blast: Shotguns reign supreme around the red vats, large enough to hide your movement and squeezed in tight so that you’re right up against any enemies unlucky enough to cross your path.
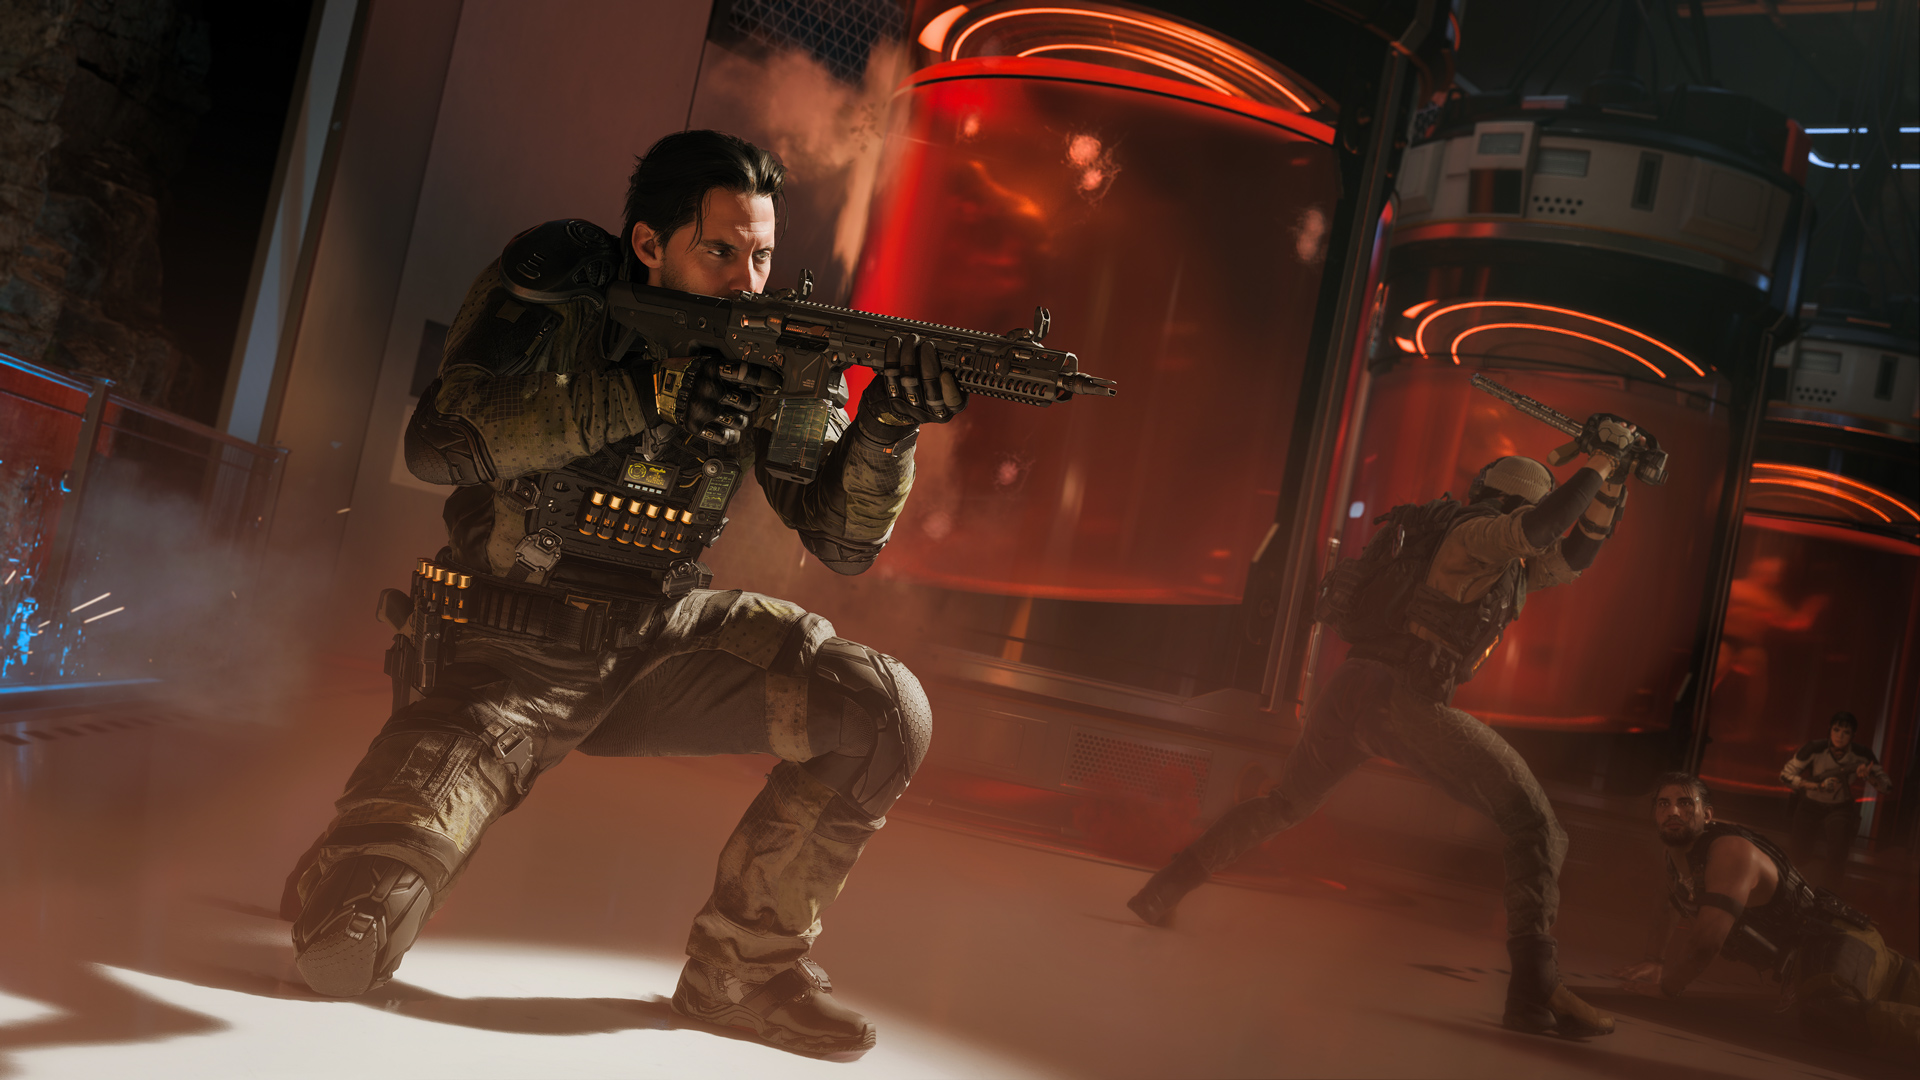
2. Skybridge Finishing Moves: It’s easy to get caught up with what’s in front of you when traversing the Skybridge. Use this against enemy players by going in for the Finishing Move when their backs are facing you and they’re not checking their six.
3. Bedtime: Climb up into the bed of the parked vehicles around on the map, their ledges providing decent cover and a place to mount your weapon. When things get bad, go prone to minimize your profile and then pop back up for the counterattack.
Advanced Map Tips
Up and Underpass — Alpha (A)
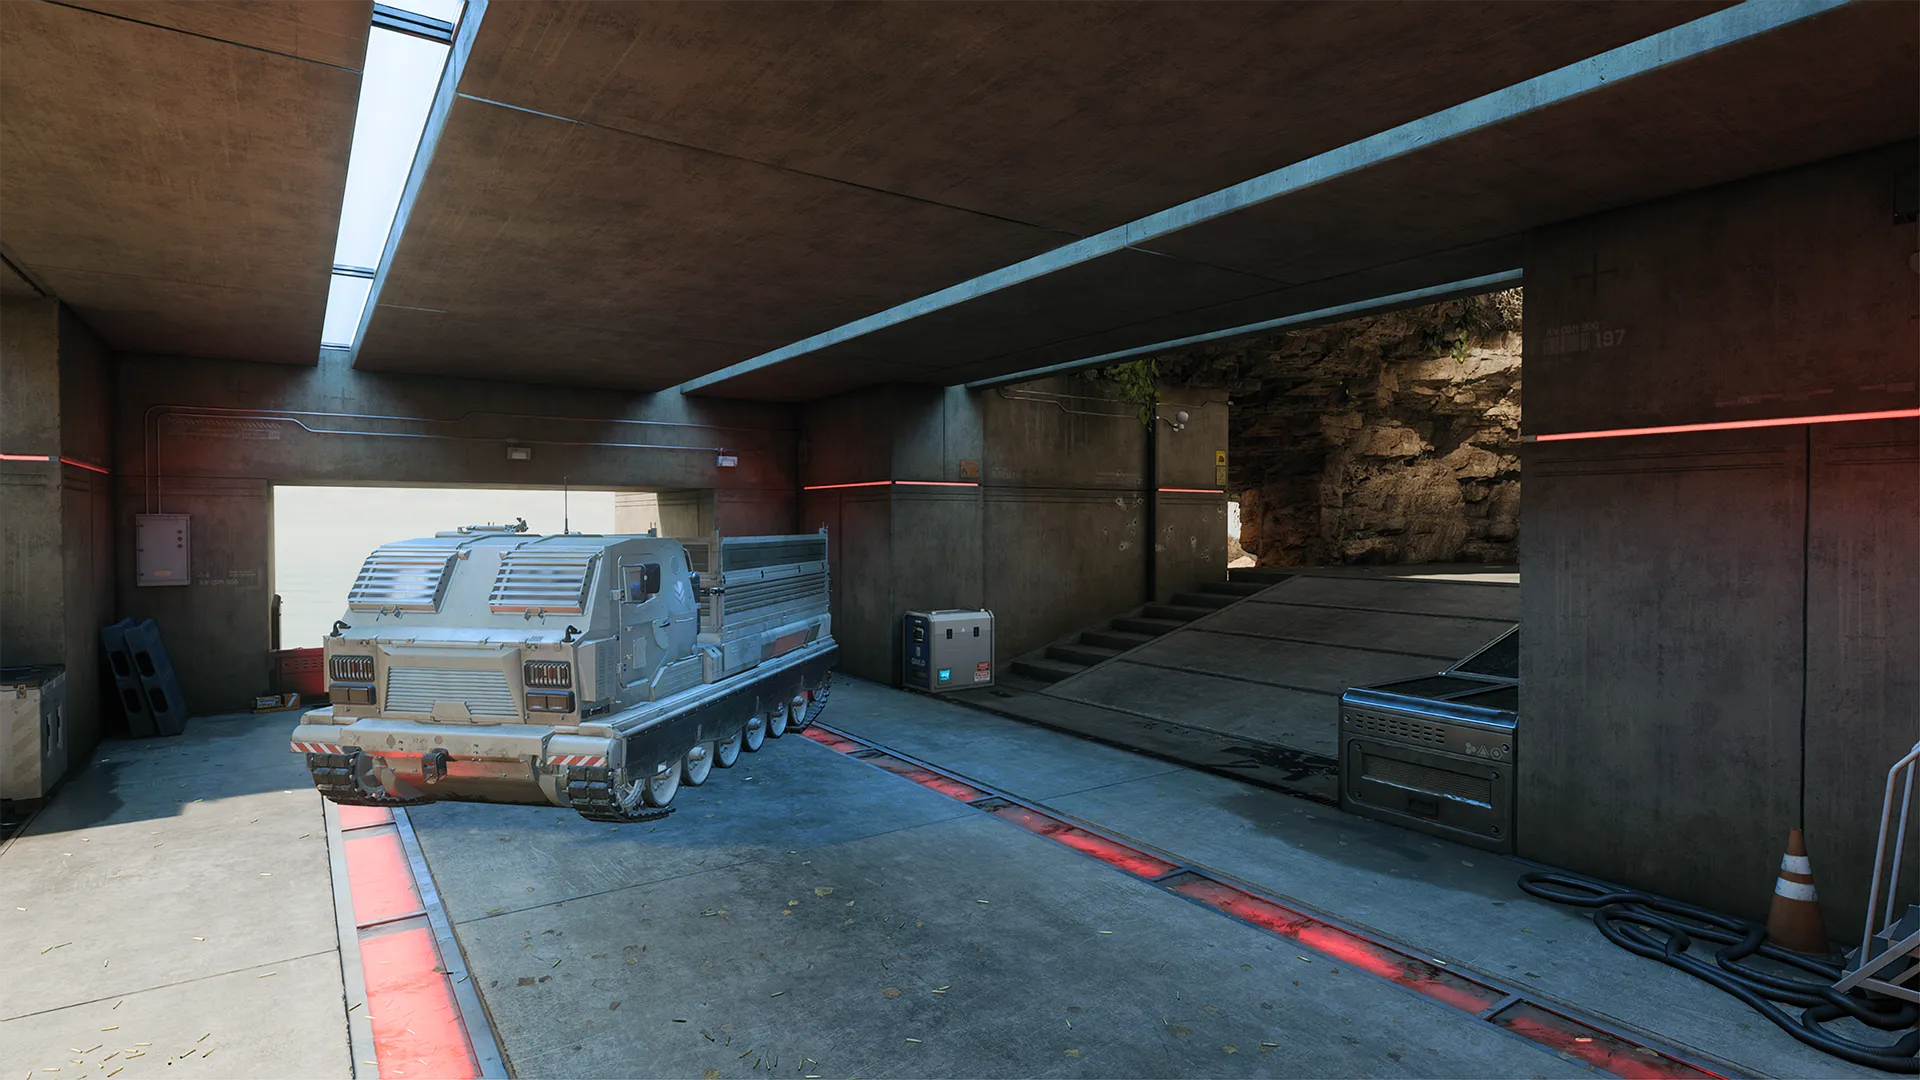
Get right into the action by playing the middle area between the Underpass and Skybridge. Climb up to take shots around the vehicle and then drop back down before the enemy has a chance to respond, pressing your back into the alcove to avoid being spotted by targets moving down the Skybridge.
Skybridge — Beta (B)
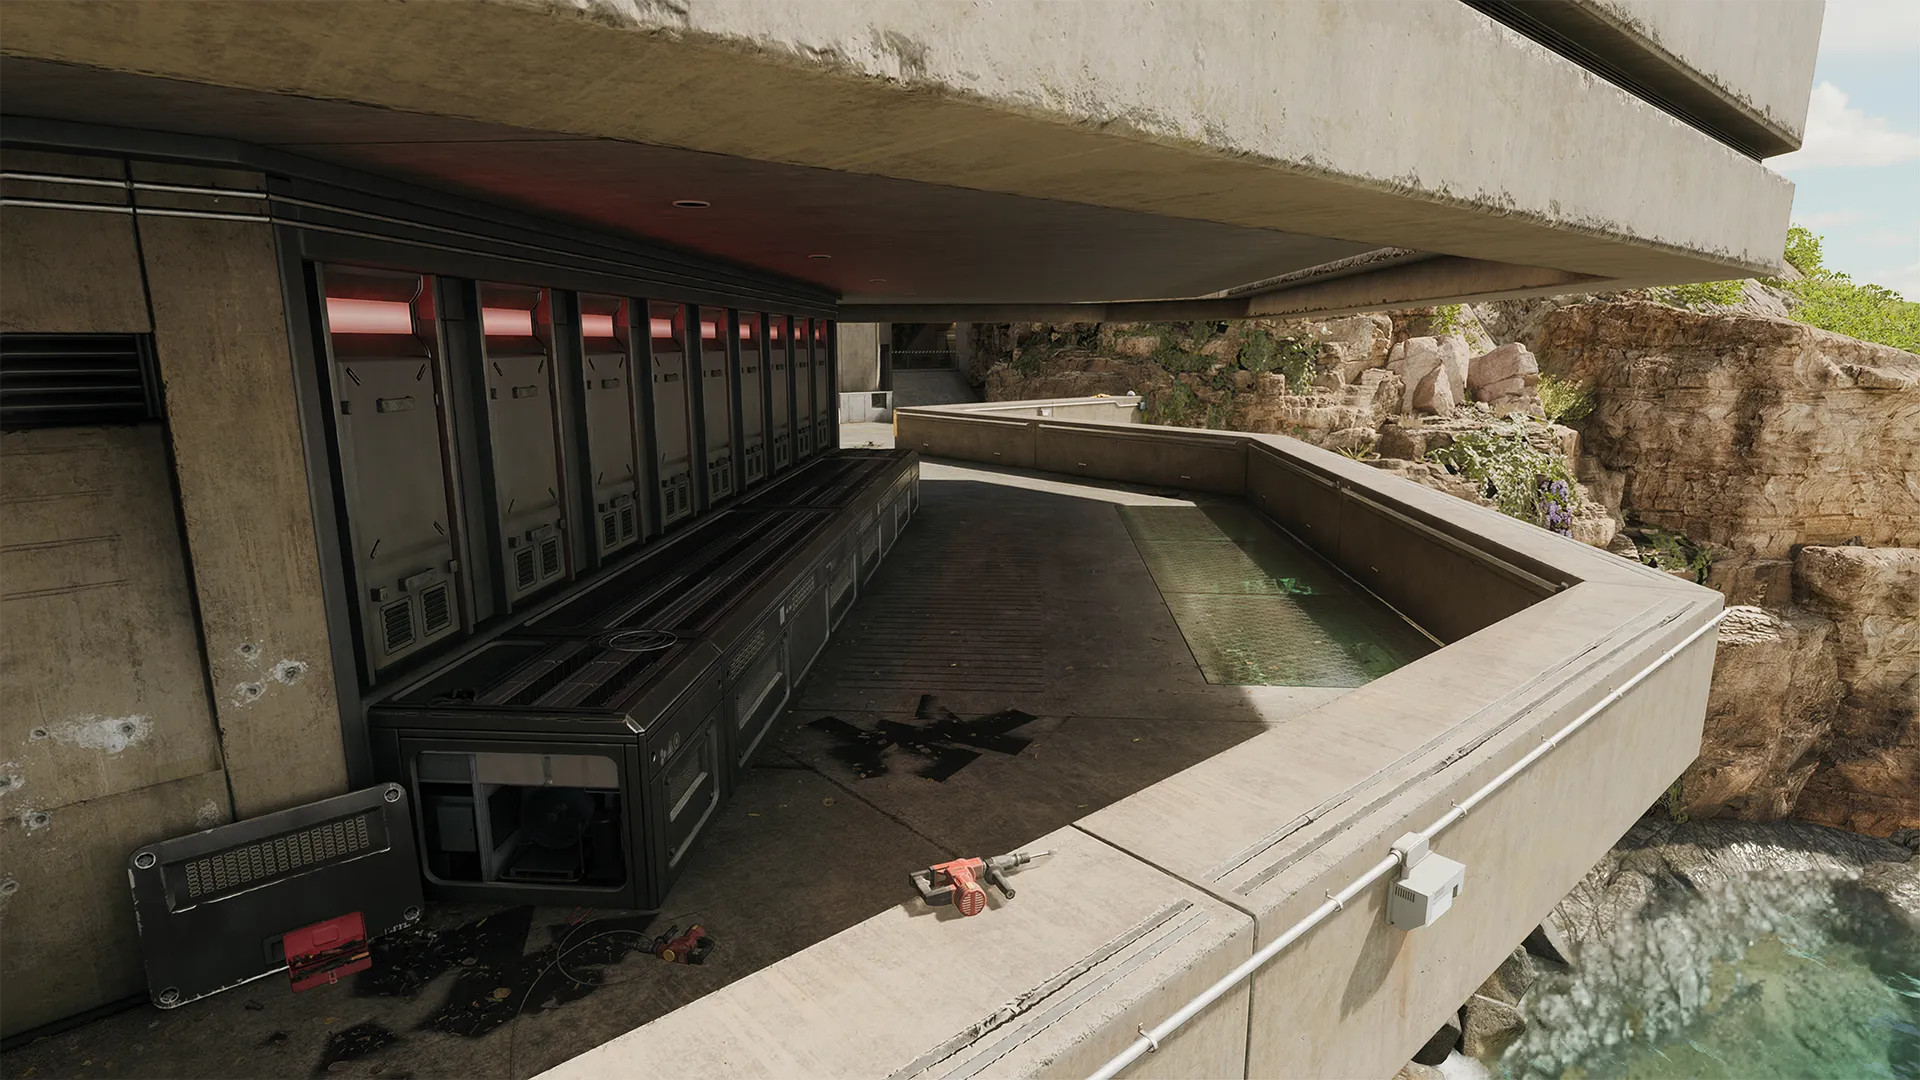
Hop up on the low wall just north of the Skybridge for a long view down the side, covering nearly the entire length of the map. Bring a scoped weapon to maximize your targeting capabilities against distant targets.
Vent Passage — Gamma (Γ)
Easy to miss in the heat of battle, there’s a small passage connecting the Reactor room and the north end of the Skybridge near the low wall mentioned in the previous tip. Shoot or melee the vent coverings on either end to open up the useful shortcut and ambush point.
©/TM/® 2025 Activision Publishing, Inc.
For more information, please visit www.callofduty.com and www.youtube.com/callofduty, and follow @Activision and @CallofDuty on X, Instagram, and Facebook. For Call of Duty Updates, follow @CODUpdates on X.