Prebrief

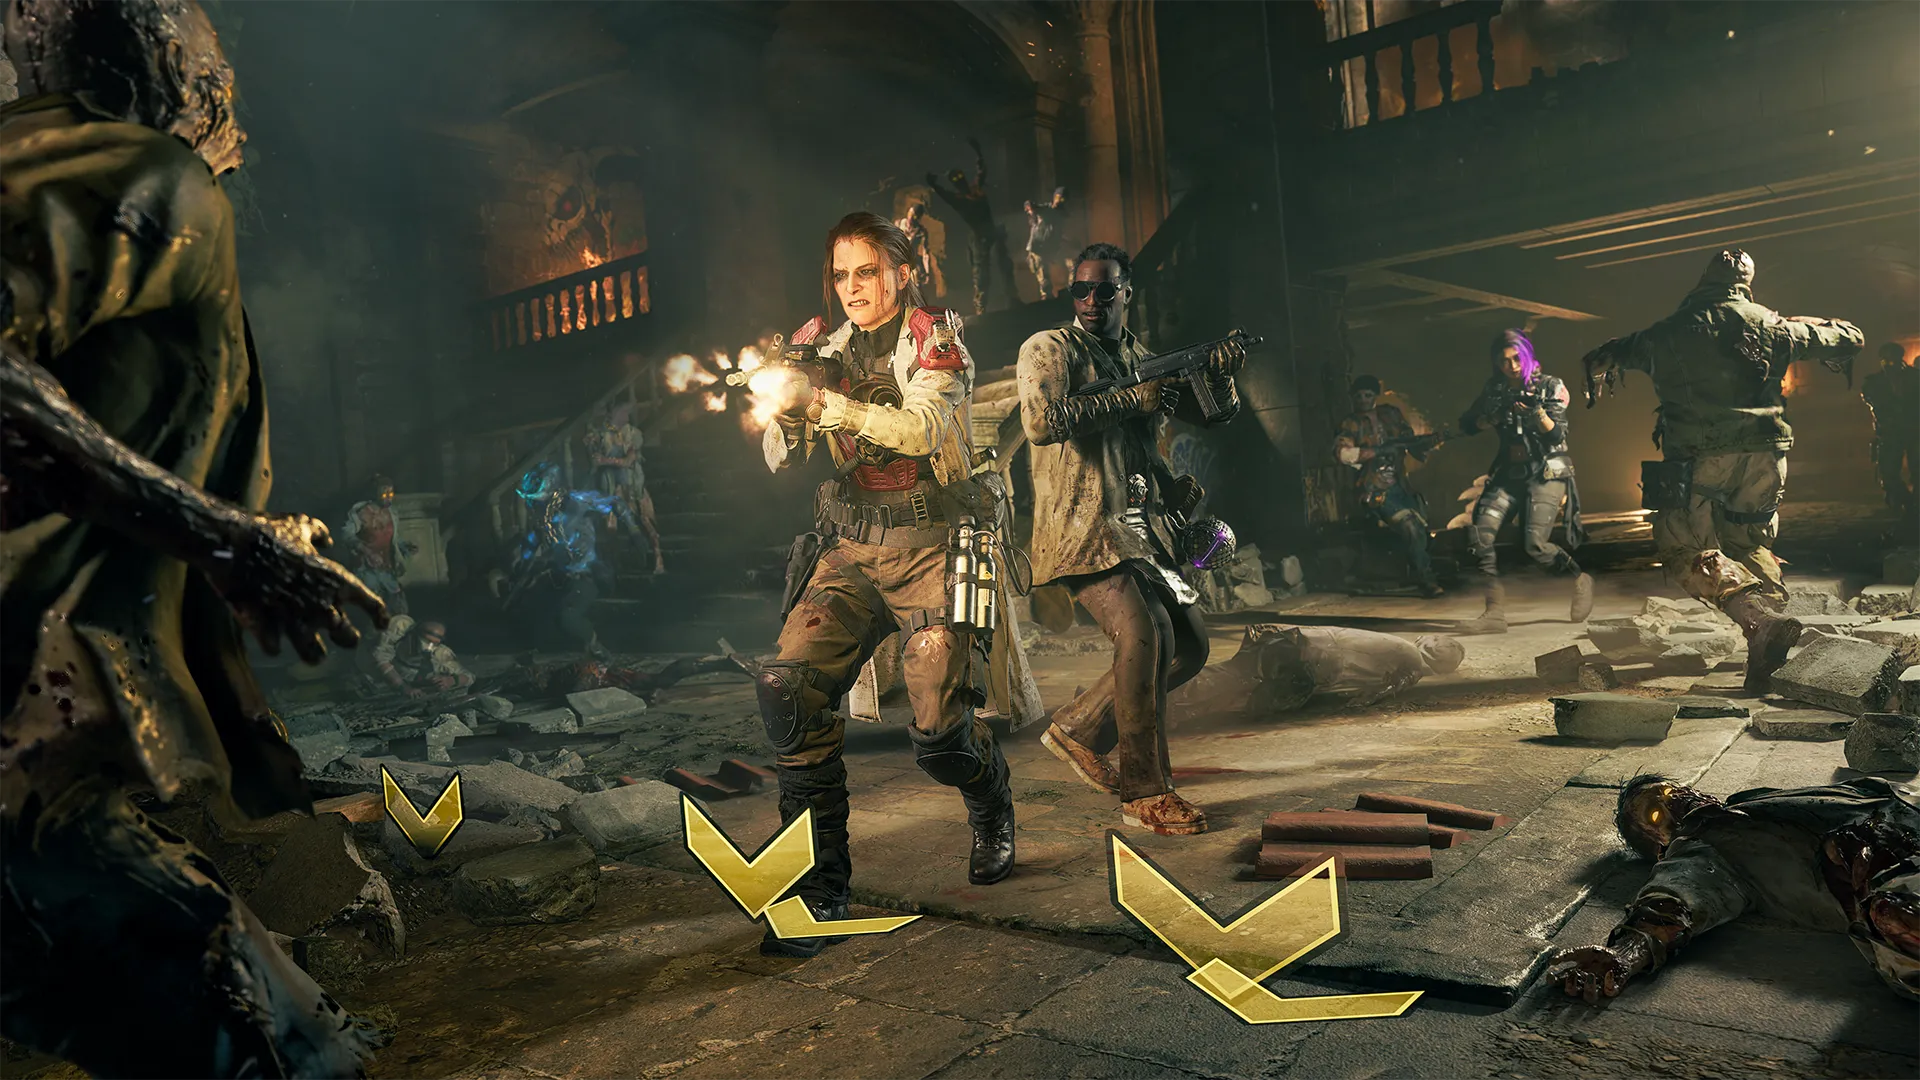
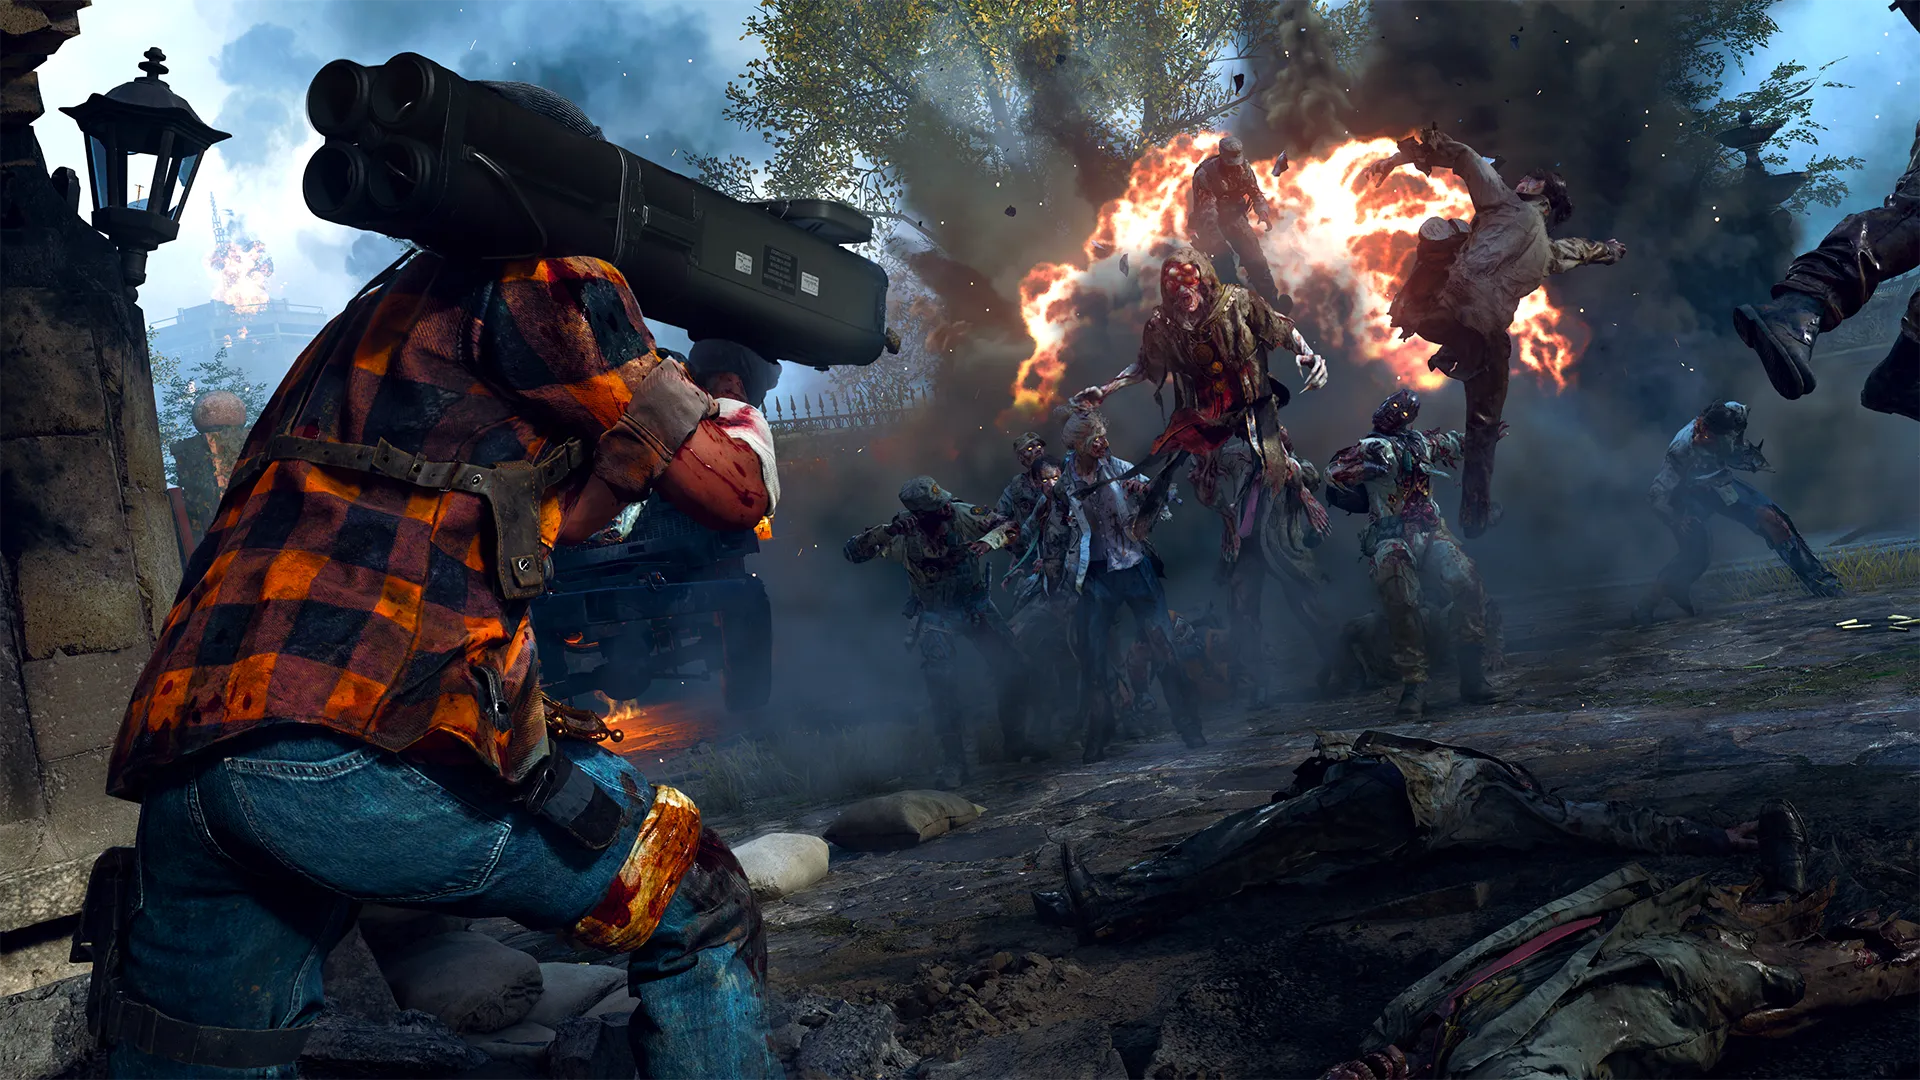
Welcome to Grief, the highly-anticipated Zombies mode returning for the first time in over a decade, now equipped with Call of Duty®: Black Ops 6 flavor and features. Grief is a 4v4 indirect PvP mode that pits Team S.A.M. and Team Richtofen against each other in the ultimate battle of zombie-killing efficiency. Which team can survive the longest while sending as many “Griefs” at the enemy team as possible? Put your Zombies talents to the test in this mode while competing against real players attempting to survive longer than you and your squad.
Rules of Grief
Rules
Indirect PvP
Cannot affect the health of any opponent or teammate with weapons or equipment; Grief the enemy team using Capture Zones
Quicker Round Progression
Zombie rounds will be more densely populated than the normal Standard mode
Upgrading Your Loadout
The machines you need to upgrade your loadout and stock up on Perks are available in Grief arenas
Win Condition
Last team standing wins!
Indirect PvP
When playing Grief, it’s important to understand the rules at play to get the upper hand on the enemy team. The first rule: you cannot directly hurt or eliminate enemy players, but you can ruin their day. Firing on enemy players will cause them to slow down. Striking enemy players with your melee will also cause them to slow down as well as push them. The effect only lasts while you are “attacking” them, so utilizing this slow effect is all about timing. Additionally, players cannot pass through each other, so using your body as a blocker can torment the enemy in the right circumstance.
Securing a Capture Zone that activates the Zombie Ambush Grief will spawn Elite and Special Zombies. These Elites and Specials are friendly toward the team that secured the Capture Zone, and hostile toward the other team.
Quicker Round Progression

The addition of another team means there are a lot more zombies to fight. So if you’ve taken a rough count of the general number of zombies in each round through Standard mode, throw that number out of the window. The hordes will get larger, and the rounds will progress rather quickly. Prepare yourself for all magnitudes of enemies you normally see on the map you’re located on, including Special and Elite zombies. Remember to aim for the critical points and keep note of their elemental weaknesses.
Upgrading Your Loadout
Each Grief arena is equipped with a Der Wunderfizz machine, Pack-a-Punch machine, Mystery Box (sans Wonder Weapons), Arsenal, Crafting Table, Armor Wall Buys, and a GobbleGum machine with a slightly more limited selection of available GobbleGums. The GobbleGums that are restricted are as follows: Exit Strategy, Idle Eyes, Wonderbar!, Time Out, and Flavor Hex (Season 04 GobbleGum).
Note: While the current GobbleGum restrictions are in place to keep matches dynamic yet balanced, additional restrictions may be made in the future as the developers keep an eye on game balance similar to Ranked Play.
Even though you’re located in an area of the given map that you’re used to seeing, you’ll have access to machines that aren’t normally there, as well as those that are in their standard locations.
Stay on the move and pick up Salvage wherever and whenever you see it. Unlike in Standard, Salvage pickups in Grief are all worth 100 Salvage, visible to all players, and can only be picked up by the first player to grab it. If you see Salvage on the ground, so does the enemy.
Win Condition
To win a match of Grief is to simply be the last team standing. Once all members of one team have been fully eliminated or downed, the game is over and the surviving team earns the win.
Respawn rounds will occur every three rounds in a match reviving any players that have been eliminated, albeit often with less gear than they had previously. To get the win, you may have to introduce some Hail Mary strategies to Grief the final member of the enemy team if they’re holding on with some tenacity.
CALL OF DUTY® INTEL CARD
- BO6
Grief
// ZOMBIES // MODES

Get in the zone: If you want to Grief the other team, you’ll need to complete an objective from inside the Capture Zone. Work with your team to make sure you’re all within the zone’s limits to get credit for those eliminations and avoid risking a Grief headed your way.
Grouping Upgrades: Utilizing Field Upgrades can be a huge game changer, especially if you’re using them synergistically with your teammates. Group Shroud is great for dropping agro for your team so that the horde focuses on the enemy. Or use the Protection Augment on Healing Aura to give your teammates a chance to breathe while they focus on how to continue the fight in tough situations.
Co-op and comms: Communication is key in Zombies, and it’s especially important in Grief, particularly as the rounds get higher and the risk of being swarmed becomes much greater. Whether it’s working together to secure a Capture Zone, or if you’re about to be overrun by the undead, it’s paramount that your team knows what’s going on before it’s too late.
Grief Arenas
Grief takes place in specific locations on each Zombies map, known as Grief Arenas. Below are the available arenas and where they are on each map:
Liberty Falls
Arena 1
Pump & Pay, Motor Lodge, and Fuller’s Liberty Lanes
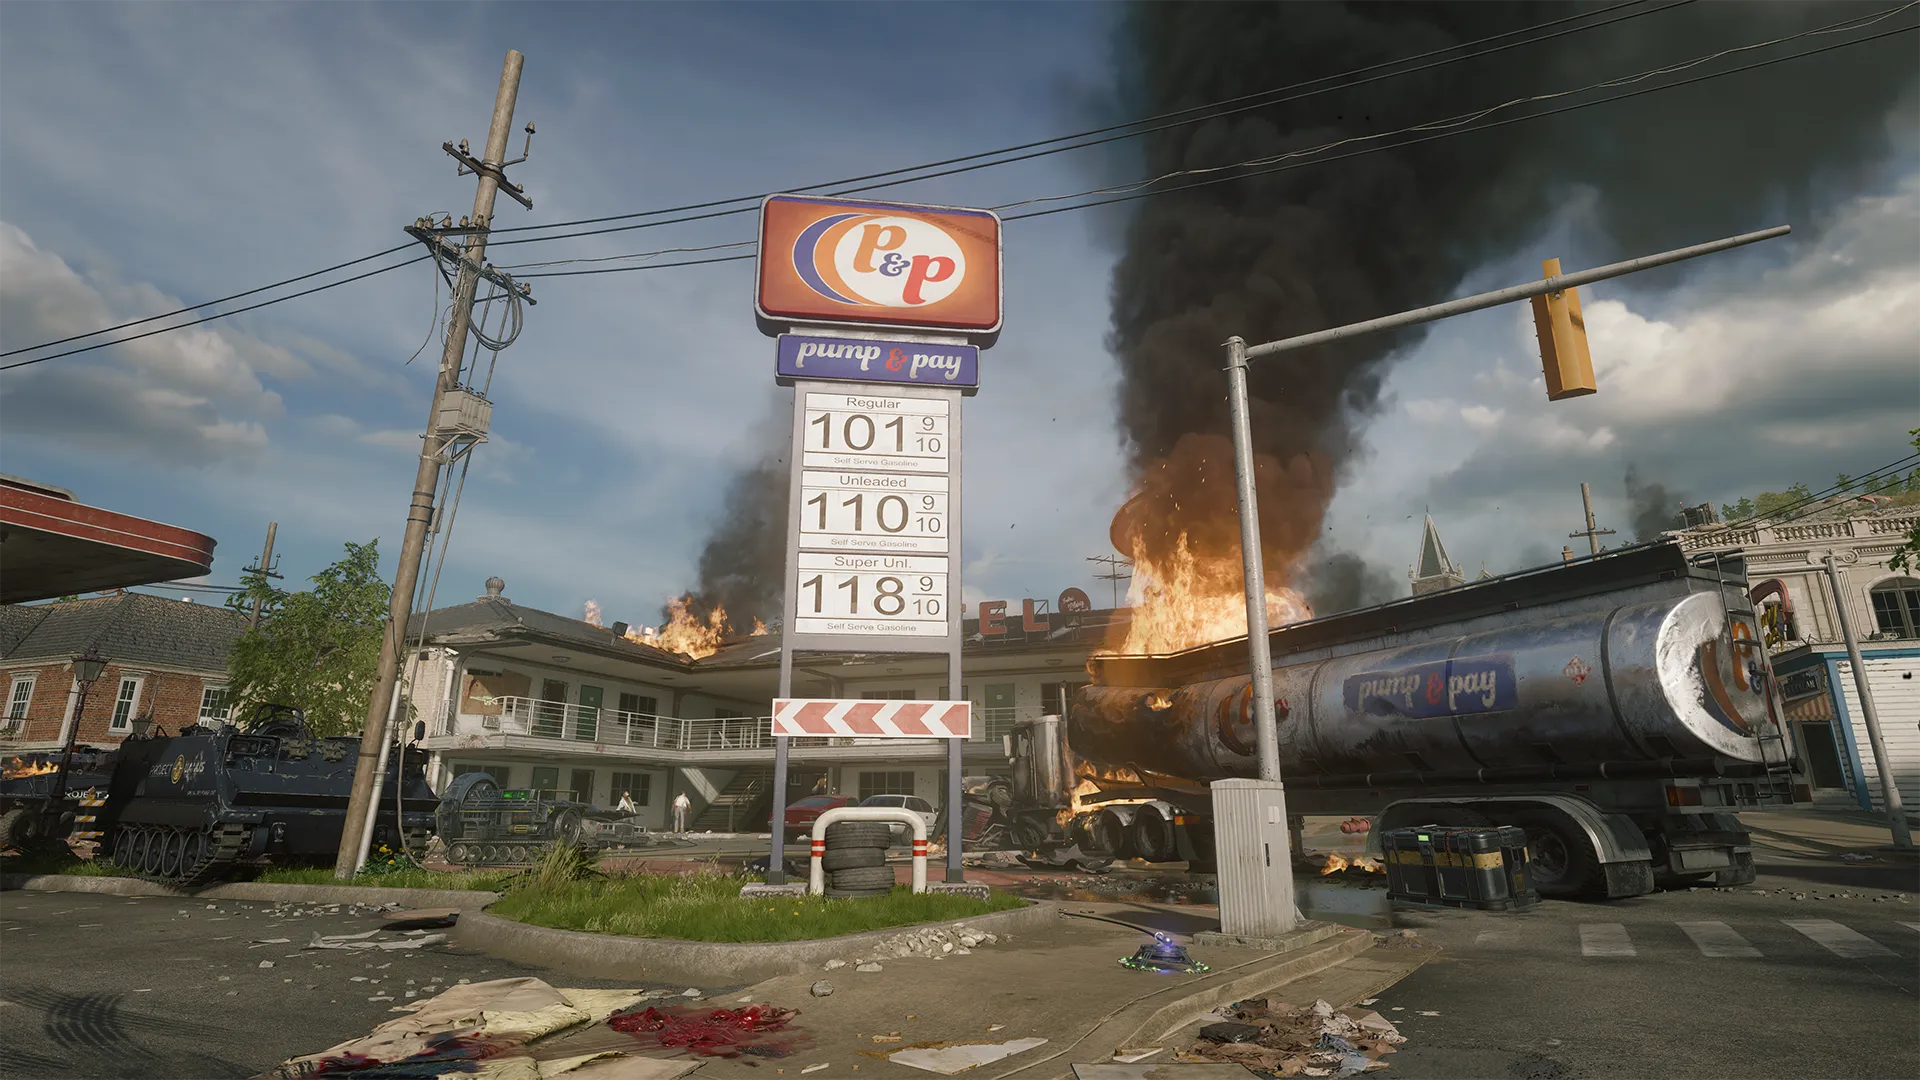
You’re probably familiar with this area from your first journey into Liberty Falls. Utilize the Motor Lodge’s stairs and the vehicles scattered around the parking lot to help split up the zombie hordes. Use the doorway into Liberty Lanes to block and hinder the enemy team, but don’t get caught in any corners.
Arena 2
Dark Aether Church, Cemetery, and Hilltop
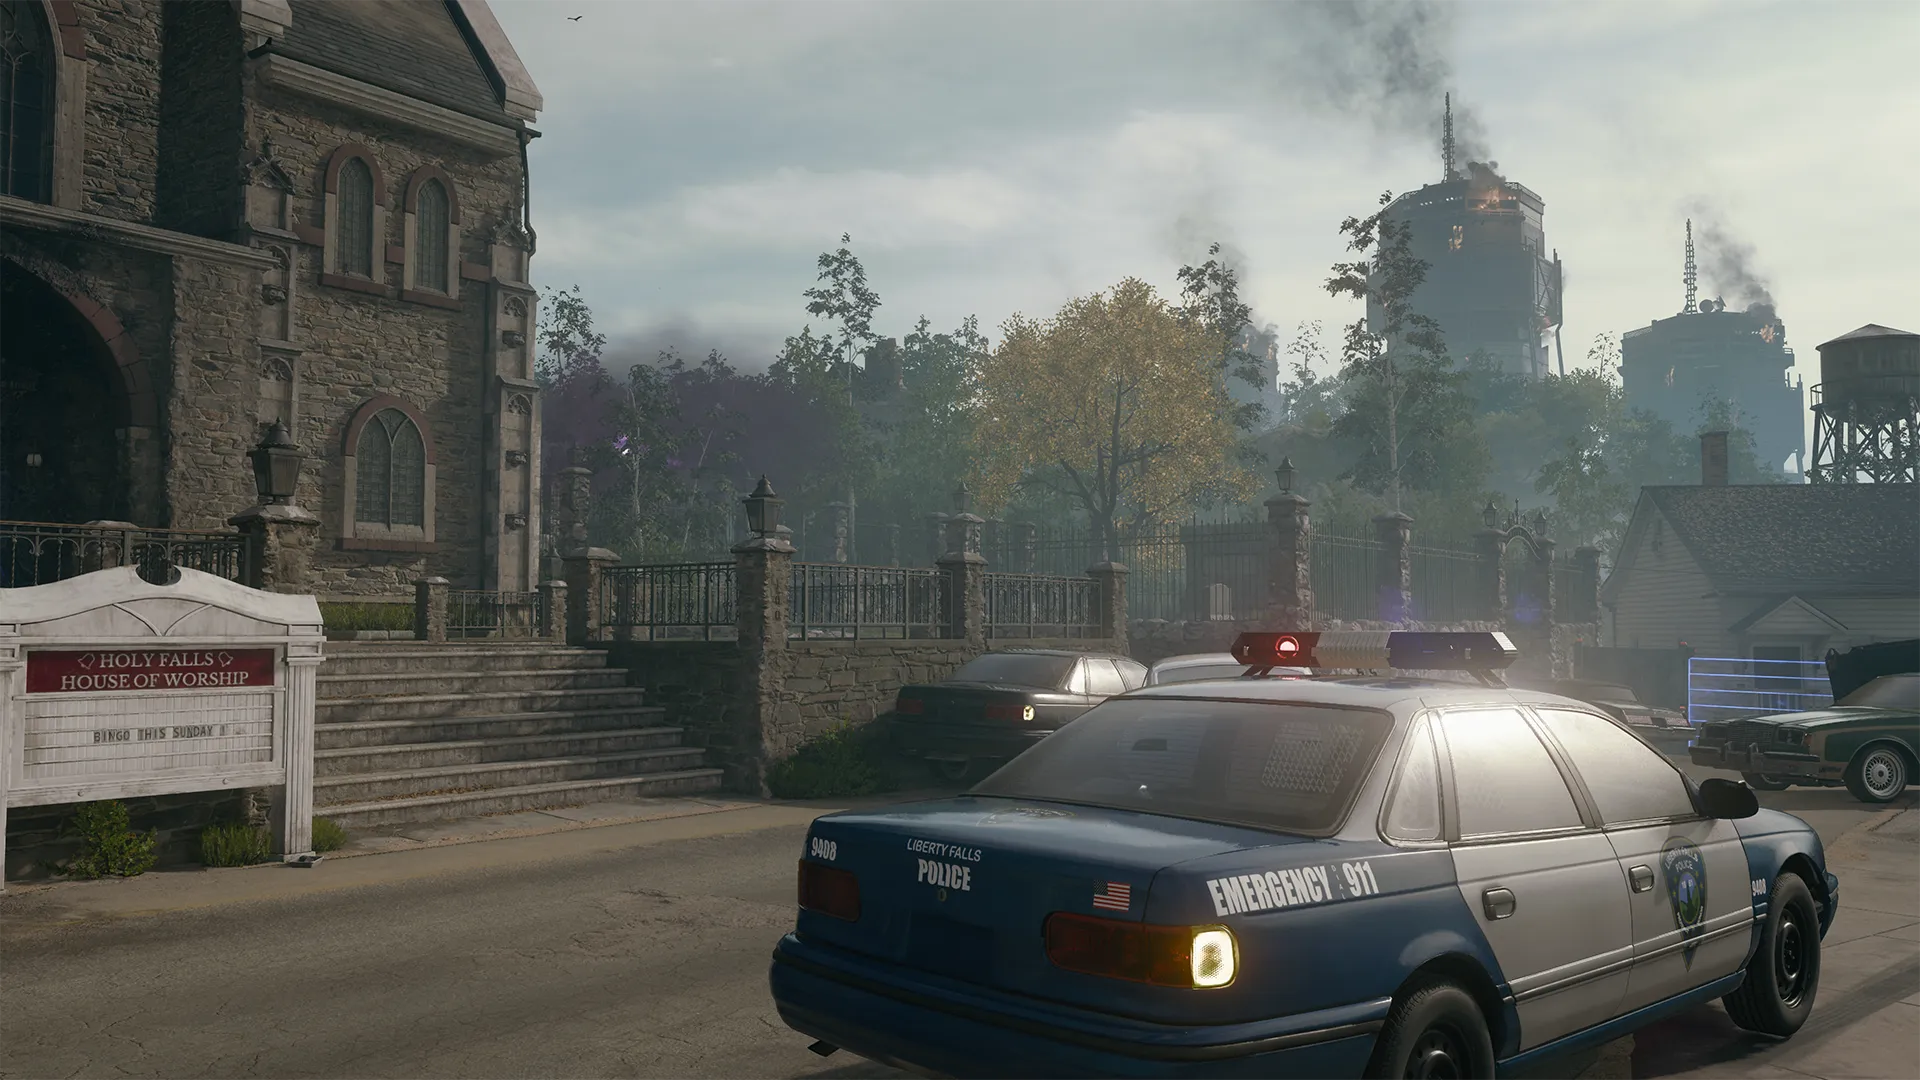
The three locations that make up Arena 2 create a loop that provides options to keep moving without getting stuck too easily. However, getting in and out of the church could be an issue if the enemy team uses some clever tactics at the openings. Tossing a Shock Charge near the entries or laying down heavy fire as an enemy is attempting to move through chokepoints can cause some havoc.
Terminus
Arena 1
Bio Lab
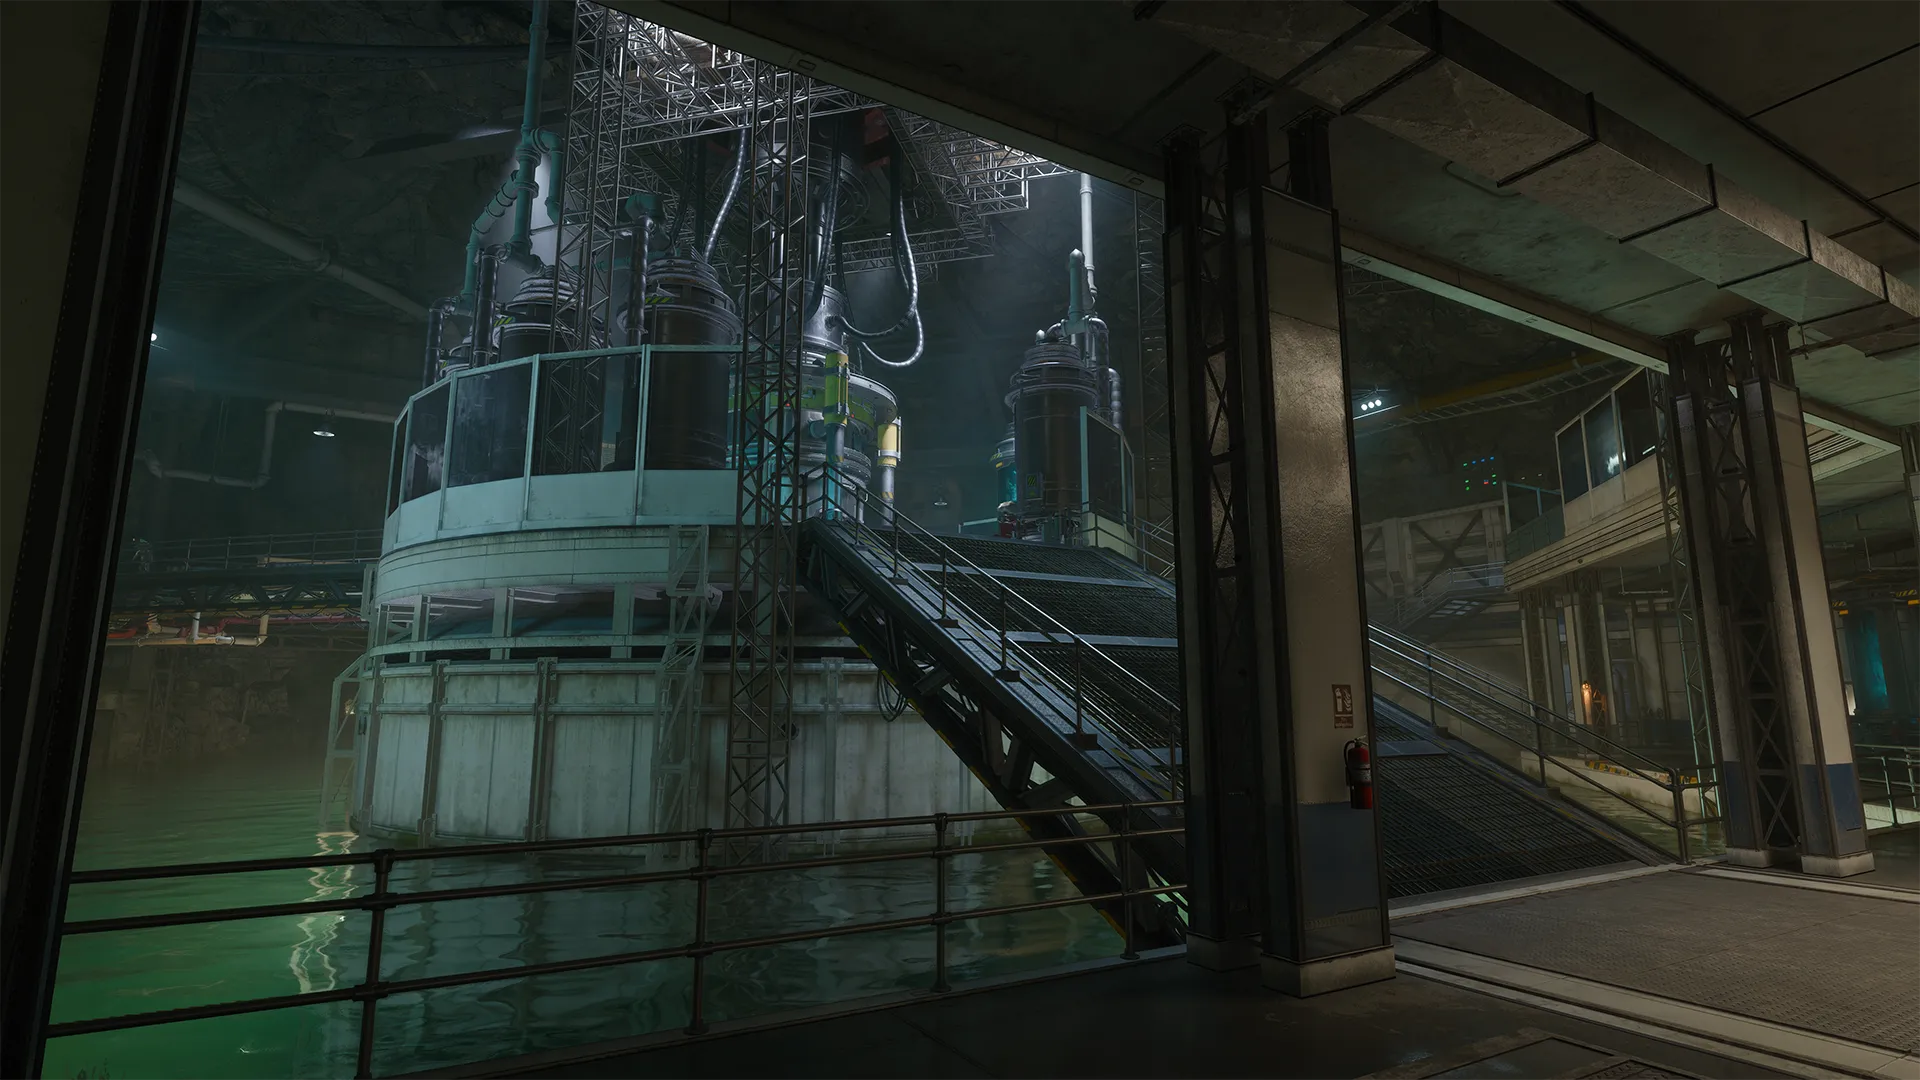
With access to most of the Bio Lab, there’s plenty of room to run around and avoid some of the more crowded spaces. Pay attention to the enemy team’s movement in the narrow walkways and don’t get caught running into the horde to chase them. When in need, jumping off the top walkway into the water is always a viable option.
Arena 2
Crab Island
Crab Island is a close-quarters arena surrounded by water. Because of its size and tight spaces, it may be more beneficial to focus more on your own survival rather than Griefing your opponents. Remember to utilize Field Upgrades in cooperation with your teammates to stay alive and keep pressure on the other team.
Citadelle des Morts
Arena 1
Courtyard, Ramparts, and Entrance Hall
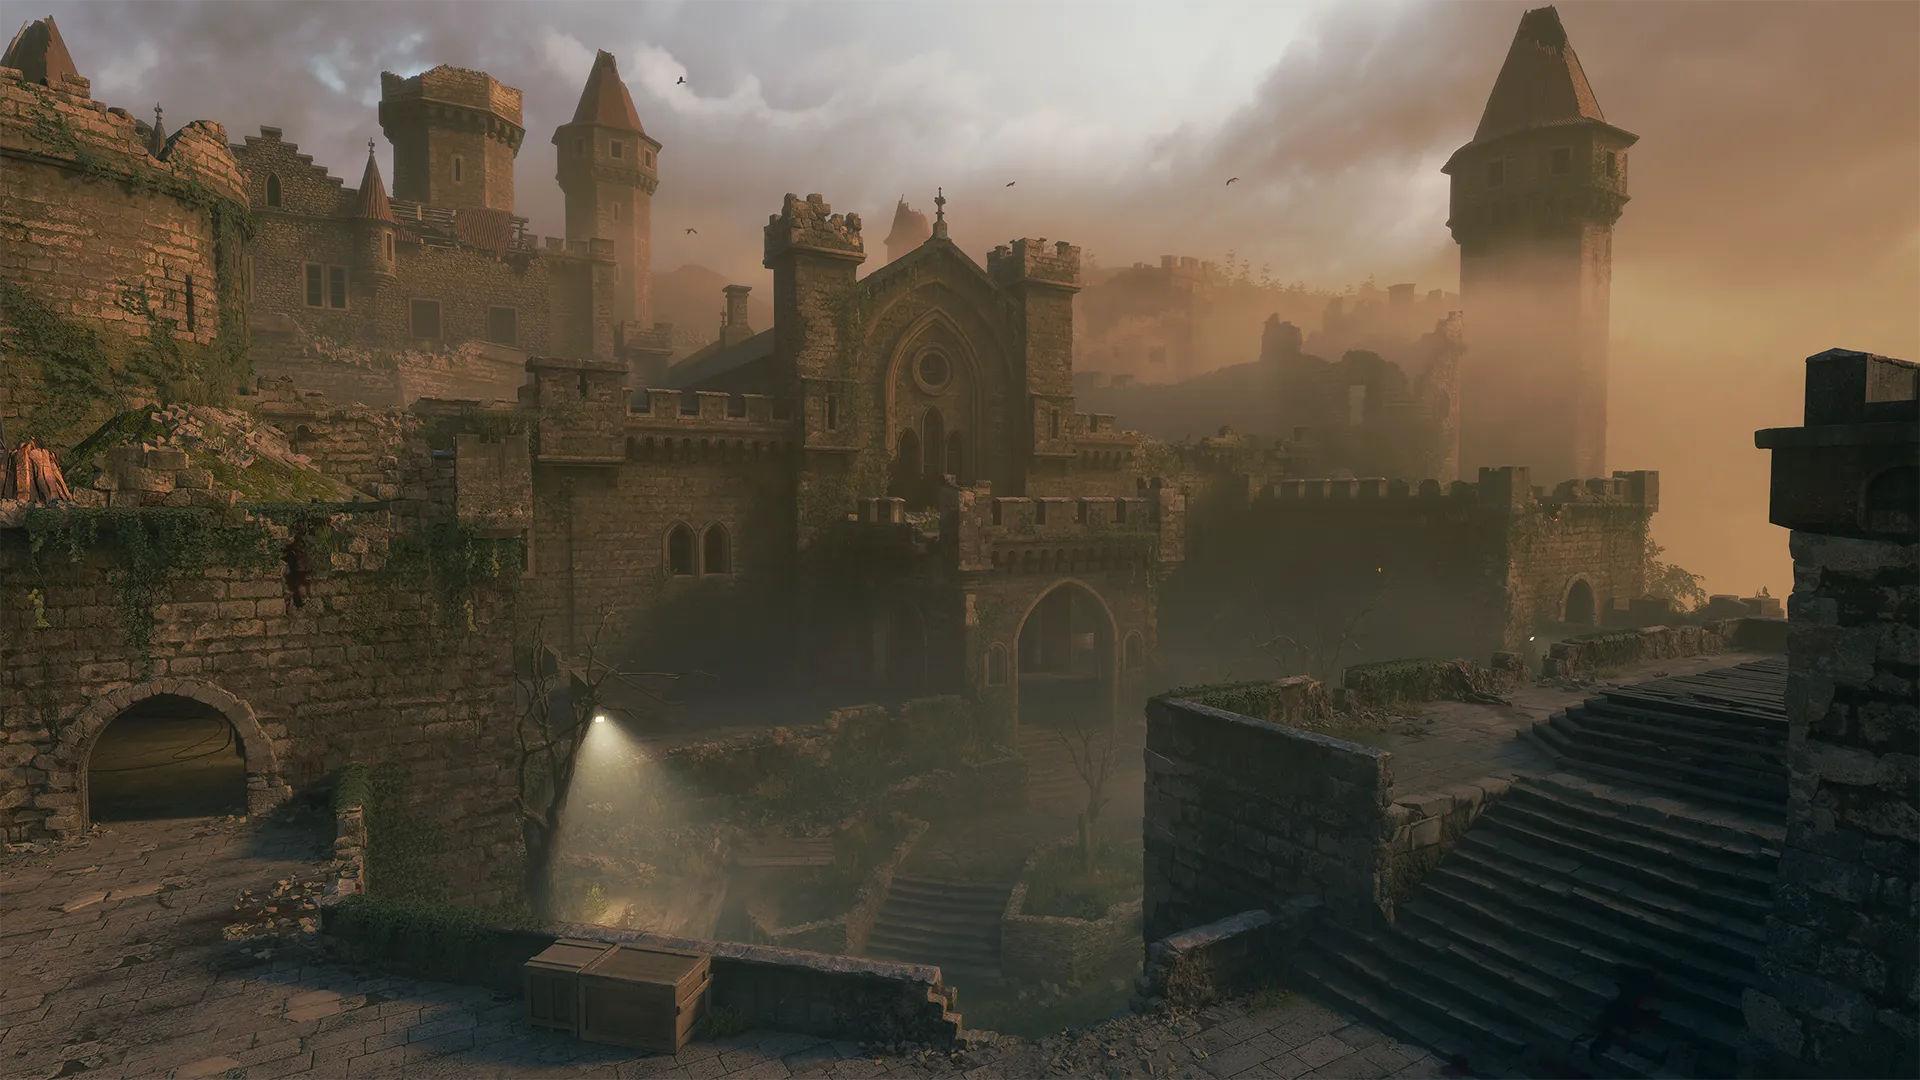
The only arena you’ll find yourself battling in on Citadelle des Morts is right in front of the castle, atop the Ramparts with more open space than some of the other arenas. Consider using the height of the Ramparts and the steps in front of the castle to outmaneuver zombies and enemy players.
The Tomb
Arena 1
Dig Site, Roman Mausoleum
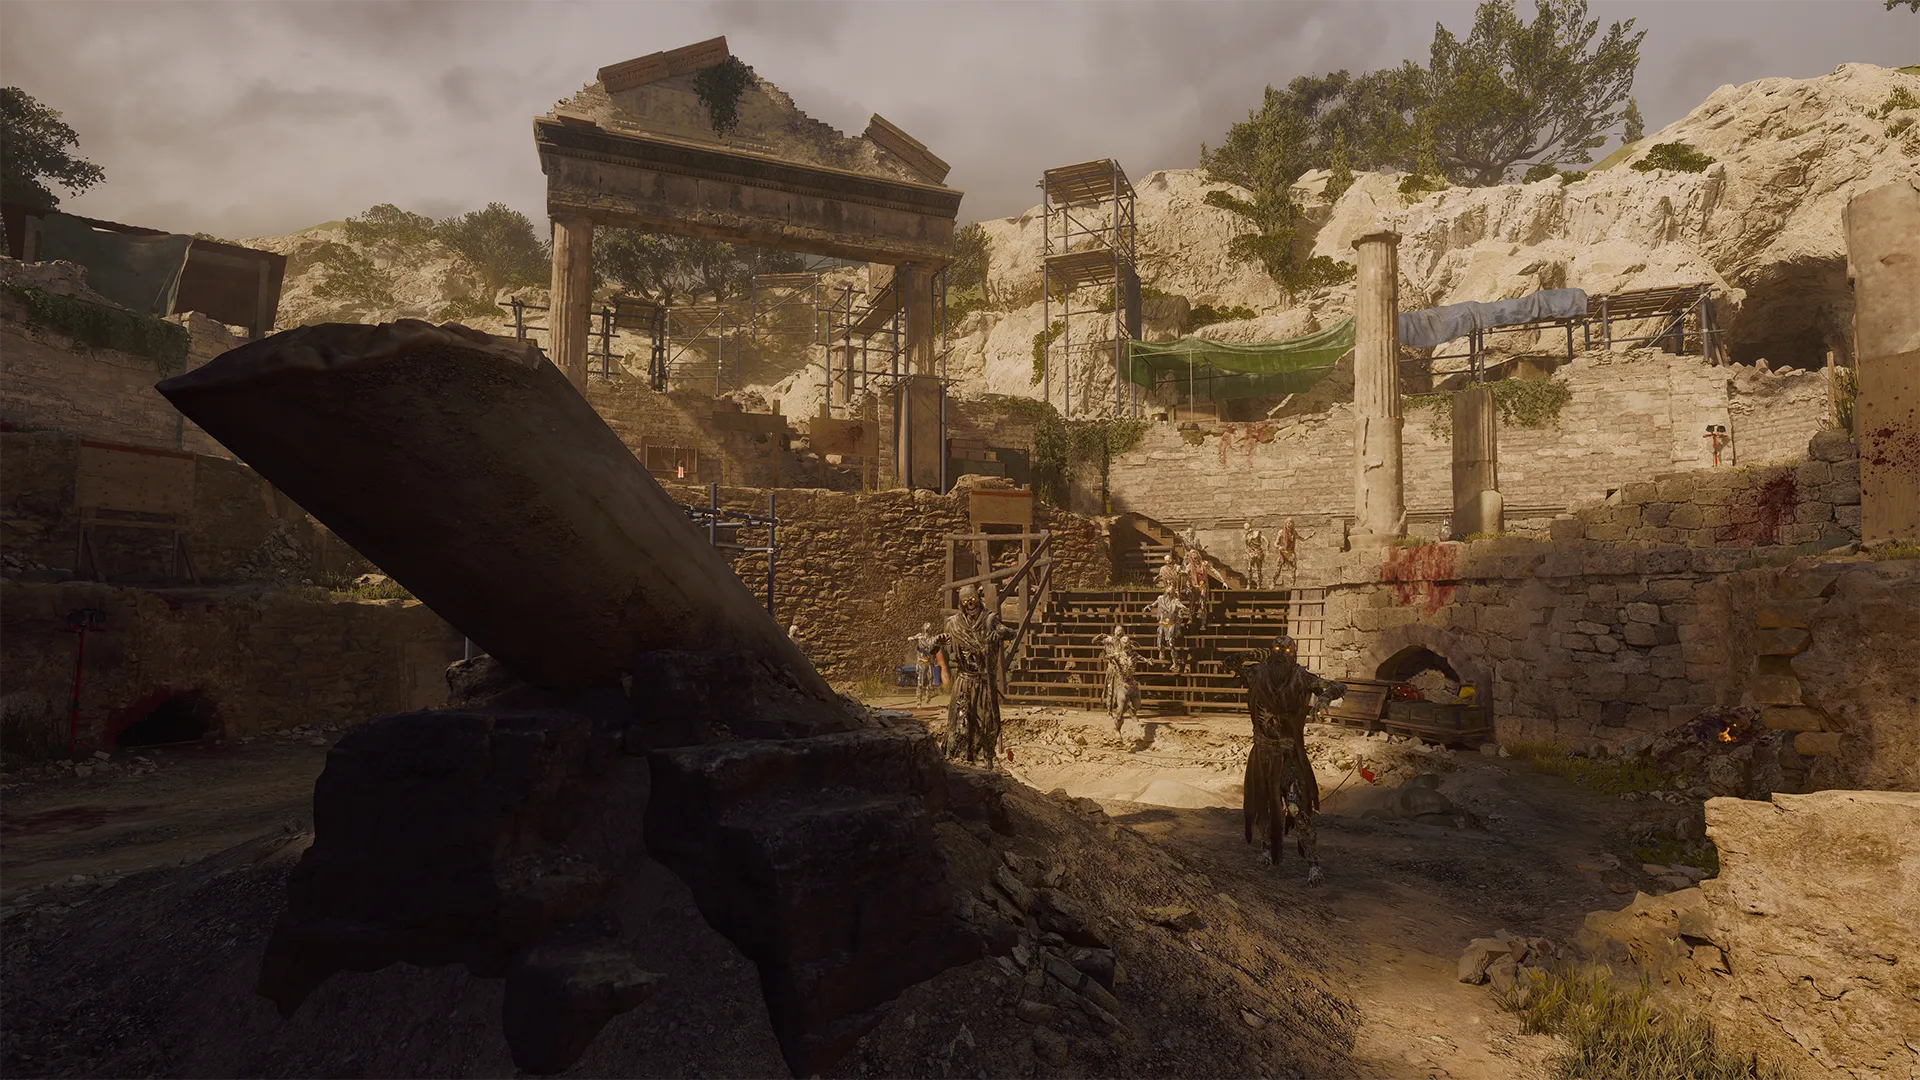
The Dig Site and the Roman Mausoleum create a round and rather open arena on The Tomb, leaving plenty of room for players to battle it out and disrupt each other from across the arena. Try using the steps that lead up toward the Mausoleum to keep your distance from the hordes until the Capture Zone appears.
Arena 2
Dark Aether Nexus
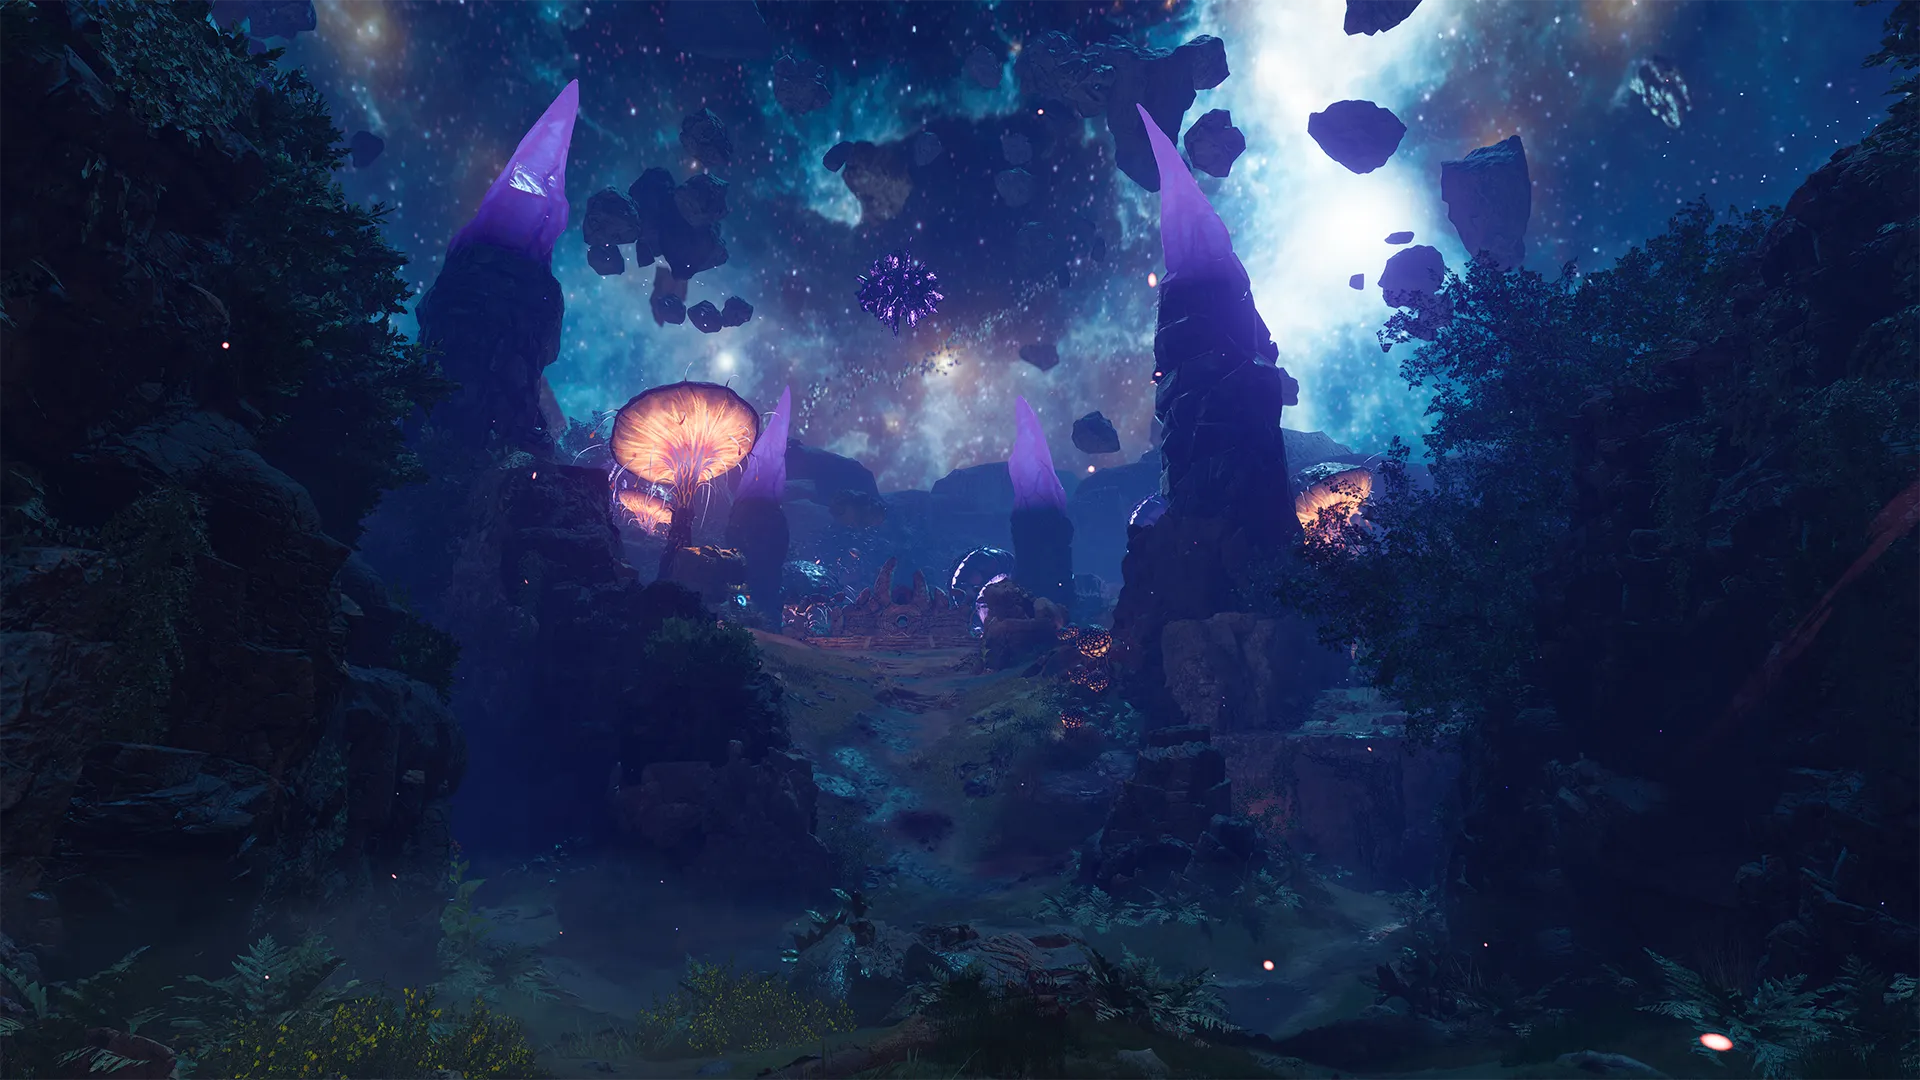
The Dark Aether Nexus is covered in all kinds of terrain and elevations, which can make for a large variety of combat opportunities. Players can weave in and out of the outside edge pathways and attempt to trap the enemy team in some of the more dangerous areas.
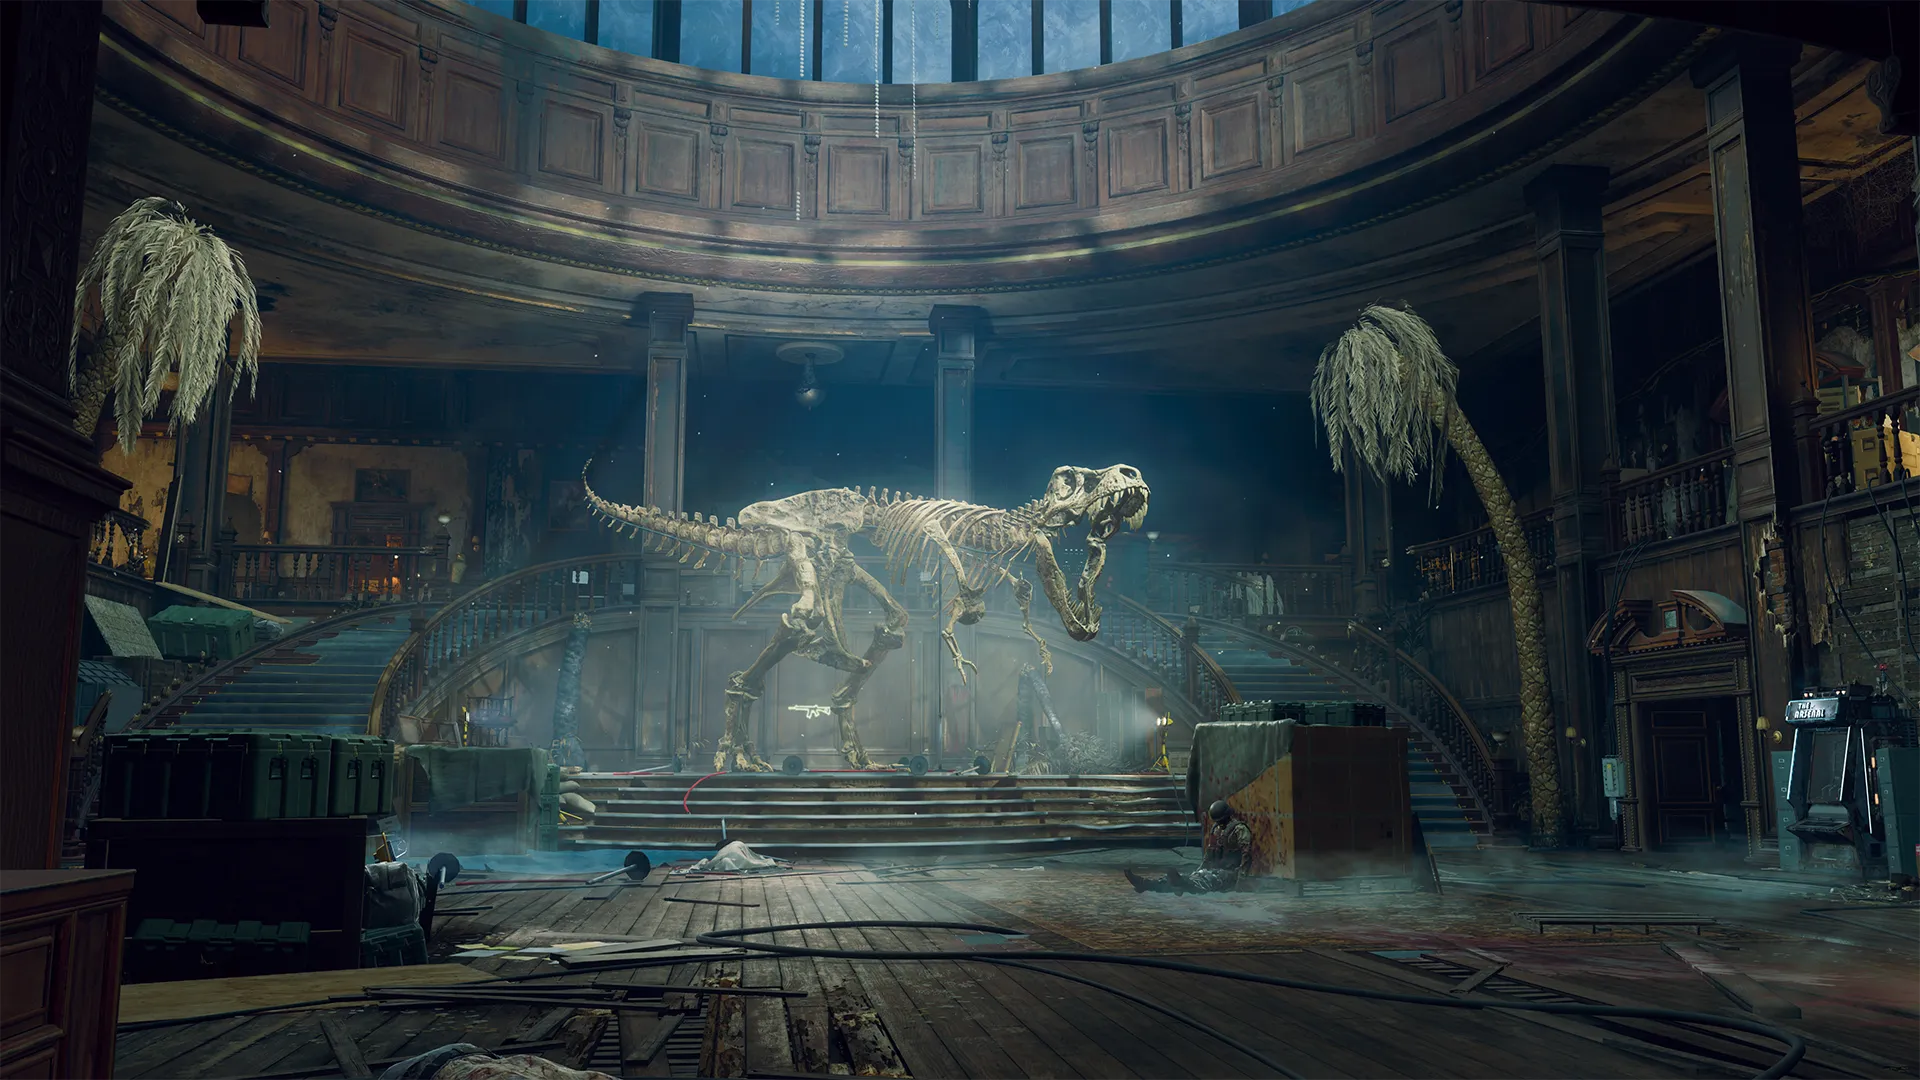
Shattered Veil
Arena 1
Garden Pond, Lower Terrace
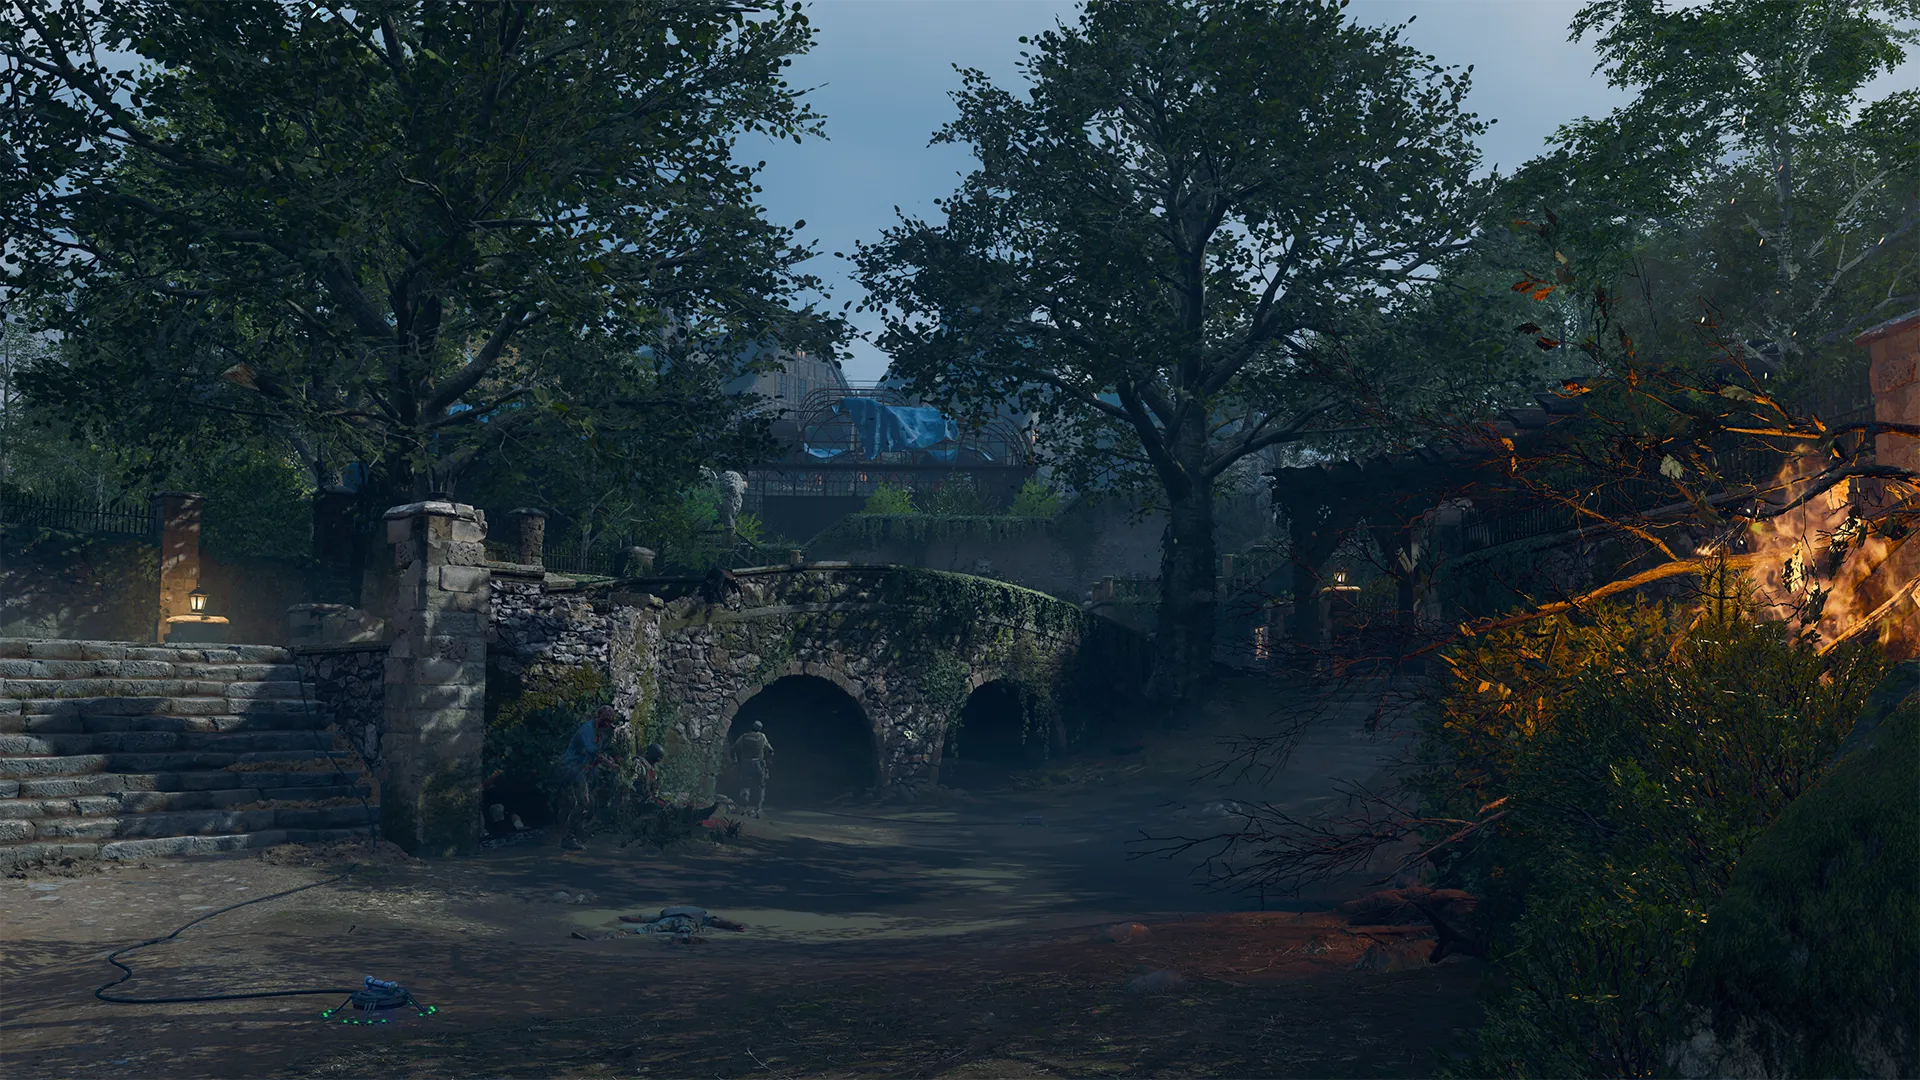
The starting area in Shattered Veil provides a few different levels of elevation, as well as plenty of room to maneuver. Watch out for enemy players attempting to Grief you from atop the bridge!
Arena 2
Upper Terrace, Shem’s Henge, Motor Court
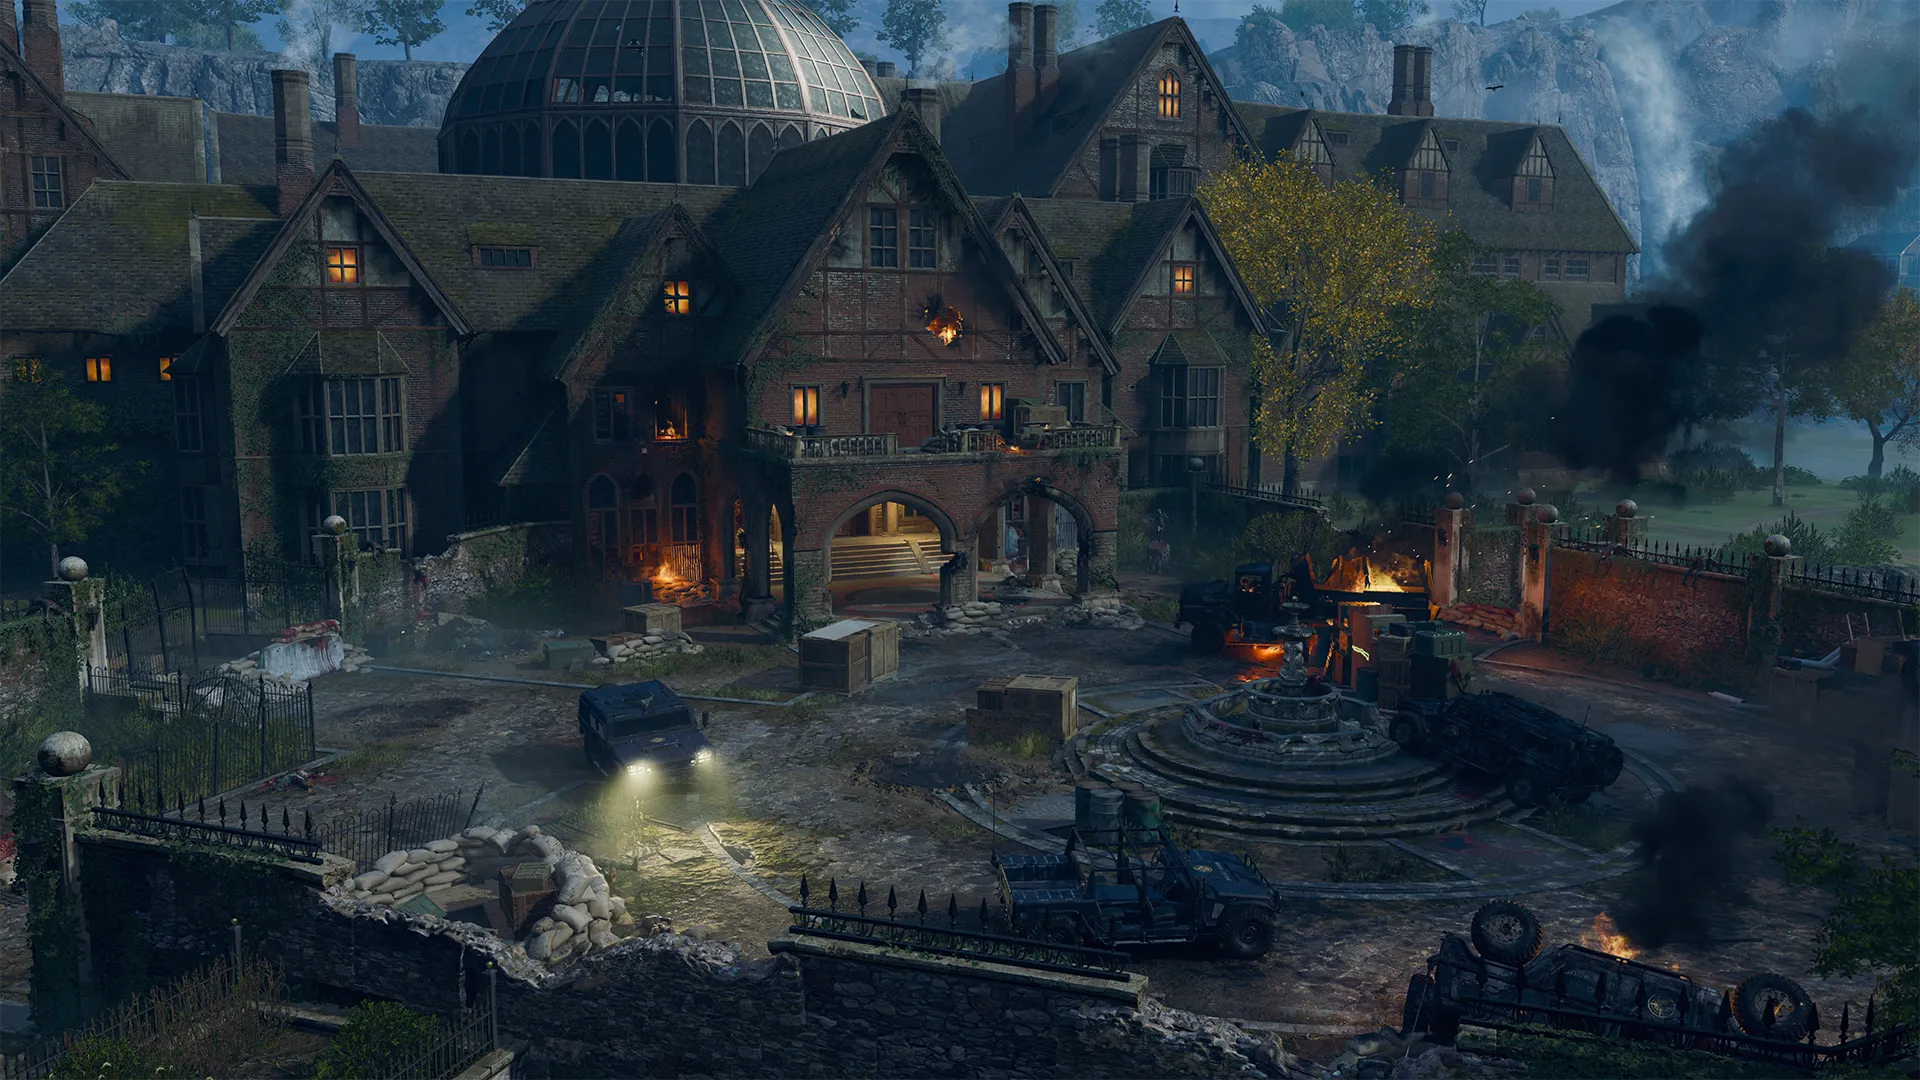
This large arena is split into two sections: Shem’s Henge and the Motor Court. Both are connected by the Upper Terrace, which is also a prime location for splitting up and focusing on Griefing the enemy team. Just be sure to stay on comms with your team if you do.
Arena 3
Grand Foyer, East Foyer, Library
Inside the mansion, your team will need to navigate some close quarters carefully. Pay close attention to the upper level for both zombies and enemy players, as they may drop in for a surprise.
Arena 4
West Hallways, South West Balcony, Bottlery
The final arena in Shattered Veil is a hybrid of indoor and outdoor locations, providing a variety of options when battling the opposition. Utilize the doorways and outdoor transitions to Grief the enemy whenever possible. Be aware of the Bottlery and its two entry points; it’s always smart to have an escape plan.
Capture Zones
Capture Zones will appear rather frequently throughout a Grief match. When a Capture Zone becomes active, each team will compete to eliminate zombies within the zone and complete the objective before their opponents. The HUD will inform players of exactly how many enemies their team needs to eliminate, as well as how you need to eliminate them. The goal may be simply to get kills or be more specific in whether they need to be Critical Kills, Support and Equipment Kills, or even Melee Kills.
The goal is simple, but strategies for success can vary. Players can choose to disrupt the other team while they attempt to complete the objective or simply finish theirs faster.
Capture Zones can quickly turn the tide of a match, especially when both teams are evenly skilled. For example, winning a Capture Zone means that, even in high rounds, you can catch a small break that could give your team an opportunity to visit the Pack-a-Punch machine before the action heats up again.
Griefs
When a Capture Zone is secured, the team that lost that fight will be sent a Grief, in other words the team that did not capture the Capture Zone will be debuffed by one of the Griefs listed below. These can come in several different forms, all of them making life quite a bit more challenging. Here’s a list of the possible Griefs you may experience:
Weapon Nerf
Affected players do significantly less damage to zombies while this Grief is in effect.
Ammo Drain
Affected players will have their ammo slowly drained from their weapons, even if the weapon is stowed and not currently out.
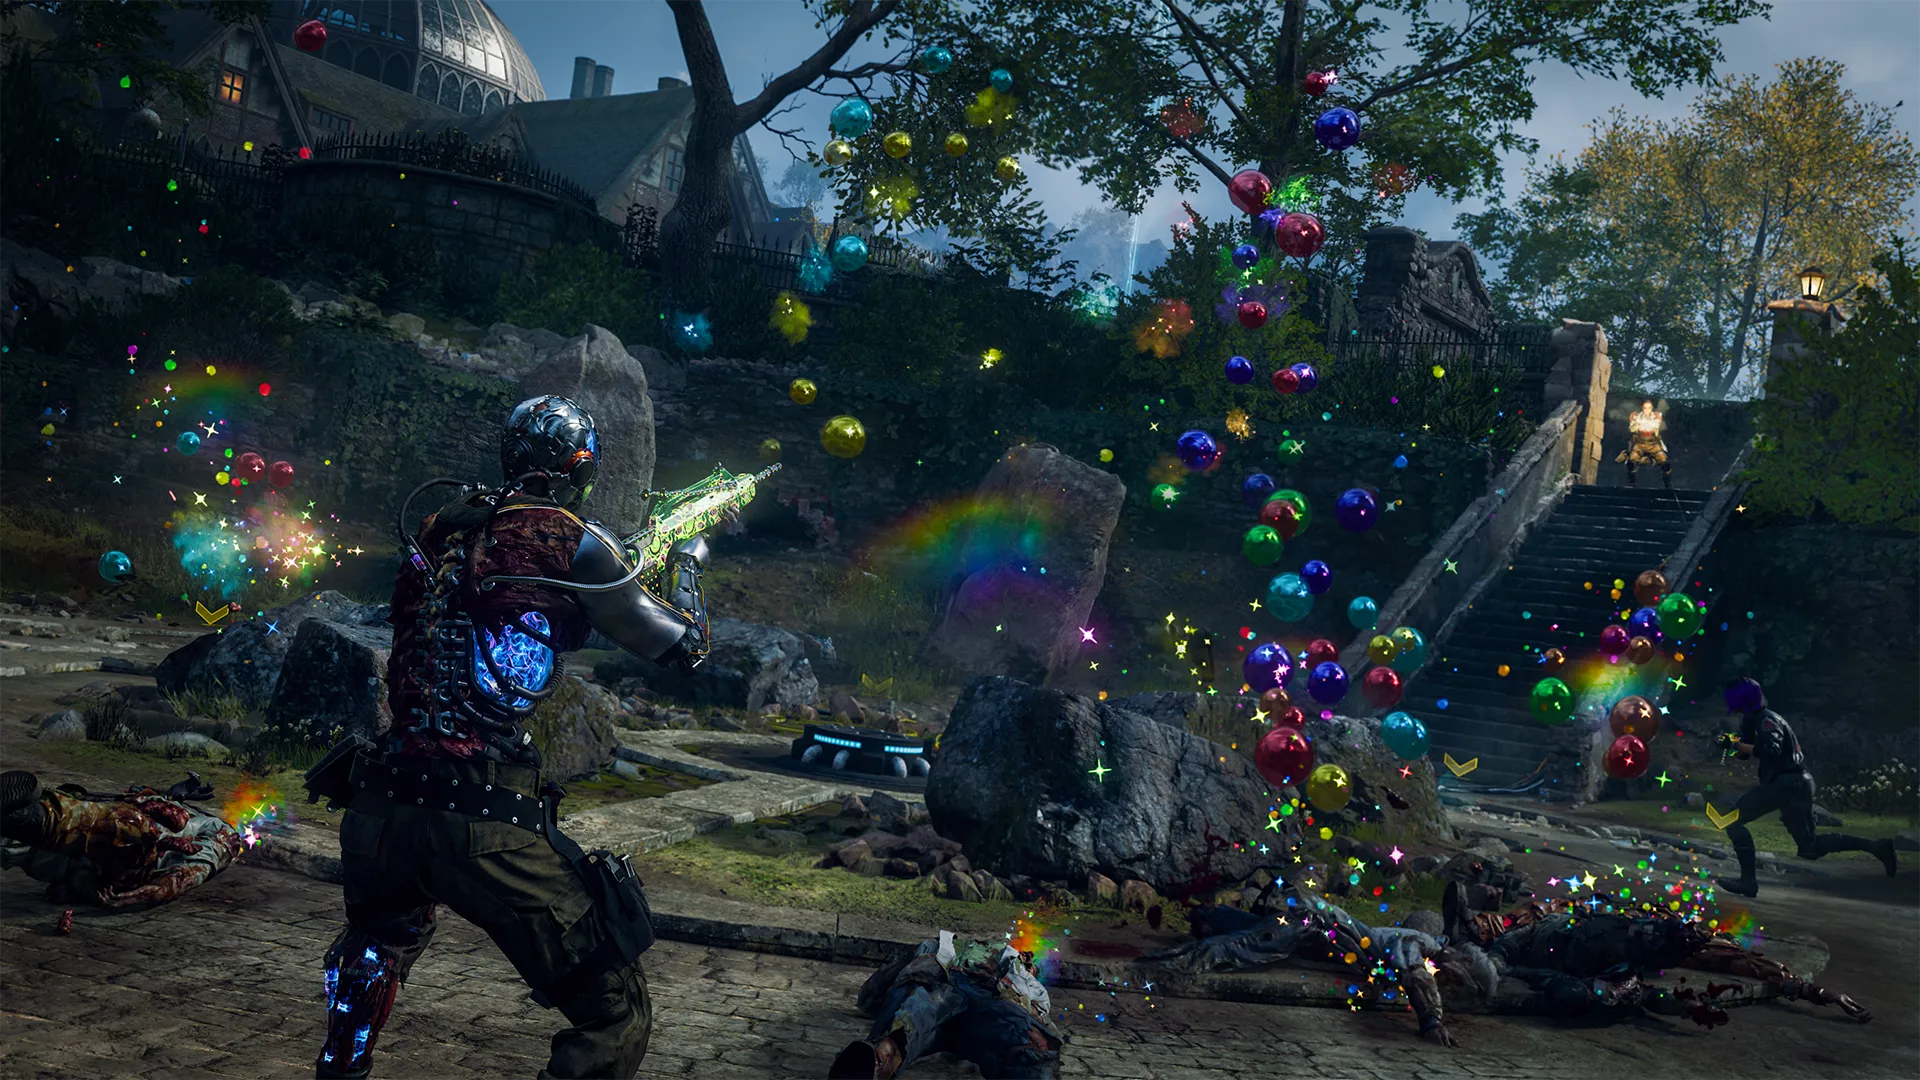
Zombie Ambush
An Elite zombie is spawned and friendly to the team that secured the Capture Zone. This Elite will not attack the friendly team and will only focus on the aggrieved team for one minute or until it is eliminated.
Weapon Carousel
Affected players will have their weapons randomly swapped every few seconds to a weapon that is not of their choosing. Players will be left with a random weapon in the end; however, the PAP, Rarity Level, and Ammo Mod will be retained.
Frozen
Affected players will be slowed to half of their normal speed.
Grief Strategies
There are many ways to win in Grief. Here are some strategies to help you survive a bit longer:
- Use any opportunity to outnumber your opponent. If there is a horde surrounding one of your opponents, help the zombies out by sending a few bullets your opponent’s way to slow them down.
- Don’t let the enemy up. When enemies are downed, it’s time to keep the pressure on. Use any opportunity to interrupt the revival of a downed enemy player, such as a Shock Charge. It could be the domino that eventually leads to victory.
- Get to the Capture Zone! Once the Capture Zone appears, get there as quickly as you can and start taking down zombies. It can be dangerous to refocus your attention on an objective instead of sheer survival, but if the enemy secures the zone, the Grief they send your way will be far worse.
- Upgrade whenever possible. When there’s a window, be sure to grab an upgrade. Whether you’re spending Essence to Pack-a-Punch your weapon or increasing its rarity at the Arsenal, it’s important to keep upgrading. There will be times when melee is required to secure a Capture Zone, so even upgrading the rarity or Pack-a-Punch level of your Melee weapon can be crucial.
- Experiment with equipment, support, and Field Upgrades. In Grief, equipment can often be the difference between winning and losing. Try using Shock Charges to disrupt the enemy team, throw Decoys to lure even more zombies into the Capture Zone, or set some C4 to eliminate a large number of zombies before the other team has a chance to steal some. Grief allows for some interesting and different combinations that Zombies players may be used to, so try them all out even if you’re not used to using them. Good luck, and happy Griefing!
© 2024-2025 Activision Publishing, Inc. ACTIVISION, CALL OF DUTY, and CALL OF DUTY BLACK OPS are trademarks of Activision Publishing, Inc. All other trademarks and trade names are the property of their respective owners.
For more information, please visit www.callofduty.com and www.youtube.com/callofduty, and follow @Activision and @CallofDuty on X, Instagram, and Facebook. For Call of Duty Updates, follow @CODUpdates on X.