Shattered Veil
Shattered Veil: The Ten-Round Guide to Directed Mode
- Garden Pond
- Shem's Henge
- Conservatory
- Motor Court
- Grand Foyer
- East Foyer / Library (Eastern Path)
- Study / East Balcony (Eastern Path)
- West Hallways / Nursery / South West Balcony (Western Path)
- Director's Quarters / West Balcony / Bottlery (Western Path)
- Rear Patio / Banquet Hall
Keep Progressing
Shattered Veil


-
Show spawn points

-
Reset all overlays

Prebrief

With the Sentinel Artifact in hand, the crew heads to the remote wooded hills above Liberty Falls to meet with S.A.M. at an old mansion in the forest. Only with the aid of S.A.M.’s synthetic mind can the team hope to unlock the ancient artifact’s mysteries and bring back Agent Maxis. What could possibly go wrong?
What is Directed Mode?

For those players wanting to witness the Zombies story with a guided experience to completing the objectives for the Main Quest in Shattered Veil, Directed Mode is for you. If you want a little less pressure while you experience the story and everything that the narrative has to offer, Directed Mode will guide you from objective to objective while limiting the maximum round number, letting you play at a reasonable pace.
You’ll still fight the zombie hordes; however, you won’t have to worry much about escalating difficulty as you look to complete the quest. Each objective, or milestone, will increase the round limit to help control the pace of chaos for you. But in Directed Mode, you and your team will never surpass Round 15 as it will hard cap there until the Quest is complete.
What is in This Guide?
This Guide will walk you through the general layout of the Shattered Veil map. Think of this guide as a tactical tour of the mansion and the basics of what Shattered Veil has to offer. This Guide to the first ten rounds of Shattered Veil won't walk you through the entirety of the Main Quest, but it will set you up for success so that as you flow through the directed objectives, you’ll have a strong foundation and understanding of the map.
The Guide will break down each Point of Interest in Shattered Veil and show the locations of each of the important upgrade stations, such as Pack-a-Punch Machines, Perk Machines, The Arsenal, Ammo Caches, and more. Before starting your next run in Shattered Veil, look through the general layout detailed in this Guide so that you have an idea of where you may want to progress, or what you may want to save your Essence for. Use the Recommended Round Pace breakdowns to give you a general idea of where you should be, if you’re not sure about how much Essence you should be saving. If you’re a little behind, or even ahead of the recommended round pace, that’s okay, too.
CALL OF DUTY® INTEL CARD
- BO6
Shattered Veil
// ZOMBIES // MAPS

Get some fresh air: The Shattered Veil mansion is large and has plenty of space to explore, but things can get rather compact when there’s a crowd. Whether you’re near the front of the mansion or the back, try to find your way outdoors before the horde gets too dense. Then, when you’ve eliminated a decent number of them, head back in to continue exploring.
Break the barrier: There are times in Shattered Veil where you just might have to run. No matter where you are in your progress on Shattered Veil, the longer the path you must run, the better. Try to find an area where you can run in a loop and force the zombies to chase you while you whittle them down. Otherwise, it’ll be important to buy as many doors as you can, so you have some space to stretch your legs.
Freeze funnel: Try equipping the new Frost Blast Field Upgrade and trigger it in one of the many choke points on Shattered Veil. If you have a large group of zombies behind you (or in front), you can lure them through Frost Blast’s area of effect and force them to chill out. Zombies affected by Frost Blast will slow down and become much easier to eliminate. Take advantage of the Field Upgrade making its return to Zombies in Black Ops 6 Season 03 Reloaded.
Shattered Veil: The Ten-Round Guide to
Directed Mode

The first ten rounds of any Zombies map have the basic pacing that will get you and your squad to the Pack-a-Punch machine. There’s no wrong way to play Round-Based Zombies, so long as you play to survive. Making it to Round 10 is an important accomplishment, and powering up your weapons and gear becomes even more important after that point. It's also where the first chance of exfilling from the map to end your run and earn some survival XP becomes available. Use each of the following sections to get the full intel on what you can access in each area of the map. Plan your route and progress through the objectives while preparing to fight the hordes.
Garden Pond

-
Show spawn points
-
Reset all overlays
Recommended round pace when exploring: 1 - 2
Tasks and Available Power Ups
Task
Gain Essence
Trap
Dark Aether Field Generator
Weapon
GS45 (Pistol) Wall Buy
Ammo
Ammo Cache
GobbleGum
GobbleGum Machine

Welcome to Colton Hall. You’ll get to explore the mansion in a few rounds. But first, let’s explore the Garden Pond starting area. There are a few sections to get through before getting to the mansion, so it’s a good idea to not spend too much time in the Garden Pond before moving forward past the first door. Don’t worry, you’ll be back here in no time.
There are two paths to take out of the starting area. You can either move west up the stairs and visit the Conservatory, or you can turn east towards Shem’s Henge. Either direction will take you to the mansion entrance, but as with all Zombies maps, the choice is yours. You can move in either direction and still progress at the same pace, and if you look at the sky and notice the bright blue beam (or look further in this guide to see which Perks are available nearby), it may help you make your decision. Remember, you can always buy both door unlocks and explore these areas even further. Eventually, you’ll want to have all doors unlocked anyway, but saving some Essence and using it toward early upgrades is always a good idea.
Before you leave the Garden Pond, be sure to find the Fast Travel Teleporter. You’ll want to know exactly where you’ll end up if you choose to use it.
Shem's Henge

-
Show spawn points
-
Reset all overlays
Recommended round pace when exploring: 3
Tasks and Available Power Ups
Perk
Speed Cola
Weapon
Kompakt 92 (SMG) Wall Buy
GobbleGum
GobbleGum Machine
Ammo
Ammo Cache
Mystery Box
Possible Mystery Box Location

Welcome to Colton Hall. You’ll get to explore the mansion in a few rounds. But first, let’s explore the Garden Pond starting area. There are a few sections to get through before getting to the mansion, so it’s a good idea to not spend too much time in the Garden Pond before moving forward past the first door. Don’t worry, you’ll be back here in no time.
There are two paths to take out of the starting area. You can either move west up the stairs and visit the Conservatory, or you can turn east towards Shem’s Henge. Either direction will take you to the mansion entrance, but as with all Zombies maps, the choice is yours. You can move in either direction and still progress at the same pace, and if you look at the sky and notice the bright blue beam (or look further in this guide to see which Perks are available nearby), it may help you make your decision. Remember, you can always buy both door unlocks and explore these areas even further. Eventually, you’ll want to have all doors unlocked anyway, but saving some Essence and using it toward early upgrades is always a good idea.
Conservatory
-
Show spawn points
-
Reset all overlays
Recommended round pace when exploring: 3
Tasks and Available Power Ups
Perk
Quick Revive
Weapon
TANTO .22 (SMG) Wall Buy
Trap
Microwave Trap
Ammo
Ammo Cache
Mystery Box
Possible Mystery Box Location

The Conservatory is a multi-level section of Shattered Veil that has both an indoor and outdoor section. Inside the large greenhouse, you’ll find plenty of obstacles and places to jump around to avoid being cornered. Use these opportunities, but don’t get trapped. Do everything you can to buy the next door toward the Upper Terrace as quickly as possible so that you have an escape route handy.
The Conservatory is a great place to test out the new Frost Blast Field Upgrade if you’ve brought it with you in your Loadout. Frost Blast appears at your exact location when you activate it and provides a dome of frost energy that will damage and slow zombies as they attempt to walk through it. Once a zombie is affected by the frost effect, they’ll also suffer more damage when you attack them. Activating this Field Upgrade in a doorway or any other confined space could give you the best bang for your buck.
Motor Court

-
Show spawn points
-
Reset all overlays
Recommended round pace when exploring: 3
Tasks and Available Power Ups
Weapon
Marine SP (Shotgun) Wall Buy
Equipment
Crafting Table
Ammo
Ammo Cache
Mystery Box
Possible Mystery Box Location

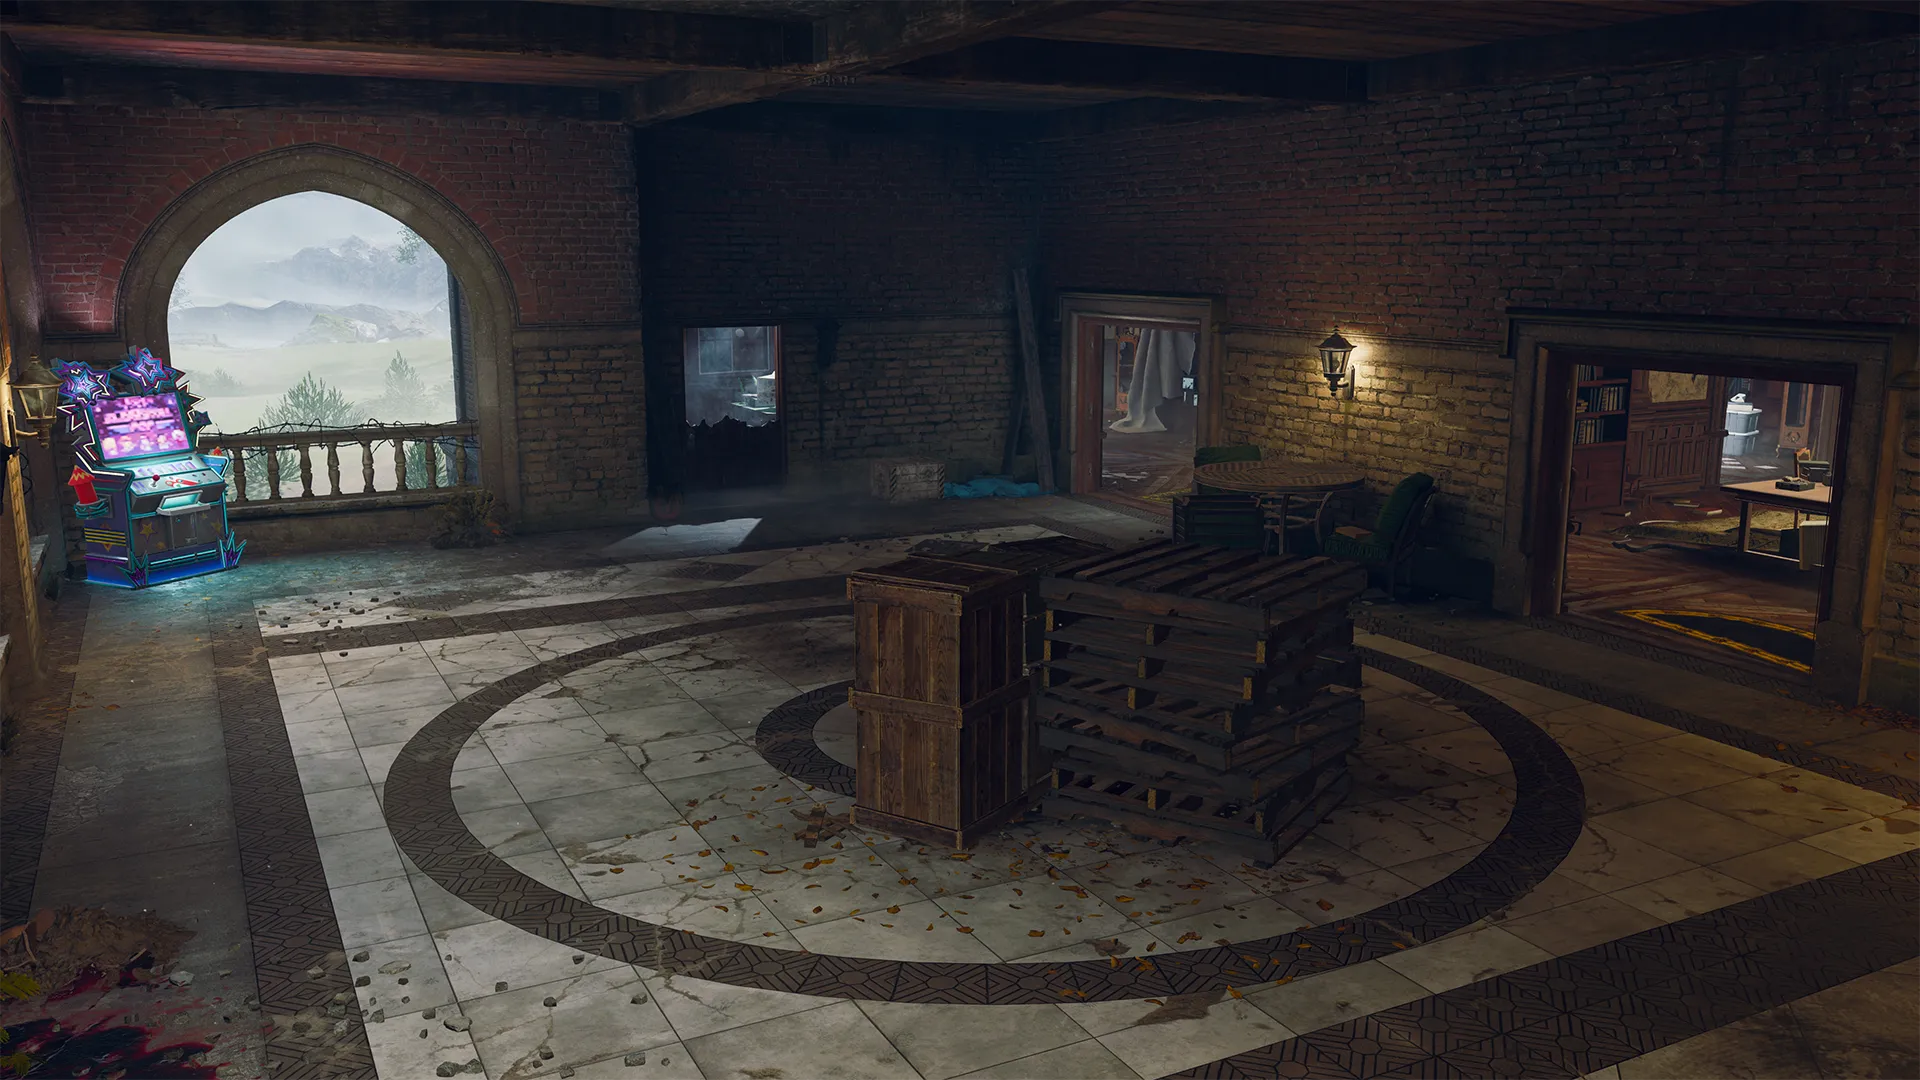
Use the open-area Motor Court to earn some Essence and thin out the zombie horde, so that you can do a bit more outdoor exploring if you need to before heading into the mansion. It’s also a good idea to get familiar with some of the zombie entry points in the area, as this is the only spot where the exfil helo can safely arrive for the pickup. Read more about exfil tactics later in this guide but know that this is where you’re going to have to clear the horde in order to make it out alive.
Don’t be afraid to spend some time exploring the Motor Court as well as some of the previous locations before moving on. If you’re feeling comfortable with Zombies and you’ve gotten to this POI rather quickly, you may want to investigate some of the more abnormal looking elements around the exterior of the mansion...
Grand Foyer
-
Show spawn points
-
Reset all overlays
Recommended round pace when exploring: 6
Tasks and Available Power Ups
Perk
Jugger-Nog Perk Machine
Weapon
AMES 85 (Assault Rifle) Wall Buy
Upgrade
The Arsenal
Mystery Box
Possible Mystery Box Location
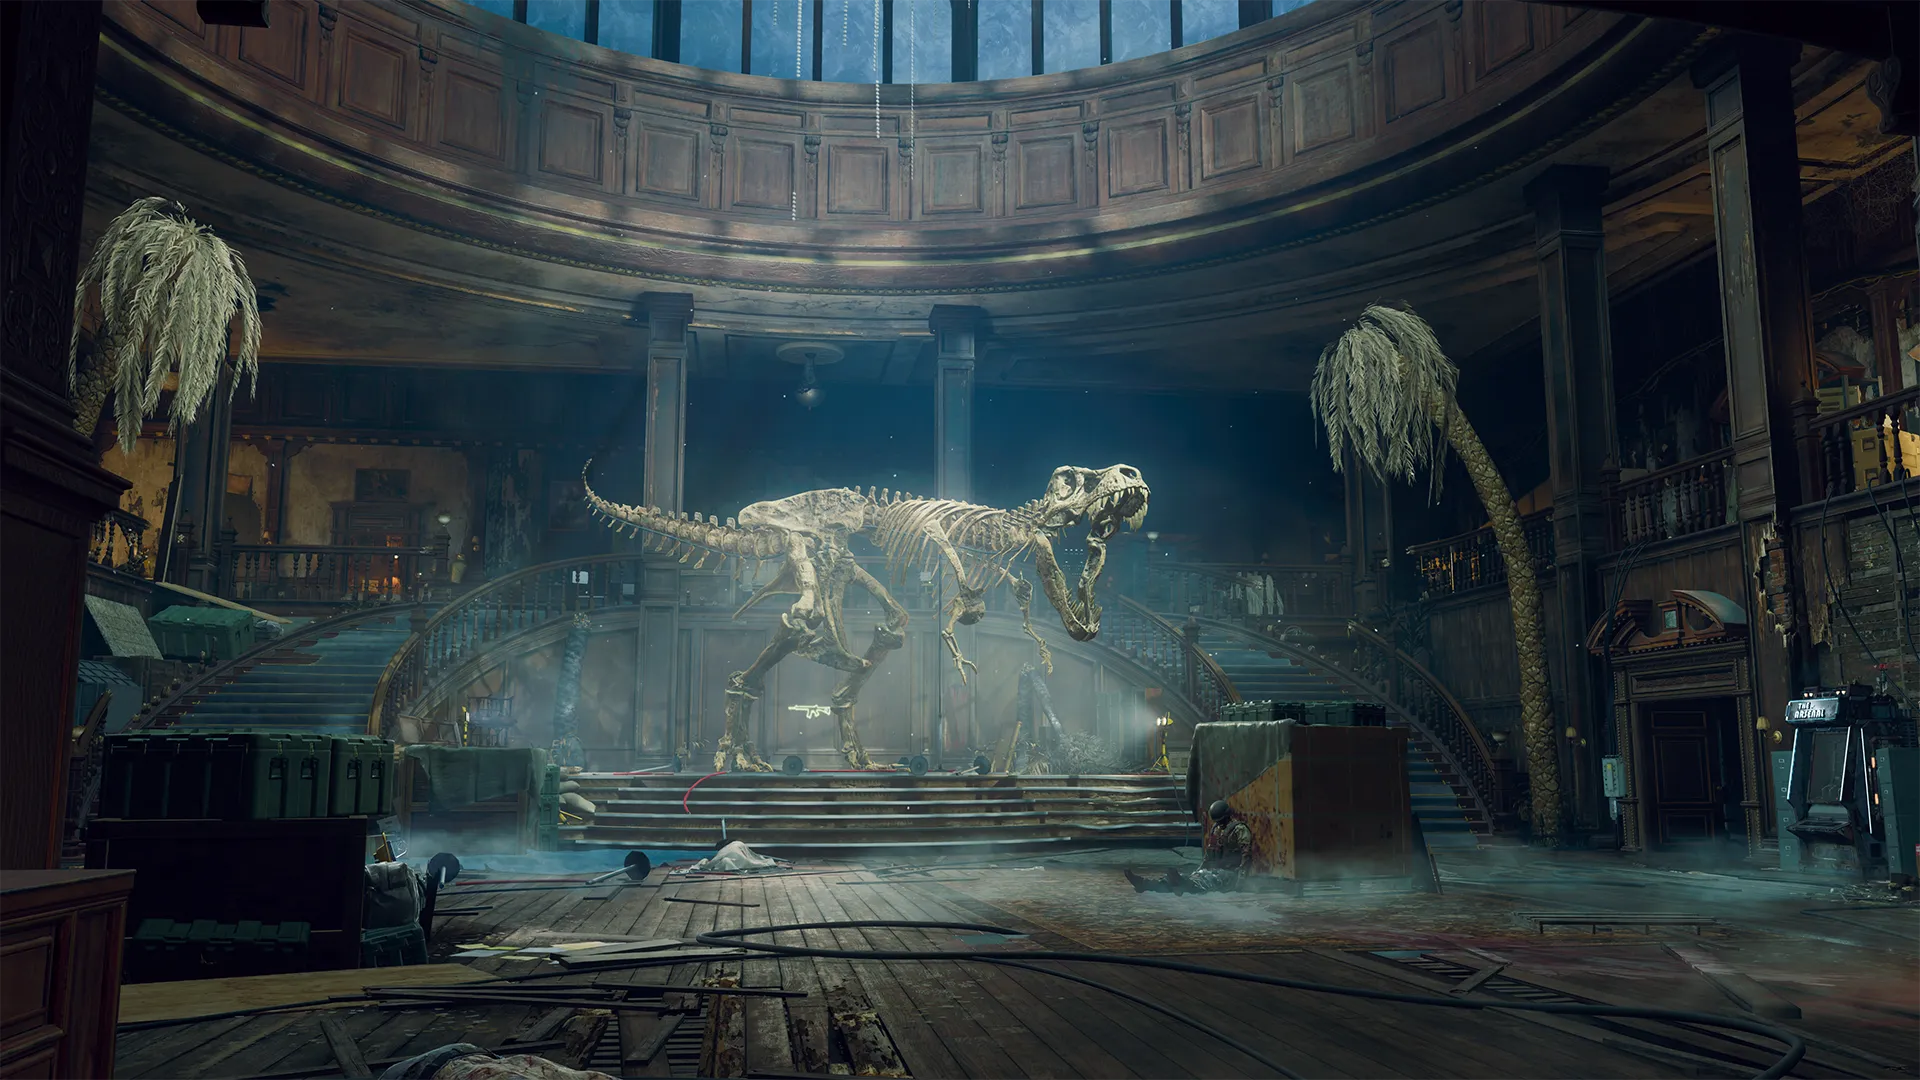
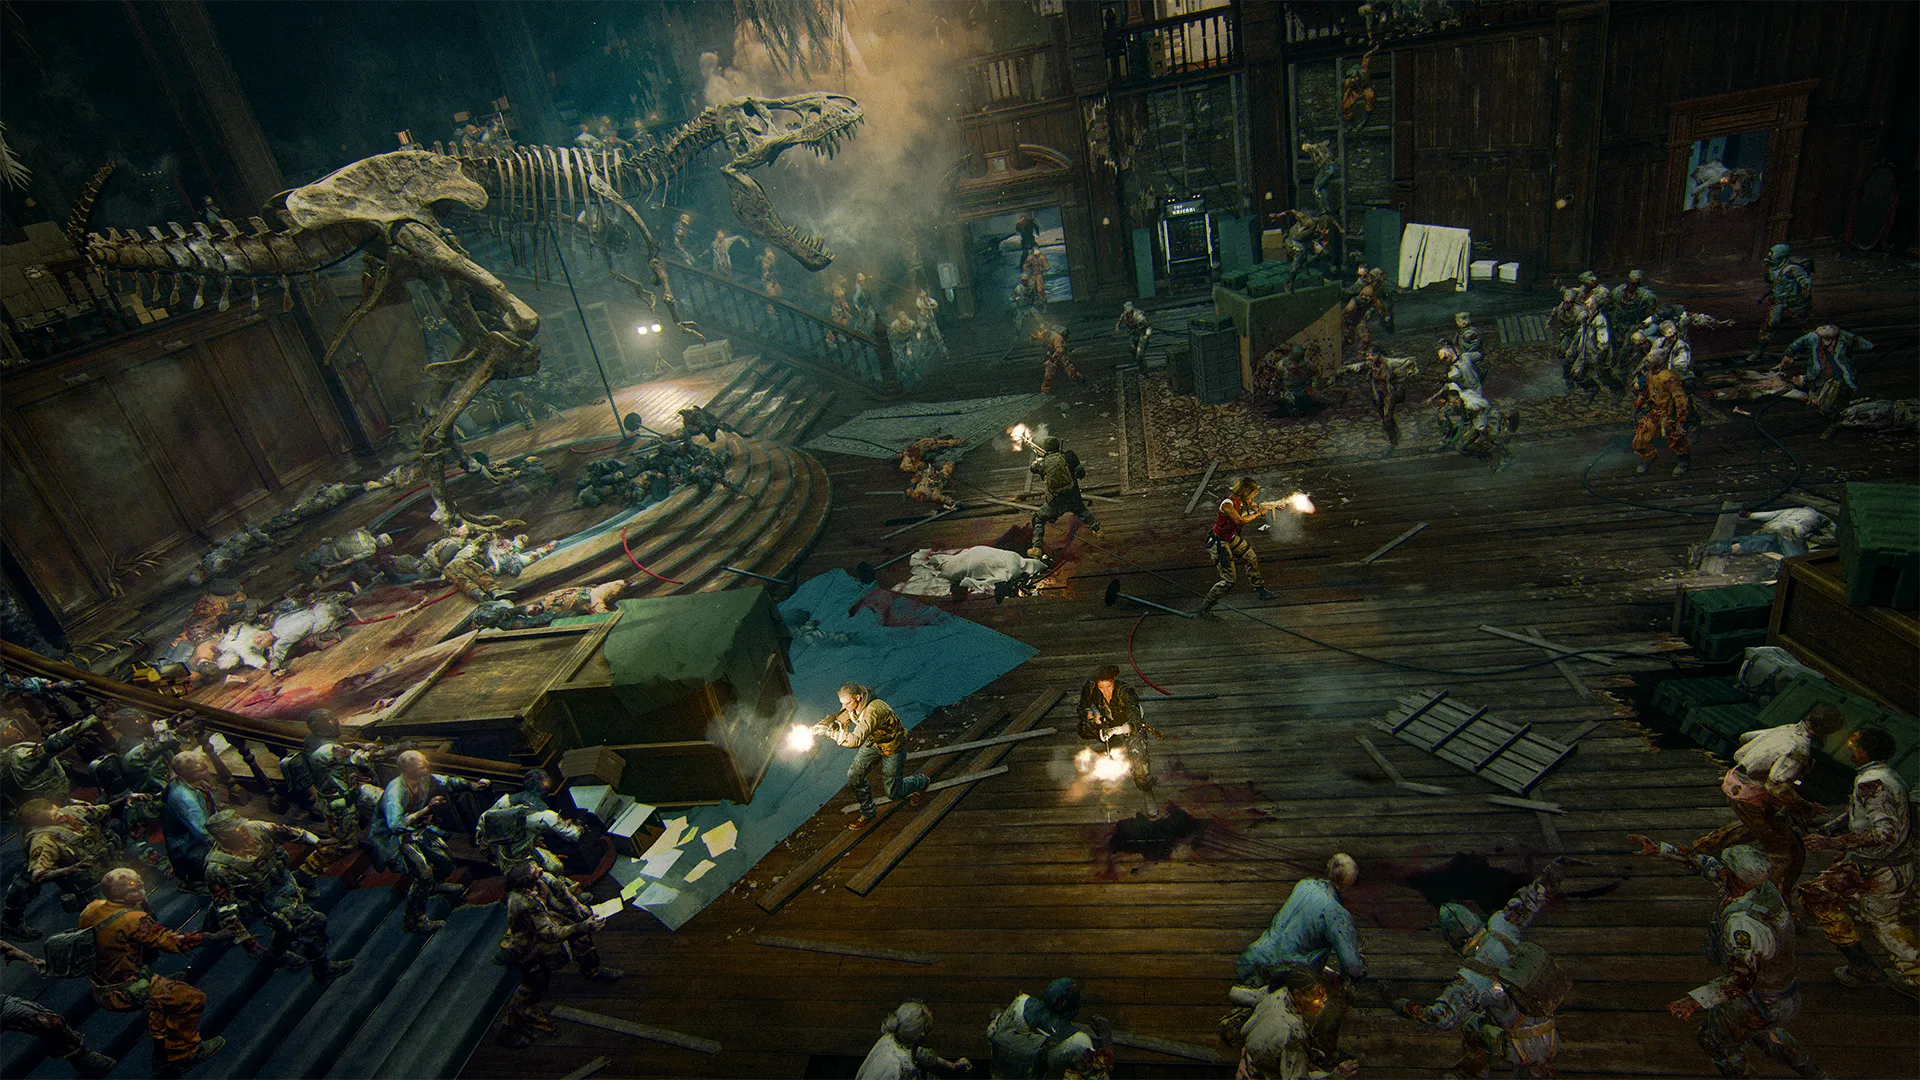
You’ve made it to the mansion! Welcoming you with a large dinosaur fossil, the Grand Foyer lives up to its name. This location isn’t one that you’ll spend too much time exploring just yet, but take a quick stroll around the upper level and take note of the tech placed all around the Foyer.
The Grand Foyer is your second “fork in the road” on Shattered Veil, giving you and your team another choice in which direction you wish to head. Remember that you’ll eventually want to open all the doors on the map, but for now it’s probably best to pick a direction and stick with it for a while. If you head east, you’ll find yourself in the East Foyer and eventually the Library. If you head west, you’ll be traveling through West Hallways and then the Nursery before you end up outside again. Both directions lead to the back of the mansion, though it may be some time before you get there, so choose how to spend your Essence carefully.
By this time, you may have enough Salvage to upgrade your weapon at The Arsenal. Do yourself a favor and purchase an Ammo Mod or upgrade the rarity of your starting Loadout weapon. Alternatively, you may want to purchase one of the Wall Buy Weapons that you’ve traveled past, which should already have an upgraded rarity, and equip an Ammo Mod on that weapon instead.
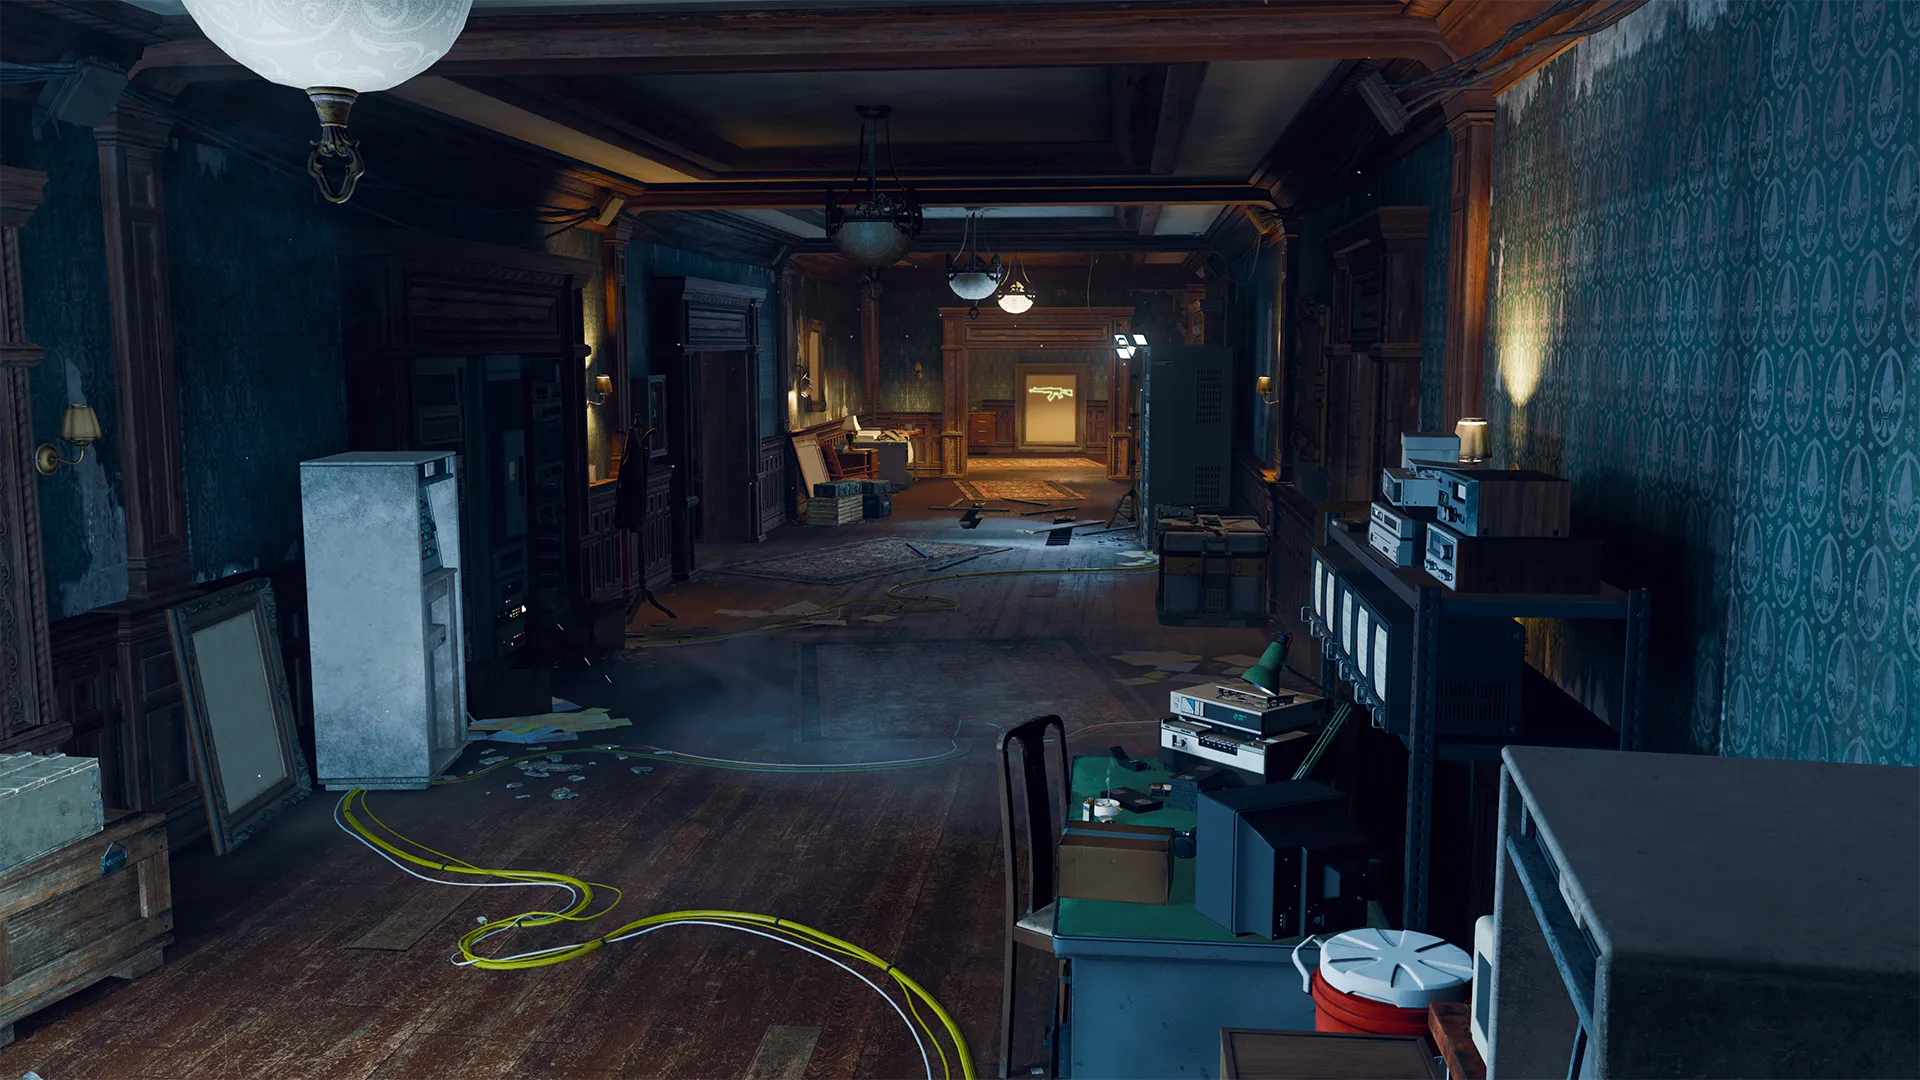
East Foyer / Library (Eastern Path)

-
Show spawn points
-
Reset all overlays
Recommended round pace when exploring: 7-8
Tasks and Available Power Ups
Perk
Stamin-Up Perk Machine
Weapon
AK-74 (Assault Rifle) Wall Buy
Armor Vest
Level II Armor Vest
Trap
Microwave Trap
GobbleGum
GobbleGum Machine
Ammo
Ammo Cache
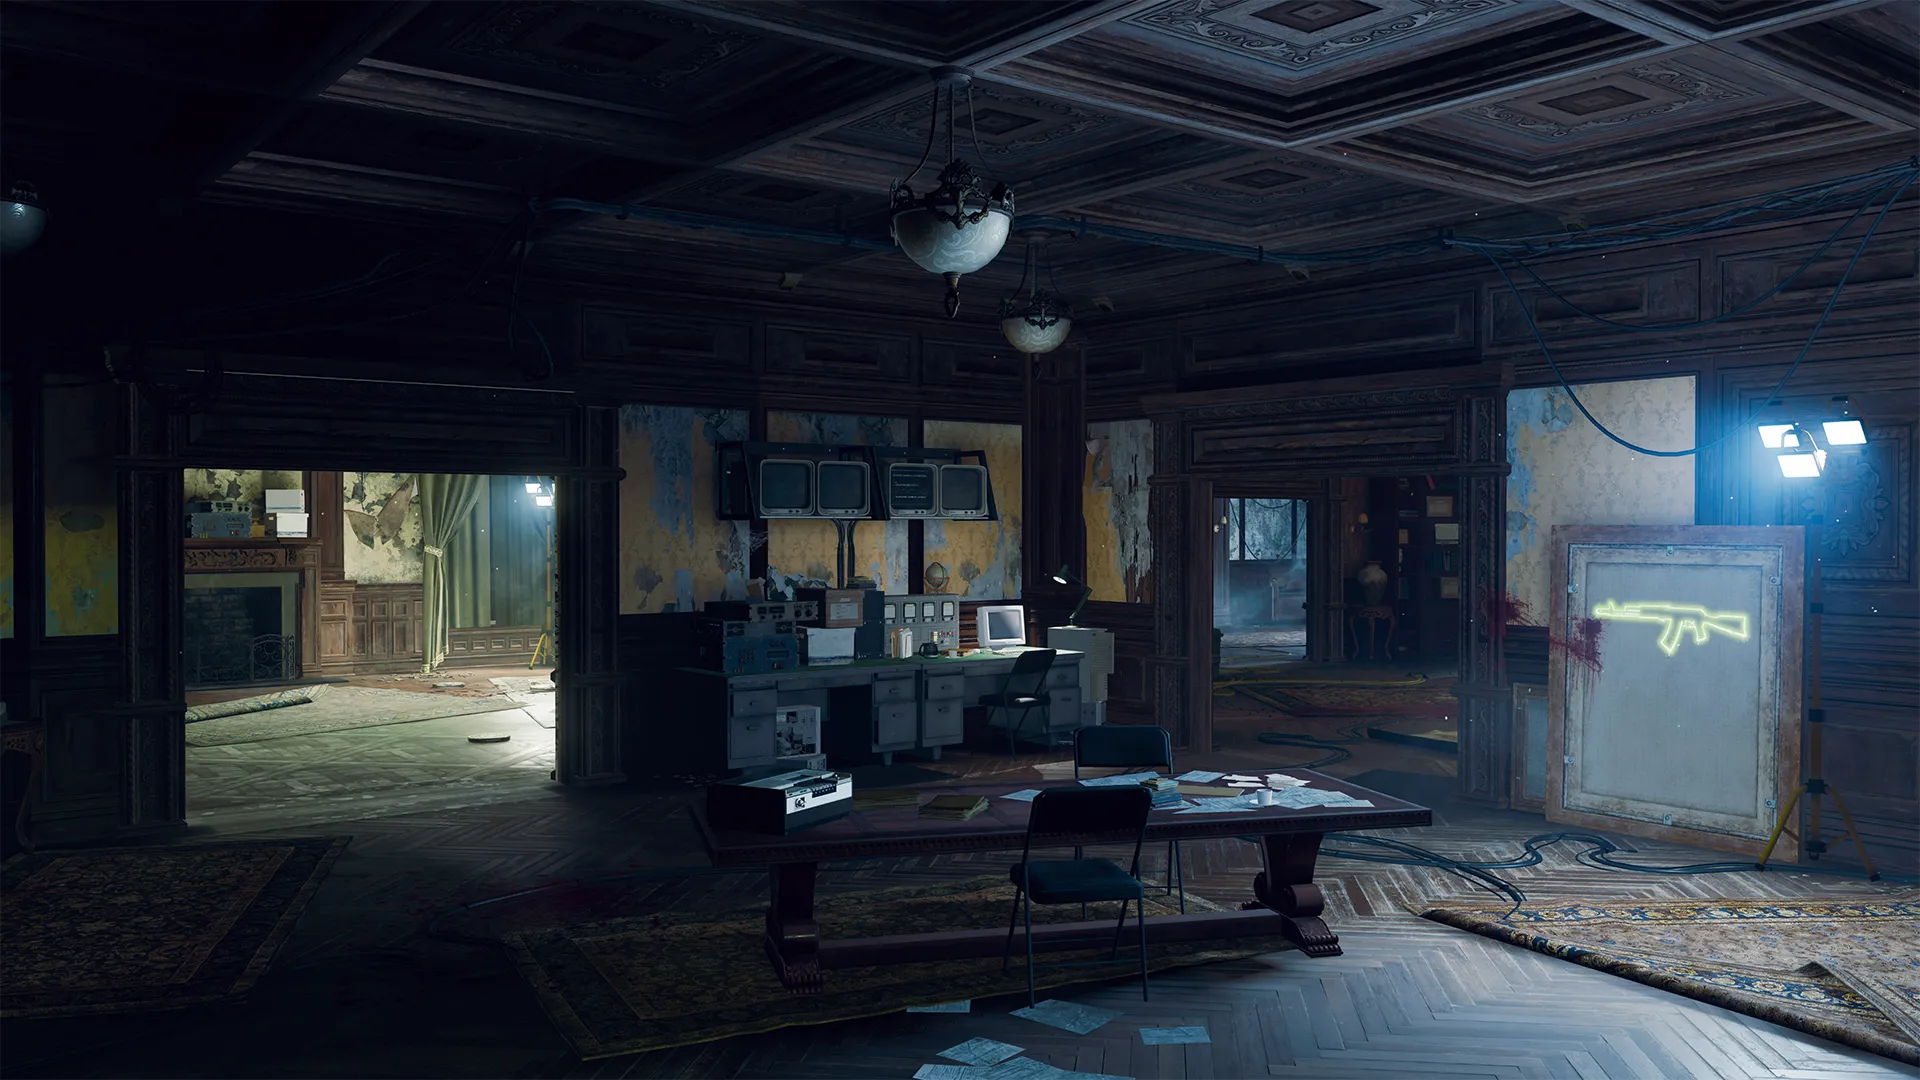
Before heading into the East Foyer, make sure you’re at full Armor, even if you only have a max capacity of one Armor Plate. The East Foyer and the Library are where the mansion begins to narrow a bit. You can enter the East Foyer from the ground floor or the next floor up, but either way, be ready for some close quarters combat with the undead. For now, your objective is to get through this area as fast as possible and make it into the Library before you get cornered.
Thankfully, there is an Ammo Cache in the Library if your reserves are starting to run low. Don’t be afraid to make some daring moves from the balcony directly above. Once you’ve gathered enough Essence, it may be time to open the next door into the Study.
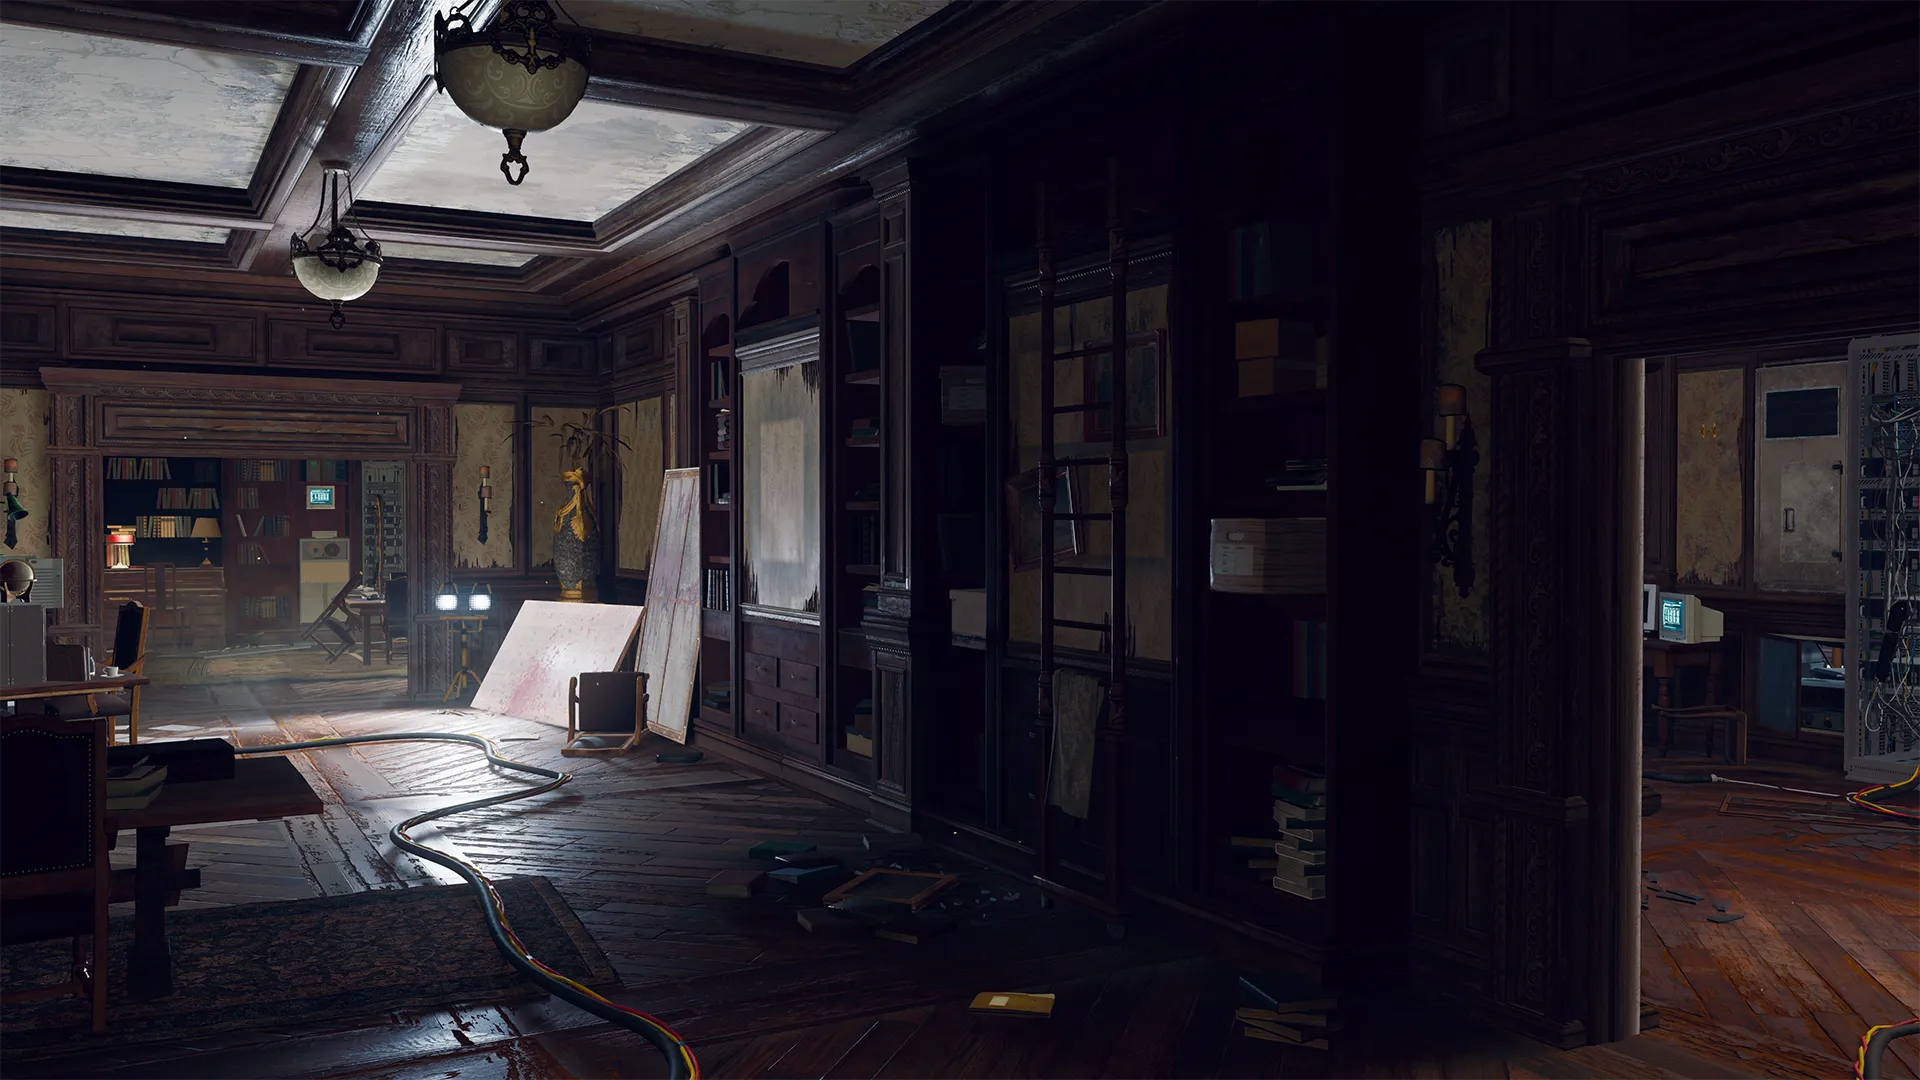
If you have a little bit of downtime, the Library is a good place to become familiar with as far as some of the more mysterious tech around the room.
Study / East Balcony (Eastern Path)

-
Show spawn points
-
Reset all overlays
Tasks and Available Power Ups
Perk
Elemental Pop Perk Machine
Weapon
SWAT 5.56 (Marksman Rifle) Wall Buy
The Study is split into two hallways that run parallel with one another, and both lead out to the East Balcony. The Study runs rather narrow, so it’s paramount that you don’t stay in one place for too long. However, if you can lure a horde through the Study and do a quick turnaround, their critical zones may line up for you, making it easier to earn a Massacre medal as you mow down a large chunk of the zombie wave.
Once you’ve made it through the Study and onto the East Balcony, there is a little bit of room to breathe. The Study can be used as a nice loop for pathing and escaping elimination as the horde closes in. The East Balcony is also where you’ll find the very useful Elemental Pop, if you wish to spend some Essence on another Perk. Though you may want to spend your Essence to unlock the next door and get out to the Rear Patio first.
West Hallways / Nursery / South West Balcony (Western Path)

-
Show spawn points
-
Reset all overlays
Recommended round pace when exploring: 7-8
Tasks and Available Power Ups
Perk
PhD Flopper Perk Machine
Perk
Death Perception Perk Machine
Weapon
XM4 (Assault Rifle) Wall Buy
Armor Vest
Level II Armor Vest
Trap
Microwave Trap
GobbleGum
Ammo
Ammo Cache
The West Hallways are built in a jagged “W” shape and wrap partially around the Nursery and the Director’s Quarters. The Hallways connect four other POIs: Nursery, South West Balcony, Director’s Quarters, and the West Balcony. The shape of the West Hallways makes for a nice highway path to different parts of the mansion, albeit a dangerous one due to its close quarters nature.
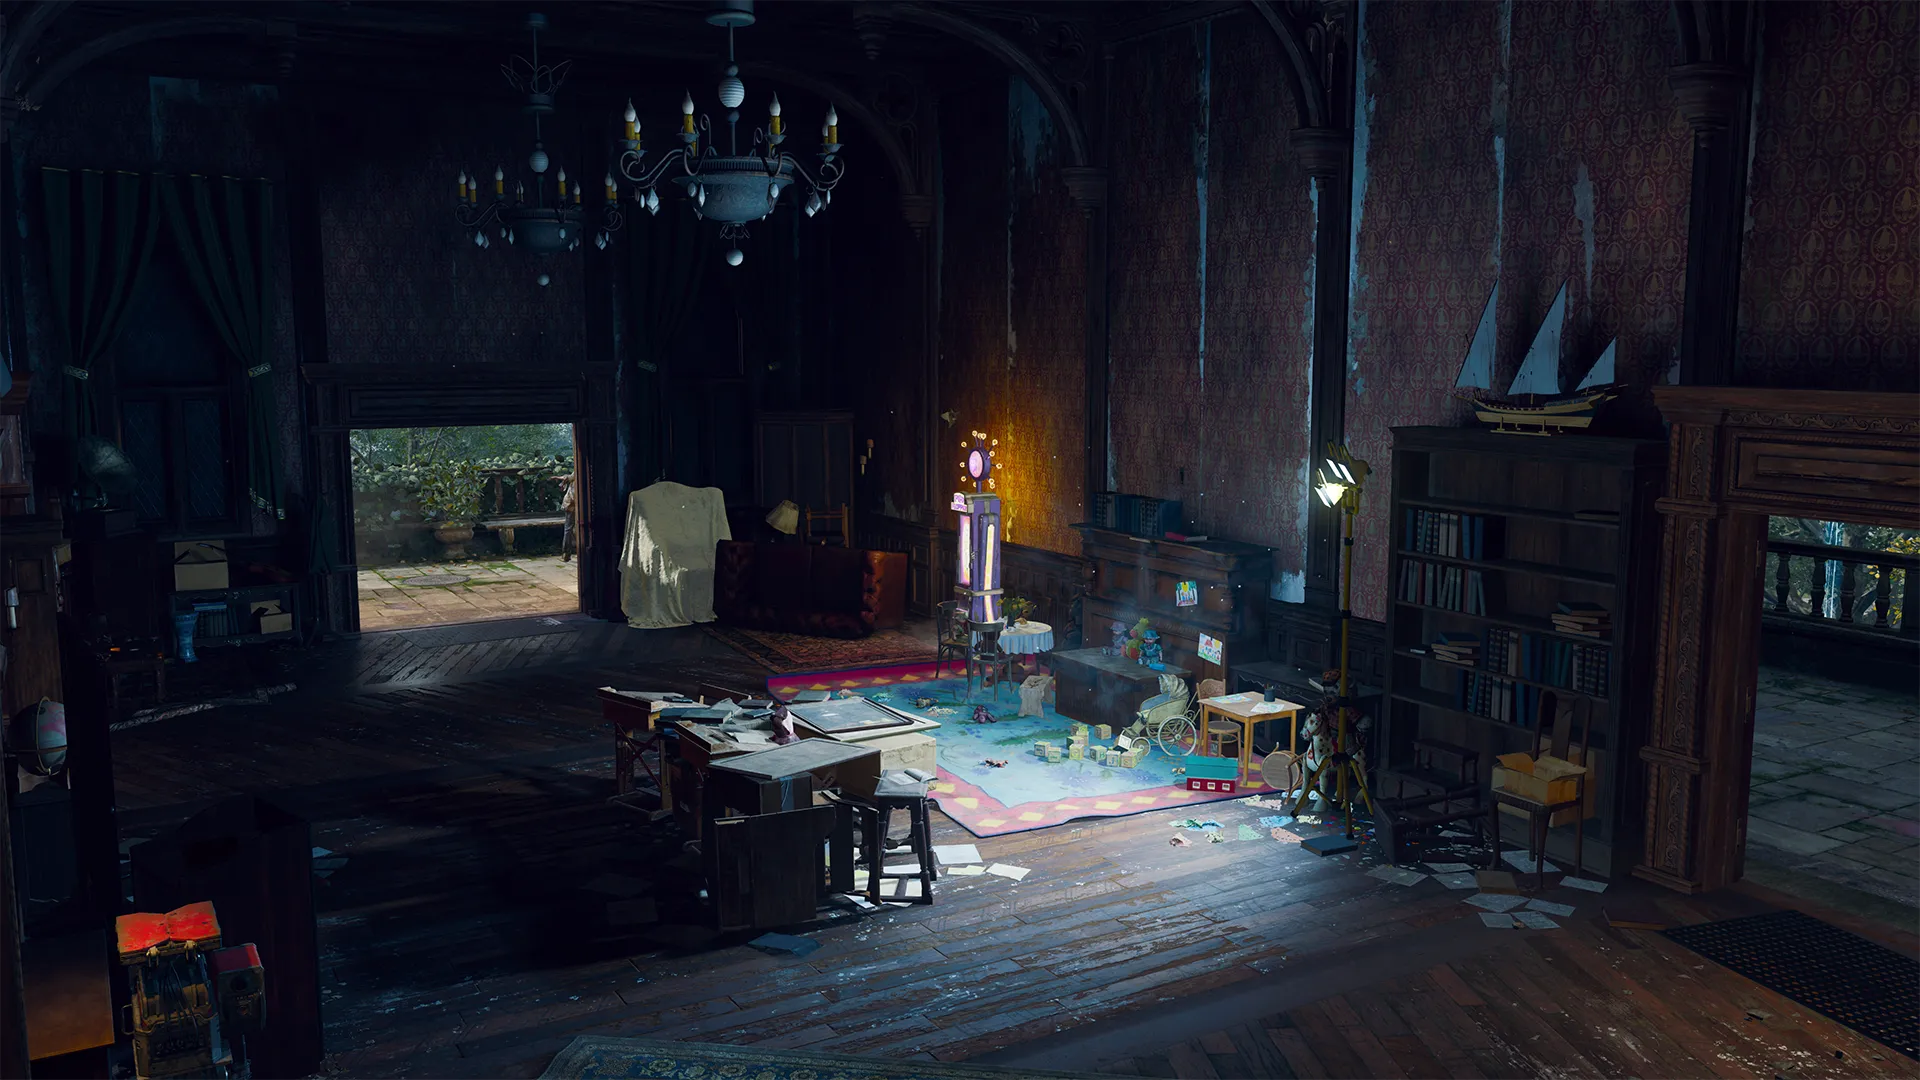
The Nursery is split into three main rooms: two bedrooms and a multipurpose room. The southeastern bedroom is connected to the West Hallways, so this is the room you’ll likely enter from. This room doesn’t have much in the way of support, so you’ll want to move to one of the adjacent rooms quickly. The other bedroom to the north is equipped with a Microwave Trap on the western entryway which can help in a pinch, but it will cost you.
The third room is the largest of the three. The Nursery also has exits out to the South West Balcony, which can also be useful when attempting to make some space and keep from taking damage.

Think of the South West Balcony as a shortcut or connector lane from the Nursery to the West Hallways closest to the Director’s Quarters. This location is another option for movement, giving the western path a lot of wiggle room compared to the eastern path. So, if you’re looking for one of the advantages when choosing your initial path, this could be it.
Director’s Quarters / West Balcony / Bottlery (Western Path)

-
Show spawn points
-
Reset all overlays
Recommended round pace when exploring: 9
Tasks and Available Power Ups
Upgrade
The Arsenal

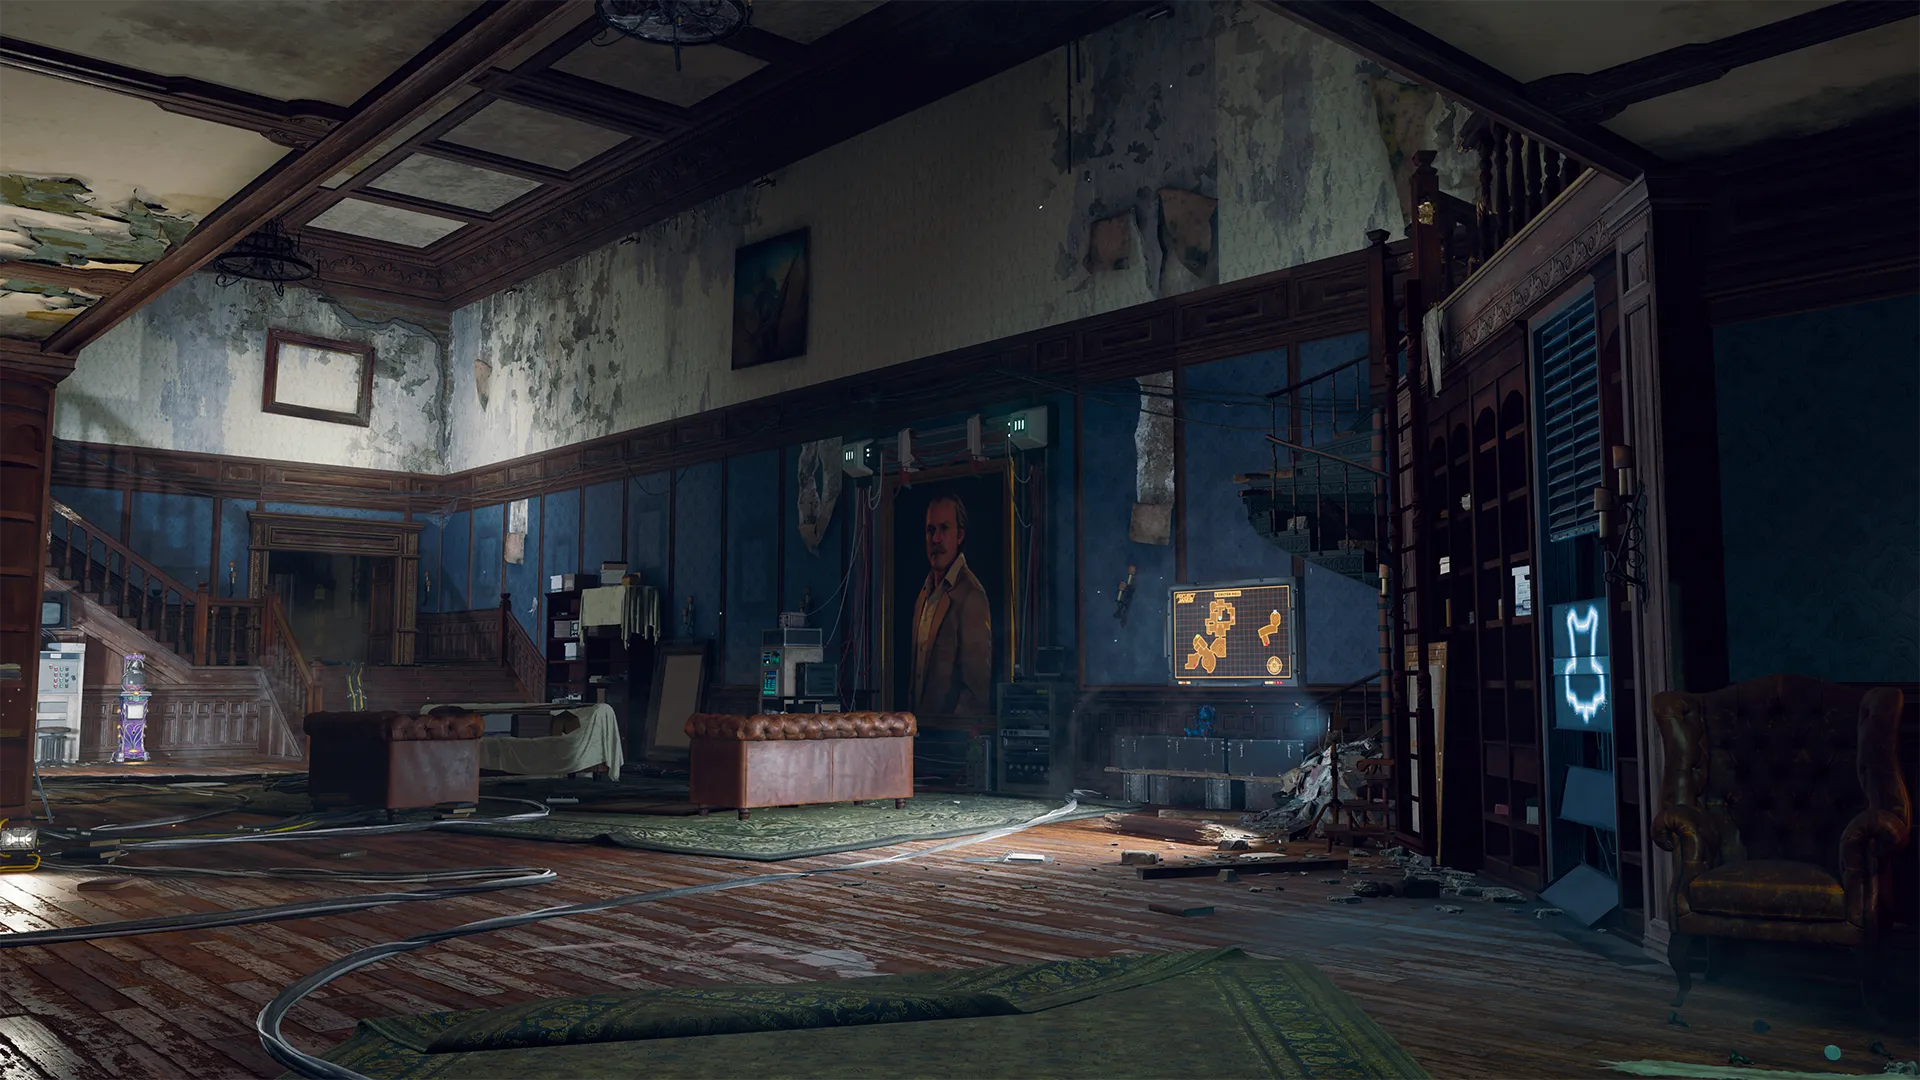
The Director’s Quarters sits between the northwestern and northeastern hallways of the West Hallways. The room is small, but rather important. Take a moment to explore the room a bit and know that you’ll be back here soon.
Once you’ve made it to the West Balcony, you can see the meeting point of the two paths as well as the next Arsenal near the far stairs, which may be rather important at this point in the run depending on how much Salvage you have to spend. As you head toward the steps and The Arsenal, you’ll notice another small room adjacent to the stairs. The Bottlery provides plenty of room to maneuver, so feel free to explore if you have time.
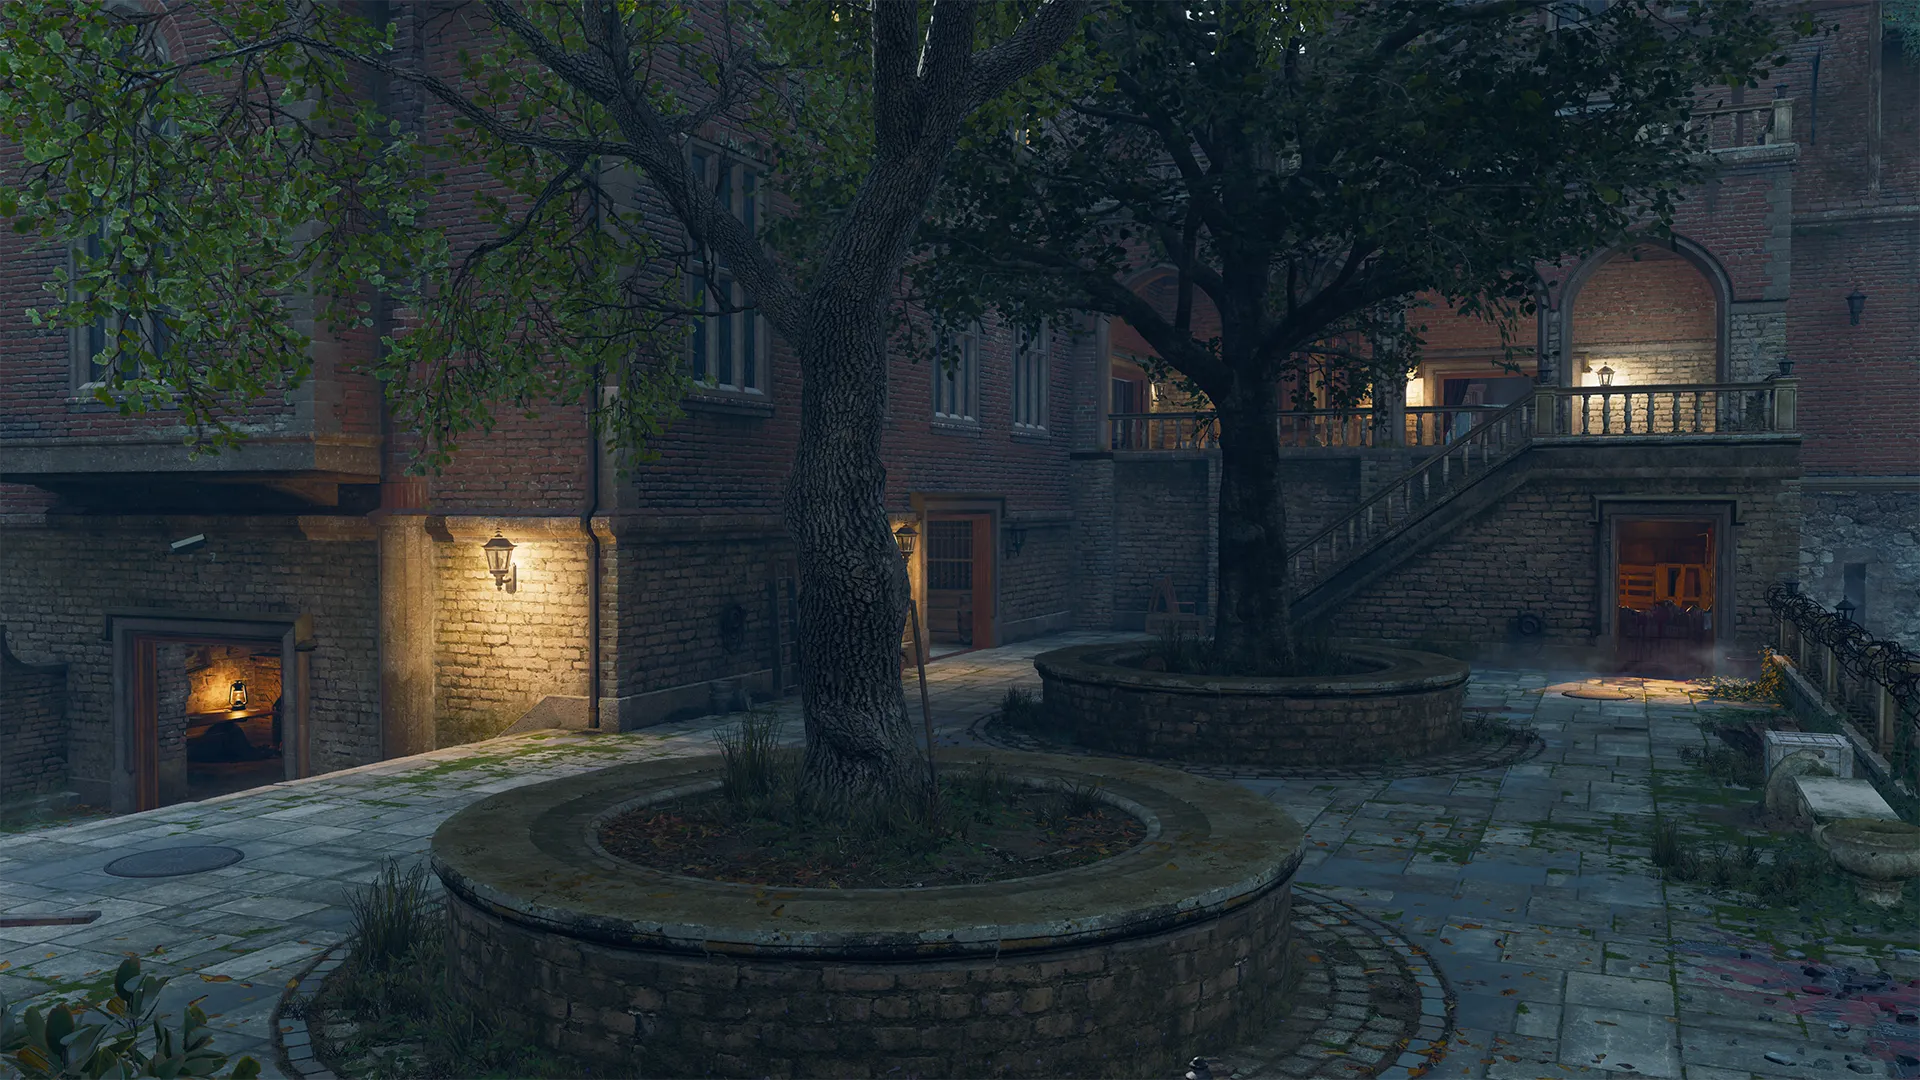
Rear Patio / Banquet Hall

-
Show spawn points
-
Reset all overlays
Recommended round pace when exploring: 10
Tasks and Available Power Ups
Perk
Double Tap Perk Machine
Perk
Death Perception Perk Machine
Weapon
XM4 (Assault Rifle) Wall Buy
Armor Vest
Level II Armor Vest
Trap
Microwave Trap
GobbleGum
Microwave Trap

The Rear Patio, then onto the Banquet Hall, is your final stretch before reaching the end of the Pack-a-Punch quest. Whether you’re in Standard or Directed, you’ll be shown the quest markers in getting to the PaP machine. If you’re not on the same pace as what’s outlined in this guide, that’s okay. There are many different aspects of the mansion and the rest of Shattered Veil to explore. Once you’ve attempted or completed a handful of runs on Shattered Veil, your pacing may change quite a bit.

Once you’ve arrived in the Banquet Hall, it’s now time to backtrack a little bit. As stated above, it’s okay if you’re not following the same pace as this guide. However, if you can afford it, head back to the Director’s Quarters and Library to gather the missing pieces required to fix the Lift as soon as you can. Prepare yourself, team.
Continuing the Story

A mansion with a diabolical past, caught in an Appalachian apocalypse. Free its captive souls. Come face to face with a synthetic mind. Confront a tyrant.
Now that you’ve explored much of the mansion, prepare to drop into the secret depths of what it has kept away from the public eye and be greeted by an old “friend.” Once you’ve found the Pack-a-Punch machine, the real journey begins. Pay close attention to what the objectives tell you and your team will get through Shattered Veil together.
© 2025 Activision Publishing, Inc. ACTIVISION, CALL OF DUTY, and CALL OF DUTY BLACK OPS are trademarks of Activision Publishing, Inc. All other trademarks and trade names are the property of their respective owners.
For more information, please visit www.callofduty.com and www.youtube.com/callofduty, and follow @Activision and @CallofDuty on X, Instagram, and Facebook. For Call of Duty Updates, follow @CODUpdates on X.