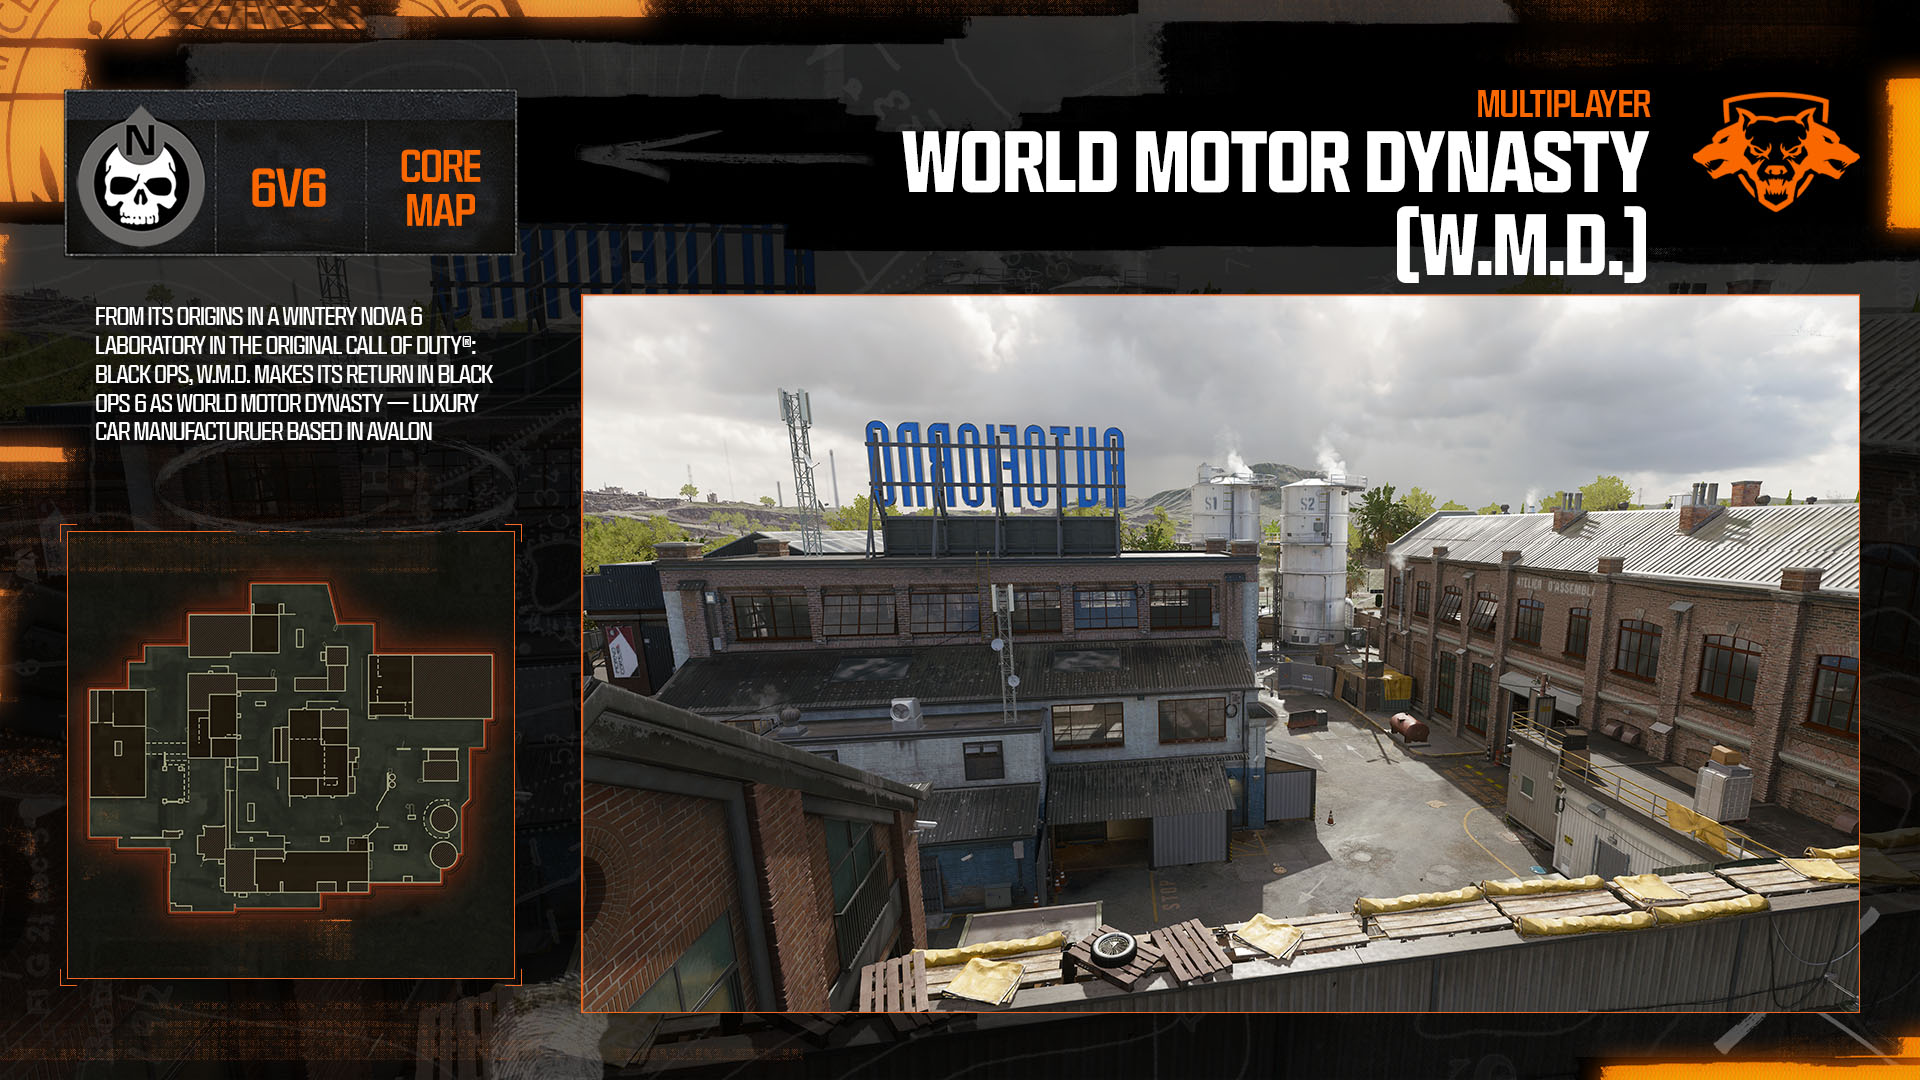
World Motor Dynasty (W.M.D.)
Advanced Map Tips
Map Focused Loadouts
Prebrief

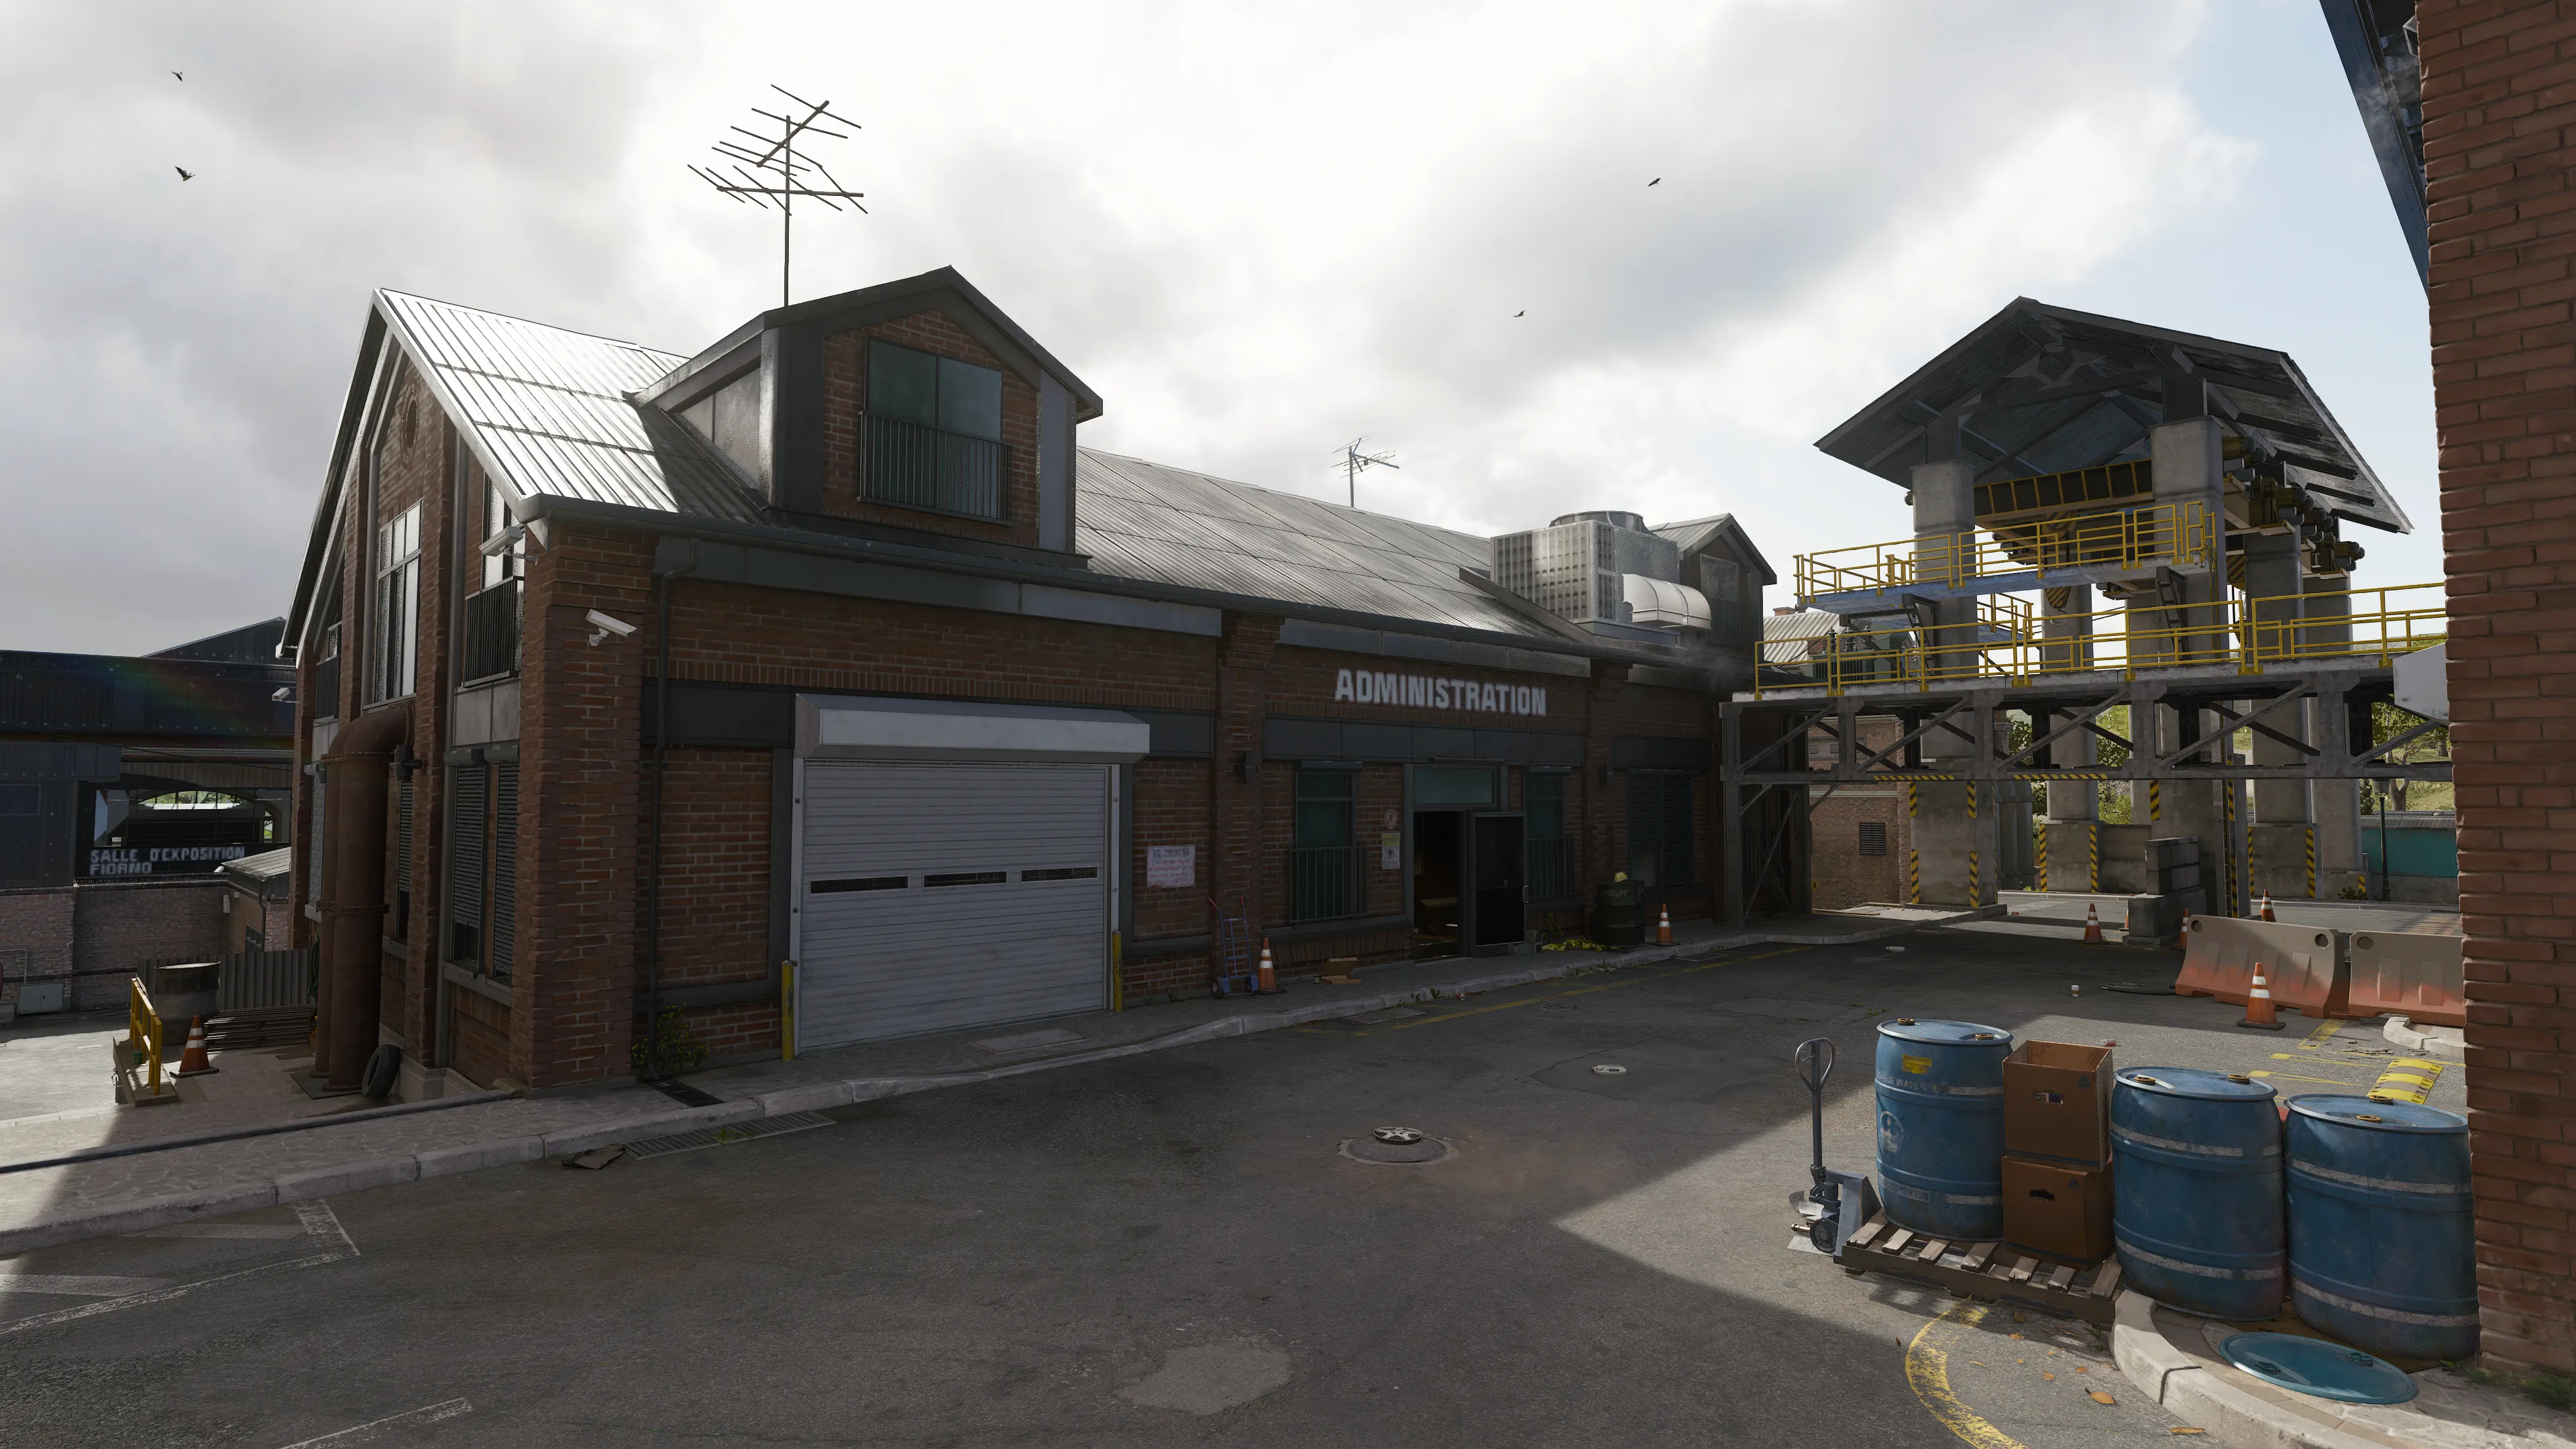
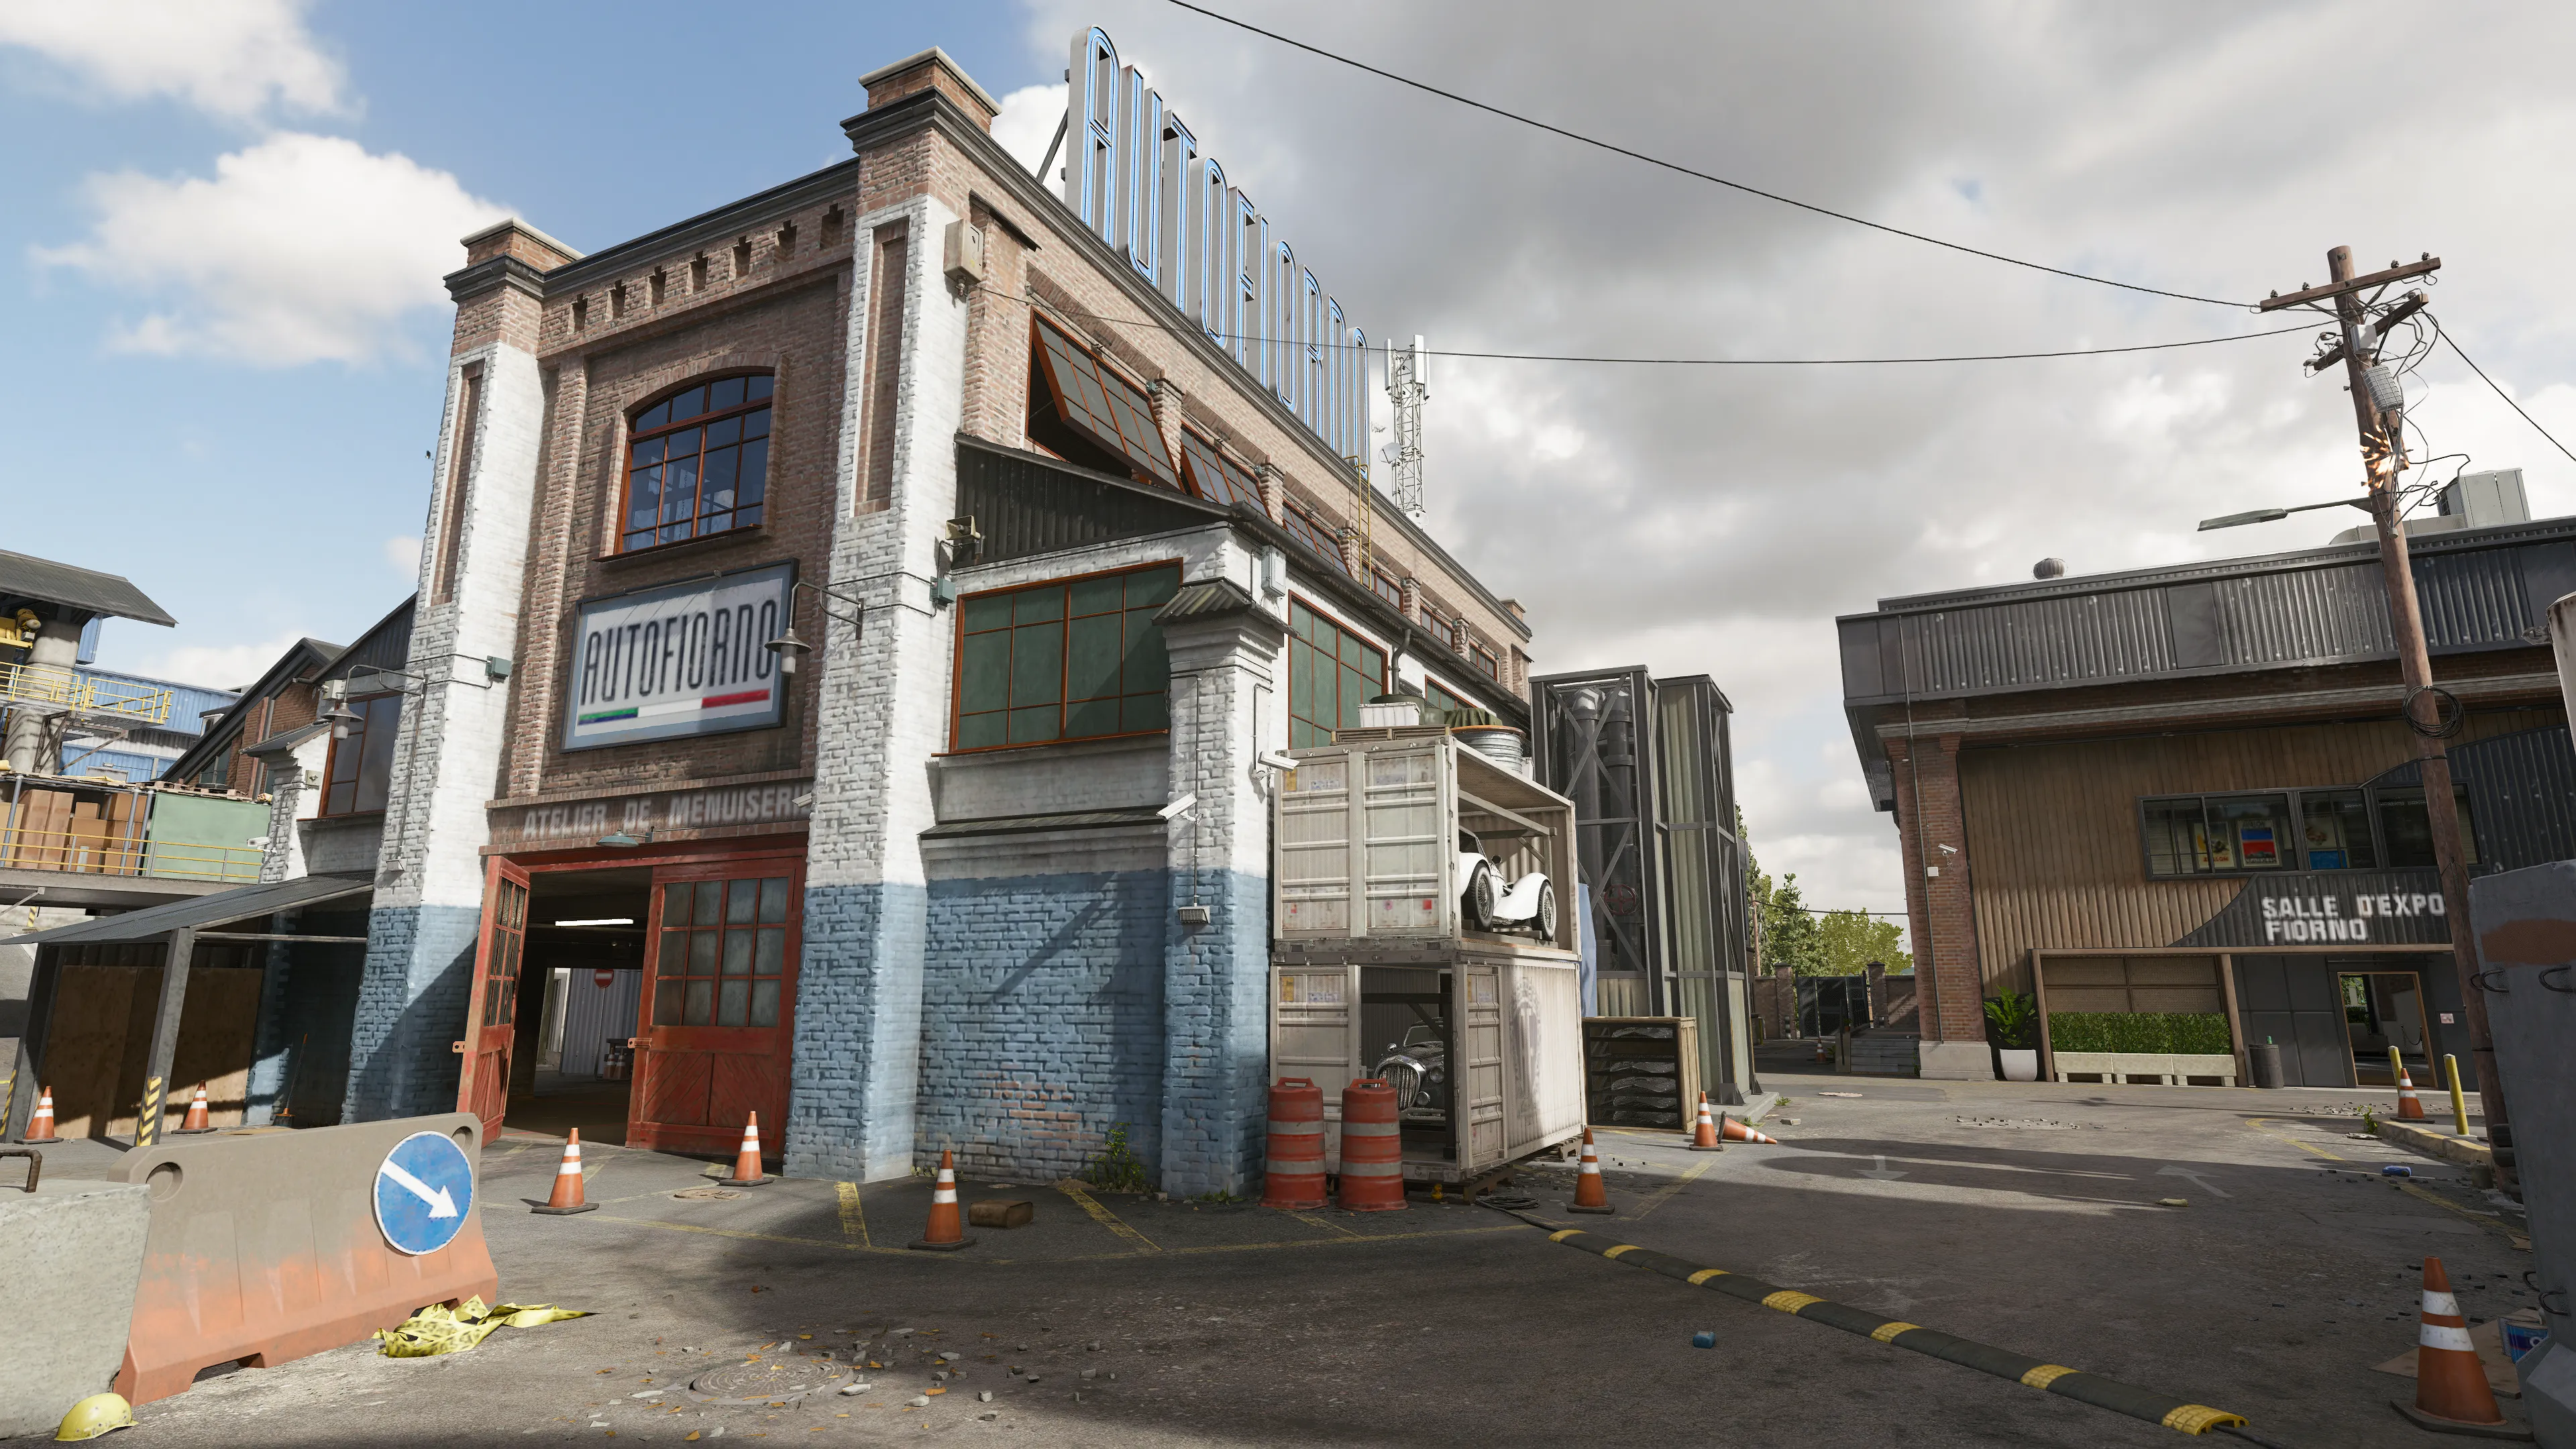
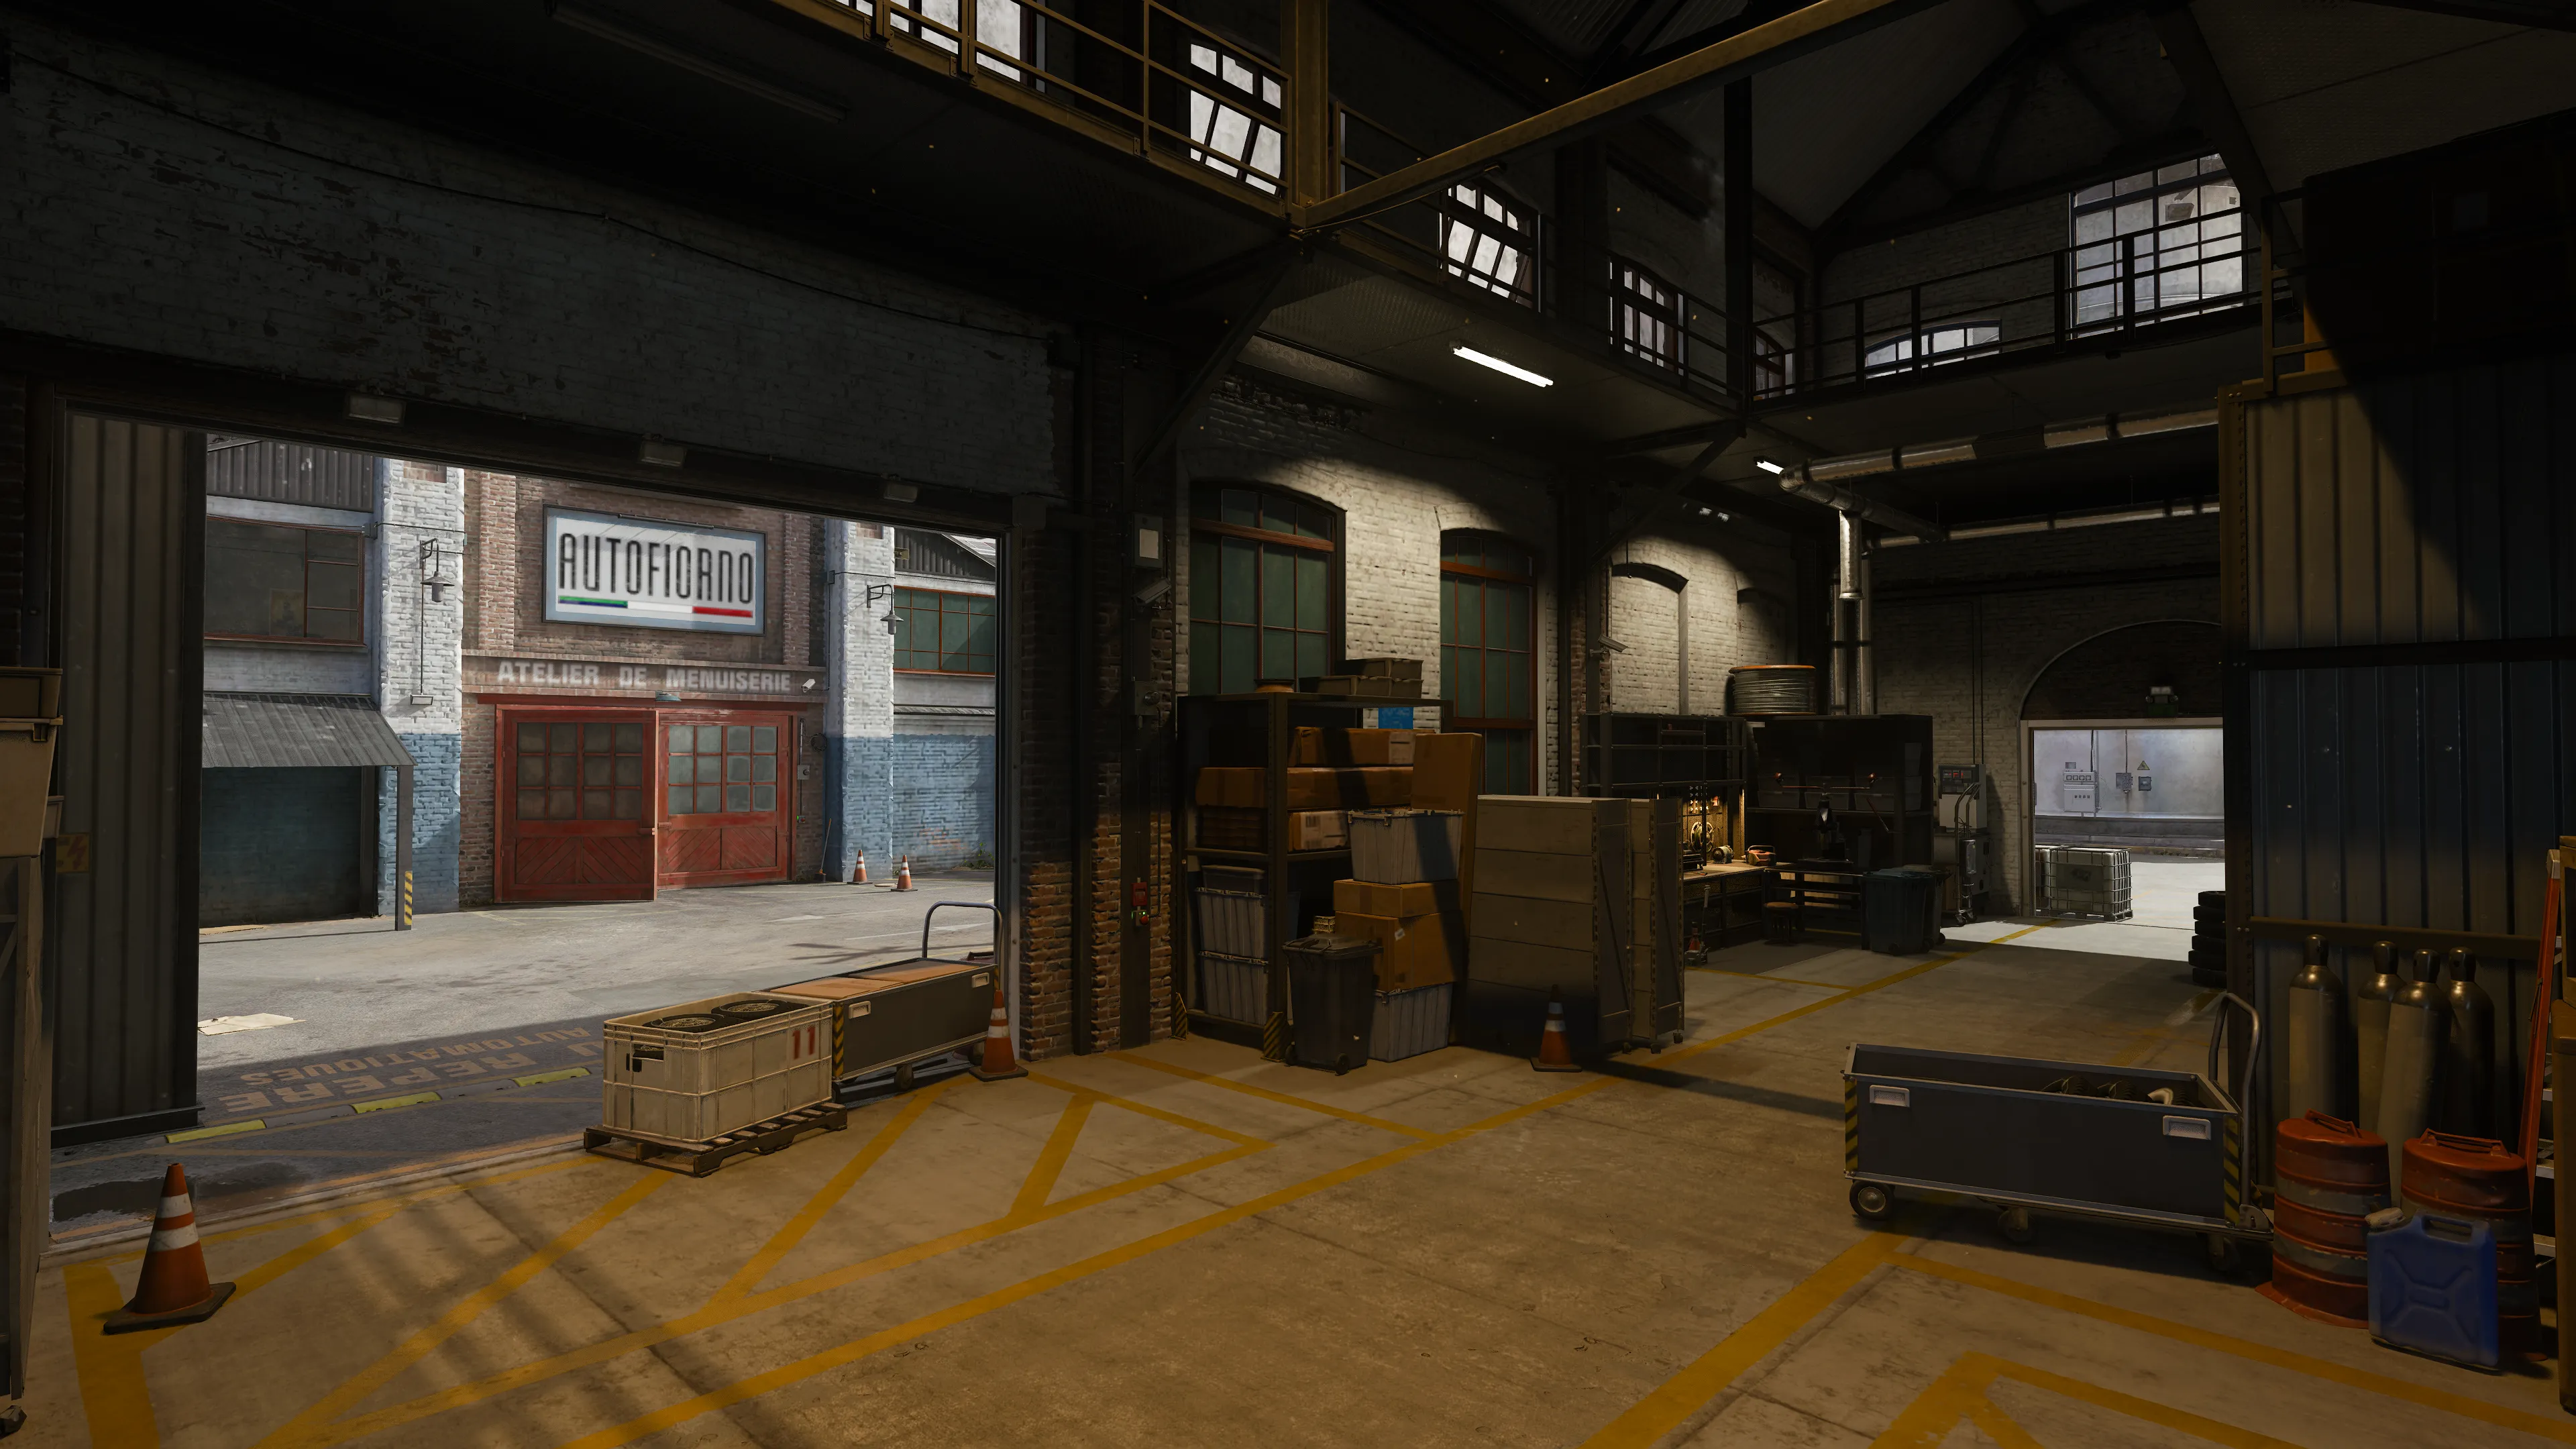
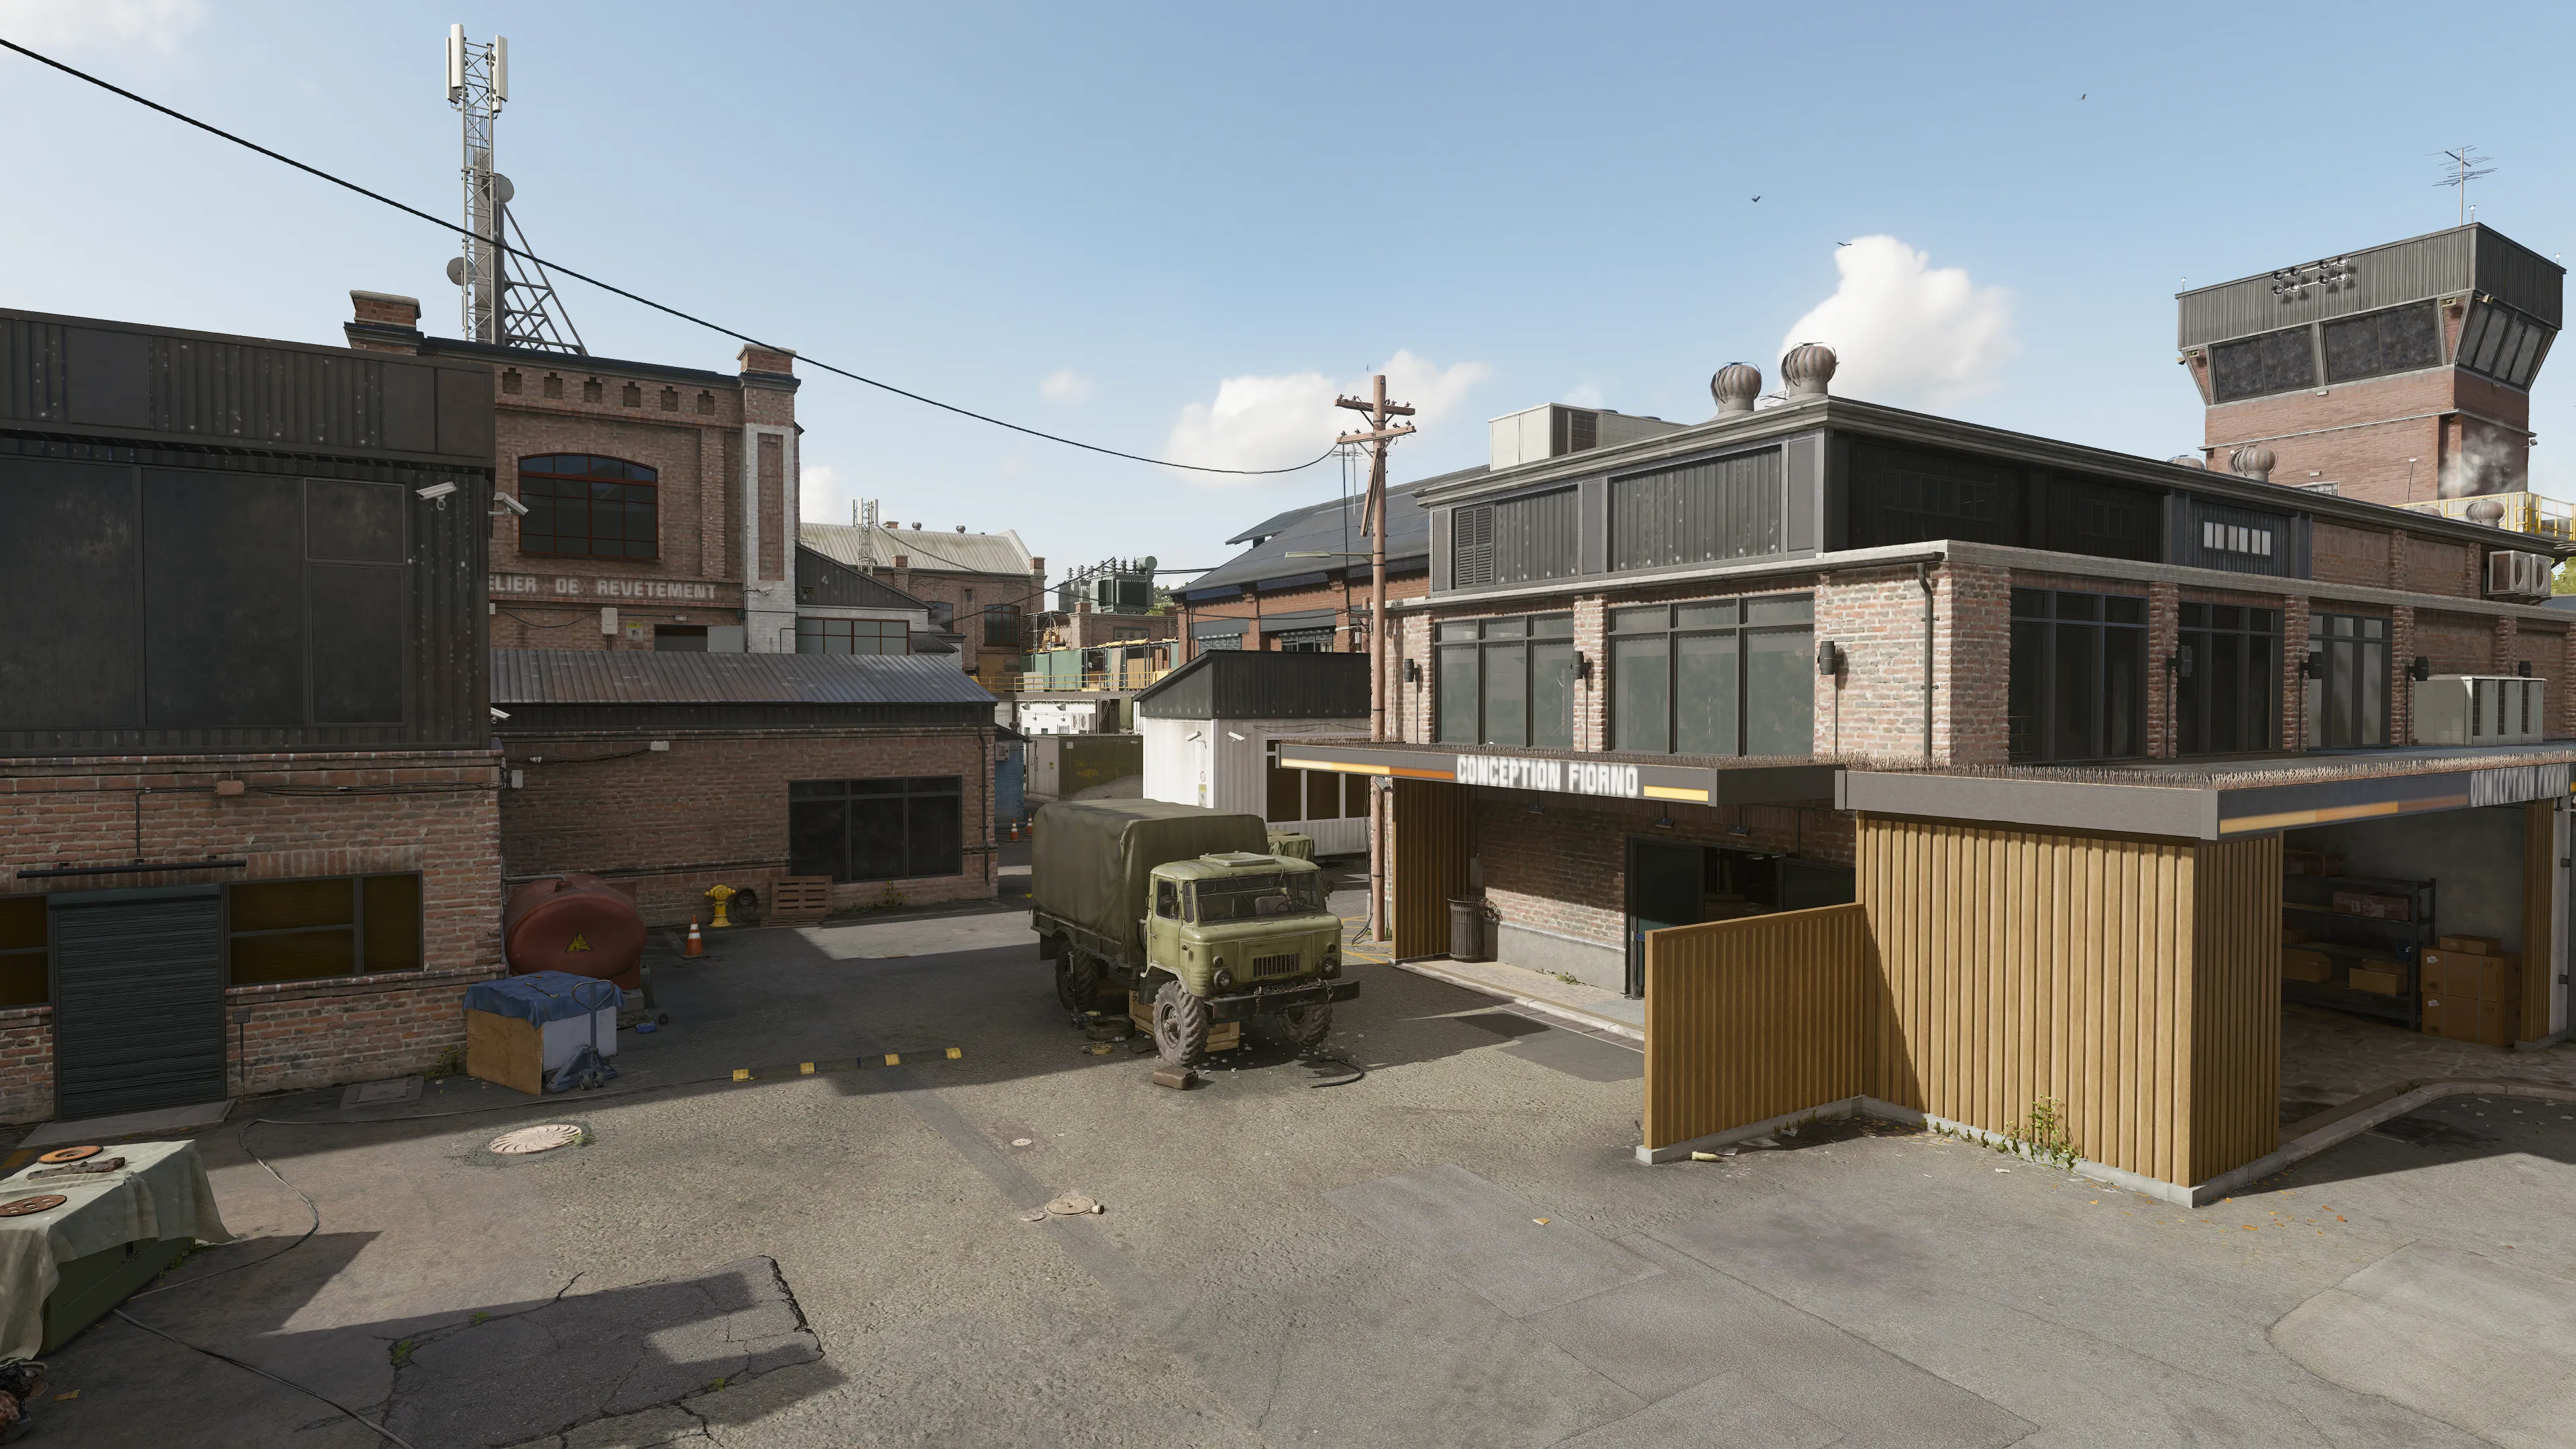
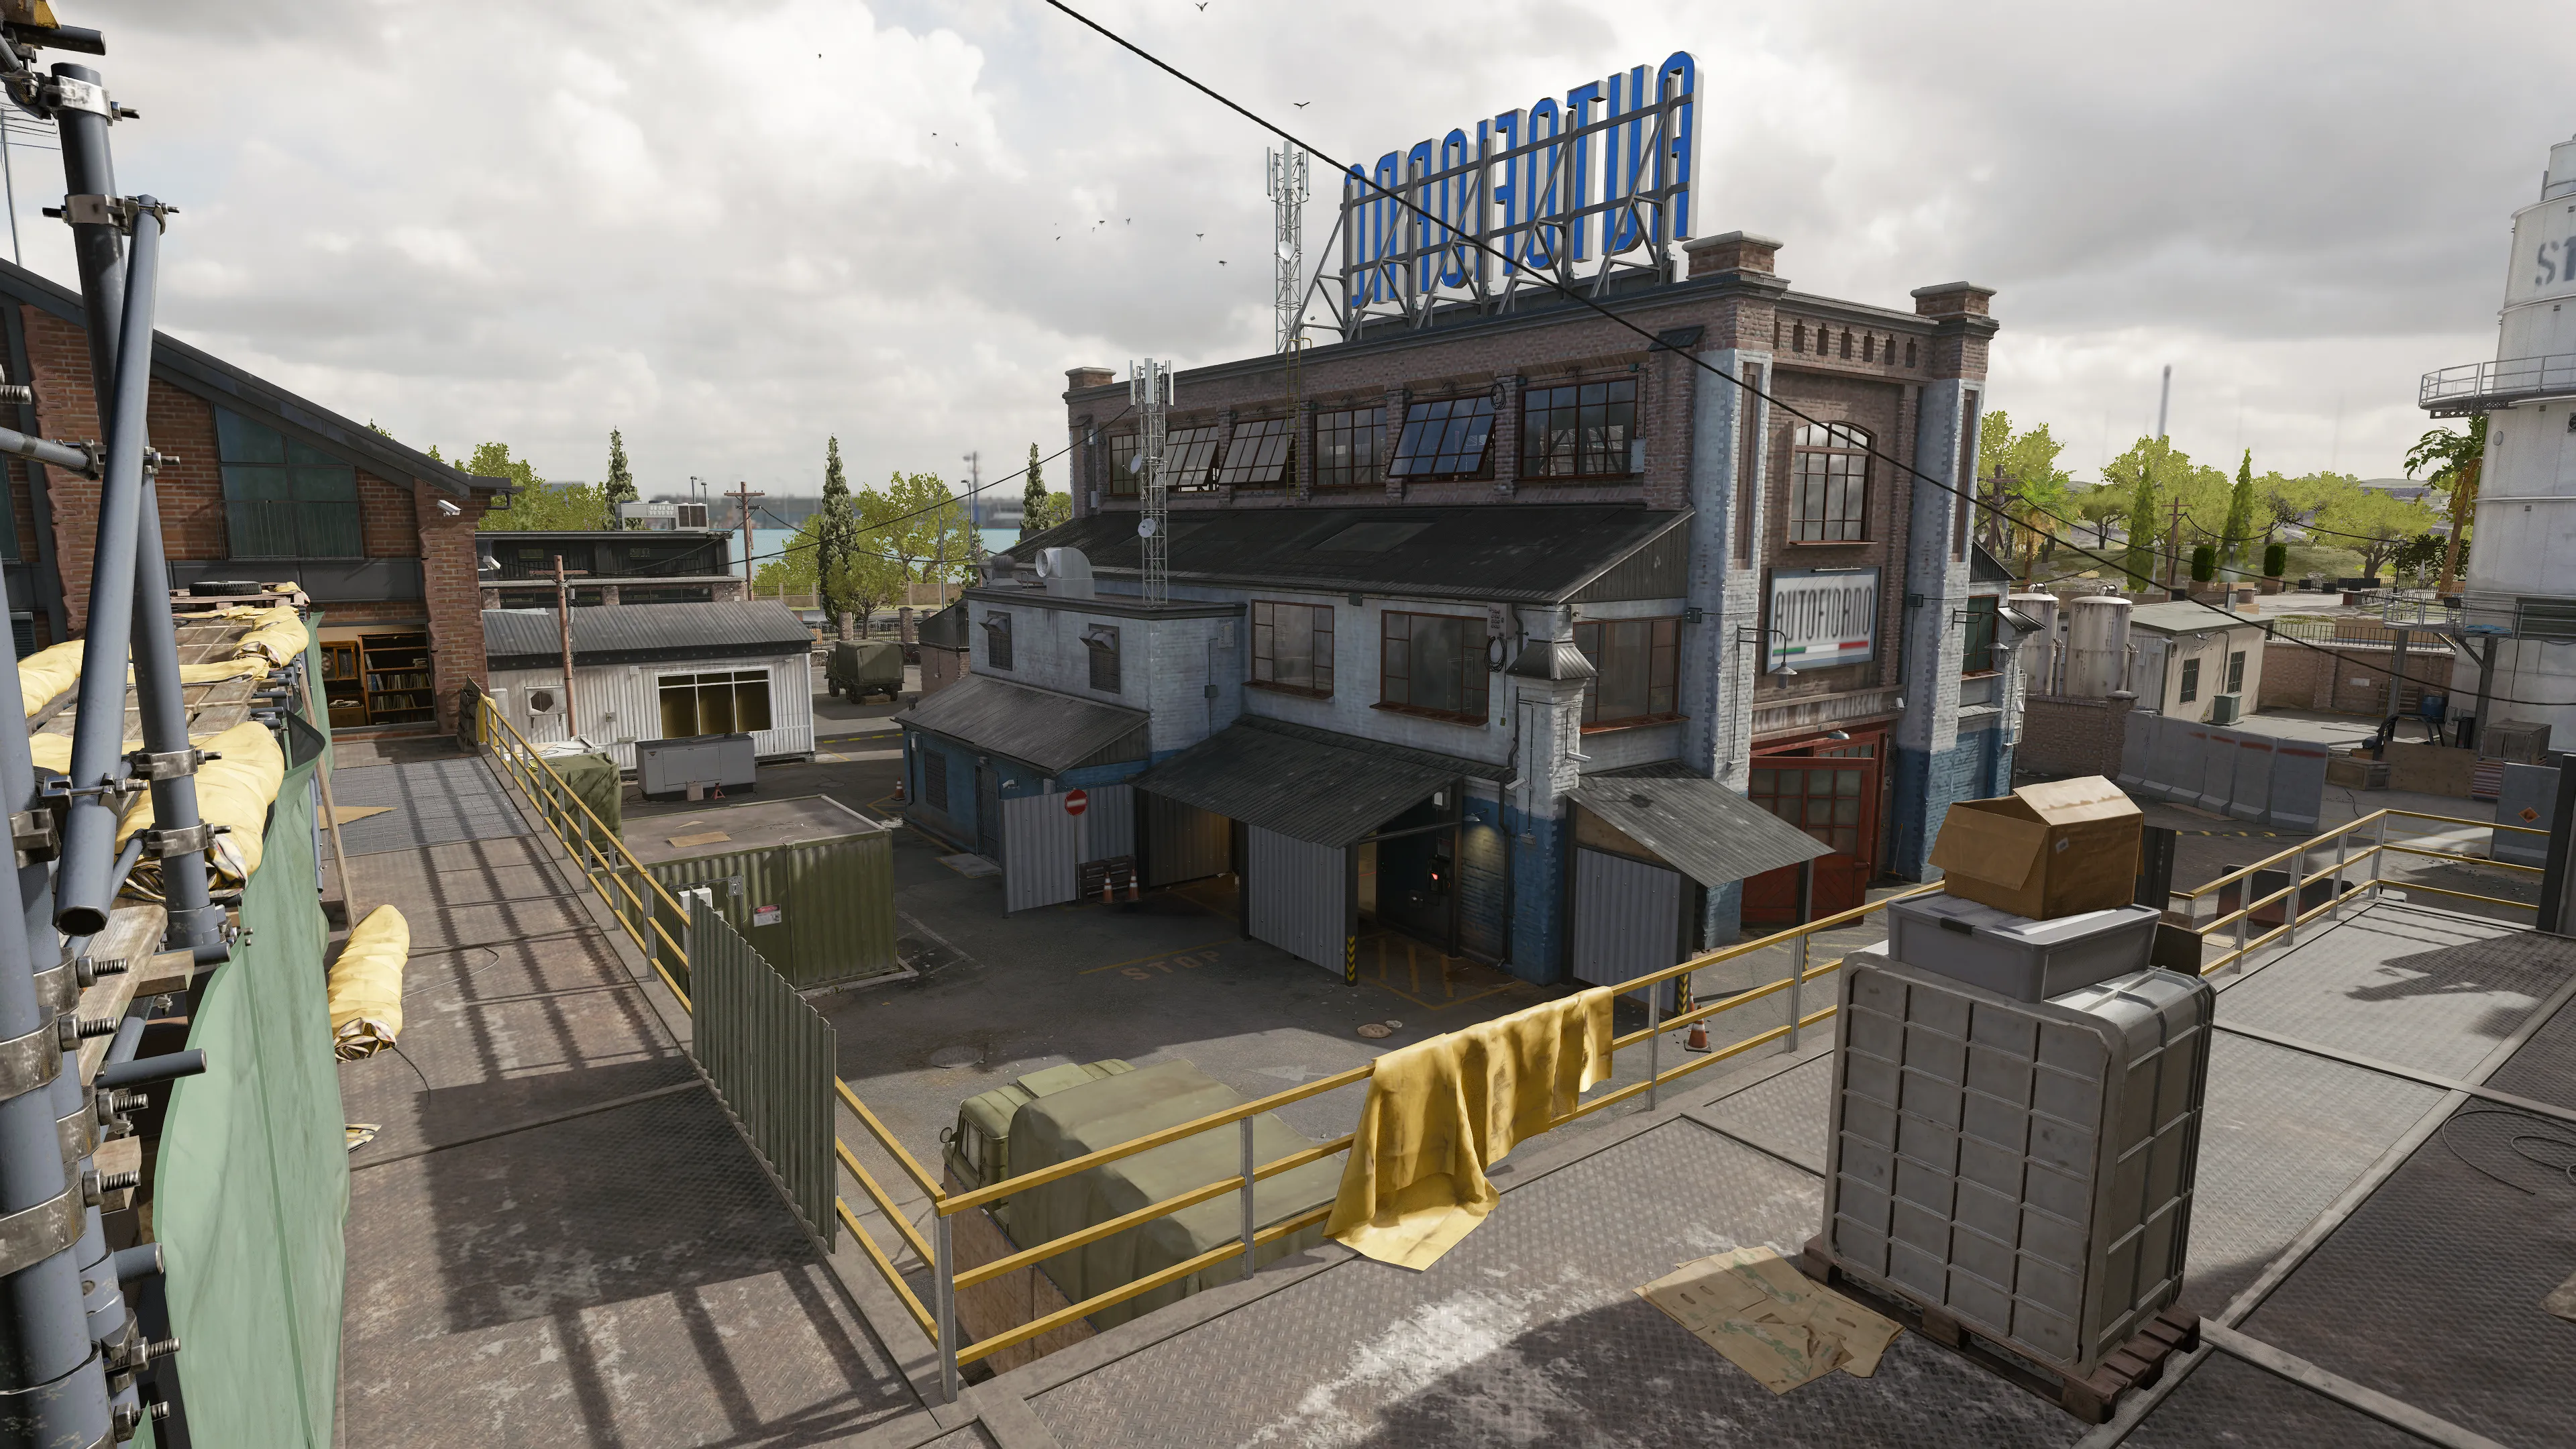
From its origins as a wintry Nova 6 laboratory in the original Call of Duty®: Black Ops, W.M.D. makes its return in Black Ops 6 as World Motor Dynasty – luxury car manufacturer based in Avalon. The layout will be instantly familiar to anyone who deployed to its original form, featuring an inner and outer perimeter circling around the main central building. Areas like the Silos, Gantry, and catwalk offer prime long range power positions with tighter combat inside the interior spaces.


-
Show areas

-
Show hardpoints

-
Show domination flags

-
Show search & destroy sites
-
Show spawn points

-
Reset all overlays

POI Overview
Explore the following points of interest based on key areas around W.M.D. Click “Learn More” at the bottom of each image for additional tips and insights on the POI.
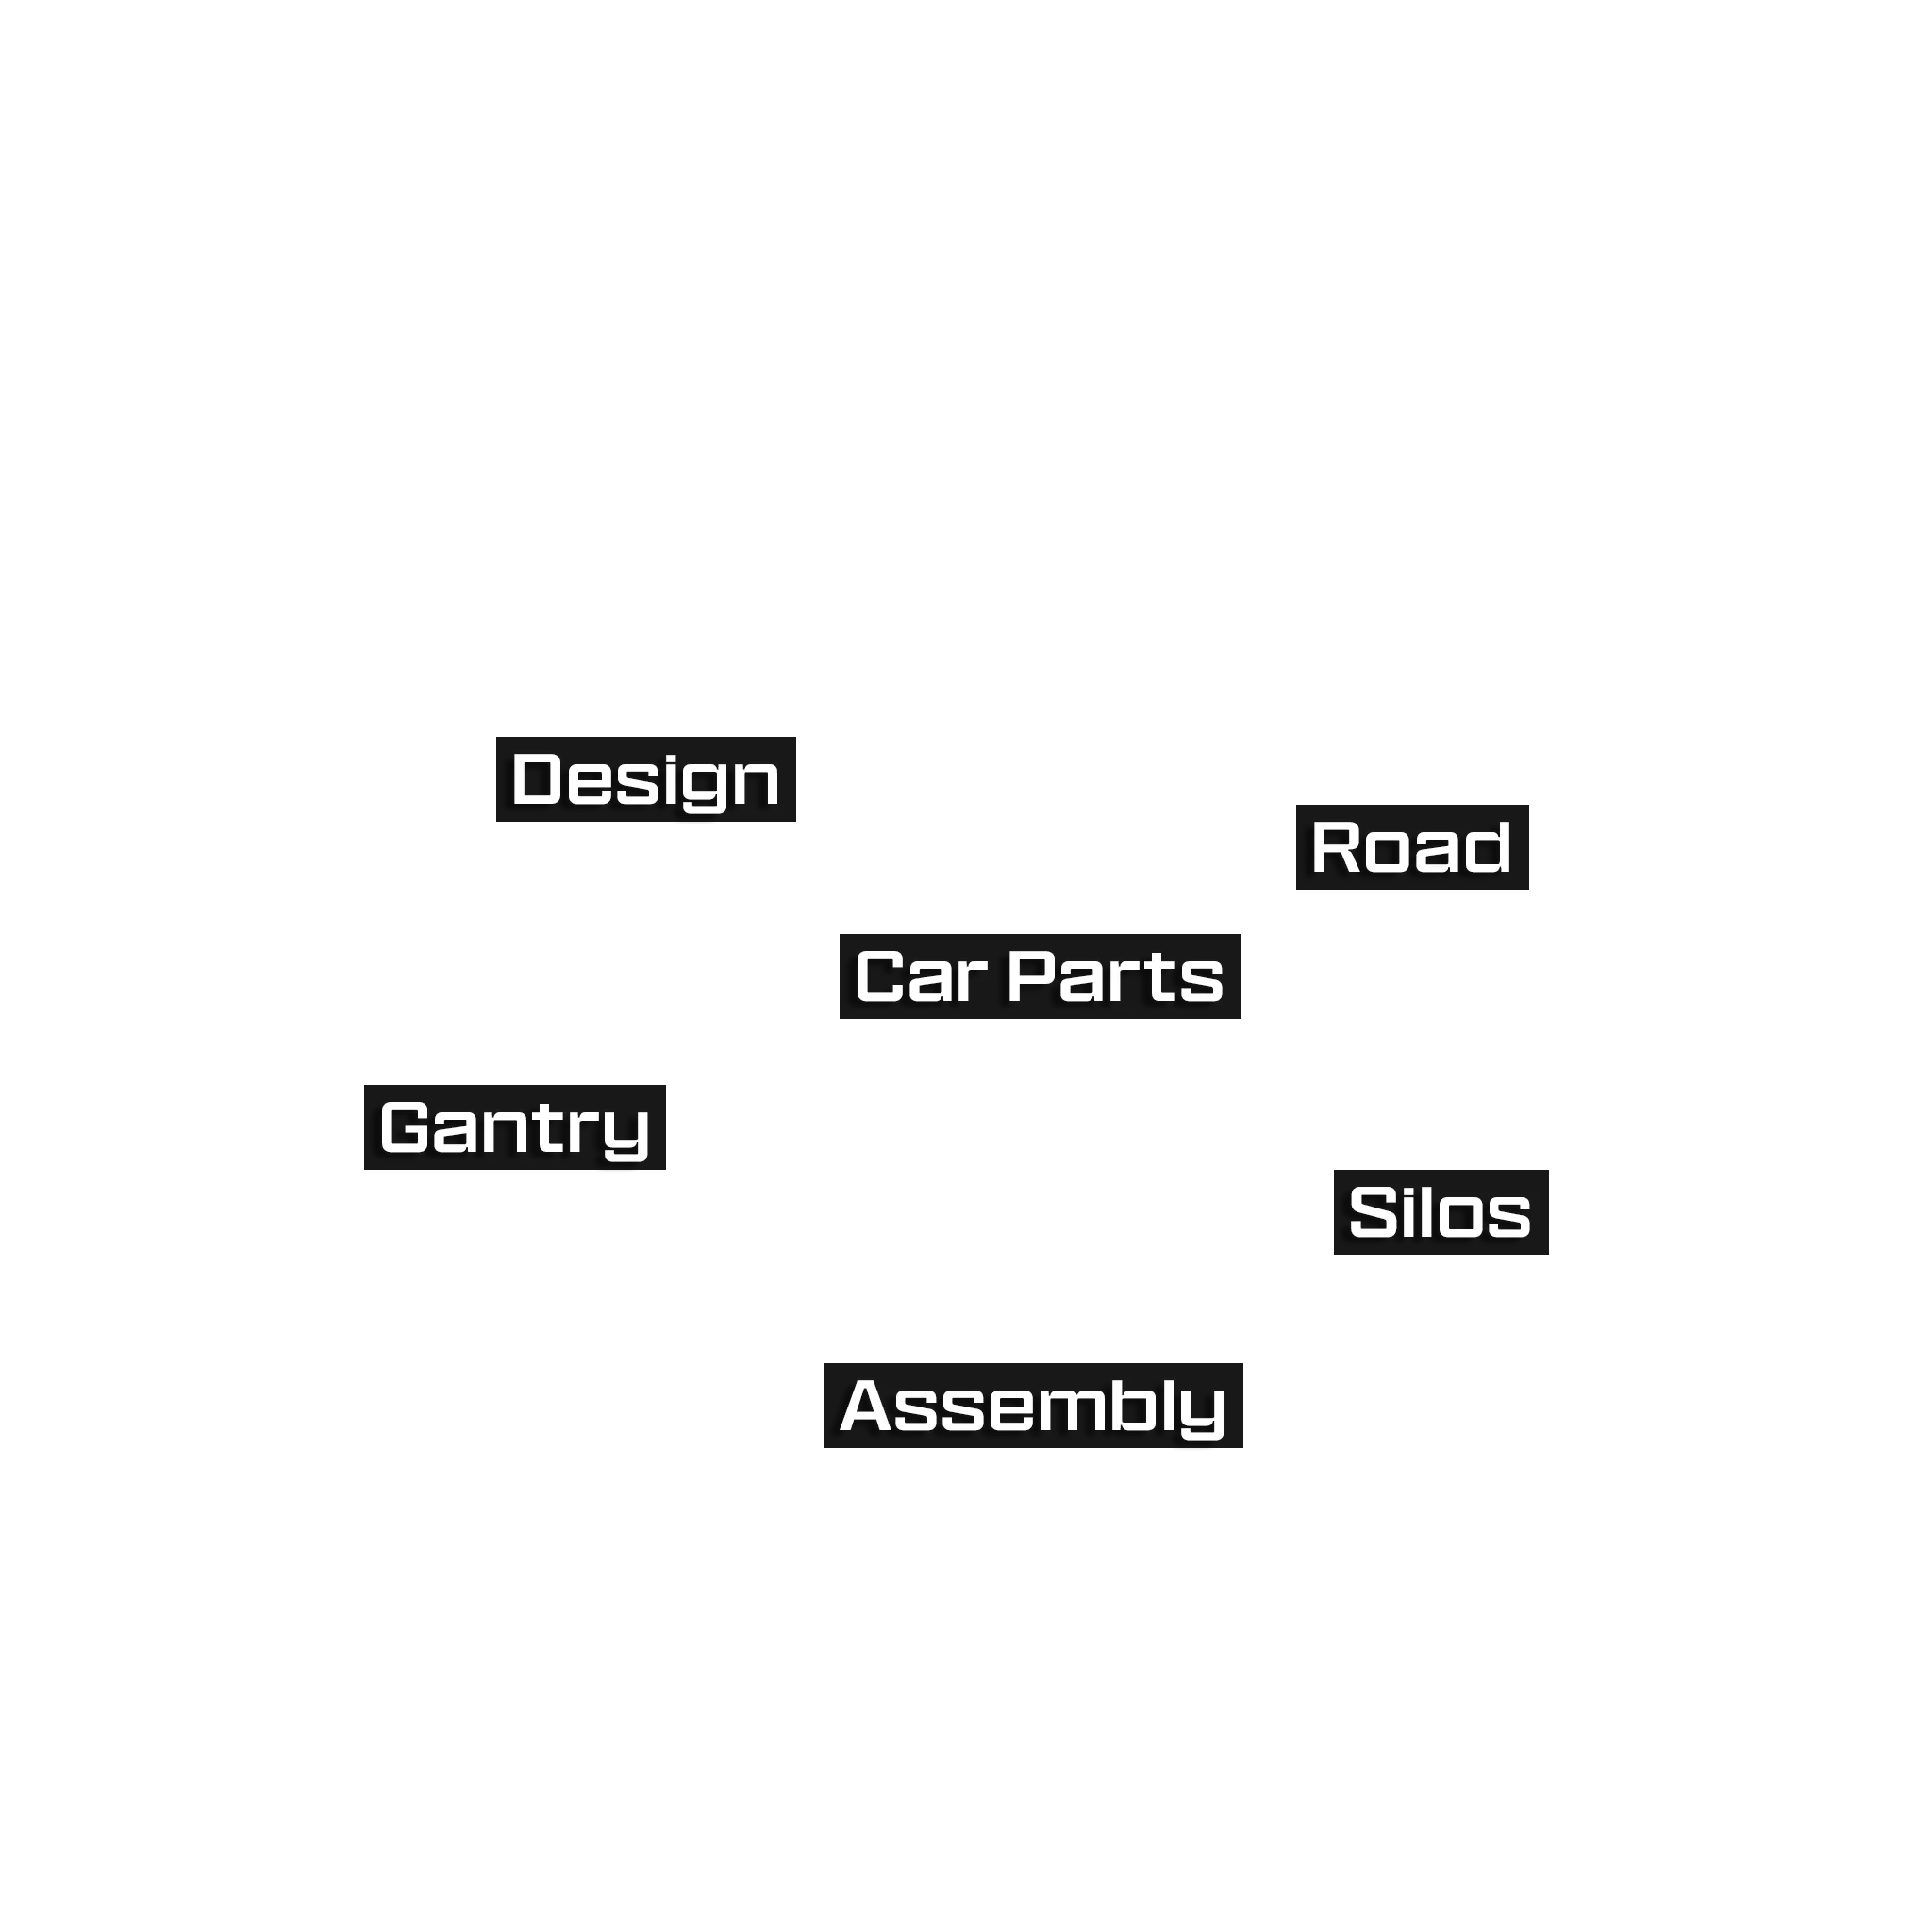
Main Spawn Point: Gantry (West)
Home of the map’s best sniping position, Gantry consists of a wide road running parallel to the Paint Shop and Office. There’s little cover outside, so prepare to engage and reach your destination fast. The interiors are best suited to close combat while those seeking distant engagements can lock down the main path.

CALL OF DUTY® INTEL CARD
- BO6
World Motor Dynasty (W.M.D.)
// MULTIPLAYER MAPS // CORE

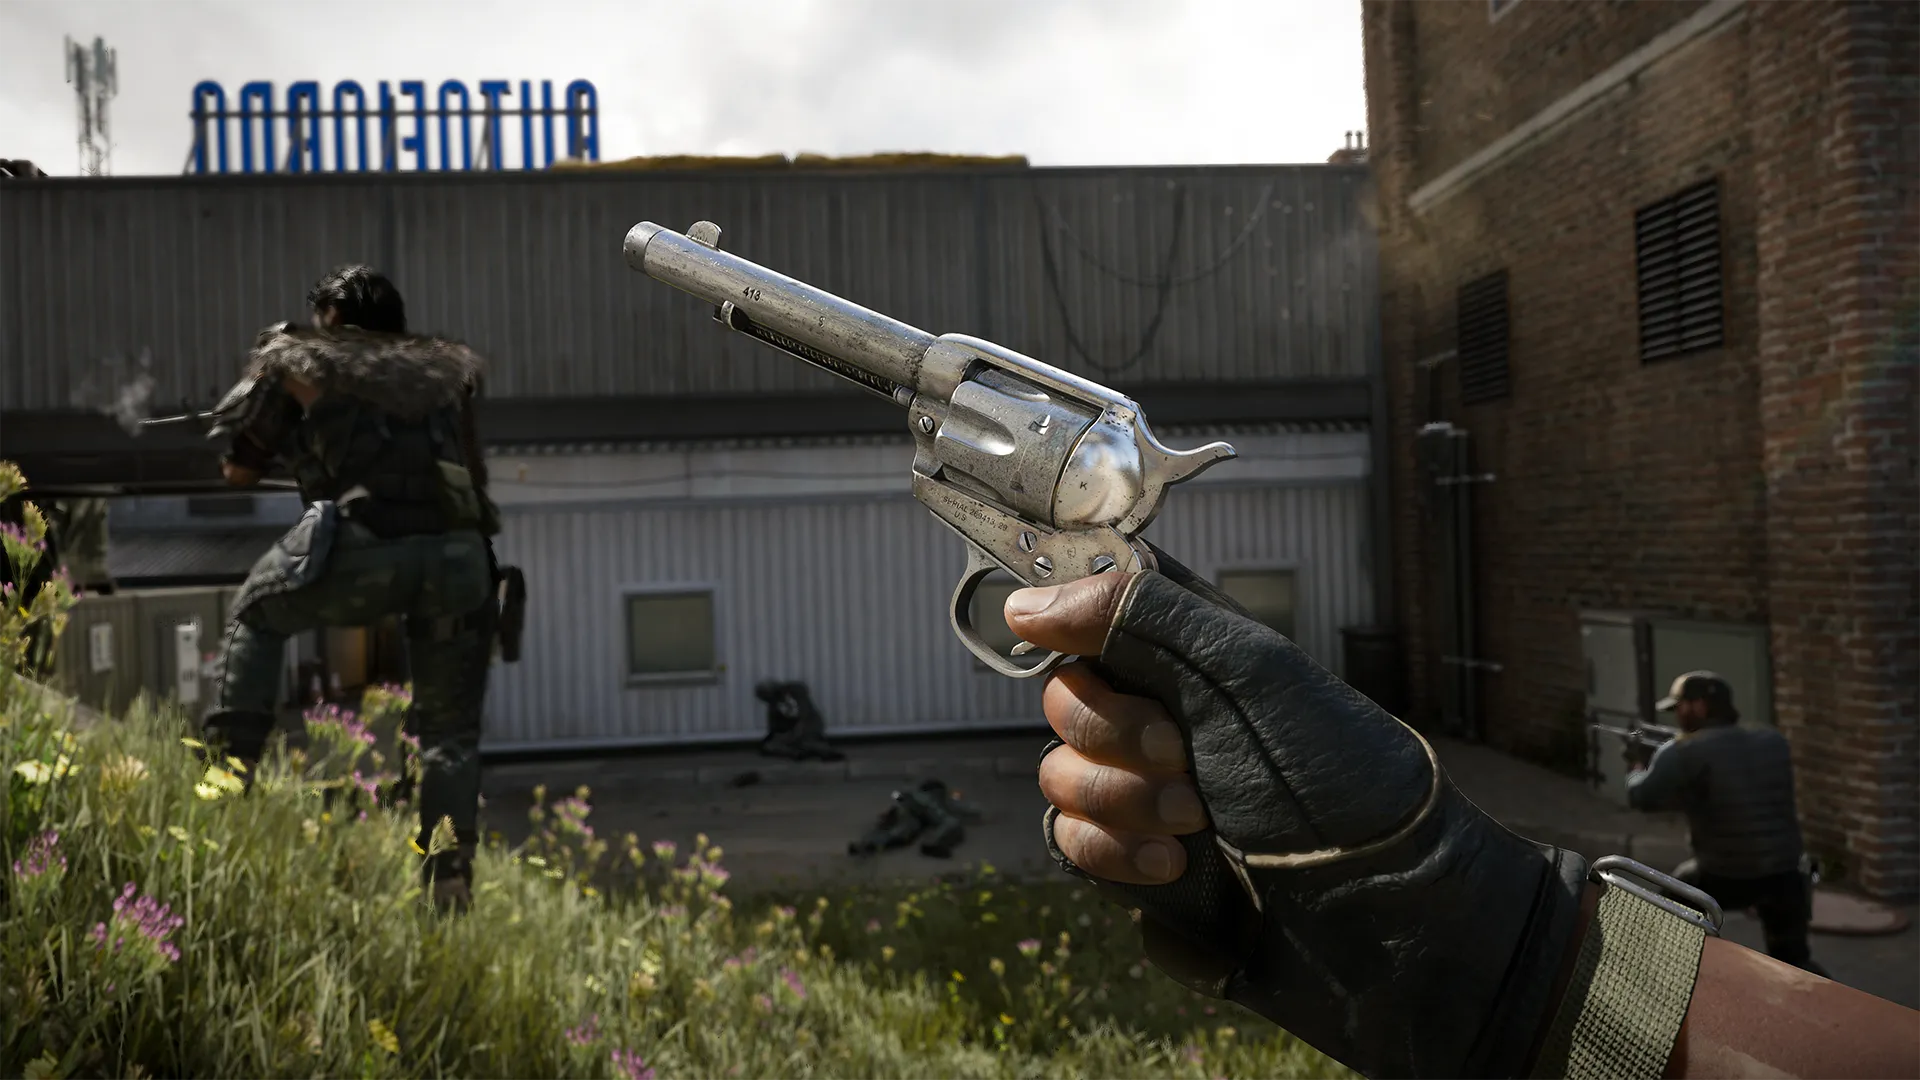
Intel, intel, intel: As one of the larger Black Ops 6 Multiplayer maps, W.M.D. spreads out the action across a wide swath of interior and exterior spaces. Optimize your route to the enemy by using intel-gathering tools like the UAV, Forward Intel, Hunter’s Instinct, and Tracker. Deny the enemy’s intel with the Counter UAV and Ghost.
A little further: No matter your playstyle, you can’t completely avoid long range engagements on W.M.D. For weapons with access to Barrel attachments that improve bullet velocity and damage range, that extra oomph might be just what you need when skirmishing with distant foes.
Keep climbing: W.M.D. features all kinds of climbable surfaces, so consider using that verticality to get above the enemy. Take stock of the available ladders and ledges that lead you to an advantage over targets on the ground.
Advanced Map Tips
Silo Buster — Alpha (A)
Countering an expert marksman at the Silos can be a difficult task, but the view from the upper Showroom is a good place to start. Attacks from here are less obvious than those from the main road, and it’s easy to get behind the wall when your target responds. In the worst case, the severe angle they’re forced into can expose them to fire from your teammates.
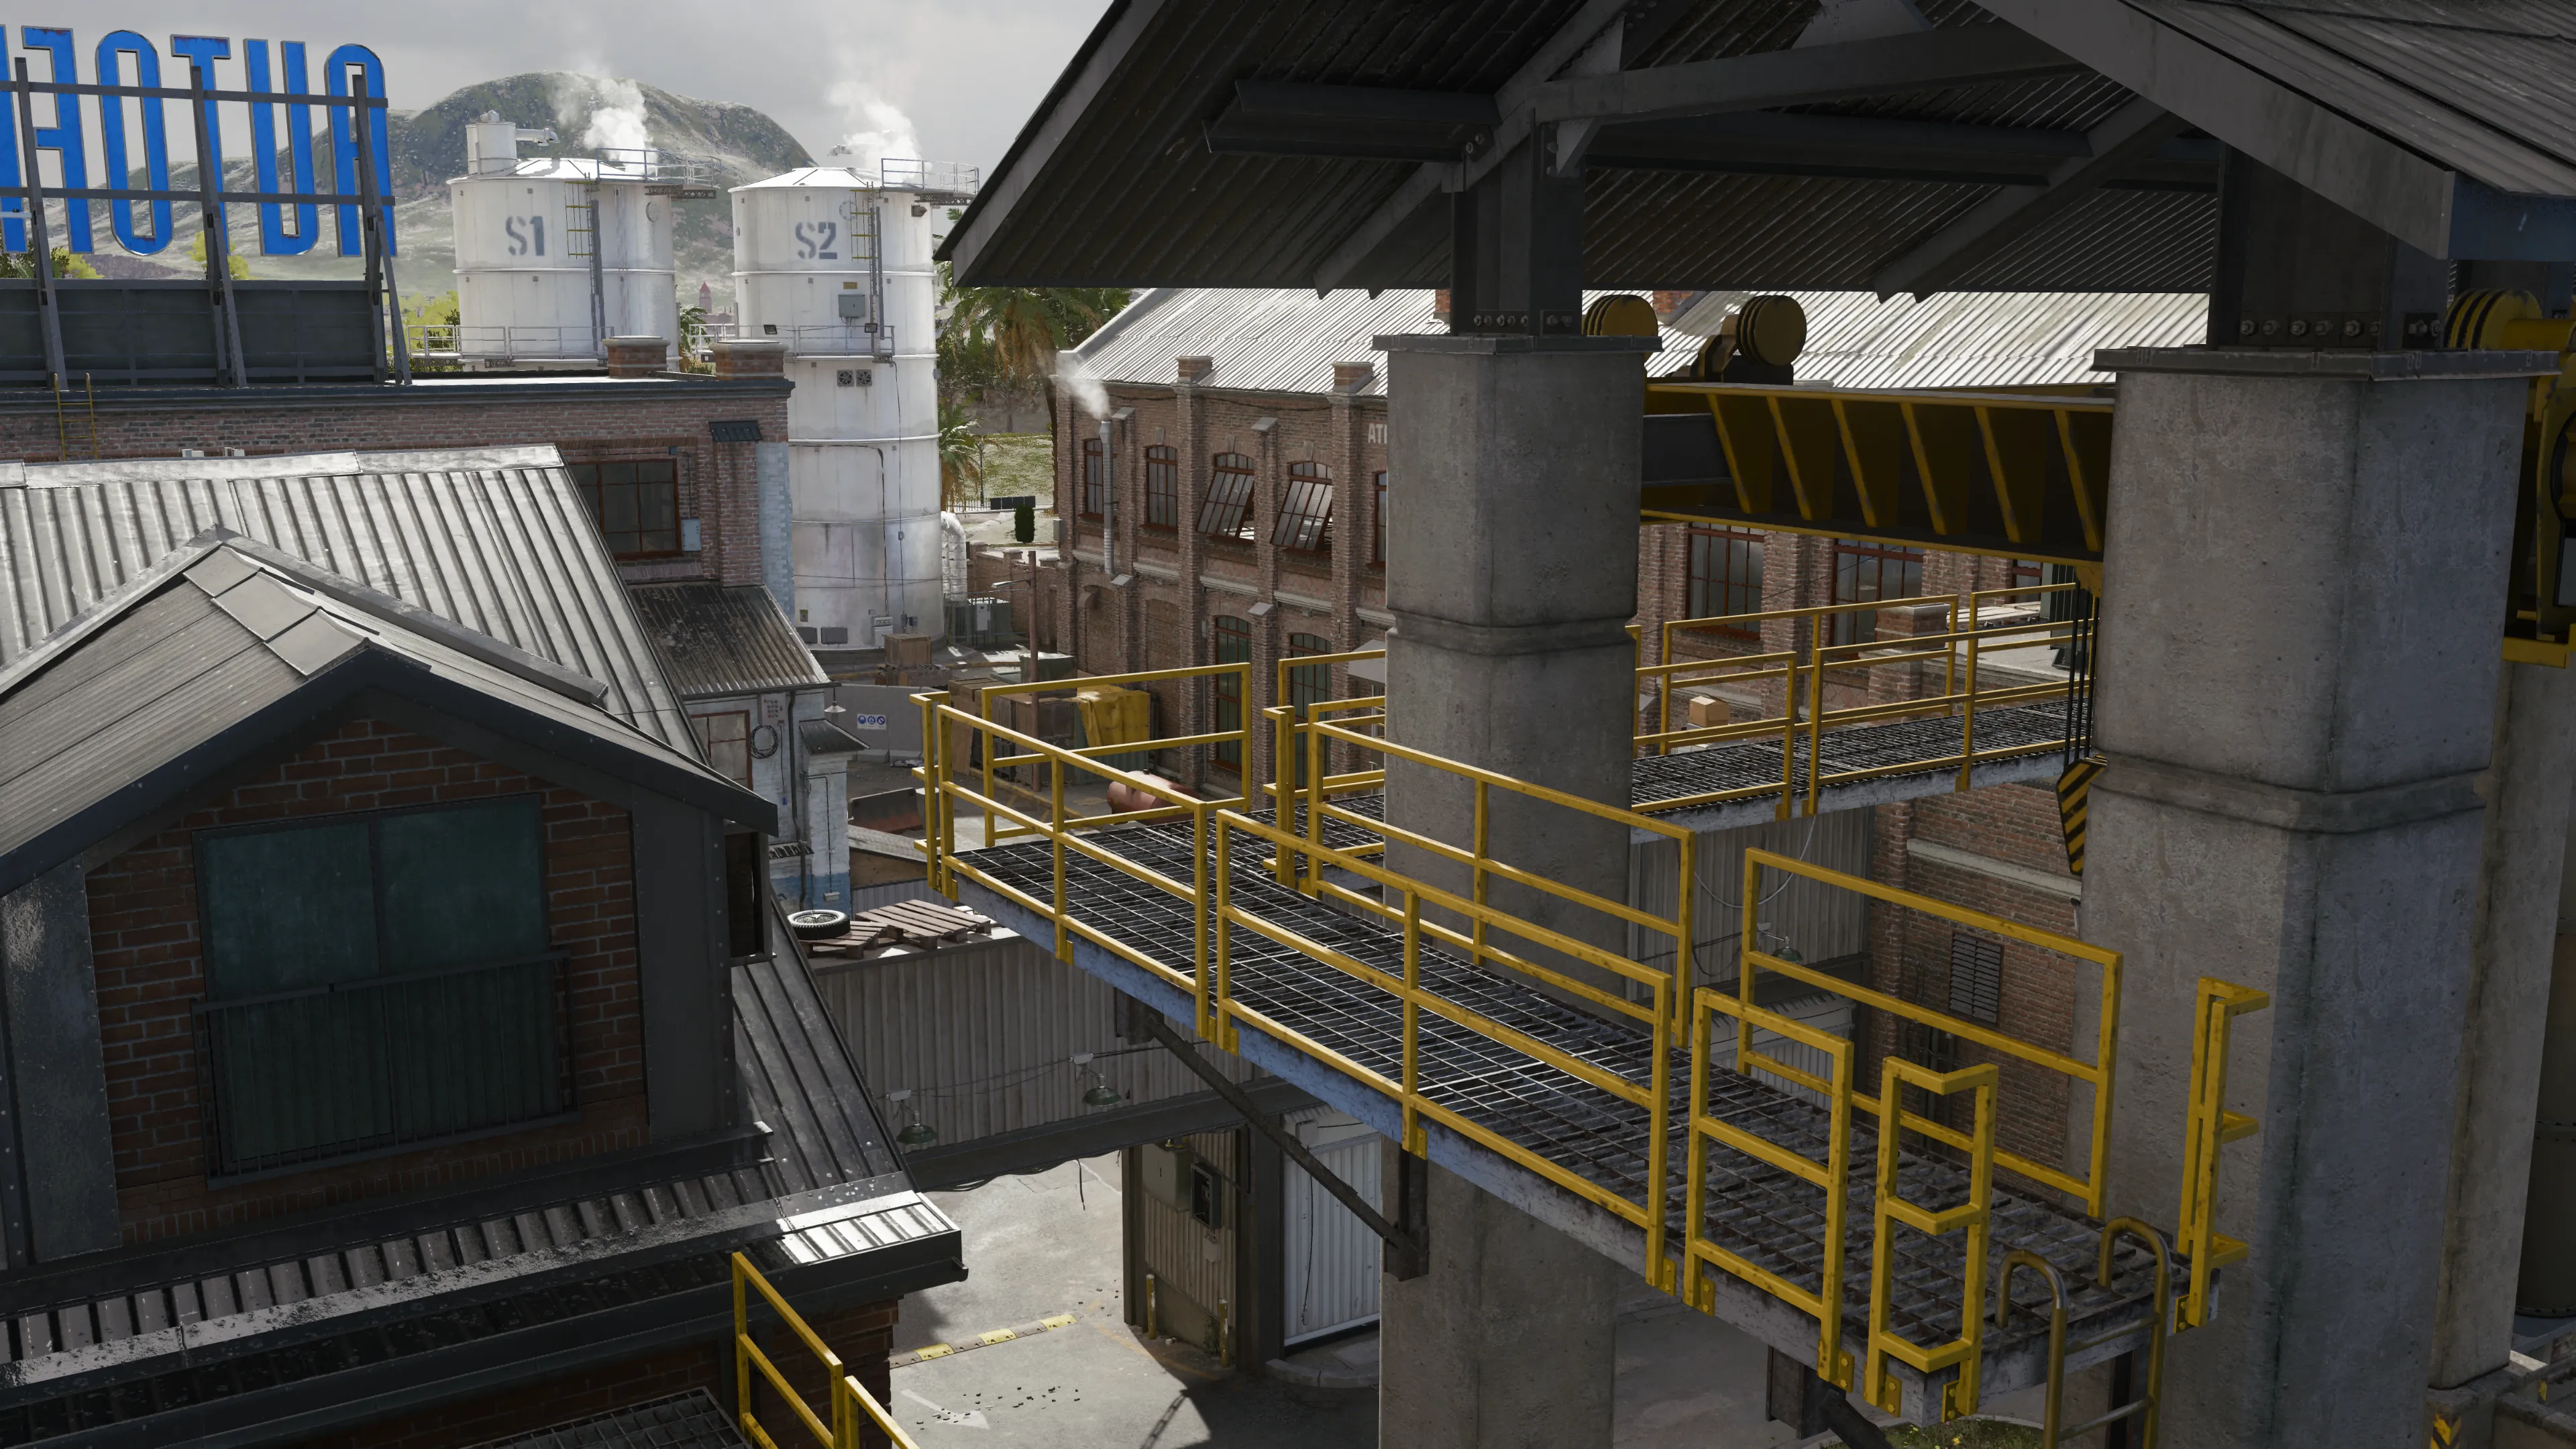
Catwalk Killer — Beta (B)
Just like old times. The corner catwalk overlooks a large portion of the southwest interior with views toward the Silos and into the upper floor of the central Car Parts facility. There are just enough cover points for some control over your sightlines, too. Access the catwalk via the ladder by the Assembly entrance or by climbing up the metal crates on the opposite end.
Higher Up, Please — Gamma (Γ)
For the snipers out there, why settle for the catwalk when you can climb up to the highest perch on the map in Gantry? For players new to W.M.D., don’t miss the ladder on the backside giving access to the vantage point. There’s not much in the way of cover up here, but you’ll enjoy the highest viewpoint on the map. To maximize your uptime, try planting a Tactical Insertion nearby.
Map Focused Loadouts
Whether you’re new to the W.M.D. map layout or you’ve deployed to its prior setting before, these Loadouts will help you cut through the opposition on your way to victory.
Bullseye
Sniper Rifle, Recon Combat Specialty
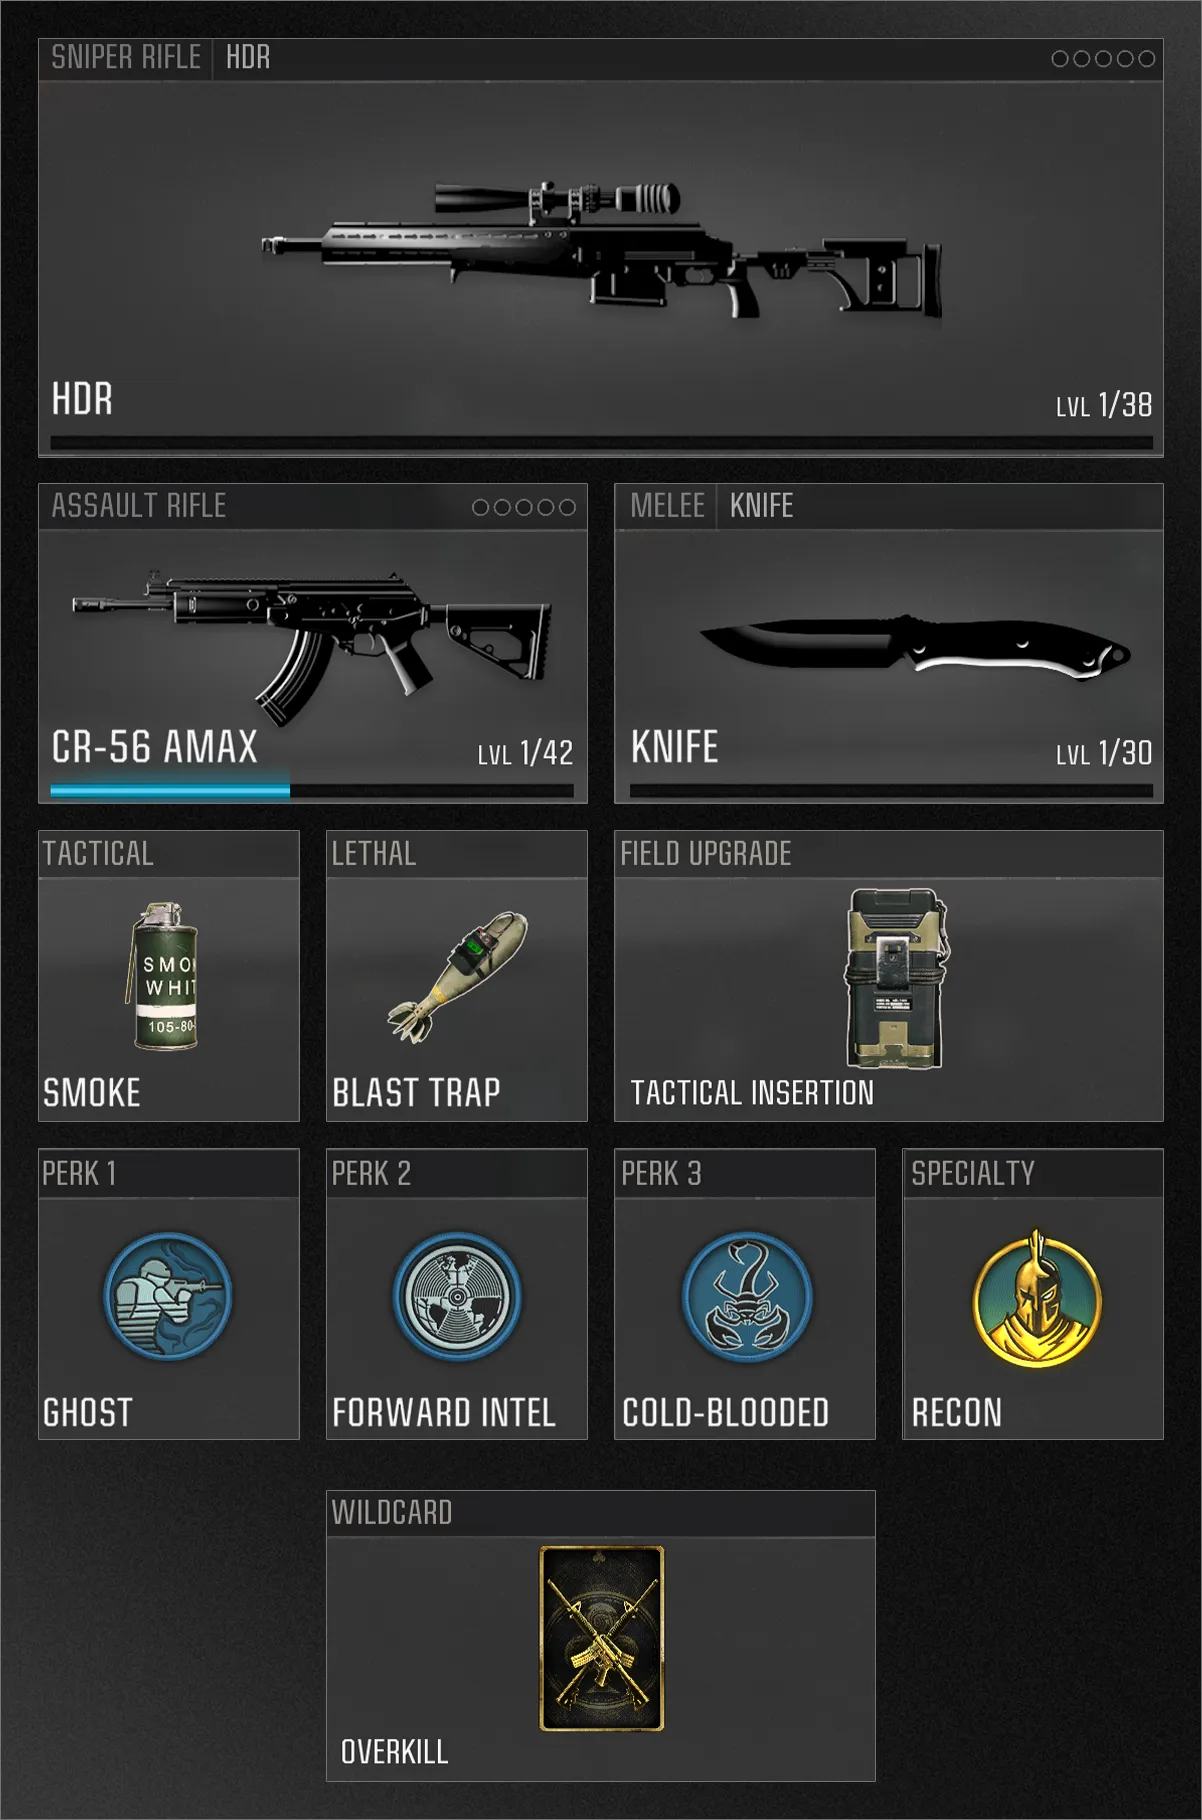
Whether you’re perched up in the Gantry, Silos, or any other of W.M.D.’s plentiful long-ranged sightlines, this Loadout has all you need to succeed as a sharpshooter. When the battle closes in, drop your Smoke and swap to your Assault Rifle for mid-ranged lethality. With a Tactical Insertion in play, you’ll quickly regain your footing even if eliminated.
The trio of Ghost, Forward Intel, and Cold-Blooded provides excellent concealment and minimap awareness, with the benefits of the Recon Combat Specialty acting as icing on the cake for your marksman aspirations.
Road Warrior
Marksman Rifle, Strategist Combat Specialty
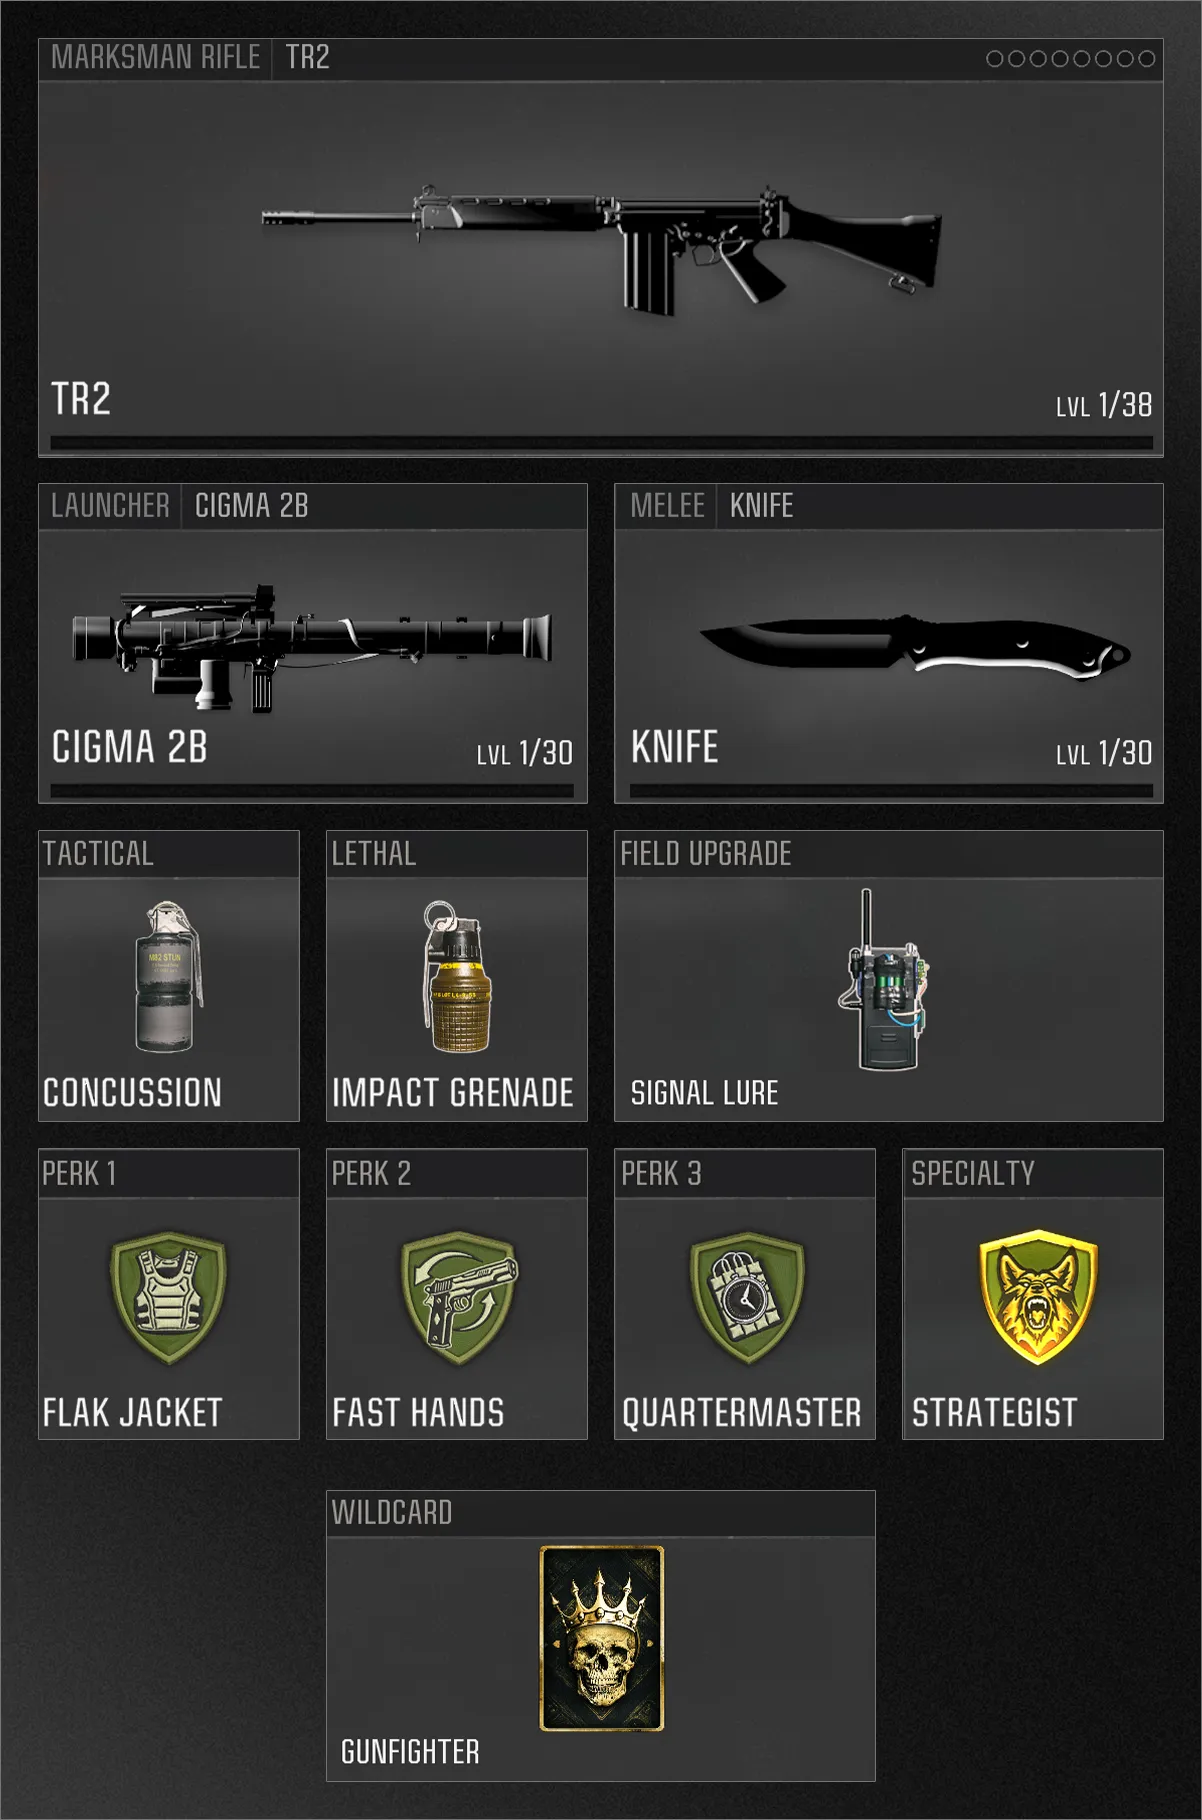
Marksman Rifles are great for W.M.D., combining power and accuracy with respectable handling and mobility allowing versatile play all over the map. Take down aerial threats with your Launcher and resupply your Tactical and Lethal via Quartermaster.
The Strategist Combat Specialty shines on larger maps, providing extra score bonuses, faster deployment of your equipment and Field Upgrade, and the ability to see enemy equipment through walls. When you’re really on top of things, pop Signal Lure to draw attention and earn bonus score for eliminations.
Duck and Weave
SMG, Enforcer Combat Specialty
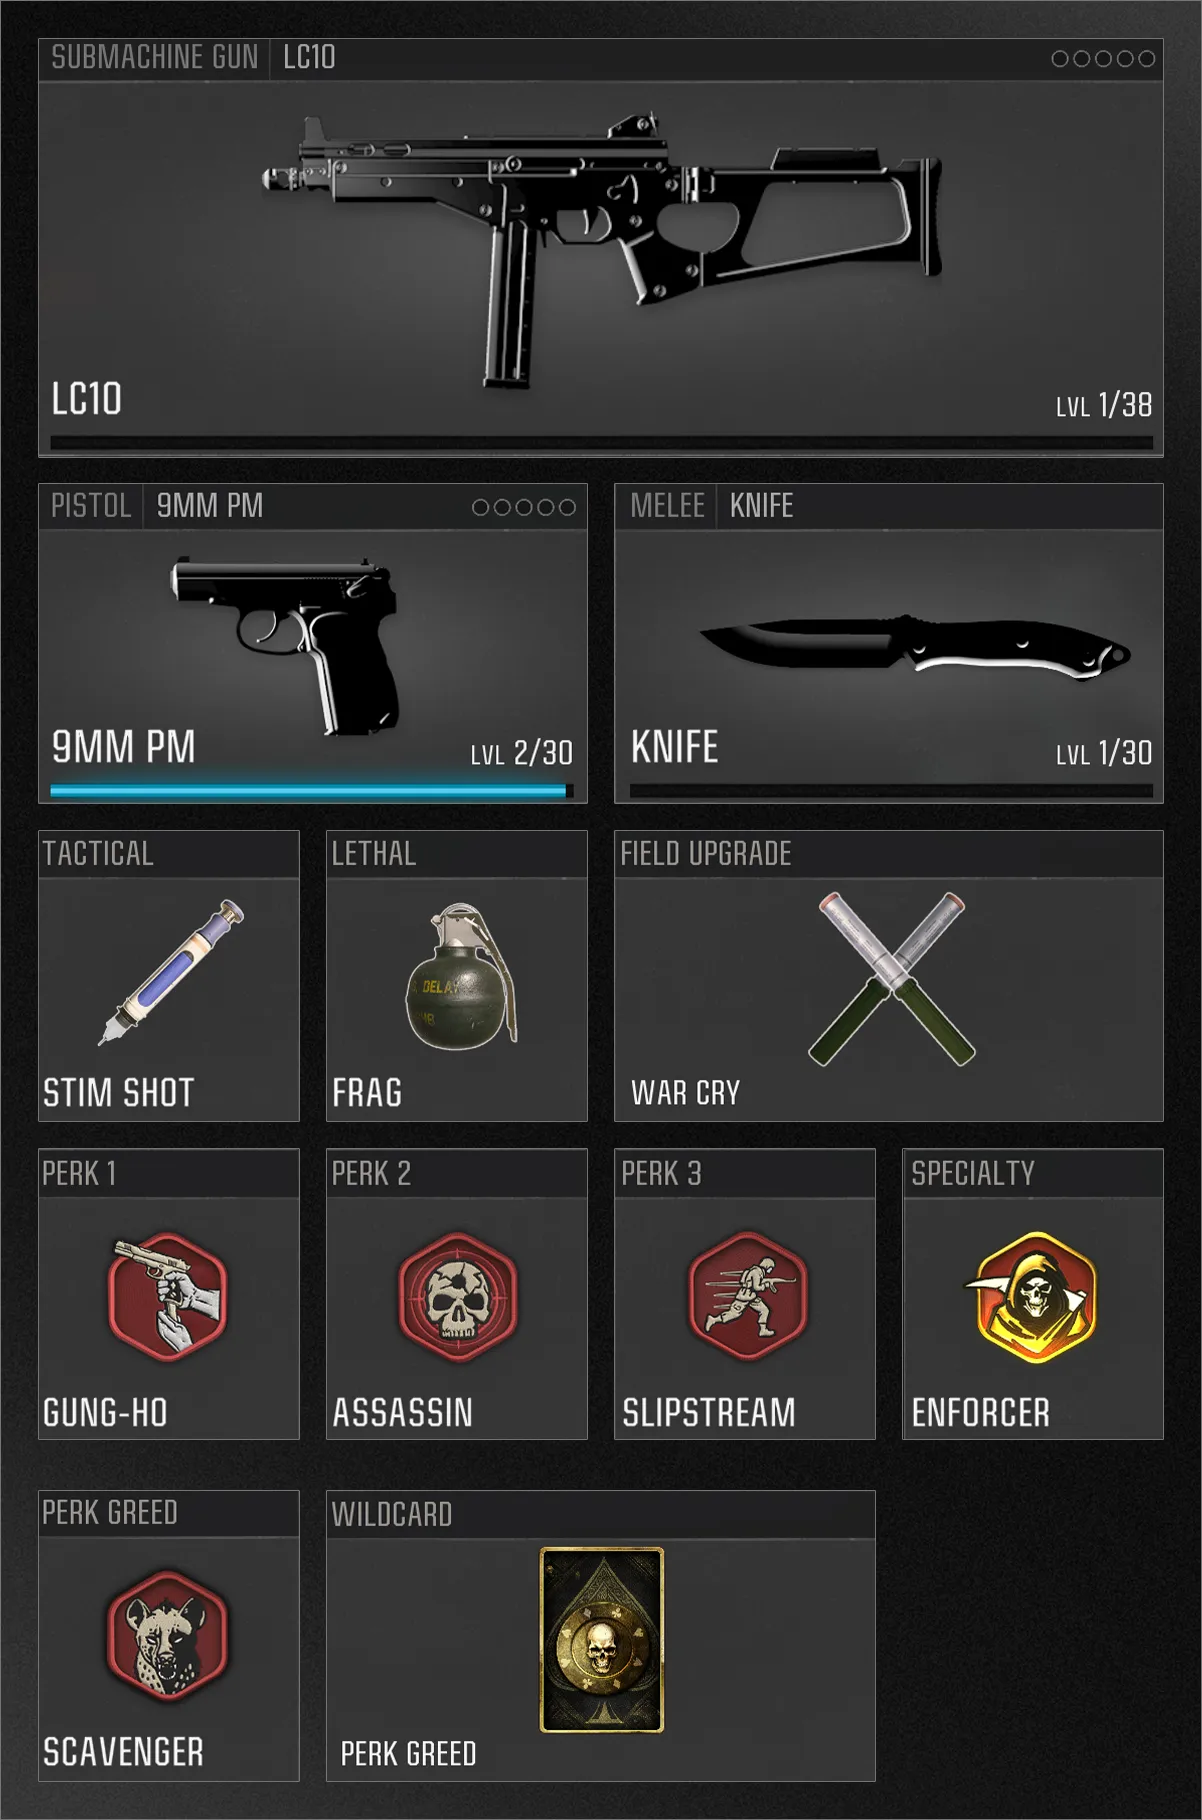
Speed and unrelenting aggression is the name of the game for this Loadout. The LC10’s excellent accuracy and range help you compete when traversing the map’s longer sightlines, though try to stick to tighter spaces when possible. With Scavenger, there’s little need to conserve ammo, so fire relentlessly and toss your Frag at will. The combination of Stim Shot and War Cry keeps you healthy and speedy, great for collecting the Bounty Packs dropped by enemies marked via Assassin.
Stay as mobile as possible to throw off snipers and other sharpshooters. Close the distance and force them to engage at a disadvantage. When everyone else is backing up for the longshot, you’ll be on their tail.
©/TM/® 2025 Activision Publishing, Inc.
For more information, please visit www.callofduty.com and www.youtube.com/callofduty, and follow @Activision and @CallofDuty on X, Instagram, and Facebook. For Call of Duty Updates, follow @CODUpdates on X.
