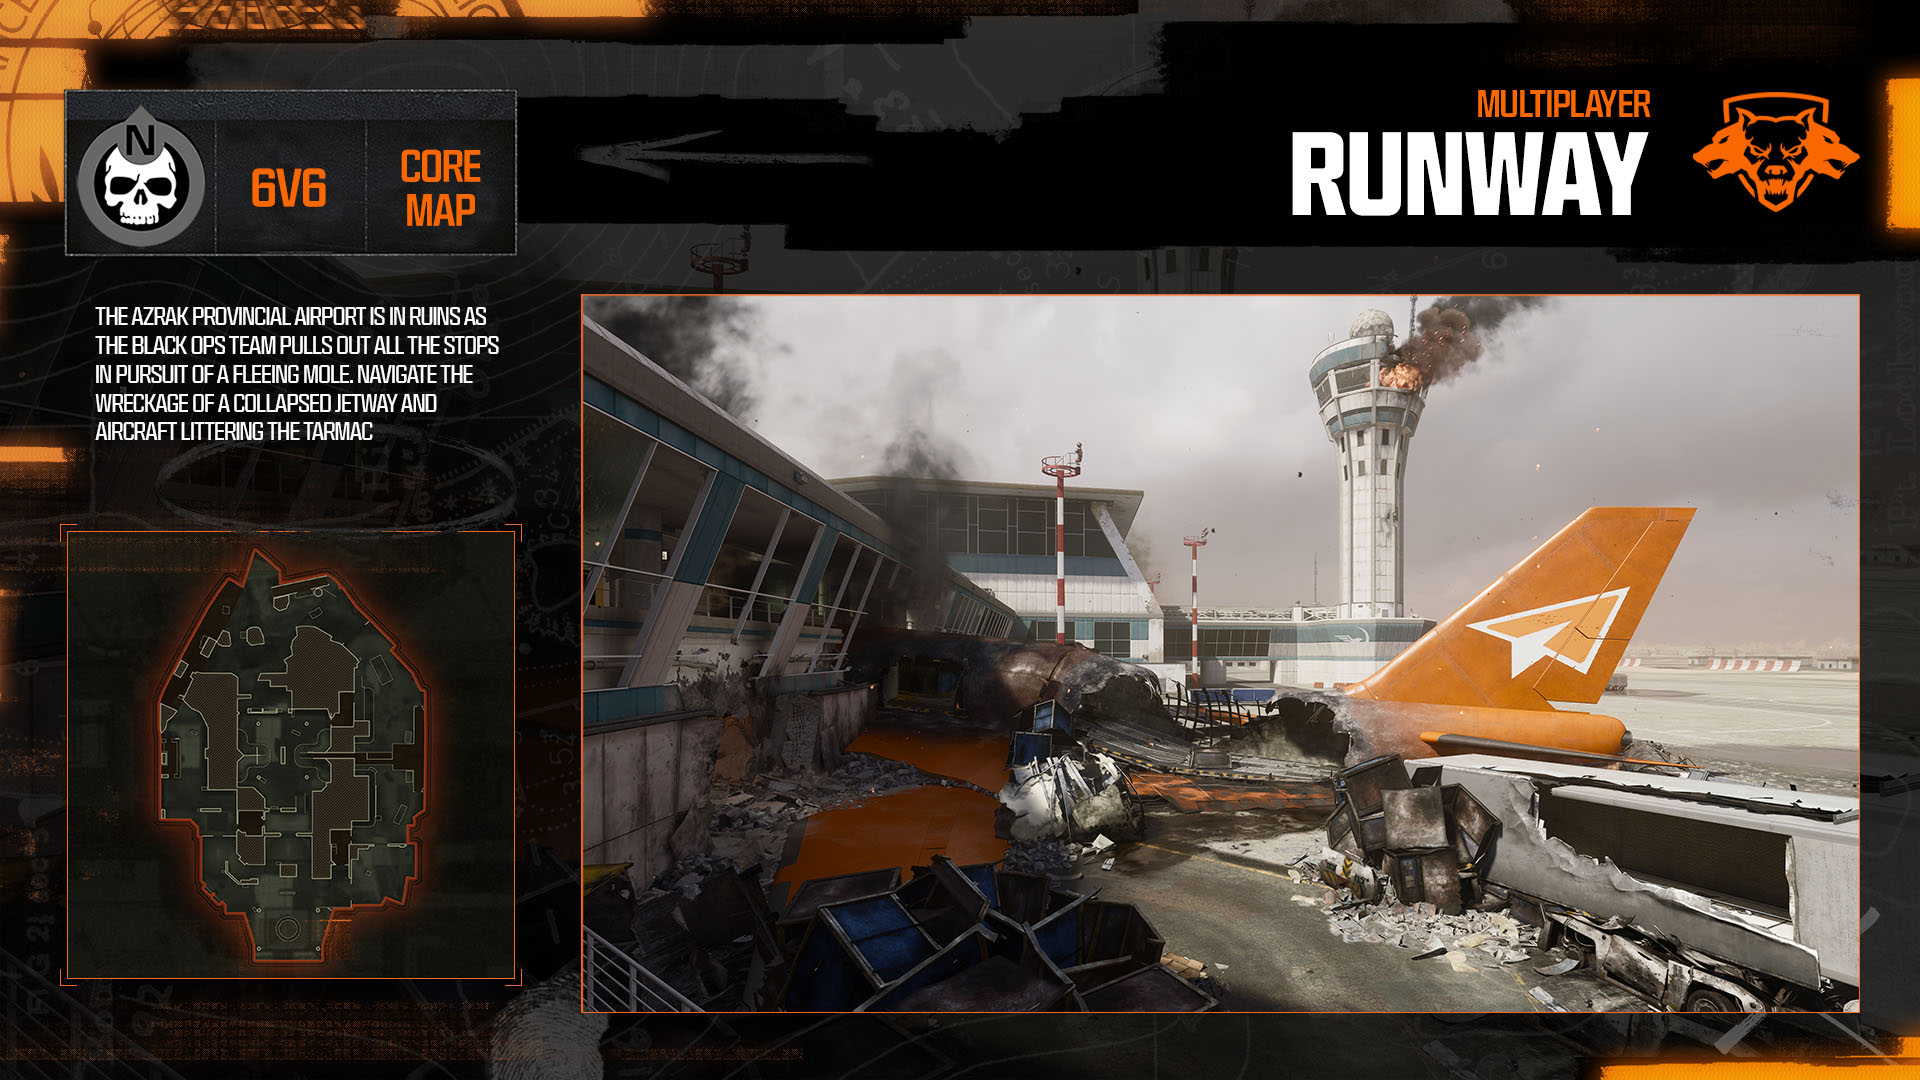
Runway
Advanced Map Tips
Map Focused Loadouts
Prebrief
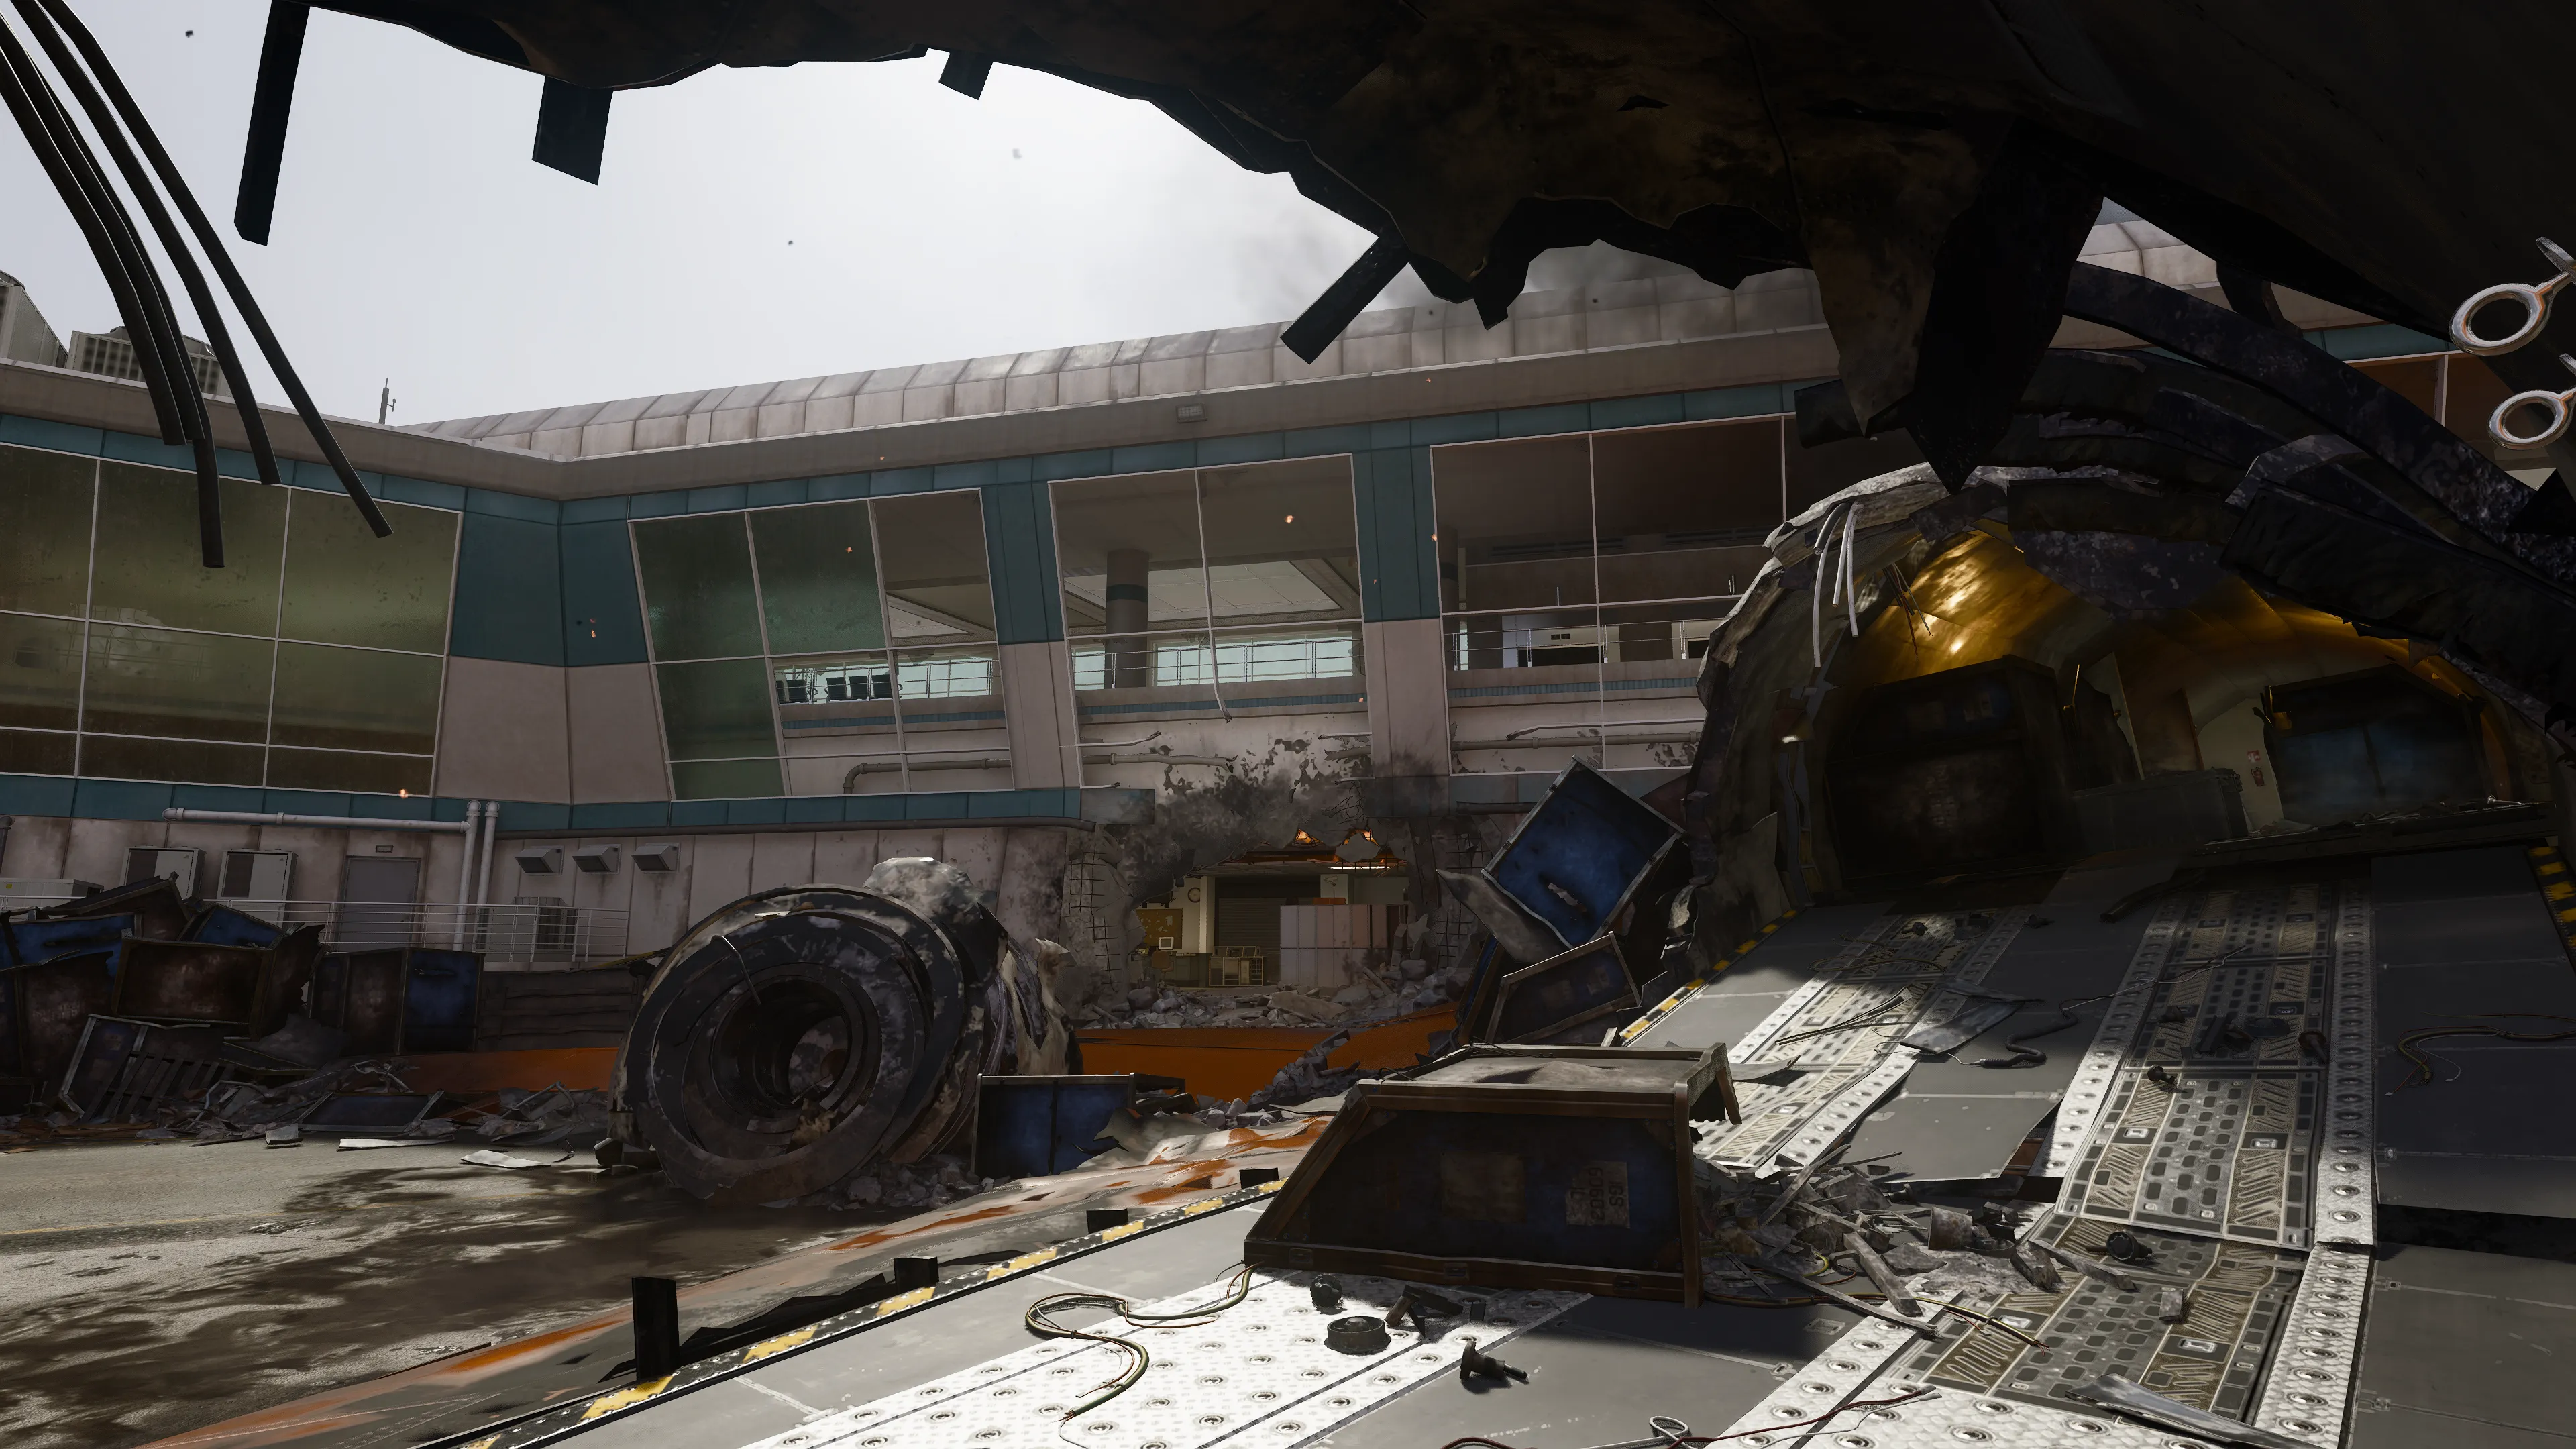
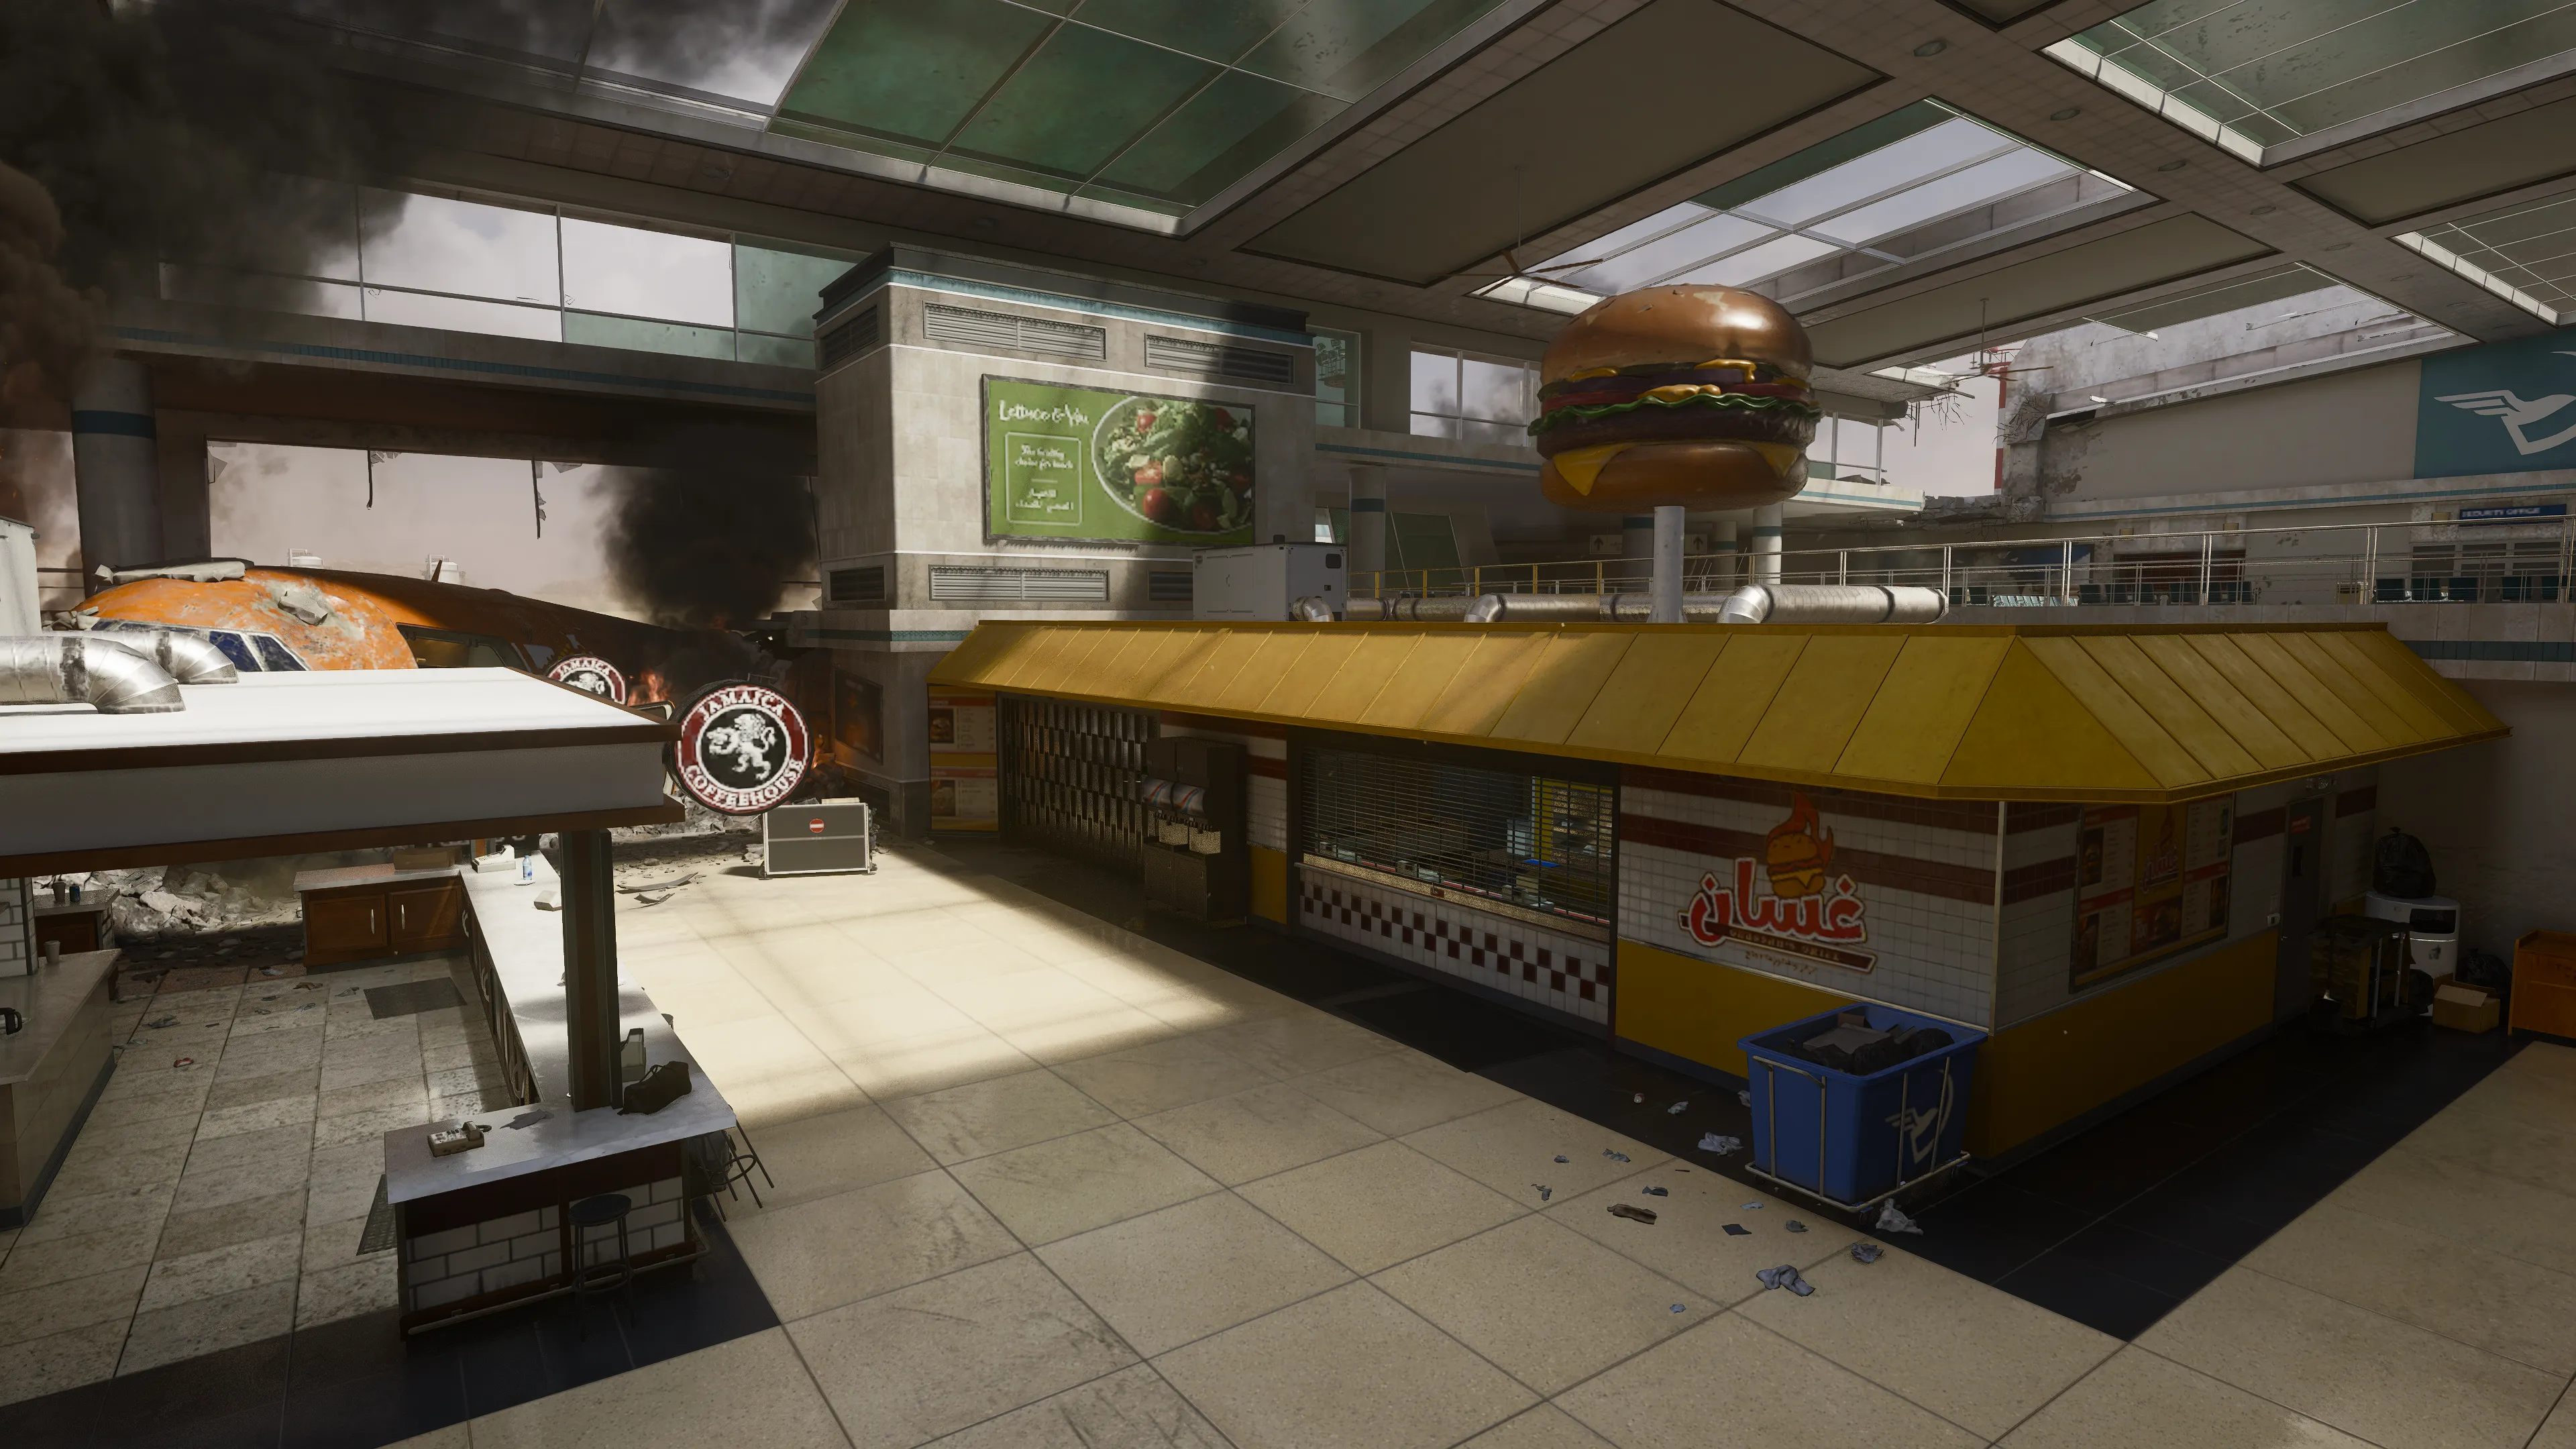
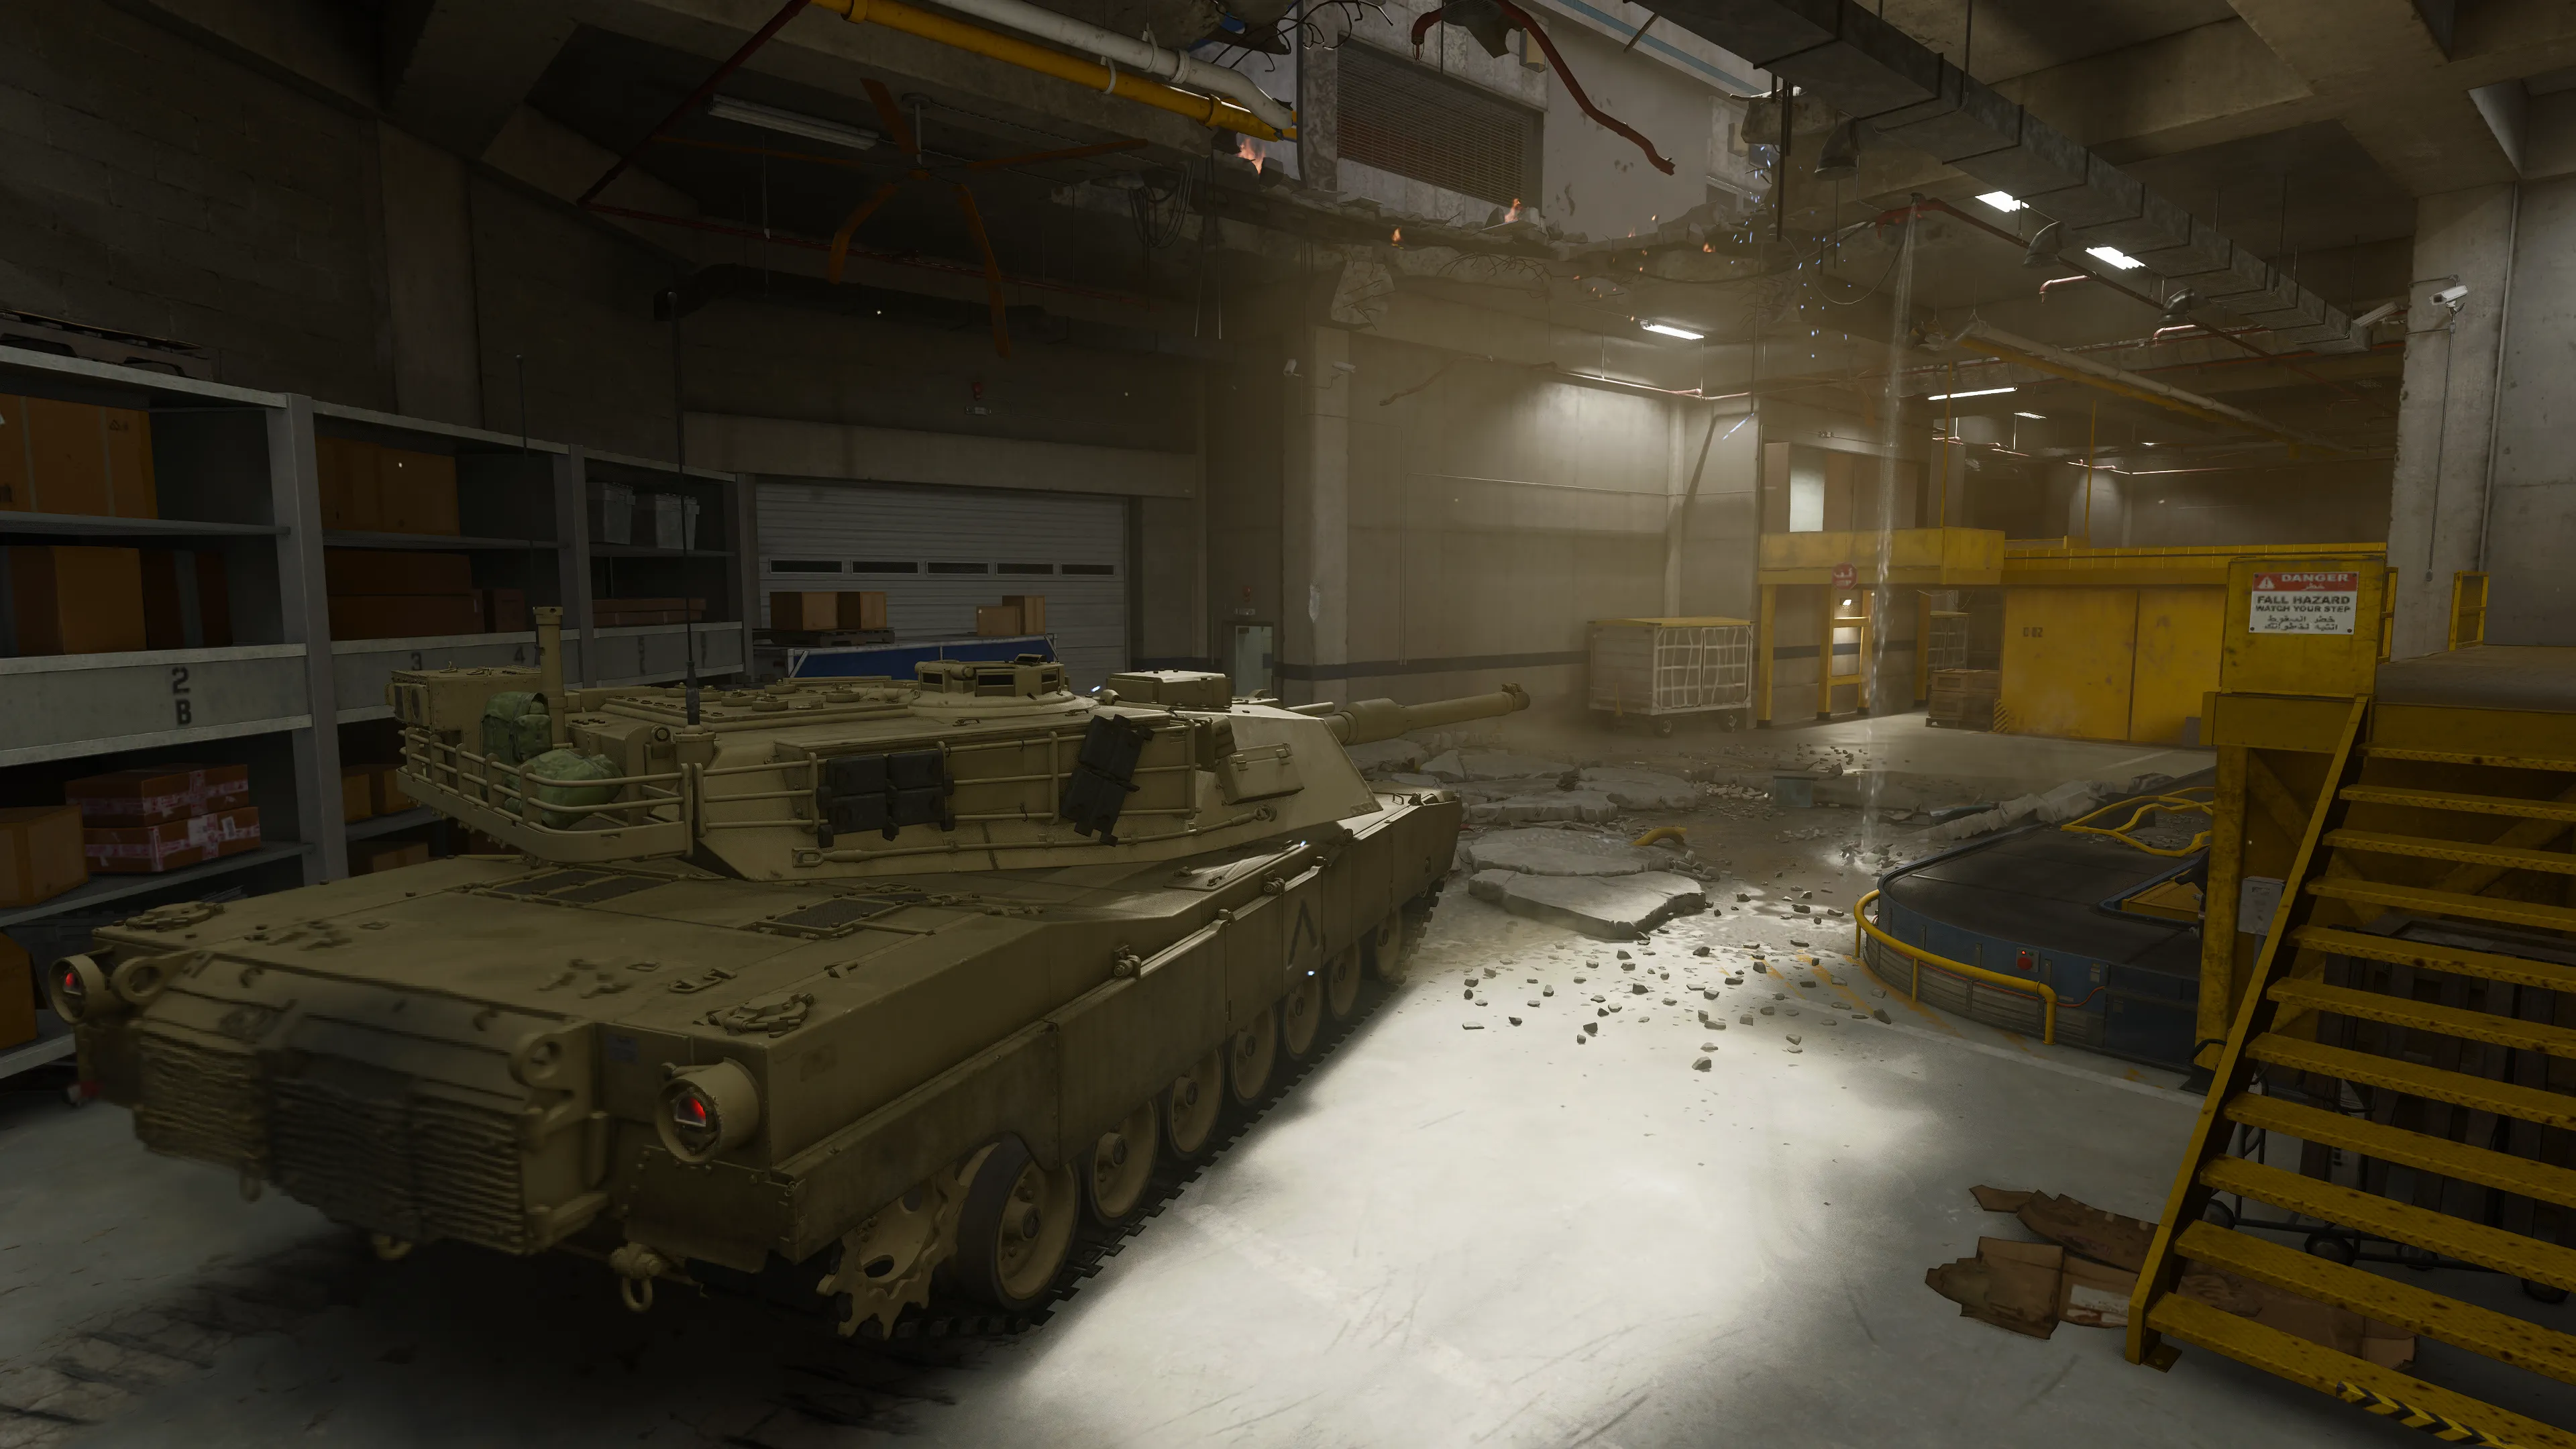
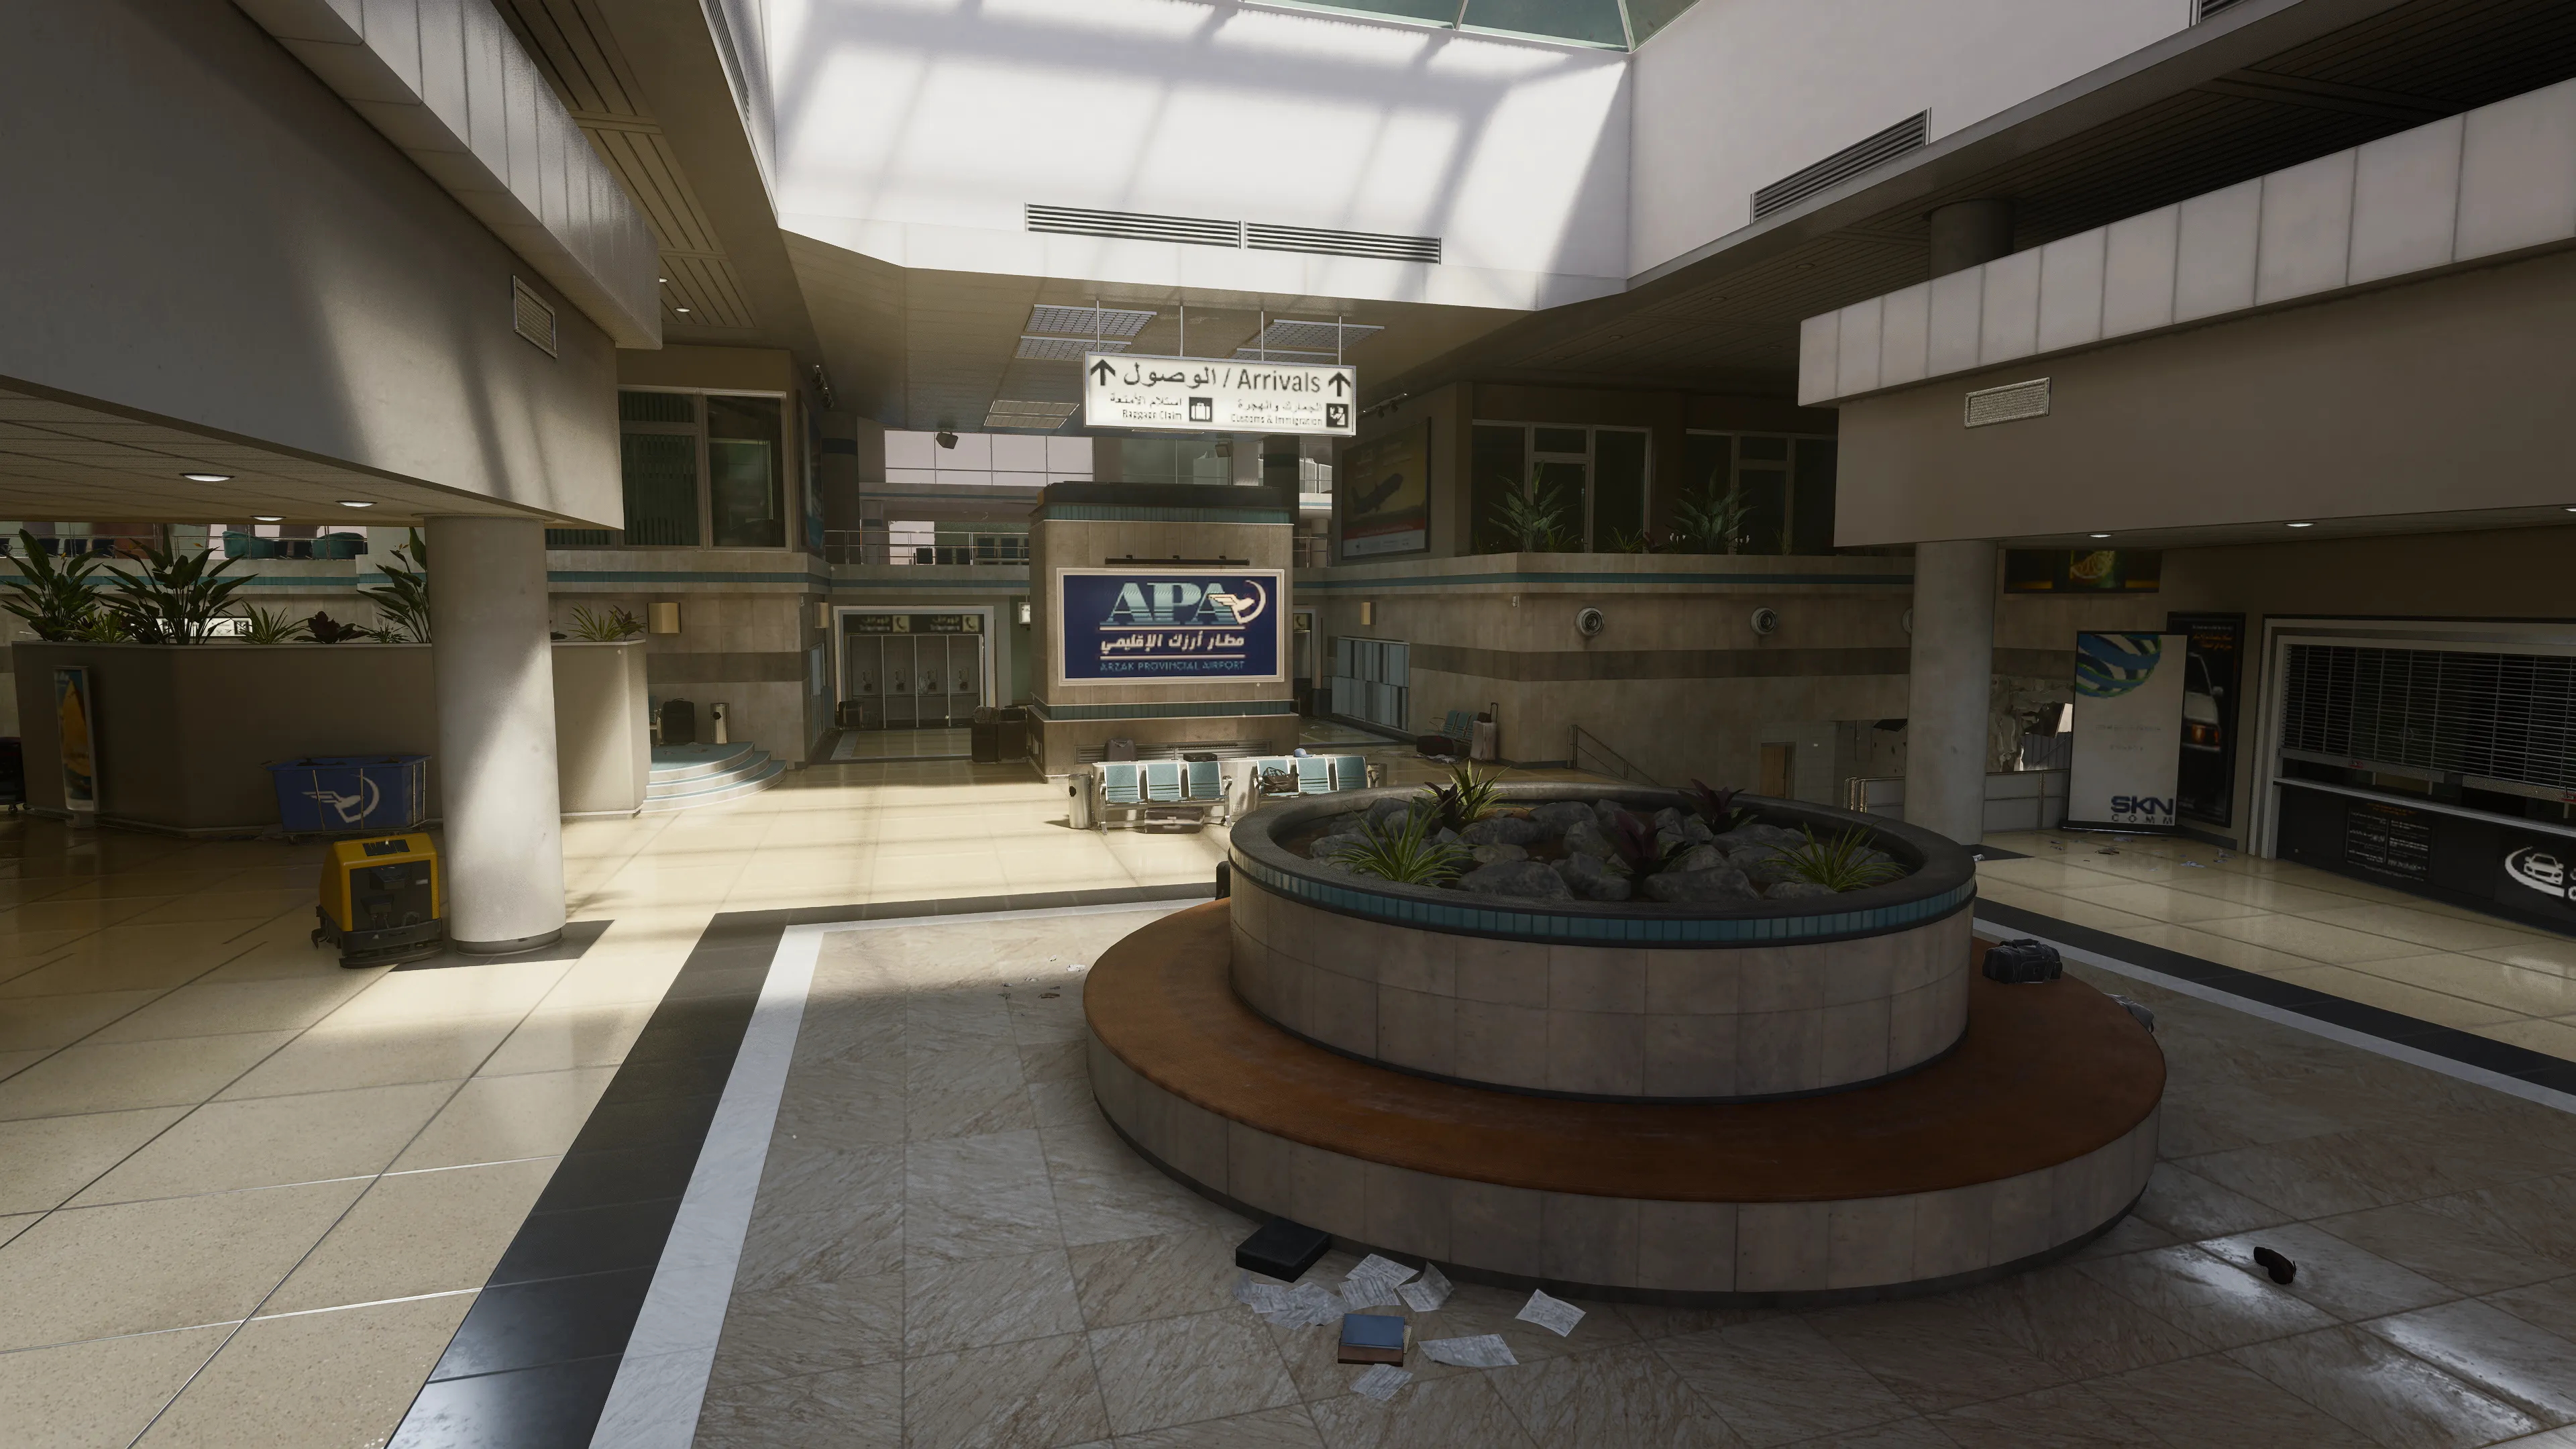
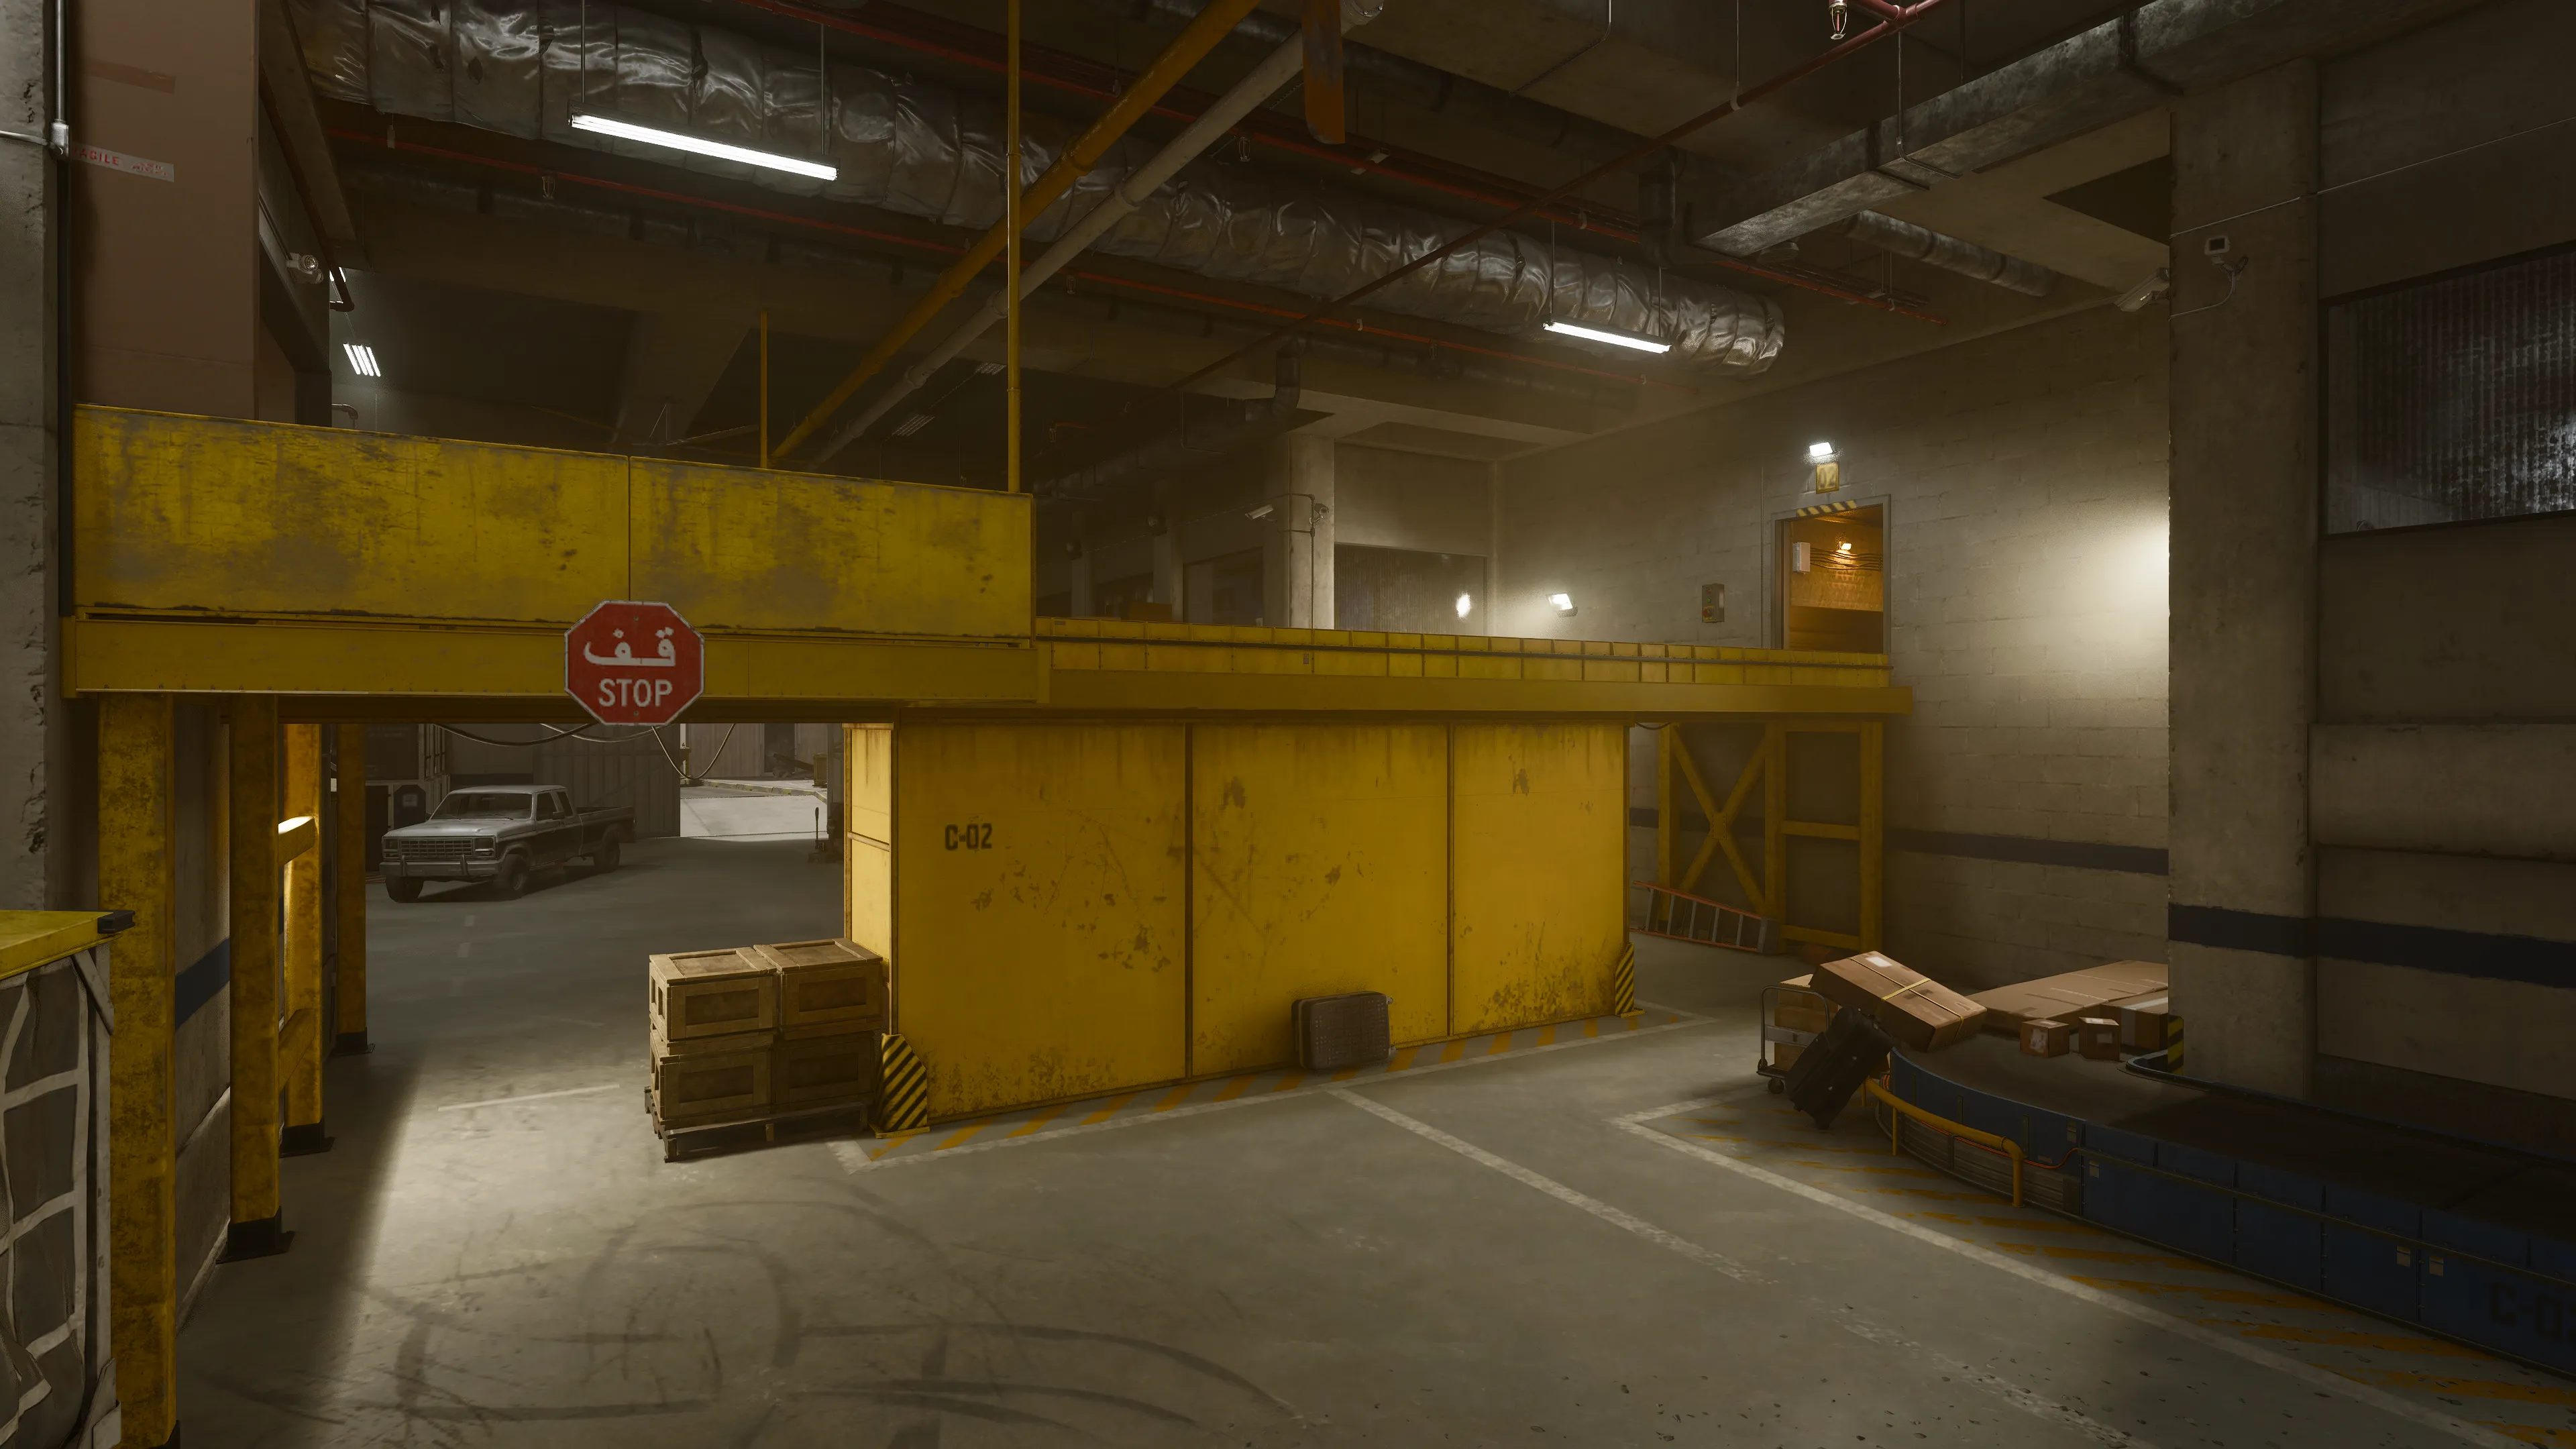
The Azrak Provincial Airport is in ruins as the Black Ops team pulls out all the stops in pursuit of the final fleeing moles. Navigate the wreckage of a collapsed jetway and aircraft littering the Tarmac. Inside the terminal, battle through the Food Court, Baggage Claim, and shipping and receiving where a parked Tank signals the intensity of the chase. Keep up the fight and eliminate anyone who stands in the way of your objective.


-
Show areas

-
Show hardpoints

-
Show domination flags

-
Show search & destroy sites
-
Show spawn points

-
Reset all overlays

POI Overview
Explore the following points of interest based on key areas around Runway. Click “Learn More” at the bottom of each image for additional tips and insights on the POI.
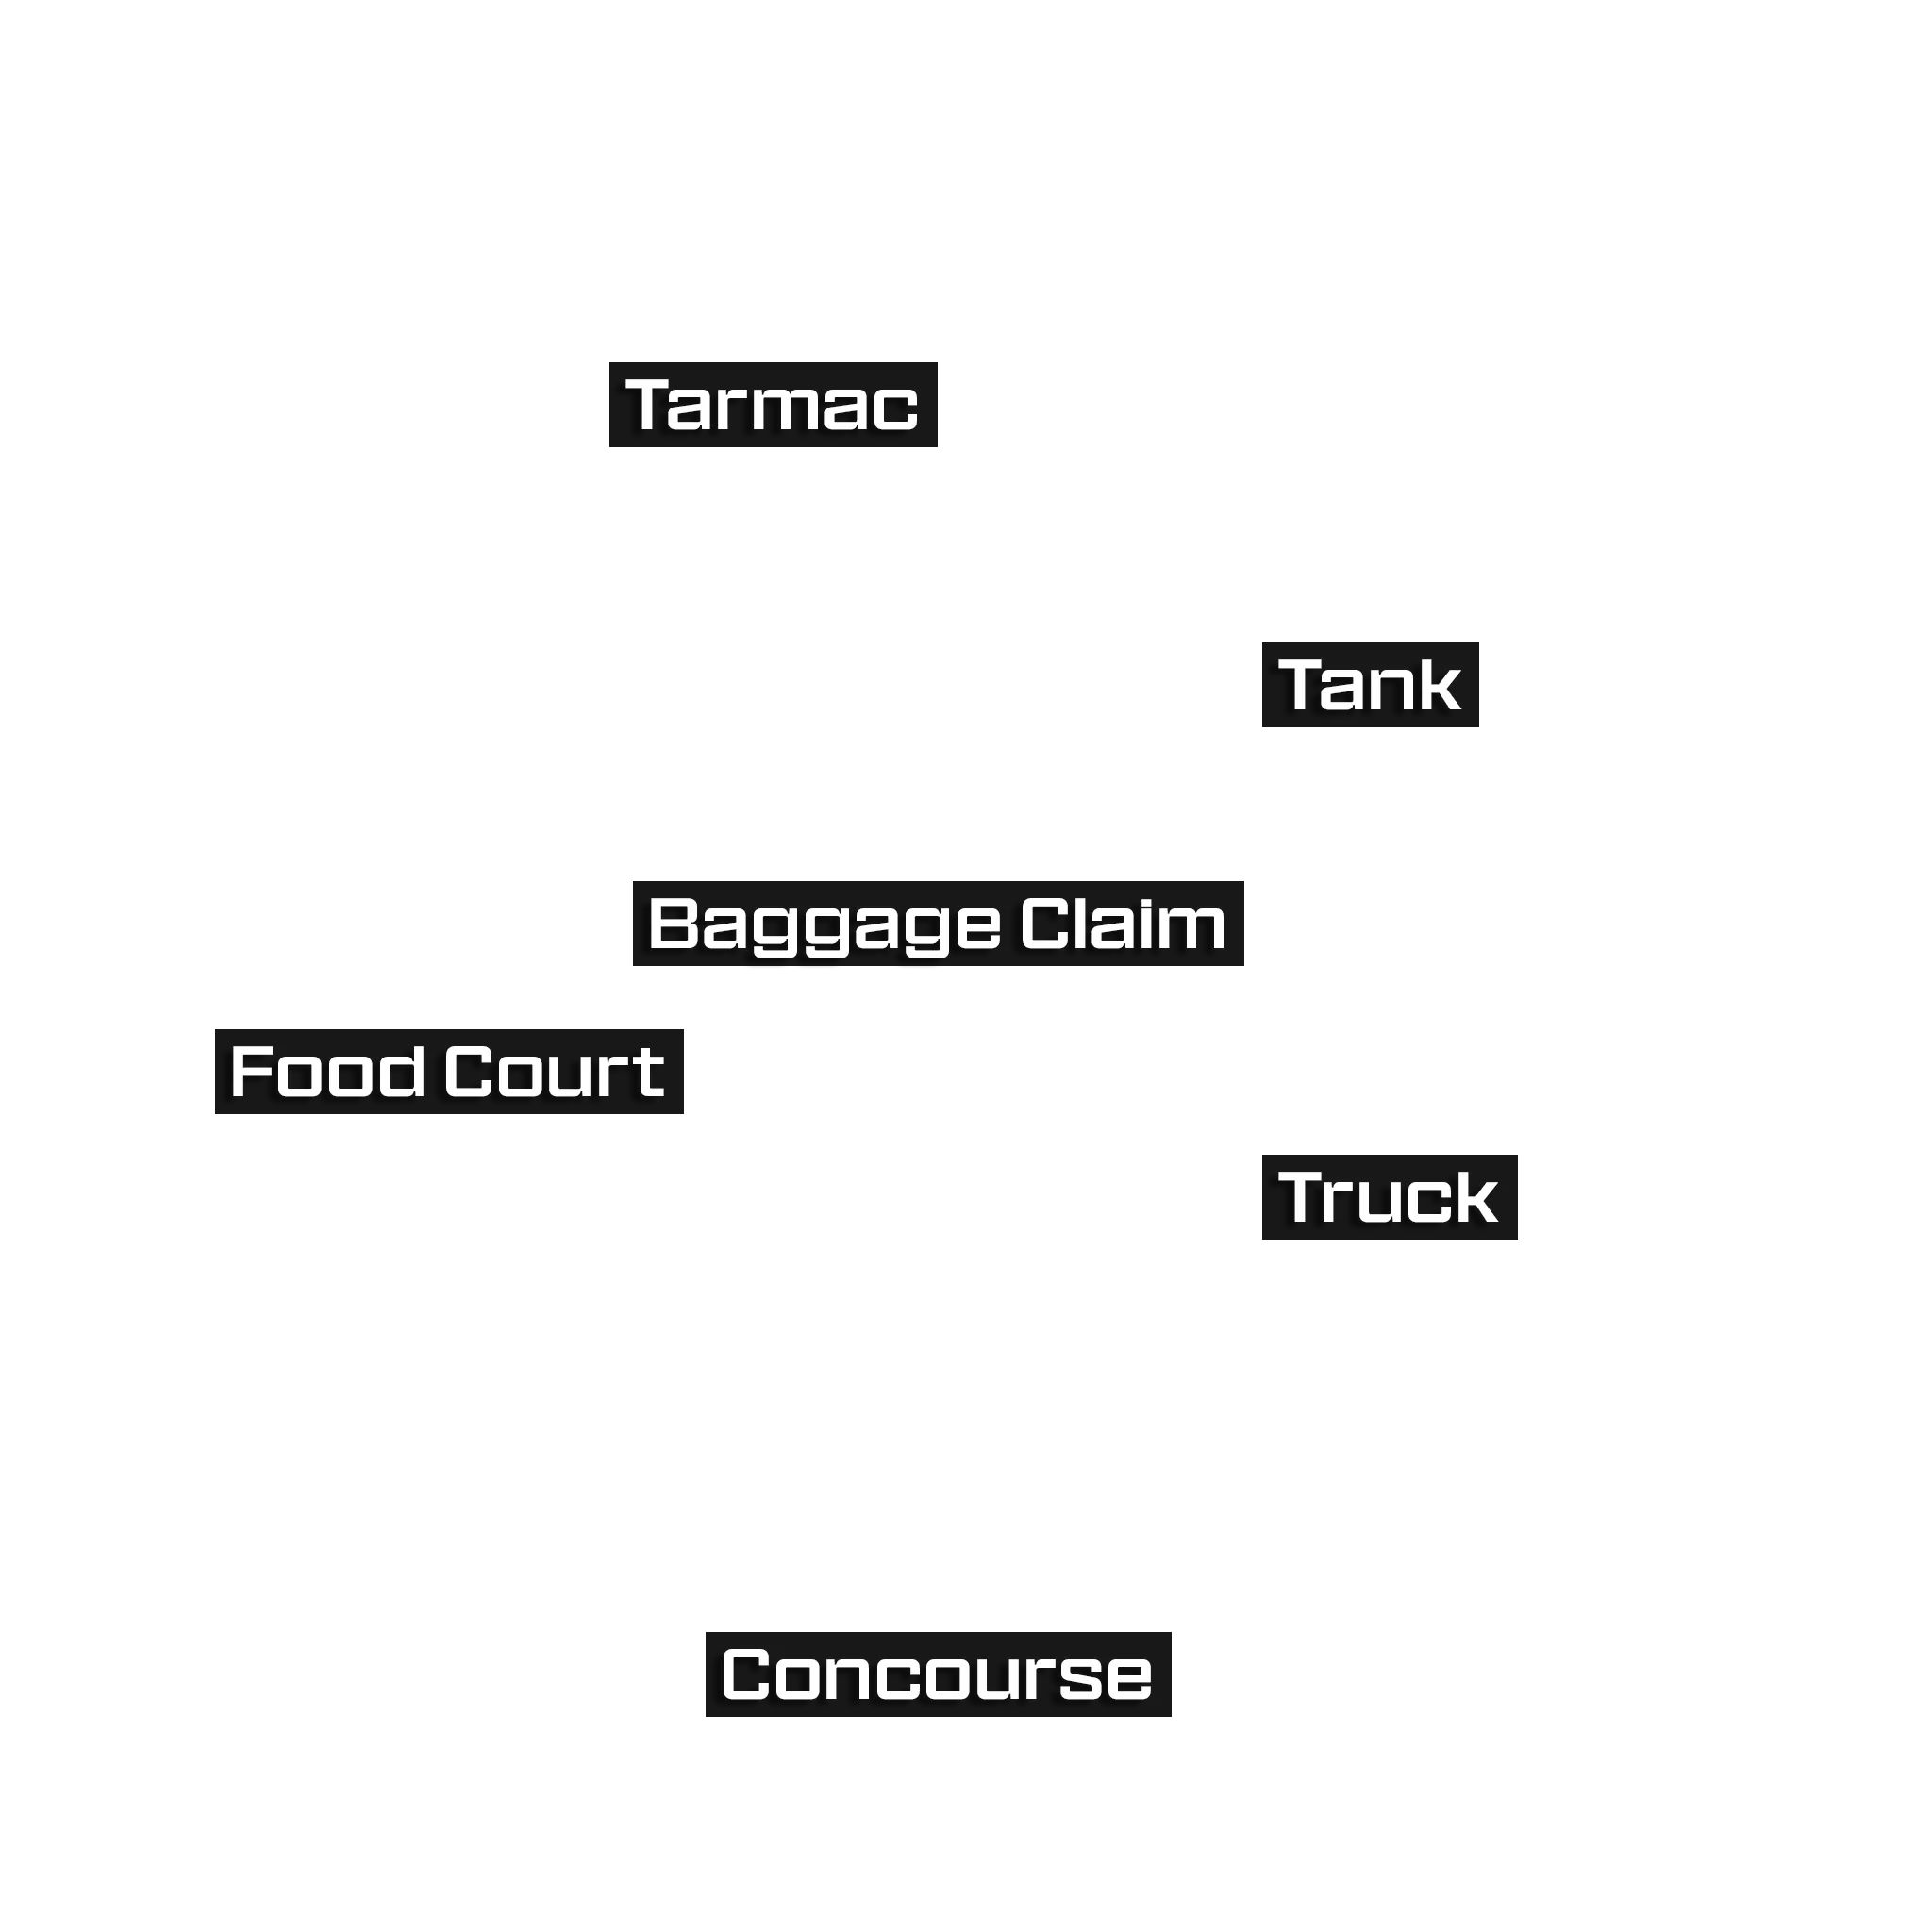
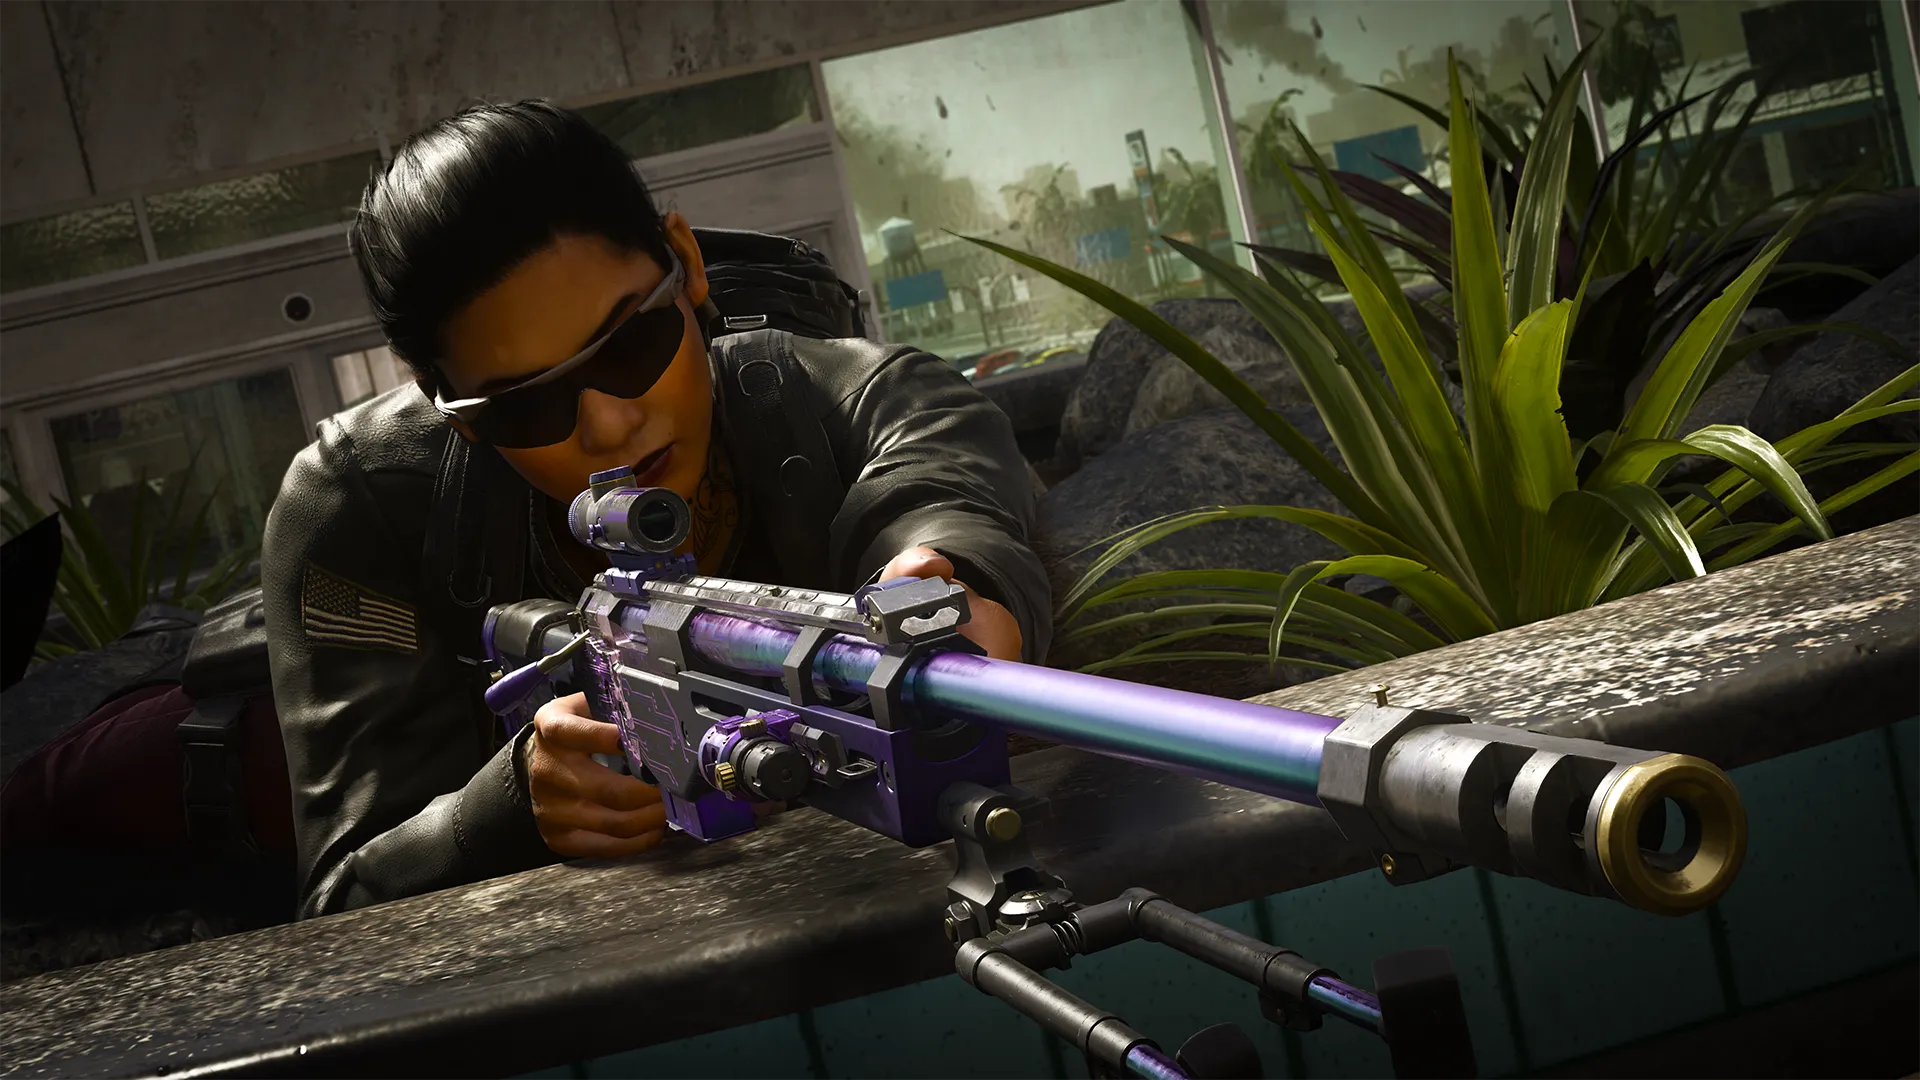
Main Spawn Point: Tarmac (North)
Wreckage lies strewn across the Tarmac, the crashed Plane cutting passage short. Step into its fuselage for minor cover support and passage to the Food Court. For a power position separate from the terminal, move to the collapsed jetway. There are three entryways into the area; watch each one to avoid getting flanked.

CALL OF DUTY® INTEL CARD
- BO6
Runway
// MULTIPLAYER MAPS // CORE

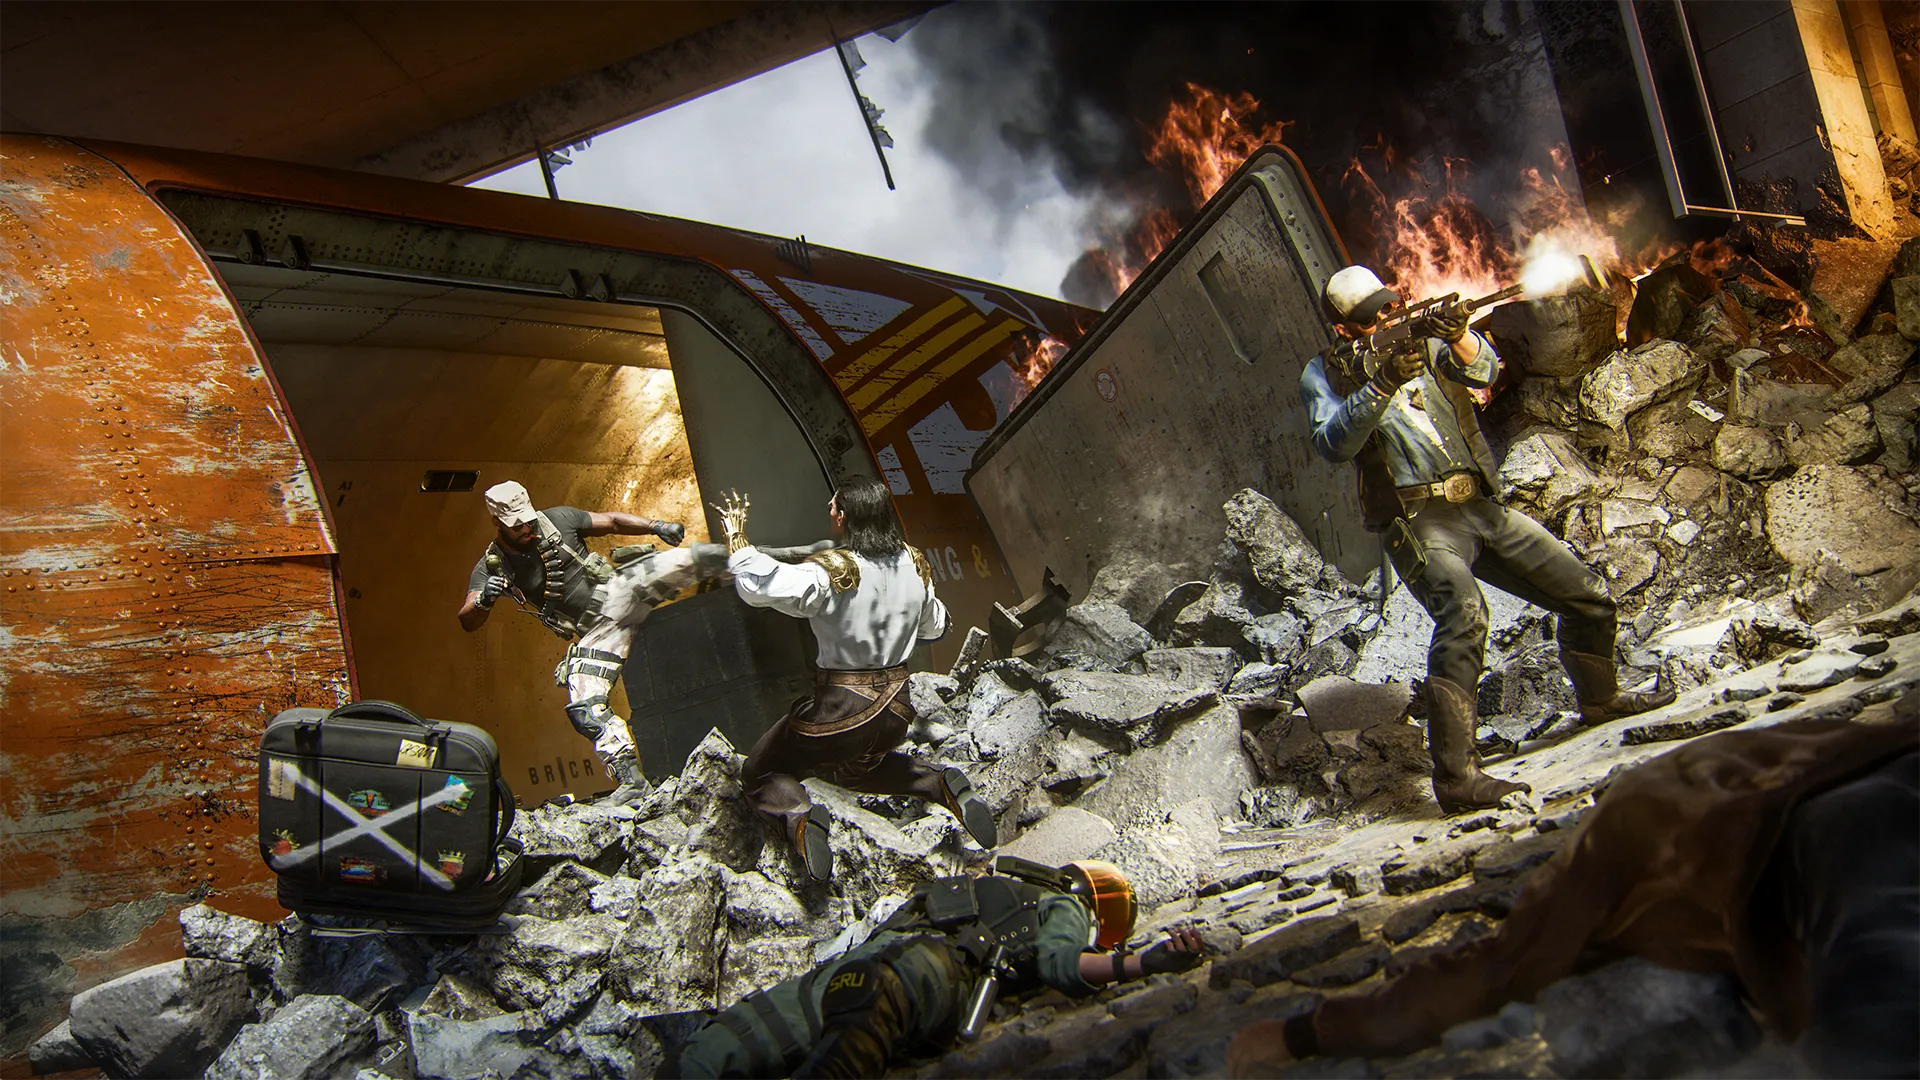
In a rush: Runway is full of pivots and turns where you can find yourself face to face with the enemy in a flash. Equip the Close Shave Perk to automatically use your Dedicated Melee attack when performing a weapon butt attack. Knock ‘em over and continue on your way.
Pack light: You can’t go wrong with an SMG and Pistol combo, capable of shredding up close and out to the mid-range while maintaining high mobility. There are a few longshot opportunities here, but for the most part speed and precision will win the day.
Disembark: Move to the front of the Plane for its sightlines down the Food Court and Tarmac. When the enemy catches on and closes in, back into a corner and pull out a Shotgun. Throw down a Trophy System too, just in case.
Advanced Map Tips
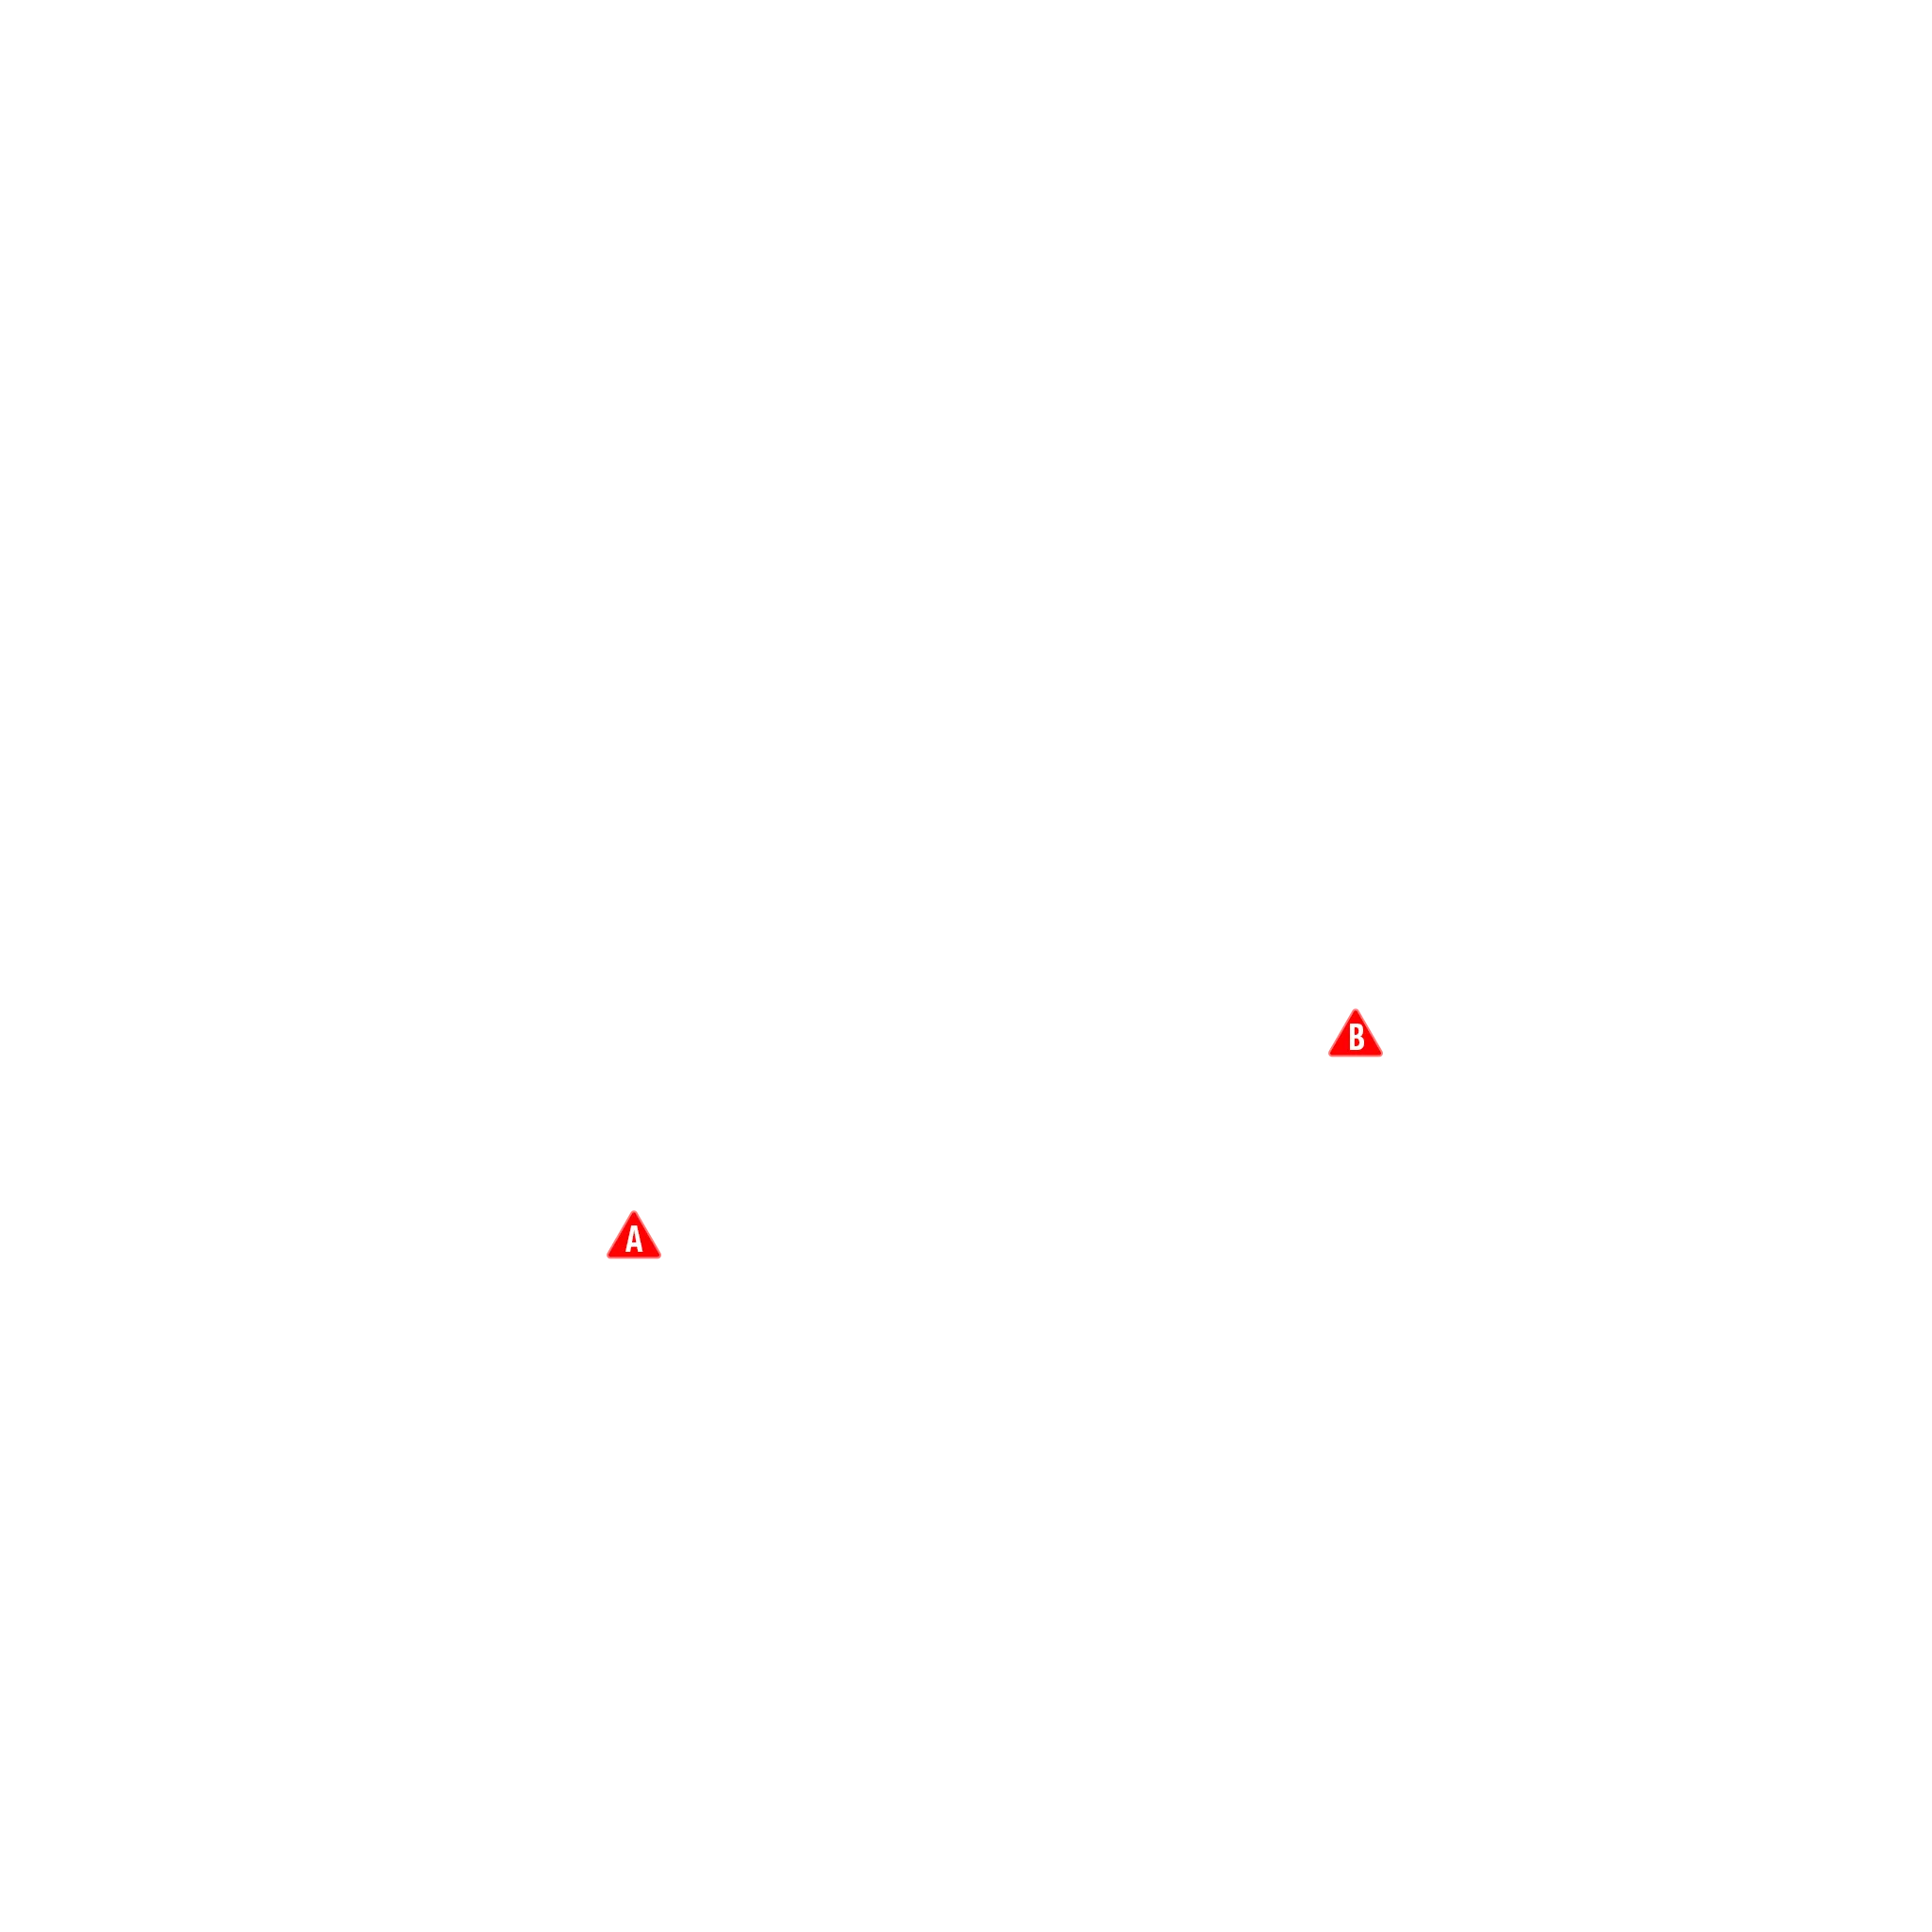
Conveyor King — Alpha (A)
The Conveyor is an unbeatable power position over the right lane, offering covered views toward the Tank and Truck. The covered pathway into the Baggage Claim is equally useful to enter the fray with an easy way to back out if the action gets too intense. That is, if you remember to turn off its movement at the control panel on your way in.
Lock It Down — Beta (B)
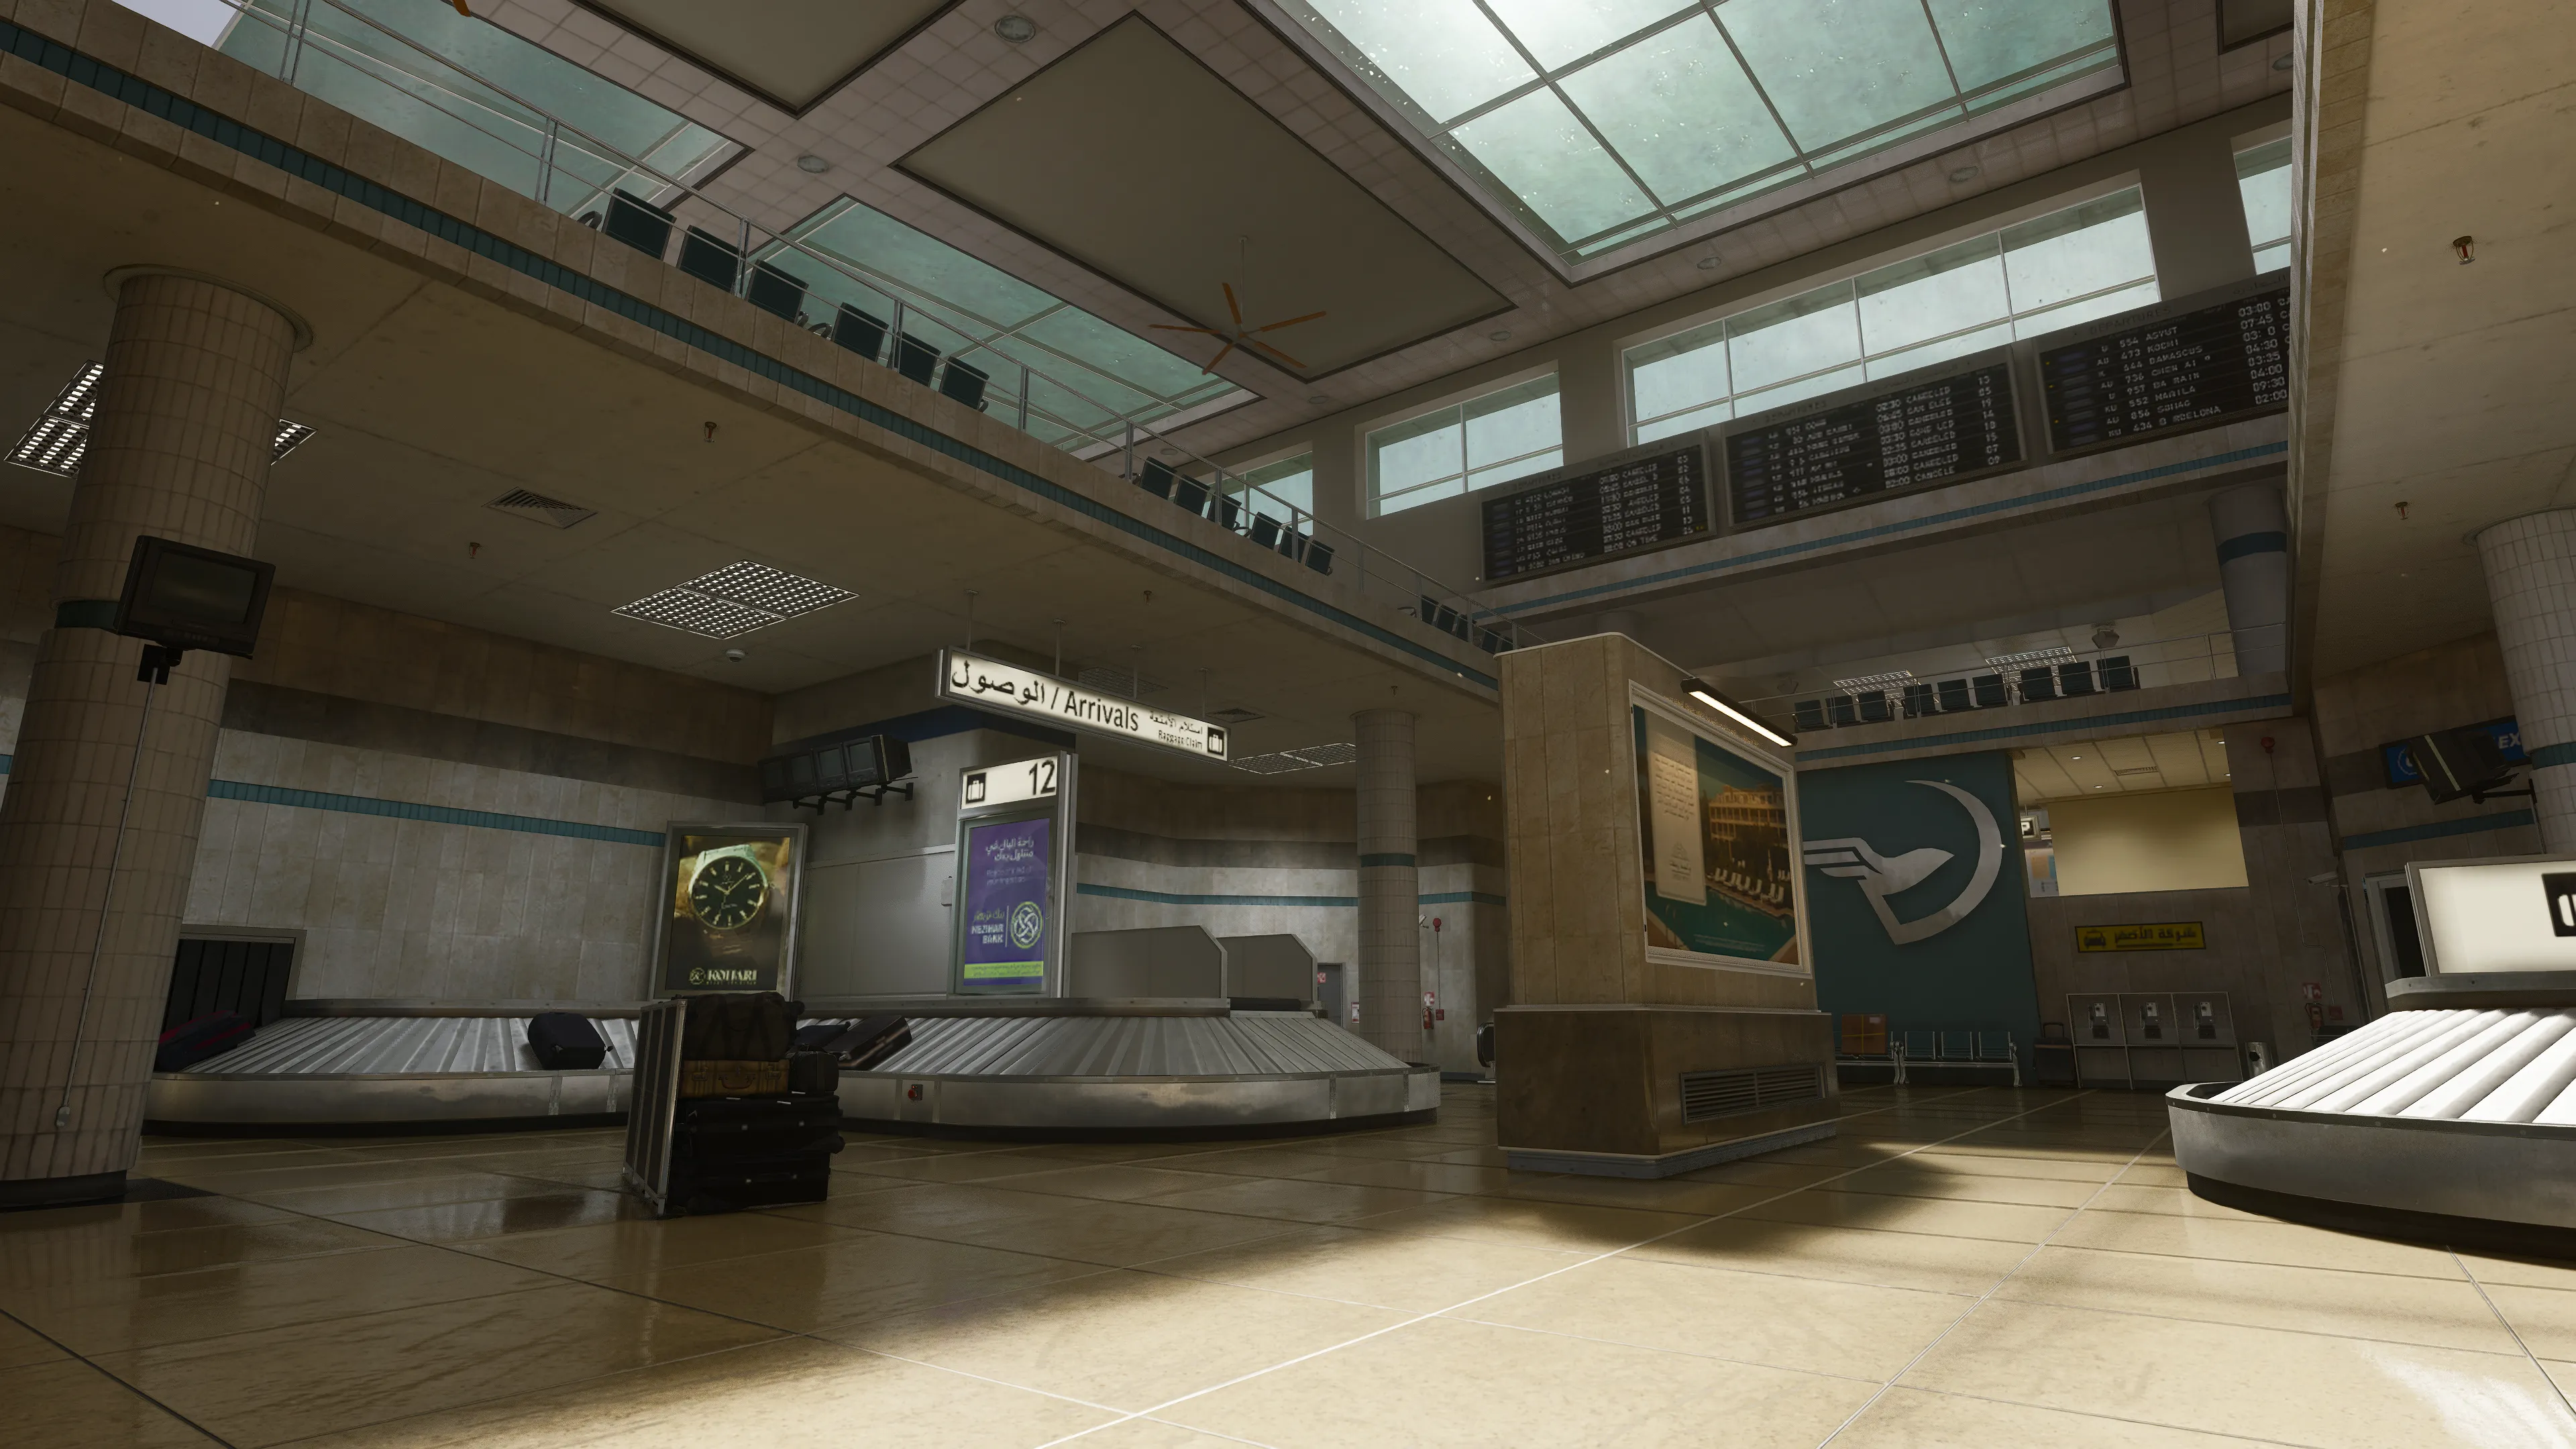
If you can hold it down — ideally with some backup — the Escalator can be lucrative for earning score. Its sightlines through the Baggage Claim and back toward Concourse provide wide coverage of the middle lane with the nearby Security offering a quick escape to avoid incoming grenades.
Map Focused Loadouts
No matter what, the Pantheon moles can’t get away. Consider these Loadouts when deploying to Runway to overcome anyone who dares stand in the way of the team’s mission.
Express Lane
SMG, Enforcer Combat Specialty
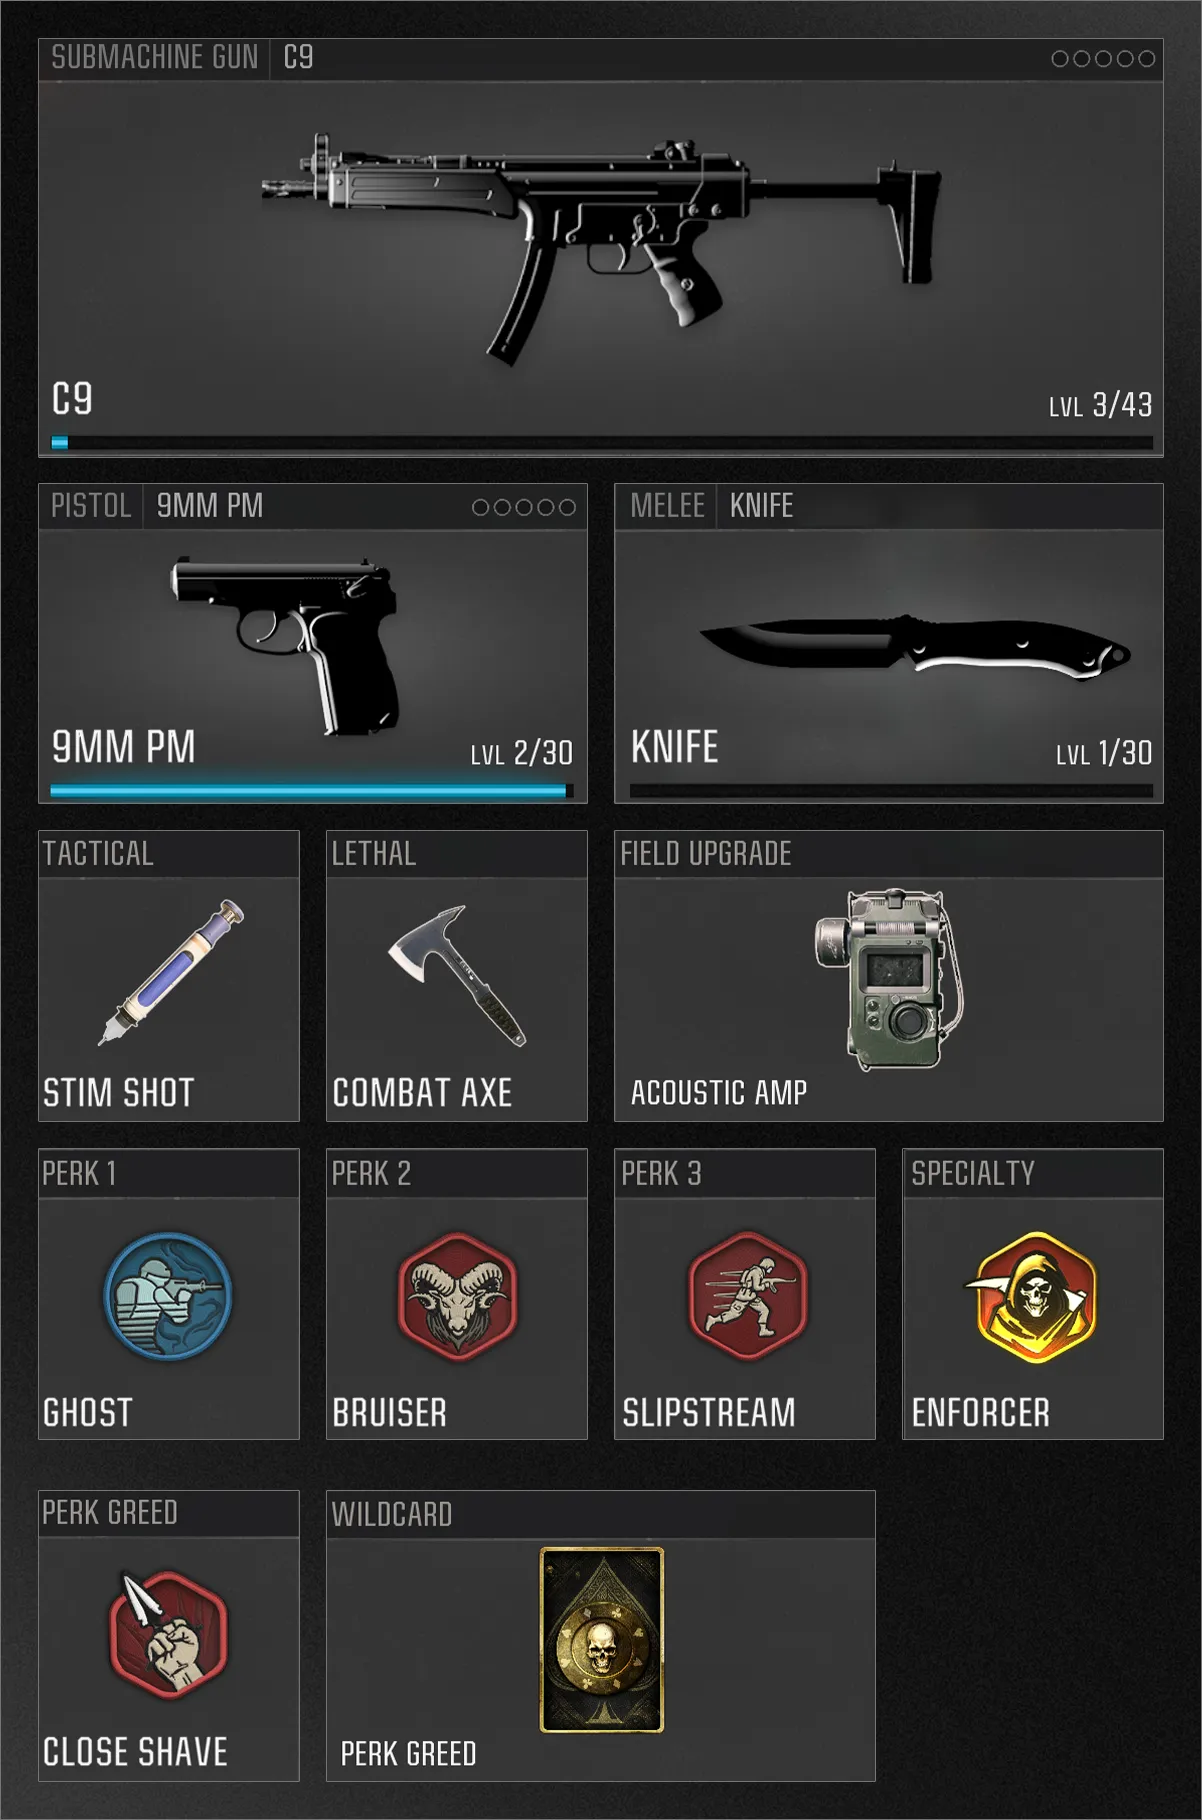
Runway’s a tight map that rewards rapid hit and run tactics. Pair an SMG and Pistol to maintain strong mobility with additional speed via Slipstream. When colliding with enemies in small areas like the Plane, Hall, and Security, hit ‘em with your melee attack, enhanced through Close Shave with health regen and extra score activated from Bruiser.
Stim Shot keeps you on the move, reducing time spent recovering after tough fights, while the Acoustic Amp heightens your senses during critical plays. Toss your Combat Axe for silent eliminations pairing well with Ghost and play aggressively to maximize your uptime on the Enforcer bonus.
Security
Assault Rifle, Strategist Combat Specialty
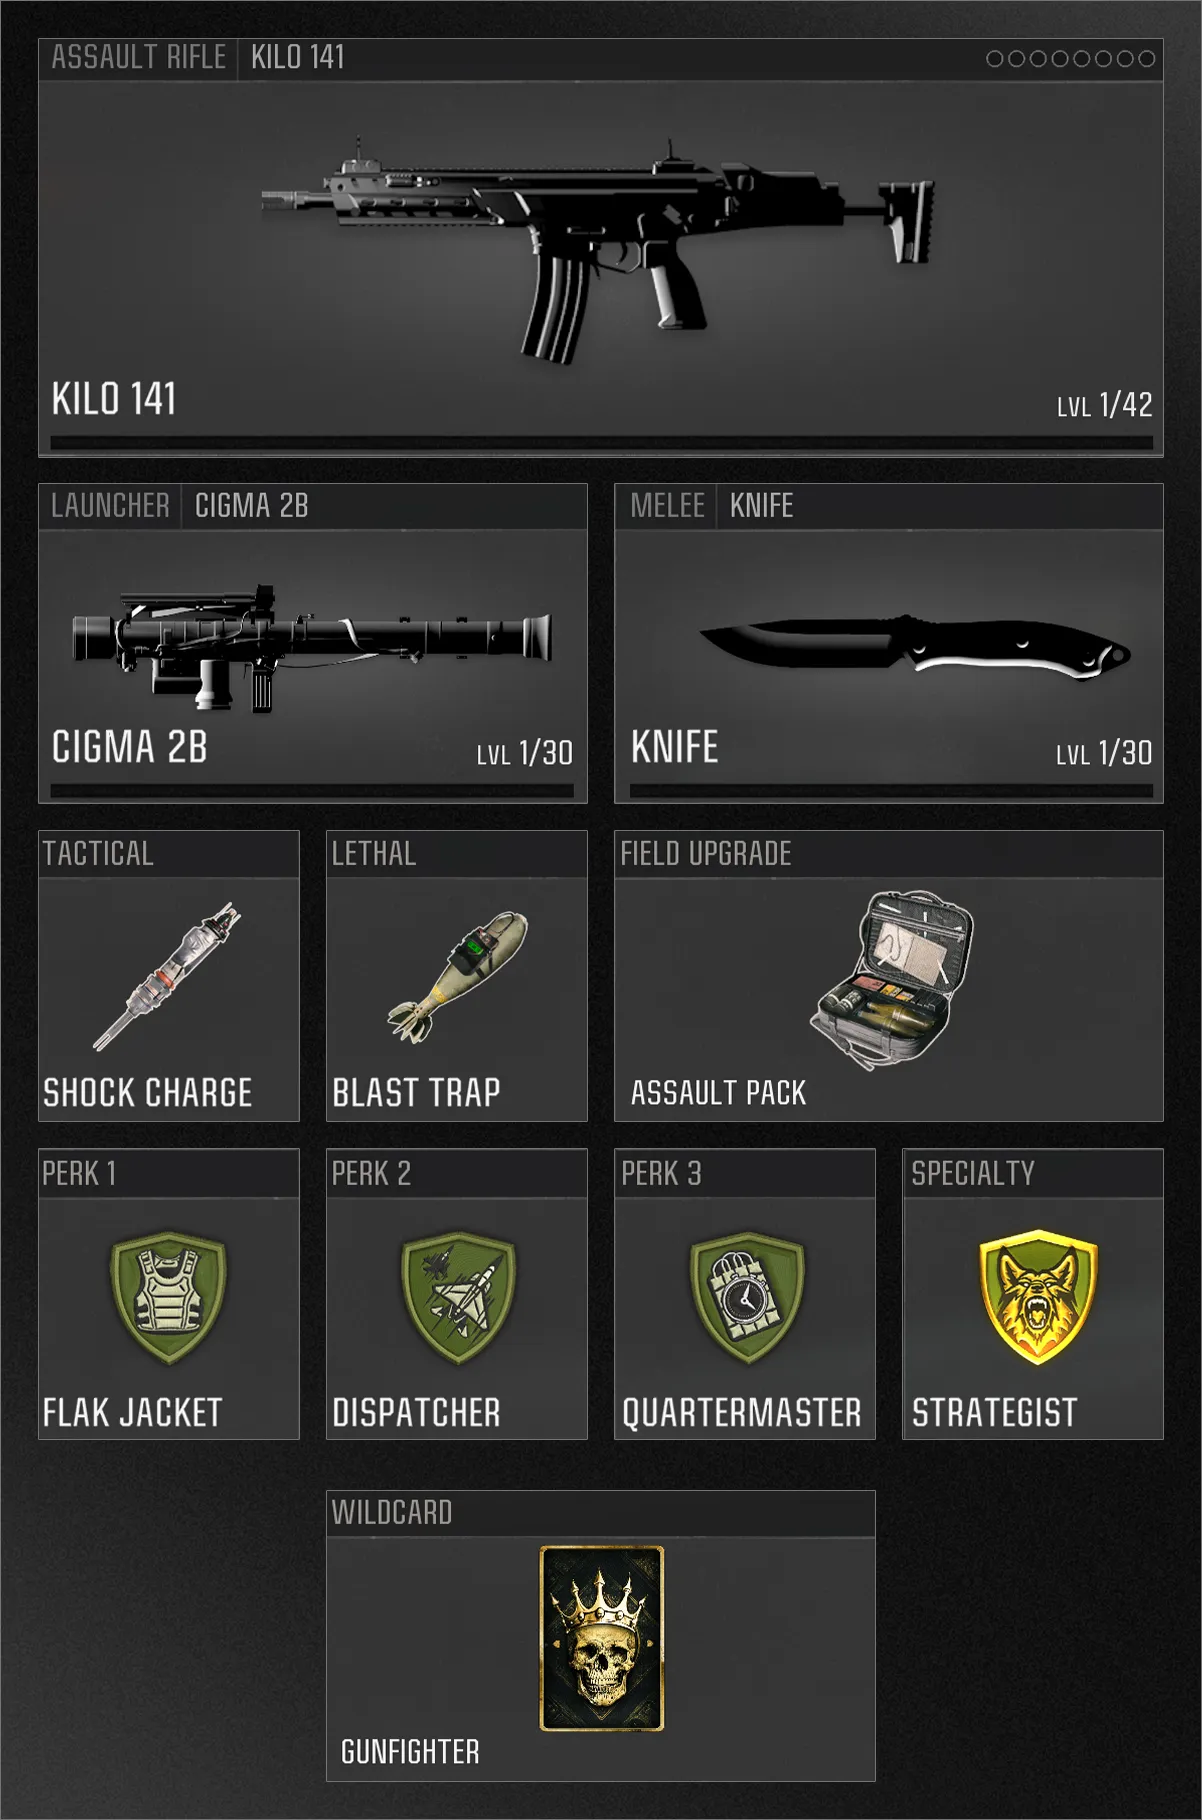
Balance power and versatility with this Loadout featuring the reliable Kilo 141 enhanced via the Gunfighter Wildcard and a Launcher to keep the skies clear of enemy UAVs and other aerial threats. Shock Charge and Blast Trap provide area control, great for the map’s narrow corridors and in the chaotic Baggage Claim.
Use Dispatcher to reduce the score cost of non-lethal Scorestreaks, perfect for maximizing the uptime of friendly UAVs. And when you go on a tear, you’ve got the Assault Pack on hand to ensure you don’t run out of ammo just before earning your next streak.
Baggage Goblin
LMG
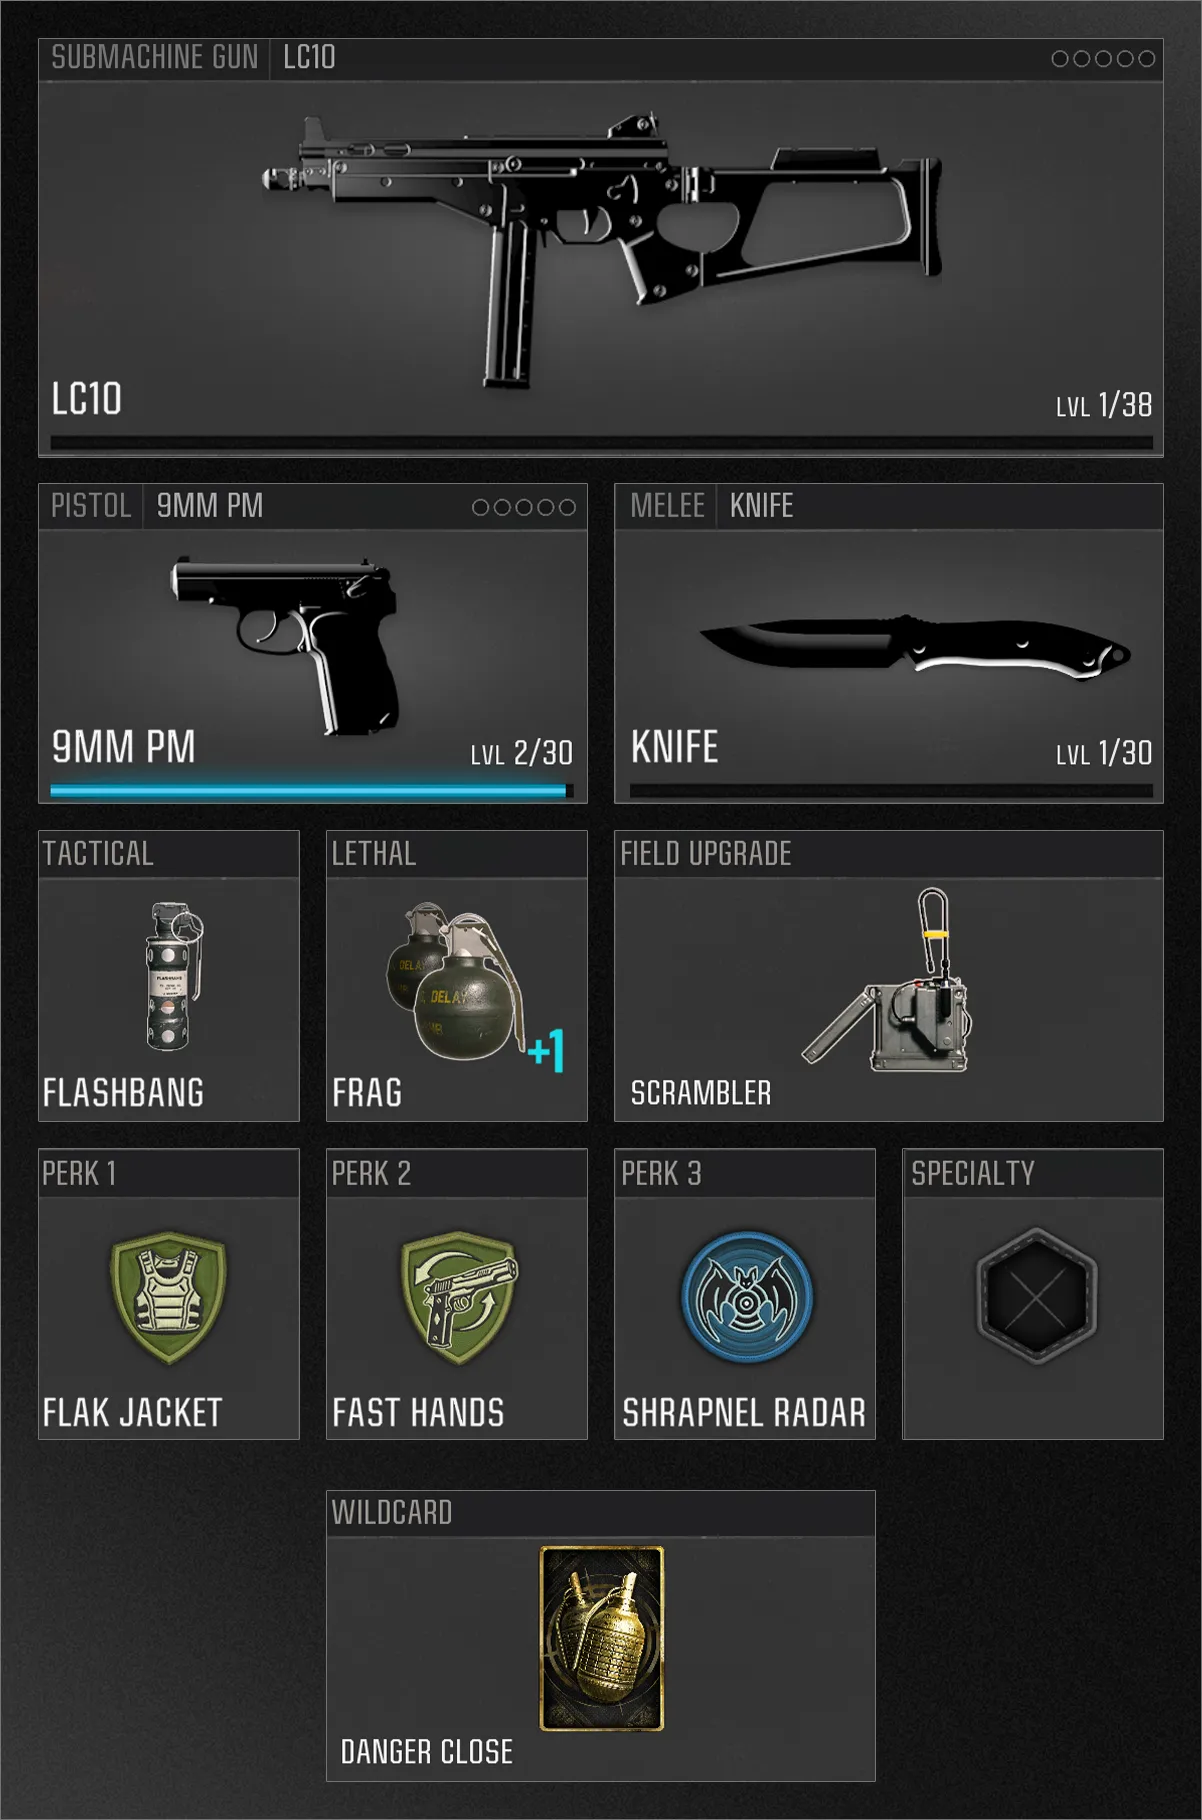
Who needs speed when you can go all-in on power? This Loadout favors a strong position where you can let loose with your LMG to chain eliminations one after the other. With Overkill, attempts to flank your position will be met with Shotgun blasts as the Fast Hands Perk speeds up your weapon swap so you can alter your tactics with minimal downtime.
Keep up the offensive with a serving of two Frags per spawn via Danger Close. Try tossing one or two out and then take down fleeing enemies with your weapon. Anyone fortunate enough to survive the explosive damage will be revealed on your minimap due to Shrapnel Rader, giving you the intel you need to chase them down and finish the job.
©/TM/® 2025 Activision Publishing, Inc.
For more information, please visit www.callofduty.com and www.youtube.com/callofduty, and follow @Activision and @CallofDuty on X, Instagram, and Facebook. For Call of Duty Updates, follow @CODUpdates on X.
