Welcome to Control where teams alternate between attacking and defending two pre-determined objective areas. First team to win three rounds wins the match. Each team gets a collective 25 lives per round. Once those lives are used up, you lose. Attackers need to either capture both objectives or burn through the defenses’ 25 lives to win. Defenders either take out enemy lives or simply run out the clock. It’s a game mode that fosters and rewards a cooperative, calculated style of play.
To help you get acclimated, we’ve assembled some basics that’ll allow you to hit your Control-stride quickly.
You Can Win Any Way You Want
The beauty of Control lies in the wide-ranging strategies that all have the potential to be equally effective. Think your team can simply outgun your opponents? Have Ajax & Ruin lead the charge and eliminate all 25 of their lives. Think you can successfully hold down an area? Utilize Recon’s intelligence gathering or Torque’s defensive Razor Wire to slow enemies down and pick them off. The great thing is, there’s no one ‘right’ way to do it. So, get creative. If you want a few thought-starters, check out our piece on Specialist Pairings (LINK).
Know Your Role & Maintain Map Control
The risk-reward in Control is a pretty clear choice: play aggressive and risk losing lives quickly or take a more calculated approach and risk losing, or never securing, Control areas. These calculations change depending on whether you’re defending or attacking, but they all come back to a common principal: map control.
Attackers
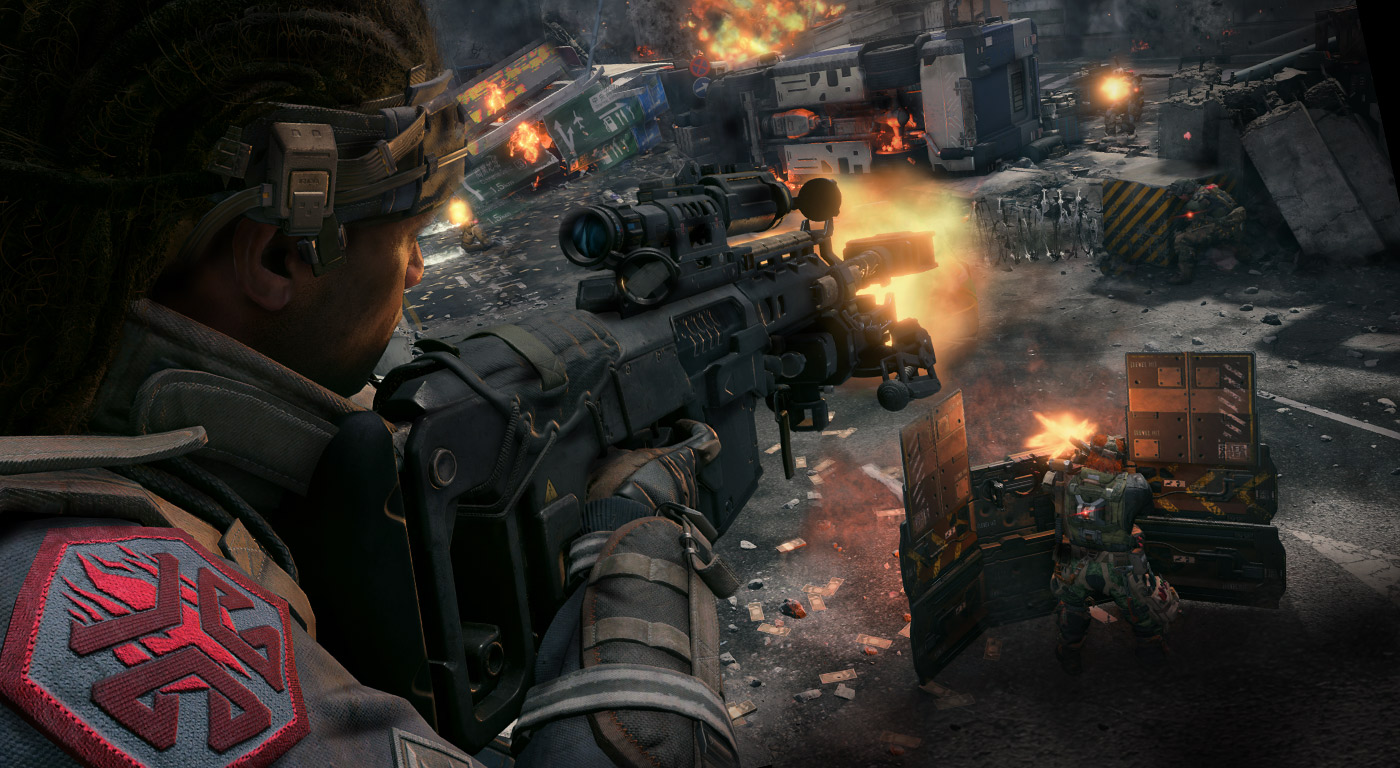
You’ve got two objectives and a ticking clock. Splitting up opponents or capturing one objective at a time are both good strategies. Either way you’re going to need your teammates help. If you’ve got a Seraph on your team, her Tac-Deploy will spawn you right where you need to be or use Ajax’s 9-bang and machine-pistol equipped ballistic shield combo to rush and hold objectives. Your opponents will be waiting near objectives, so be prepared for a fight.
Defenders
The fundamental benefit of defending is that the enemy has to come to you. If they don’t, you win. Defending doesn’t have to look one specific way. If you want to get up-close, gather intel using Recon’s Sensor Dart. If you prefer an overwatch position with Tactical and Sniper Rifles, consider Nomad’s Mesh Mine to protect your back. A combination of those can also be extremely effective. Whatever style you choose work together to control the area and take out your opponents.
Complement Your Teammates
Specialists are just one aspect of a much larger puzzle, but there are a few whose skills stand out for a tactical mode like Control.
For any objective mode, the benefits of Seraph and Recon play up in a big way. Seraph’s Tac-Deploy allows you to quickly get back into the action and Recon’s Sensor Dart and Vision Pulse illuminate enemies for all your teammates to see. Defending teams can always use Nomad’s Mesh Mines for any attackers attempting to sneak onto a point. And, in a game where lives are at a premium, the healing abilities of Crash also play up. Even if you don’t play any different than you usually would, simply utilizing these Specialist abilities as you go about your match can throw the balance in your favor.
While these insights are surely helpful to get you started, there’s no substitute than actual experience. You’ll quickly find loadouts, Specialists and tactics that work best for you. That’s the beauty of Control. It’s an objective mode that doesn’t restrict your style of play. Regardless of how you thrive in Black Ops 4 Multiplayer, there’s a place for you on any winning side of a Control match.
Now you’ve done your due diligence, so get in there and take Control for a spin.